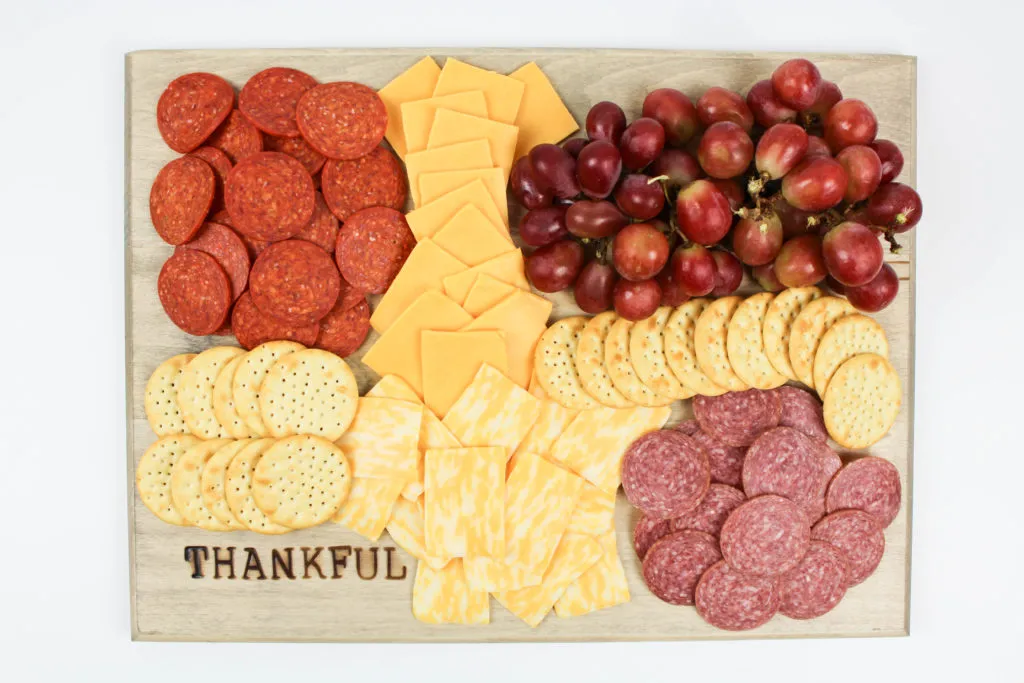
Create a Unique Wood Burned Serving Board: A Beginner’s Guide

Have you ever admired the rustic charm of a wood burned design and wished you could create your own? Well, guess what? You don’t need to be a seasoned artisan to craft stunning, personalized pieces! Today, I’m excited to share a beginner-friendly DIY project that will have you burning beautiful designs onto wood in no time: a unique wood burned serving board.
Gathering Your Supplies
Before we embark on this exciting journey, let’s gather the essential tools and materials to bring our vision to life. Here’s what you’ll need:
- Wood Burning Tool: The star of our show! I recommend opting for a kit like [this one](link to a reputable wood burning tool kit) as it often includes various tips for different effects.
- Alphabet Branding Set: To effortlessly etch letters and words onto your board.
- Wood Board or Tray: Choose a size and shape that speaks to you!
- Wood Stain: Opt for a food-safe stain to ensure your serving board is safe for its intended purpose.
- Varathane Sealer: Another layer of protection and a beautiful finish for your creation.
- Safety Gear: Safety first! Protect yourself with heat-resistant gloves and work in a well-ventilated area.
Step-by-Step Guide: From Plain Wood to Personalized Masterpiece
Now, let’s dive into the step-by-step process of creating your very own DIY wood burned serving board:
Step 1: Preparing Your Design
Before we fire up our wood burning tool, let’s take a moment to plan our design. Sketch your desired lettering or pattern directly onto the wood board using a light pencil. Remember, this is your chance to personalize your creation!
Step 2: The Art of Wood Burning
-
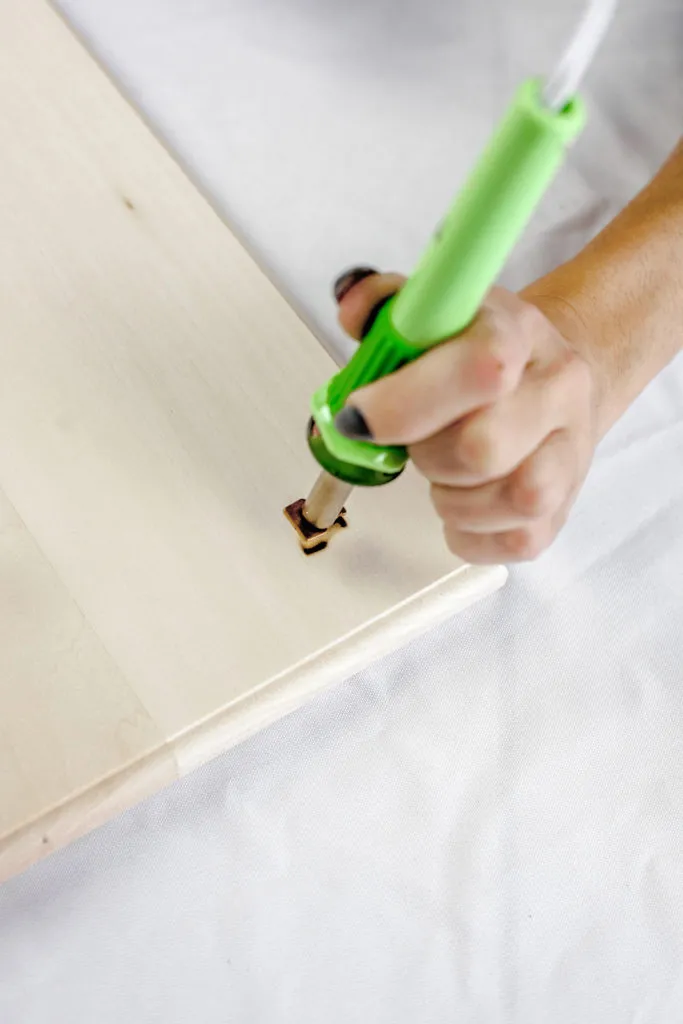
Heating the Tool: Carefully insert your chosen letter tip into the wood burning tool and plug it in. Allow the tip to heat up thoroughly. Remember, patience is key in this step, as rushing can lead to uneven burning.
-
Burning the Design: Once the tool is hot, gently apply the letter to the wood board, pressing straight down with even pressure for about 5-10 seconds. You can adjust the pressure and duration to achieve your desired burn depth.
-
Repeating for Each Letter: Continue this process, patiently working your way through each letter of your design. Remember to allow the tool to cool between uses or use a heat-resistant glove to switch out the letters.
 DIY Wood Burned Serving Board
Caption: Gently press the heated letter tip onto the wood board.
Step 3: Enhancing the Beauty with Stain
-
Applying the Stain: With your design beautifully burned onto the wood, it’s time to add a touch of color and richness. Working in a well-ventilated area, apply your chosen wood stain according to the manufacturer’s instructions.
-
Allowing to Dry: Patience is a virtue, my friends! Allow the stain to dry completely before moving on to the next step.
 DIY Wood Burned Serving Board
Caption: Applying a food-safe stain enhances the wood’s natural beauty.
Step 4: Sealing for Protection and Shine
-
Applying the Sealer: A sealant not only protects your design but also adds a beautiful, finished look to your serving board. Apply the Varathane sealer evenly, following the product’s instructions.
-
Curing Time: Allow the sealer ample time to cure completely. This typically takes a few days to a week, depending on the product.
 DIY Wood Burned Serving Board
Caption: Applying a sealant adds durability and a polished finish.
Tips and Tricks from Robert Kline Art
As a seasoned craftsman, I’ve picked up a few tips and tricks along the way:
-
Practice Makes Perfect: Don’t be afraid to experiment on scrap wood before tackling your final design. This will help you get a feel for the wood burning tool and achieve your desired burn depth.
-
Food Safety First: Always prioritize food safety! Opt for food-safe stains and sealants, and follow the manufacturer’s instructions for drying and curing times.
-
Get Creative with Designs: Don’t limit yourself to letters! Explore different tips and experiment with patterns, illustrations, or even your own freehand designs.
 DIY Wood Burned Serving Board
Caption: Experiment with different wood burning tips for unique effects.
Conclusion: Unleash Your Inner Artist with Robert Kline Art
Congratulations! You’ve just crafted a beautiful and unique wood burned serving board with your own two hands. It’s a testament to your creativity and a beautiful, personalized piece to adorn your kitchen or gift to someone special.
Remember, this is just the beginning of your wood burning journey! Visit Robert Kline Art for more inspiring ideas, tips, and high-quality art supplies to fuel your creative passions. Now, go forth and create something extraordinary!
