Blog
Unlock Your Creativity with an Ice Dye Kit: DIY Tie Dye Made Easy

Hey there, fellow art enthusiasts! Robert Kline here, and let me tell you, there’s a special kind of magic in transforming ordinary fabric into vibrant, one-of-a-kind pieces. That’s the beauty of ice dyeing – a technique that’s as captivating to watch as it is satisfying to master.
Whether you’re a seasoned DIY enthusiast or just starting your crafting journey, an ice dye kit opens a world of creative possibilities. In this guide, we’ll delve into the world of ice dyeing, exploring its ins and outs, sharing expert tips, and guiding you on how to create stunning, colorful masterpieces using a convenient ice tie dye kit.
What Exactly is Ice Dyeing?
Simply put, ice dyeing is a tie dye technique that uses ice and fiber reactive dye powders to create mesmerizing patterns on fabric. Unlike traditional tie dye, which utilizes liquid dyes, ice dyeing relies on the slow melting of ice to gradually pull the dye powders through the fabric. This process leads to stunning color splits and organic patterns that are unique to each creation.
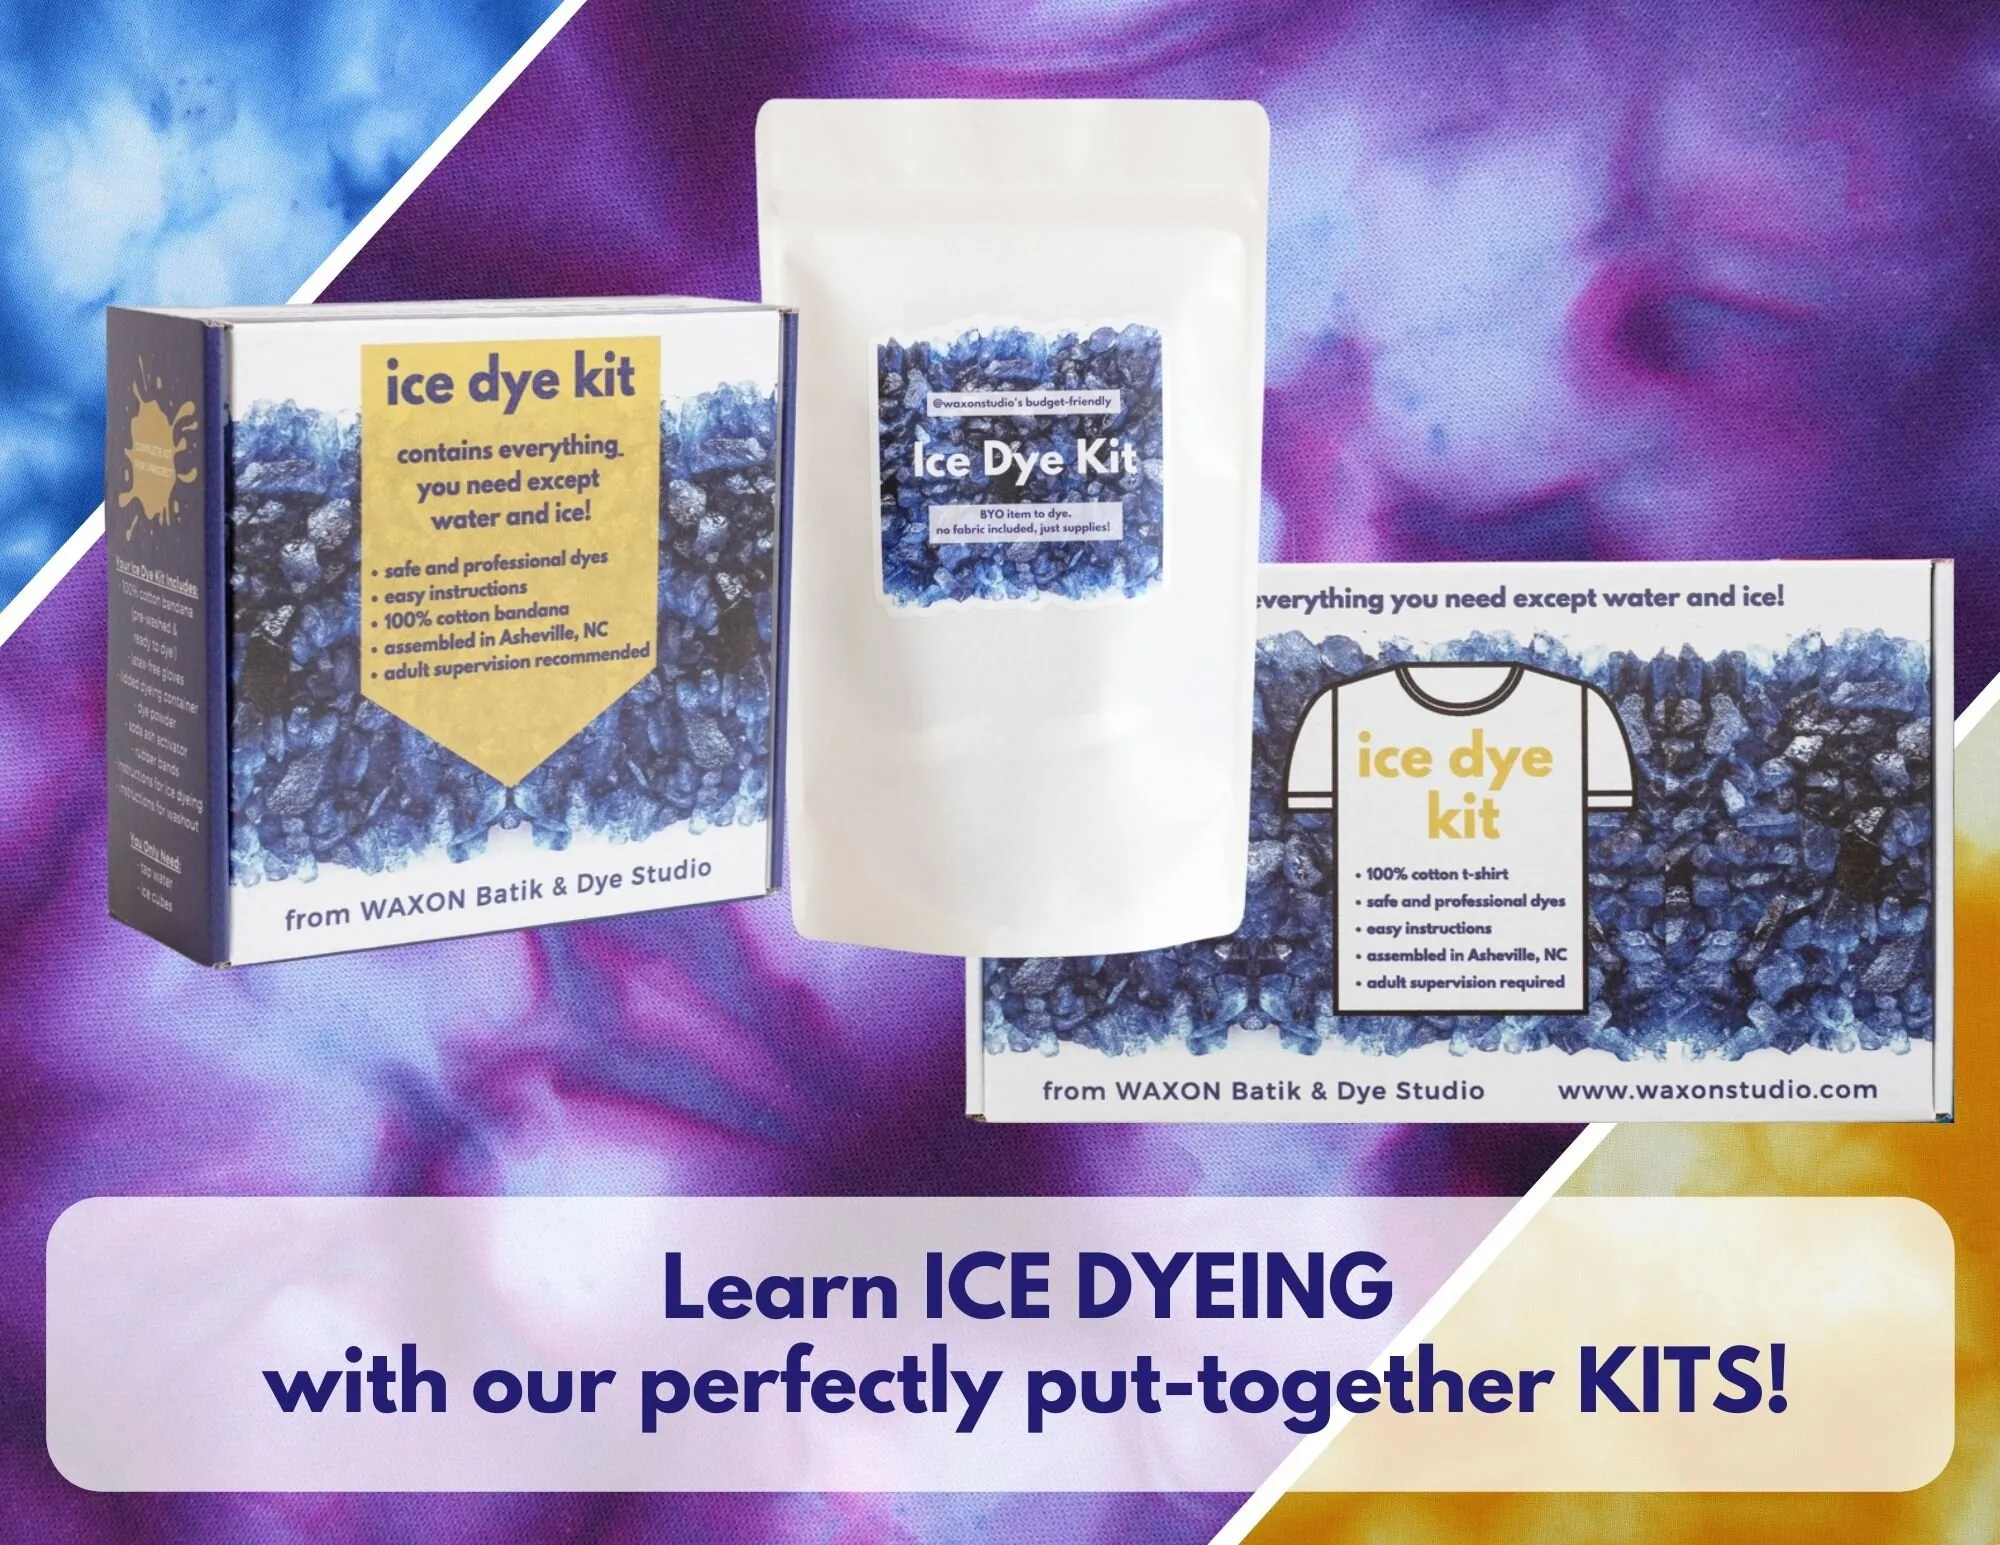
 ice dye kit blog post pic.jpg
An ice dye kit provides all the essentials to create stunning tie dye effects.
Ice Dyeing vs. Traditional Tie Dye
While both techniques fall under the umbrella of tie dye, they differ in their application and results. In traditional tie dye, liquid dye is applied directly to the fabric, resulting in more defined and controlled patterns.
Ice dyeing, on the other hand, embraces a bit more spontaneity. The melting ice creates unpredictable, organic patterns, making each piece truly unique. It’s like painting with ice, where you guide the process but embrace the element of surprise.
What Can You Create With an Ice Dye Kit?
The possibilities are as limitless as your imagination! Here are a few ideas to spark your creativity:
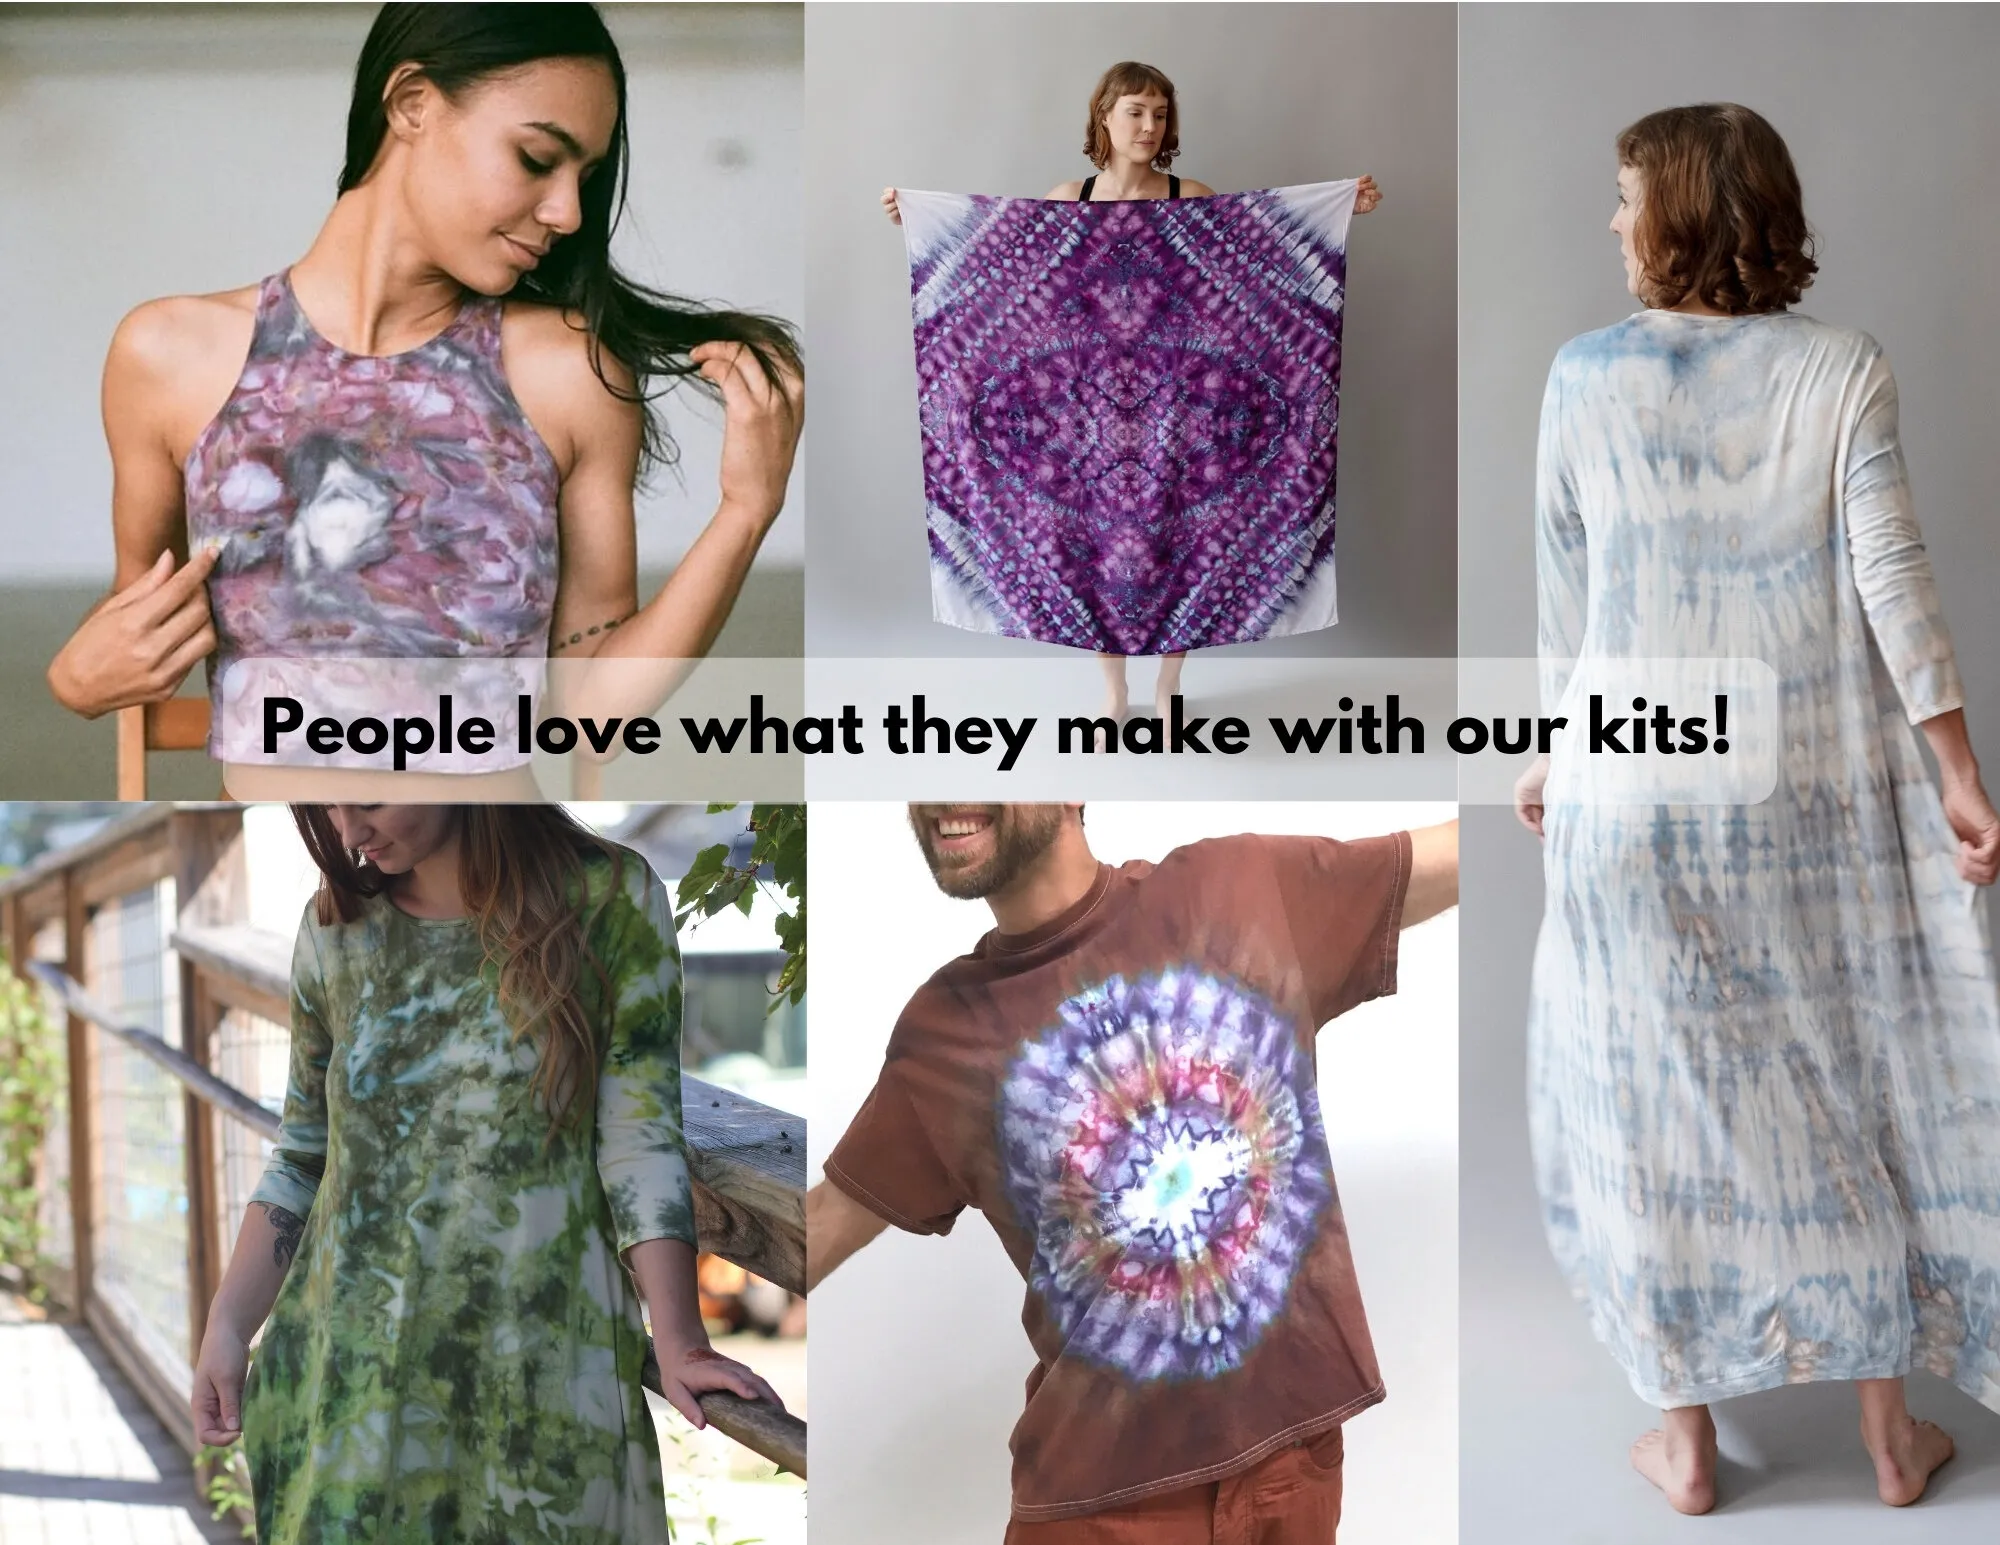
1. The Classic Tee Gets a Colorful Twist: Breathe new life into an old white cotton t-shirt with a vibrant ice dye makeover. It’s amazing how a simple technique can transform a wardrobe staple into a statement piece.
 Ice tie dye outfit
An ice dyed t-shirt is a unique and stylish addition to any wardrobe.
2. Funky Socks, Anyone? Turn ordinary socks into wearable art with ice dyeing. Bamboo socks, in particular, take beautifully to the dye, resulting in vibrant and comfortable creations.
Ice dyed socks make for fun and personalized gifts.
3. From Yardage to Wearable Masterpieces: Calling all sewists and quilters! Why settle for pre-printed fabrics when you can create your own unique textiles? Ice dyeing works wonders on natural fiber yardage, allowing you to design one-of-a-kind fabrics for your sewing projects.
 ice dyed fabric for sewing
Transform plain fabric into works of art with ice dyeing.
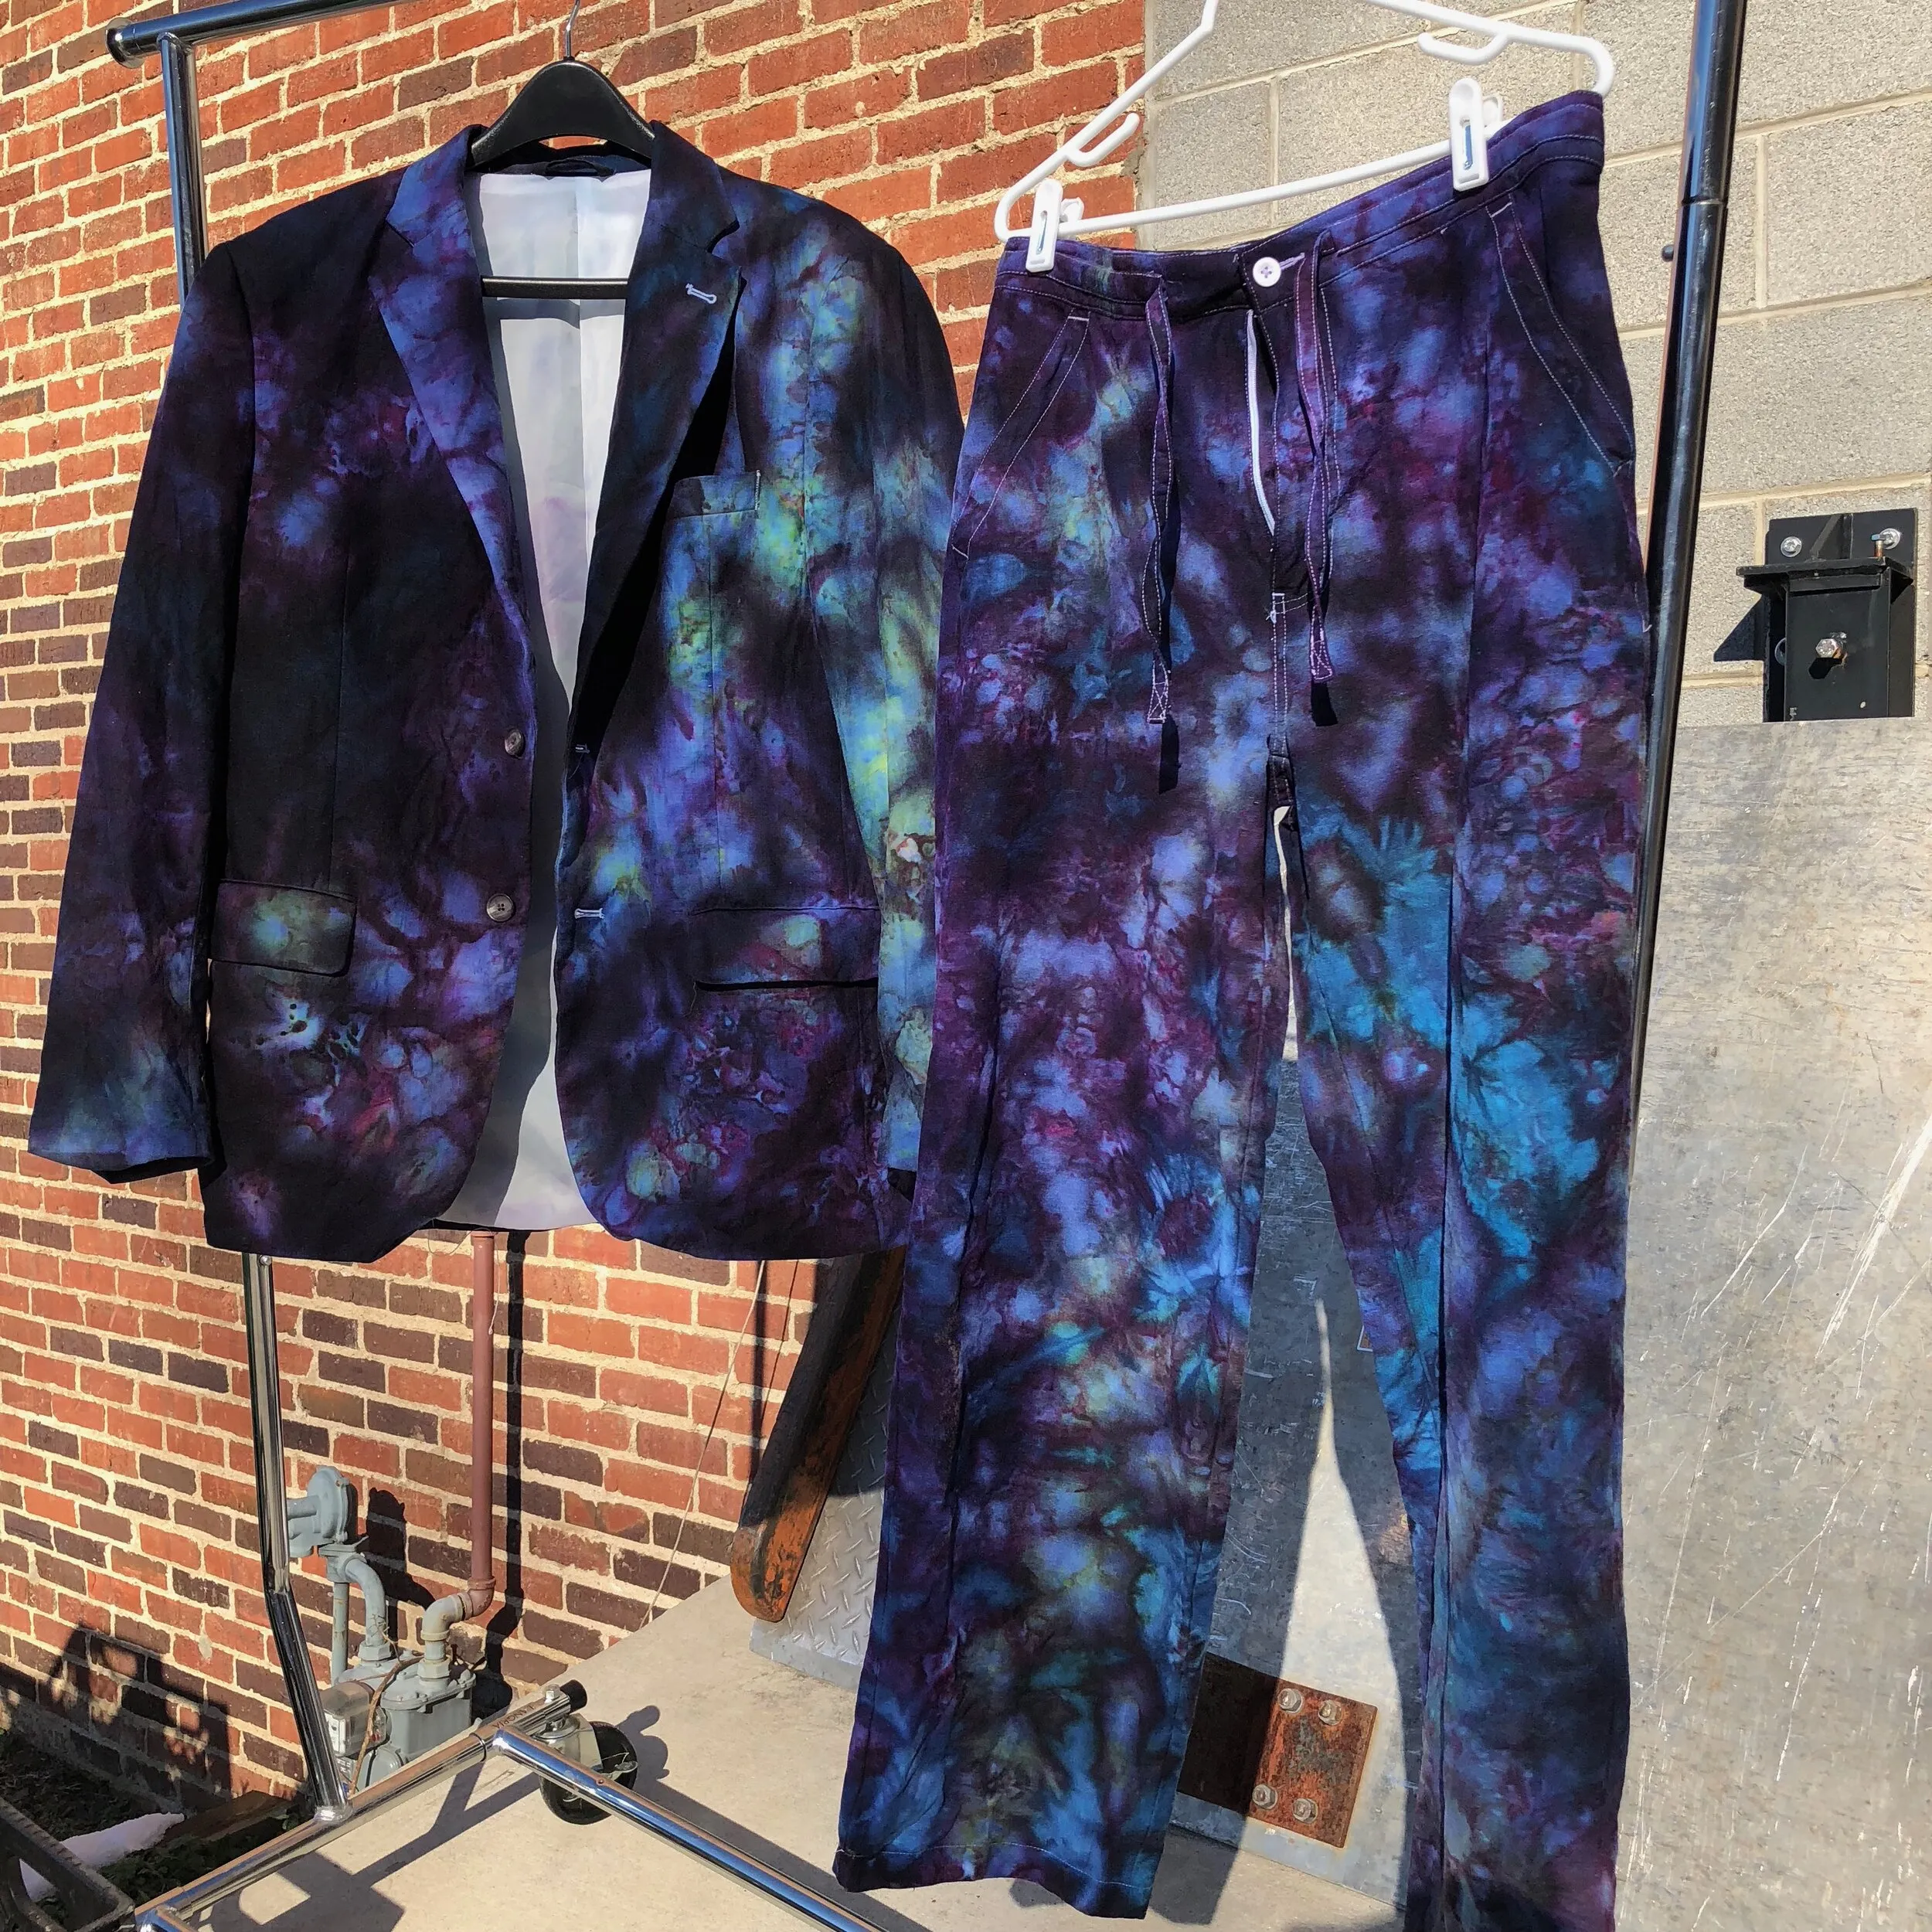
4. Upcycled Treasures: Give new life to thrift store finds with ice dyeing. That faded linen shirt or forgotten cotton dress can be transformed into a statement piece with a touch of color and creativity.
 ice tie dye wedding suit
Even formal wear gets a modern update with ice dyeing.
Getting Started With Your Ice Dye Kit: A Step-by-Step Guide
Ready to dive into the world of ice dyeing? Here’s a general overview of the process, but remember to always follow the specific instructions provided in your chosen kit.
1. Prep Your Fabric: Start with clean, damp fabric. This allows the dye to absorb evenly and helps create those stunning color blends.
2. Choose Your Pattern: Experiment with different folding, twisting, and tying techniques to create unique patterns. Many ice dye kits include helpful pattern guides to get you started.

Folding and tying techniques create unique patterns in ice dyeing.
3. Ice It Up: Place your prepped fabric into a container or on a rack. Then, cover it evenly with ice.
4. Sprinkle the Magic: Sprinkle the dye powders over the ice. As the ice melts, it will draw the dye down through the fabric, creating those signature ice dye patterns.
5. Patience is Key: Allow the dye to cure for at least 24 hours. This gives the colors ample time to set and ensures vibrant, long-lasting results.
6. Rinse and Reveal: After curing, rinse the fabric thoroughly until the water runs clear. Then, wash it with a mild detergent and admire your colorful creation!
Robert Kline Art: Your Guide to Creative Exploration
Remember, the beauty of ice dyeing, and crafting in general, lies in experimentation and embracing your unique style. Don’t be afraid to play with different colors, patterns, and techniques.
I encourage you to explore the world of ice dyeing with confidence! If you’re looking for a fun and easy way to add a splash of color to your life, pick up an ice dye kit and let your creativity soar.
Have you tried ice dyeing? Share your experiences and creations in the comments below. And don’t forget to check out the Robert Kline Art website for more crafting inspiration and unique, handmade gifts!

