Blog
The Art of Homemade Fruit Leather: A Sweet and Healthy Treat

Hey there, fellow art enthusiasts! Robert Kline here, and today we’re diving into the colorful world of homemade fruit leather. This isn’t your average art project, though it certainly results in a masterpiece! We’re talking about crafting delicious, healthy snacks from scratch, transforming fresh fruit into chewy, flavorful rolls that are as satisfying to make as they are to eat.
Why You Should Try Making Fruit Leather
Let me tell you, the moment I realized I could ditch the store-bought stuff laden with added sugar and artificial ingredients for homemade fruit leather, it was a revelation! It’s incredibly easy to make, and the result is a snack you can feel good about sharing with loved ones.
This isn’t just about healthy eating; it’s about exploring your creative side with food. Imagine the vibrant colors and unique flavor combinations you can create! The possibilities are endless, just like an artist’s palette.
Gathering Your Artistic Tools and Ingredients
Before we embark on this culinary adventure, let’s gather our supplies. You won’t need a fancy art studio, I promise! Most of these items are likely already in your kitchen.
- A High-Powered Blender: This is your trusty sidekick for transforming fruit into a smooth puree.
- Baking Sheet: Your canvas for this edible masterpiece.
- Parchment Paper or Silicone Baking Mat: These will prevent your fruit leather from sticking and ensure a smooth finish.
- A Sharp Knife or Pizza Cutter: For slicing your fruit leather into beautiful, shareable strips.
Now for the stars of the show – the ingredients! You only need two key players:
- Fruit: One pound of your favorite fruit is all you need. Strawberries, mangoes, blueberries, peaches – the choice is yours! This is your chance to experiment with different flavors and create your signature fruit leather.
- Lemon Juice: A teaspoon of this magic potion helps preserve the vibrant color of your fruit leather and adds a touch of brightness to the flavor.
Crafting Your Fruit Leather Masterpiece: A Step-by-Step Guide
-
The Puree: Toss your chosen fruit into your blender and blitz until it transforms into a silky smooth puree. Add the lemon juice and give it a final whirl.
-
Prepping the Canvas: Preheat your oven to its lowest setting and line your baking sheet with parchment paper or a silicone baking mat. This step is crucial to prevent sticking.
-
Creating Your Masterpiece: Pour the fruit puree onto the prepared baking sheet, spreading it evenly with the back of a spoon or an offset spatula. Aim for a thin, consistent layer for even drying.
-
The Drying Process: This is where patience comes into play. Place the baking sheet in the preheated oven and allow the fruit leather to dry for 3-4 hours. The key is low and slow heat to dehydrate the fruit without burning it. You’ll know it’s ready when the center is no longer sticky to the touch.
-
Cooling and Cutting: Once your fruit leather is completely dry, remove it from the oven and let it cool entirely. This will allow it to firm up and makes it easier to handle. When cool, use a sharp knife or pizza cutter to slice it into strips.
-
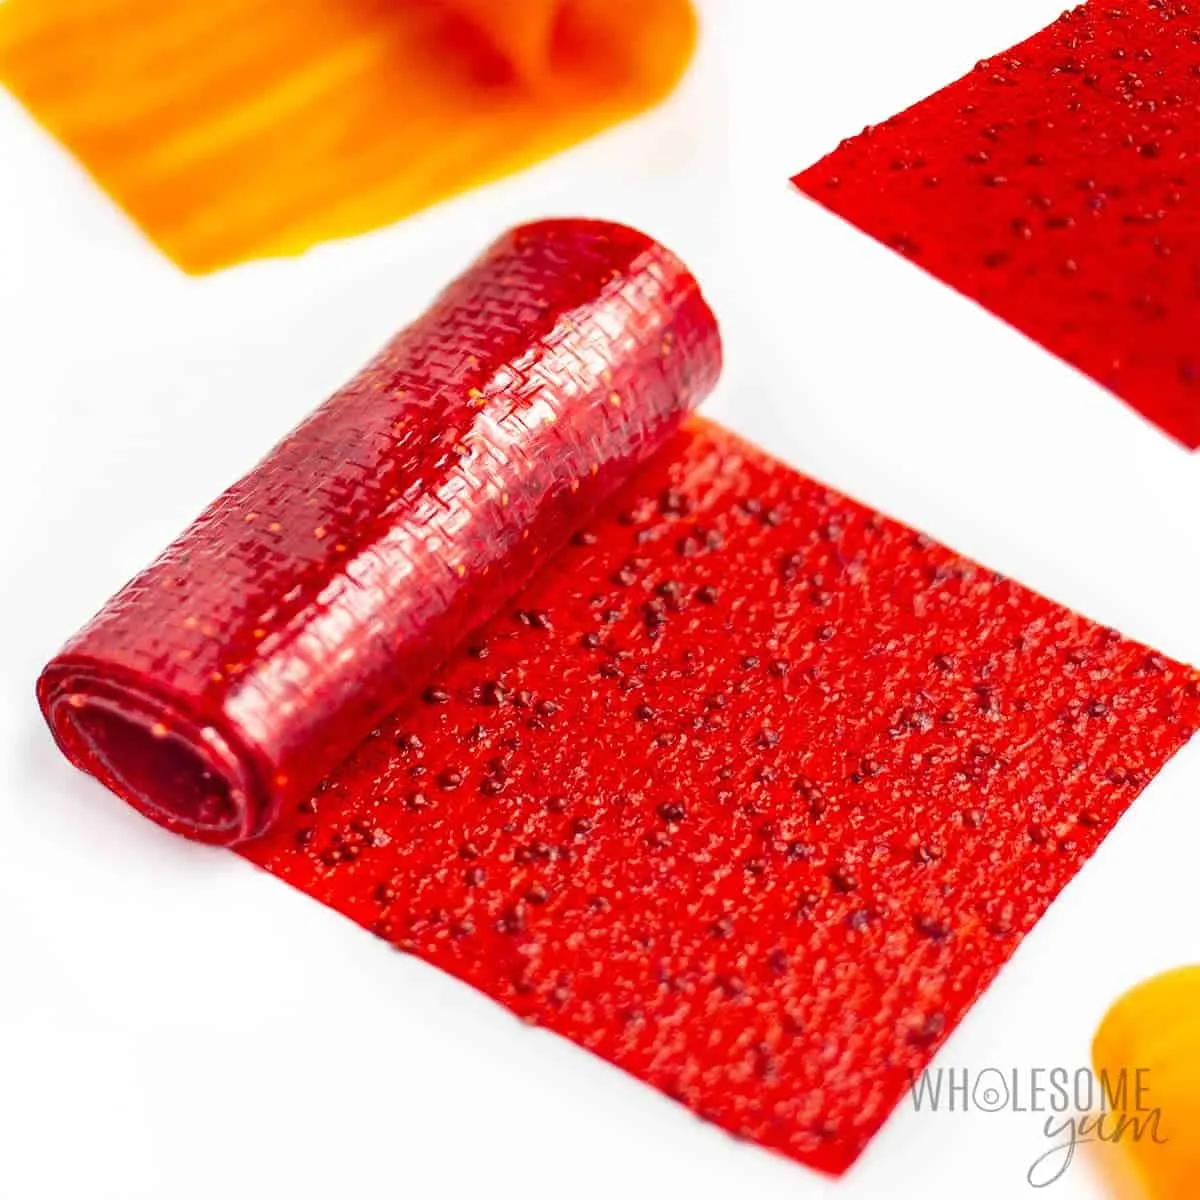
Rolling and Storing: Now comes the fun part – rolling your fruit leather! Carefully roll each strip, parchment paper included, to prevent sticking. Store your creations in an airtight container at room temperature for up to a week or in the freezer for longer storage.
Tips from Robert Kline: Elevating Your Fruit Leather Game
- Texture is Key: If you prefer a smoother texture, strain out seeds from berries or other fruits before pureeing.
- Sweetness Control: While the natural sweetness of the fruit is usually enough, you can add a touch of honey or maple syrup if you prefer a sweeter treat.
- Spice it Up: Don’t be afraid to experiment with flavors! Add a pinch of cinnamon, nutmeg, or even a dash of ginger to your puree for an extra dimension of flavor.
- Get Creative with Shapes: Use cookie cutters to create fun shapes for a playful twist. Kids will love these!
Making homemade fruit leather is an enriching experience that blends creativity and healthy snacking. It’s about enjoying the process, experimenting with flavors, and sharing the delicious results with the people you care about.
So, go ahead, unleash your inner artist, and turn that fruit basket into a collection of edible masterpieces. And remember, the most important ingredient is to have fun!
Don’t forget to share your fruit leather creations with me! You can leave a comment below or tag “Robert Kline Art” on social media. I’d love to see what you come up with.
Happy creating!
 Homemade fruit leather recipe partially unrolled.
