Build Your Own DIY Floating Desk: A Step-by-Step Guide
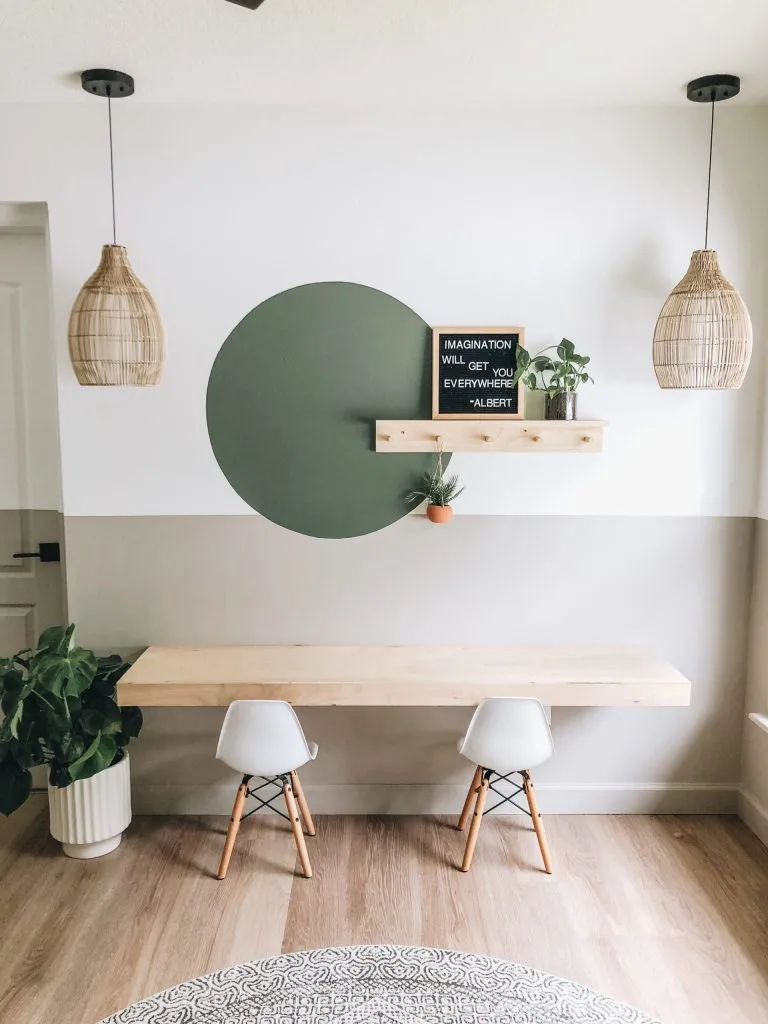
Are you tired of bulky desks taking over your space? Do you crave a sleek, modern touch for your home office or craft room? Look no further than a DIY floating desk! Not only does it add a touch of elegance, but it also maximizes floor space and provides a practical workspace. And the best part? You can build it yourself without breaking the bank.
In this comprehensive guide, we’ll walk you through the process of crafting a simple yet stylish floating desk, perfect for any skill level. Get ready to unleash your inner DIY enthusiast and create a statement piece for your home!
Planning Your Project
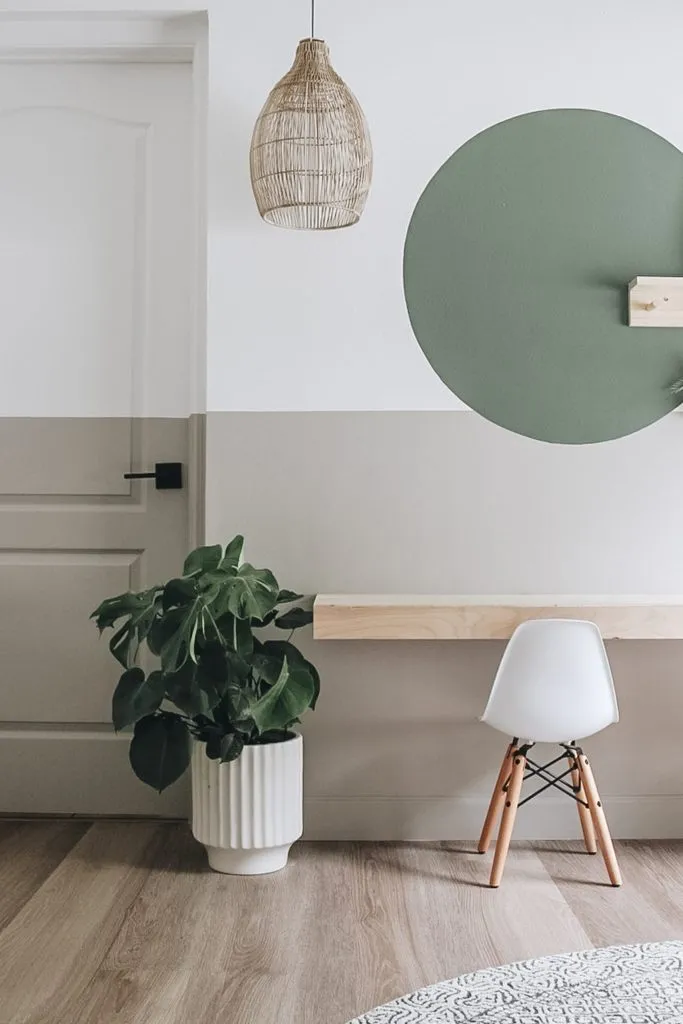
 "Modern, minimalist floating desk in a playroom." class=
Before diving into the construction, let’s gather our thoughts (and materials!). Just like a true artist approaches a blank canvas, we need a plan.
Measurements and Placement
- Decide on the dimensions: Consider the available wall space and the intended use of your desk. How wide and deep do you need it to be to accommodate your work style? Remember, this desk is all about maximizing space while catering to your needs.
- Choose the perfect height: Ergonomics are key for a comfortable workspace. “A desk height that allows your elbows to rest at a 90-degree angle while typing is ideal for most people,” advises John Davis, a certified ergonomist. This usually falls between 28-30 inches, but adjust based on your height and chair.
- Locate those studs: Using a stud finder is crucial for securely mounting the desk to the wall. This ensures stability and prevents any unfortunate accidents.
Materials You’ll Need
- For the frame:
- 2×3 lumber (calculate the length based on your desired desk dimensions)
- Wood glue
- 2-inch wood screws
- 3-inch wood screws
- For the desk surface:
- 1/4-inch birch plywood (or your preferred material)
- Tools of the trade:
- Miter saw (or circular saw, jigsaw, or table saw)
- Drill
- Stud finder
- Clamps
- Level
- Measuring tape
- Pencil
Building the Floating Desk Frame
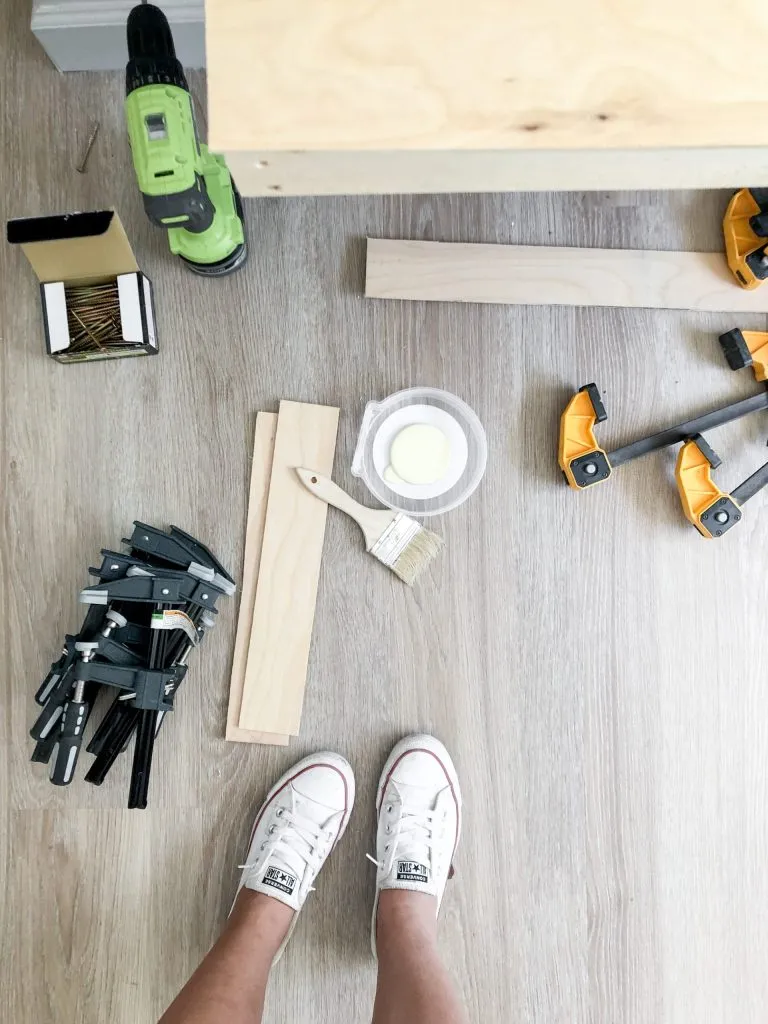
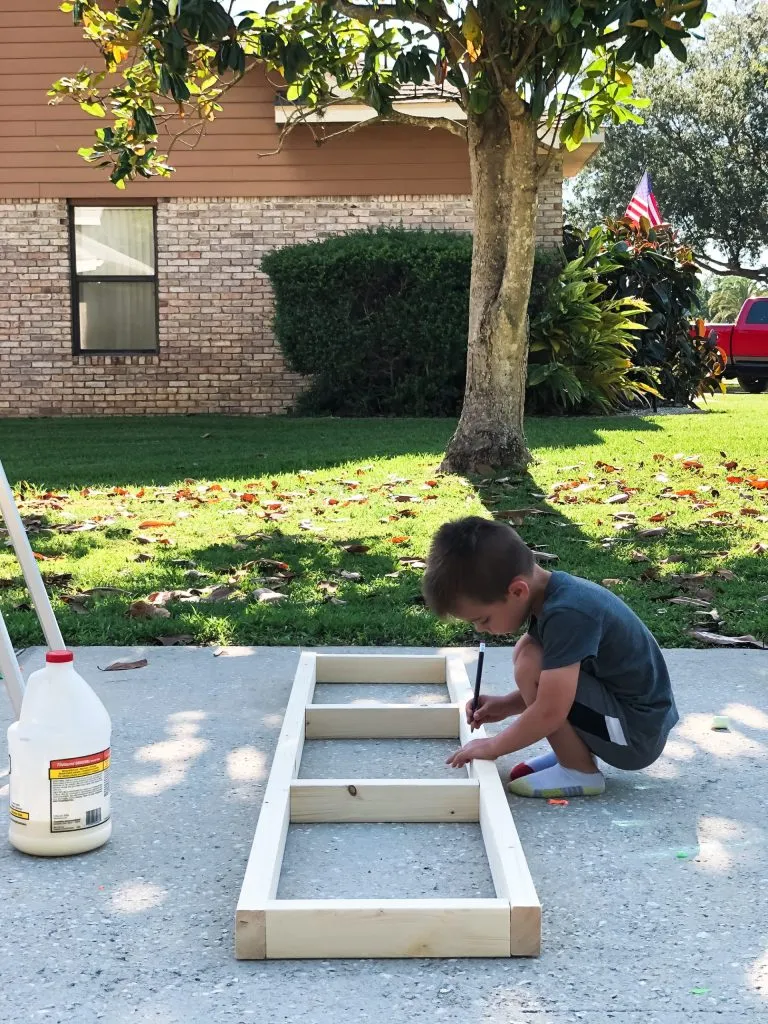
 "Building the wooden frame for the floating desk." class=
The frame is the backbone of our floating desk, providing support and structure.
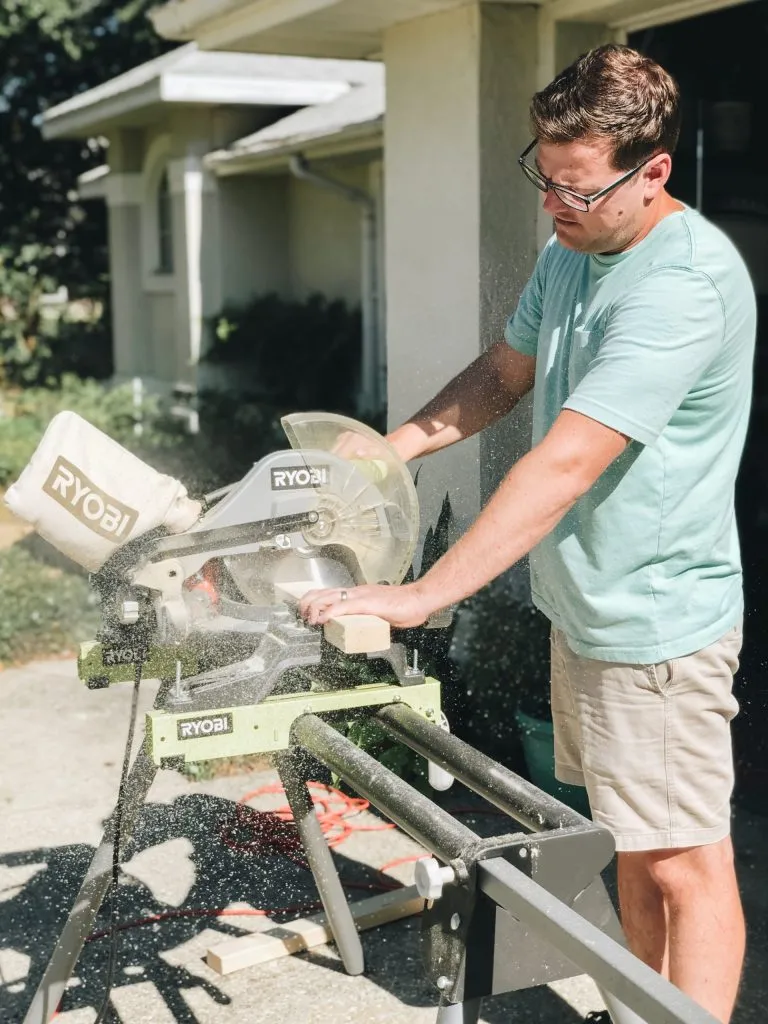
- Cut the back piece: Using your miter saw (or preferred saw), cut a 2×3 to your desired desk width. This piece will be mounted directly onto the wall.
- Create the side and support pieces: Measure and cut additional 2×3 pieces to your desired desk depth, minus the thickness of the front and back 2×3 pieces. These will form the sides and interior support of your frame.
- Assemble the frame: Apply wood glue to the ends of the shorter support pieces and attach them to the back piece. Secure them further by drilling pilot holes and screwing in 2-inch wood screws from the backside of the back piece. Repeat this process to attach the front piece, creating a rectangular frame.
Mounting the Frame Securely
 "Attaching the floating desk frame to the wall." class=
With our sturdy frame ready, it’s time to mount it to the wall. Remember those studs we located earlier? Here’s where they come into play.
- Mark the desired height: Use a level to mark a straight line on the wall at your chosen desk height.
- Align and secure the frame: Enlist a helping hand to hold the frame flush against the wall, aligning the top edge with your marked line. Double-check that it’s level, then drill pilot holes through the back piece of the frame and into the wall studs. Finally, drive 3-inch wood screws to firmly secure the frame to the wall.
Attaching the Desk Surface
 "Covering the floating desk frame with a plywood top." class=
Now for the finishing touch – the desk surface. We’ll be using 1/4-inch birch plywood for a clean and modern look.
- Cut the plywood pieces:
- Top: Measure the frame’s top surface and add the plywood thickness to the width and depth measurements.
- Front: Measure the frame’s front face and add the plywood thickness to the width and bottom measurements.
- Sides: Measure the frame’s sides and add the plywood thickness to the bottom measurement only.
- Attach the top: Apply wood glue to the top edges of the frame. Carefully position the plywood top, ensuring it’s flush with the wall and centered on the frame. Use clamps to apply even pressure while the glue dries. For added security, you can pre-drill pilot holes and use screws to attach the top.
- Attach the front and sides: Repeat the process, using wood glue and clamps, to attach the front and side plywood pieces, hiding the frame for a seamless look.
- Consider a removable bottom: If you anticipate needing to adjust the desk height in the future (for a growing child, for example), consider attaching the bottom plywood piece using only screws, omitting the wood glue. This allows for easier future adjustments.
Final Touches and Finishing
 "Completed DIY floating desk with storage bins underneath." class=
Your DIY floating desk is almost complete! Here’s how to add those final touches:
- Sanding (optional): For a perfectly smooth finish, lightly sand any rough edges.
- Sealing and protecting: Apply a few coats of your preferred sealant, such as polyurethane or polycrylic. This protects the wood and adds a touch of sheen.
Congratulations! You’ve successfully built your own stylish and functional floating desk!
Personalize Your Space
Now comes the fun part: making it your own!
- Accessorize: Add a pop of color with a desk lamp, organize your essentials with stylish storage boxes, or bring in some greenery with a small plant.
- Embrace the floating effect: Consider adding under-desk storage solutions, such as floating shelves or drawers, to further maximize your space.
We at Robert Kline Art encourage you to share photos of your creations! Leave a comment below and let us know how your DIY floating desk turned out. Happy crafting!
