Craft Your Own Delicious Fruit Vinegar at Home

Here at Robert Kline Art, we love exploring the intersections of creativity and everyday life. Today, we’re diving into the fascinating world of fermentation with a simple yet rewarding project: making your own fruit vinegar!
This isn’t just about reducing food waste (although that’s a fantastic bonus!), it’s about crafting a unique, flavorful vinegar with just two ingredients: fruit and water. Imagine the satisfaction of replacing store-bought vinegar with your own homemade apple cider vinegar, vibrant berry vinegar, and so much more. Let’s get started!
Unlocking the Magic of Fruit Vinegar
The beauty of this process lies in its simplicity. By harnessing the power of lacto-fermentation, we can transform fruit scraps and overripe treasures into liquid gold. For those new to the world of fermentation, I highly recommend checking out “Wild Fermentation” by Sandor Katz. It’s a treasure trove of knowledge!
From Scraps to Vinegar: Choosing Your Fruit
Here’s the exciting part: almost any fruit can be used! Think apple peels and cores, strawberry tops, cherry pits (capturing that delicious juice!), bruised berries, citrus peels, and even dried fruits. As long as it’s not moldy, you’re good to go!
For an extra layer of flavor, experiment with fresh herbs like mint or basil, especially delightful in a strawberry vinegar.
Essential Equipment: Keeping it Simple
The beauty of this project is its minimal equipment needs. A clean glass jar is your primary tool! A 2-quart jar is a good starting point, but feel free to adjust based on your needs.
While a paper towel and rubber band will suffice for covering, I recommend investing in a few airlock fermenting lids. These handy lids fit standard wide-mouth jars, keeping those pesky fruit flies at bay during warmer months.
Can’t use all your scraps right away? No problem! Freeze them until you’re ready to start your vinegar batch.
Crafting Your Fruit Vinegar: A Step-by-Step Guide
The First Ferment: Infusing Flavor
- Fill your jar: Add your chosen fruit (and herbs, if using) until it’s ¾ full. Avoid overfilling to prevent overflow during fermentation.
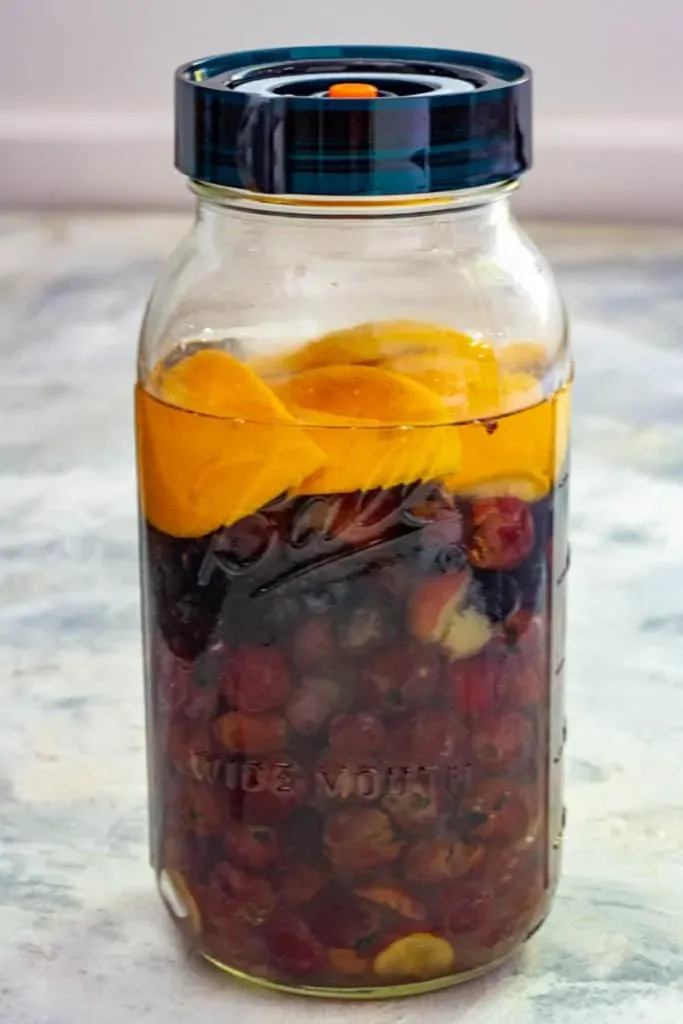
 Fill a Jar ¾ Full with Scraps and Herbs.
Fill your jar ¾ full with fruit scraps to make delicious fruit vinegar - Weighing it down: If your fruit floats, consider adding a weight to keep it submerged. Citrus peels work well, or you can use dedicated fermenting weights.
- Add water: Pour unchlorinated water over the fruit, leaving a couple of inches of space at the top.
 Cover Scraps with Water.
Cover the fruit with water, leaving space at the top - Cover and wait: Secure your airlock lid or a paper towel with a rubber band. Remember, avoid airtight seals – your vinegar needs to breathe!
- Patience is key: Place the jar away from direct sunlight for 1-2 weeks. As it ferments, the water will turn cloudy and then clear again, signaling the end of the first ferment.
 Cover Scraps with Water.
Cloudy water is normal during the fermenting process
The Second Ferment: Developing the Vinegar
- Straining: After the first ferment, strain the fruit using a mesh sieve. Compost or discard the solids.
- Back to the jar: Clean your jar and pour the strained liquid back in.
- Second ferment begins: Cover the jar as before and let it ferment for another 2 weeks, or even longer for a more intense vinegar.
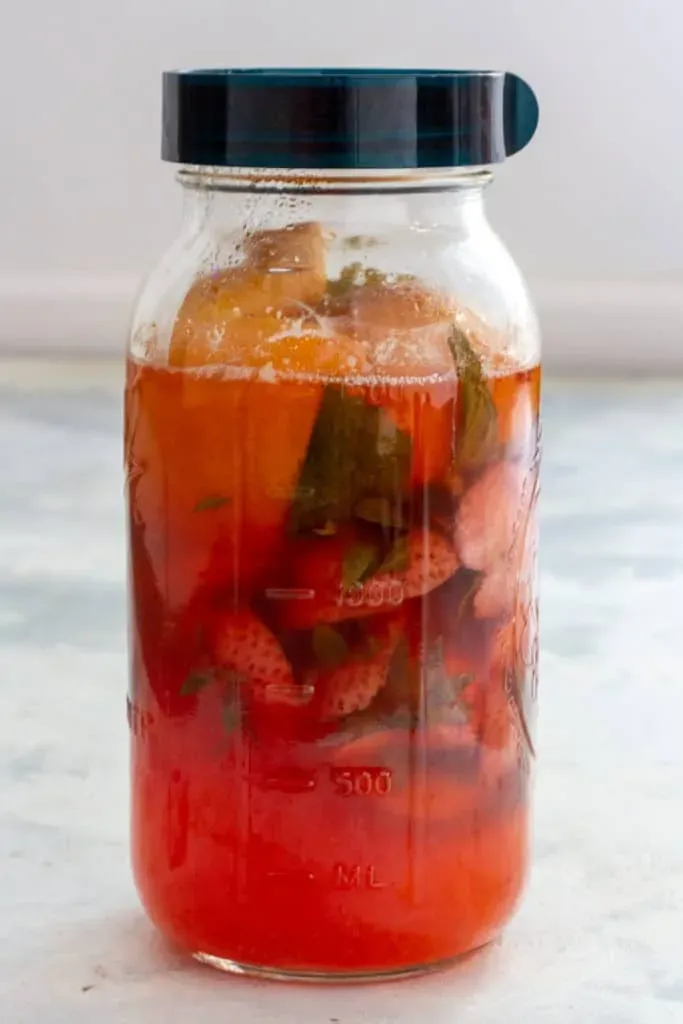
 Strawberry Vinegar at the End of the Second Ferment.
The vinegar will develop a stronger flavor with a longer second ferment
Storing Your Liquid Treasure
Once you’re happy with the flavor, store your vinegar in glass bottles. I love using decorative apothecary bottles or swing-top bottles. Remember to avoid metal lids, as vinegar can cause rust.
Troubleshooting Tips: Ensuring Success
- Temperature matters: Ideal fermentation temperature is between 55-75°F. Adjust your jar’s location as needed.
- Mold growth: Keep the fruit submerged and ensure good airflow to prevent mold. If you see mold, discard the batch.
Unveiling the Versatility of Fruit Vinegar
From salad dressings and marinades to refreshing shrubs and even garden fertilizer, the uses for your homemade fruit vinegar are endless!
“Fruit vinegar adds a unique depth of flavor to recipes,” says renowned chef, Emily Carter. “It’s a testament to transforming simple ingredients into something extraordinary.”
So, are you ready to embark on your vinegar-making journey? Share your creations and experiences in the comments below! And for more unique, handmade gifts and inspiration, be sure to explore the world of Robert Kline Art.
