Blog
How to Make Delicious and Healthy Homemade Fruit Leather

Hey there, fellow art and craft enthusiasts! Today, we’re venturing into the kitchen to create a tasty and healthy treat that’s perfect for satisfying your sweet tooth: homemade fruit leather. This fun and easy recipe is a great way to use up extra fruit while exploring your creative side.
As an artist who loves working with my hands, I find immense satisfaction in crafting something delicious and visually appealing from scratch. Making fruit leather combines the joy of creation with the goodness of natural ingredients. Plus, it’s a fantastic activity to do with kids, allowing them to express their creativity while learning about healthy snacking.
What Makes Homemade Fruit Leather So Special?
Unlike store-bought fruit roll-ups, which often contain added sugars, preservatives, and artificial ingredients, this homemade fruit leather recipe lets you control the ingredients, ensuring a healthier and more natural snack.
The beauty of this recipe lies in its simplicity. With just a handful of ingredients and some patience, you’ll have a batch of chewy, flavorful fruit leather that puts store-bought versions to shame.
Gathering Your Supplies
Before we begin our creative culinary journey, let’s gather the tools and ingredients we’ll need:
- Ripe Fruit: Choose your favorite fruits! Strawberries, mangoes, blueberries, peaches—the possibilities are endless. I love using strawberries for their vibrant color and naturally sweet taste.
- Lemon Juice: A touch of lemon juice brightens the flavor and helps preserve the fruit’s color.
- Blender: A high-powered blender will ensure a smooth, consistent puree.
- Baking Sheet: A standard-sized baking sheet will be your canvas for this recipe.
- Parchment Paper or Silicone Mat: Line your baking sheet with parchment paper or a silicone mat to prevent sticking.
- Patience: Allow ample time for the fruit leather to dehydrate in the oven, as this step is crucial for achieving the perfect chewy texture.
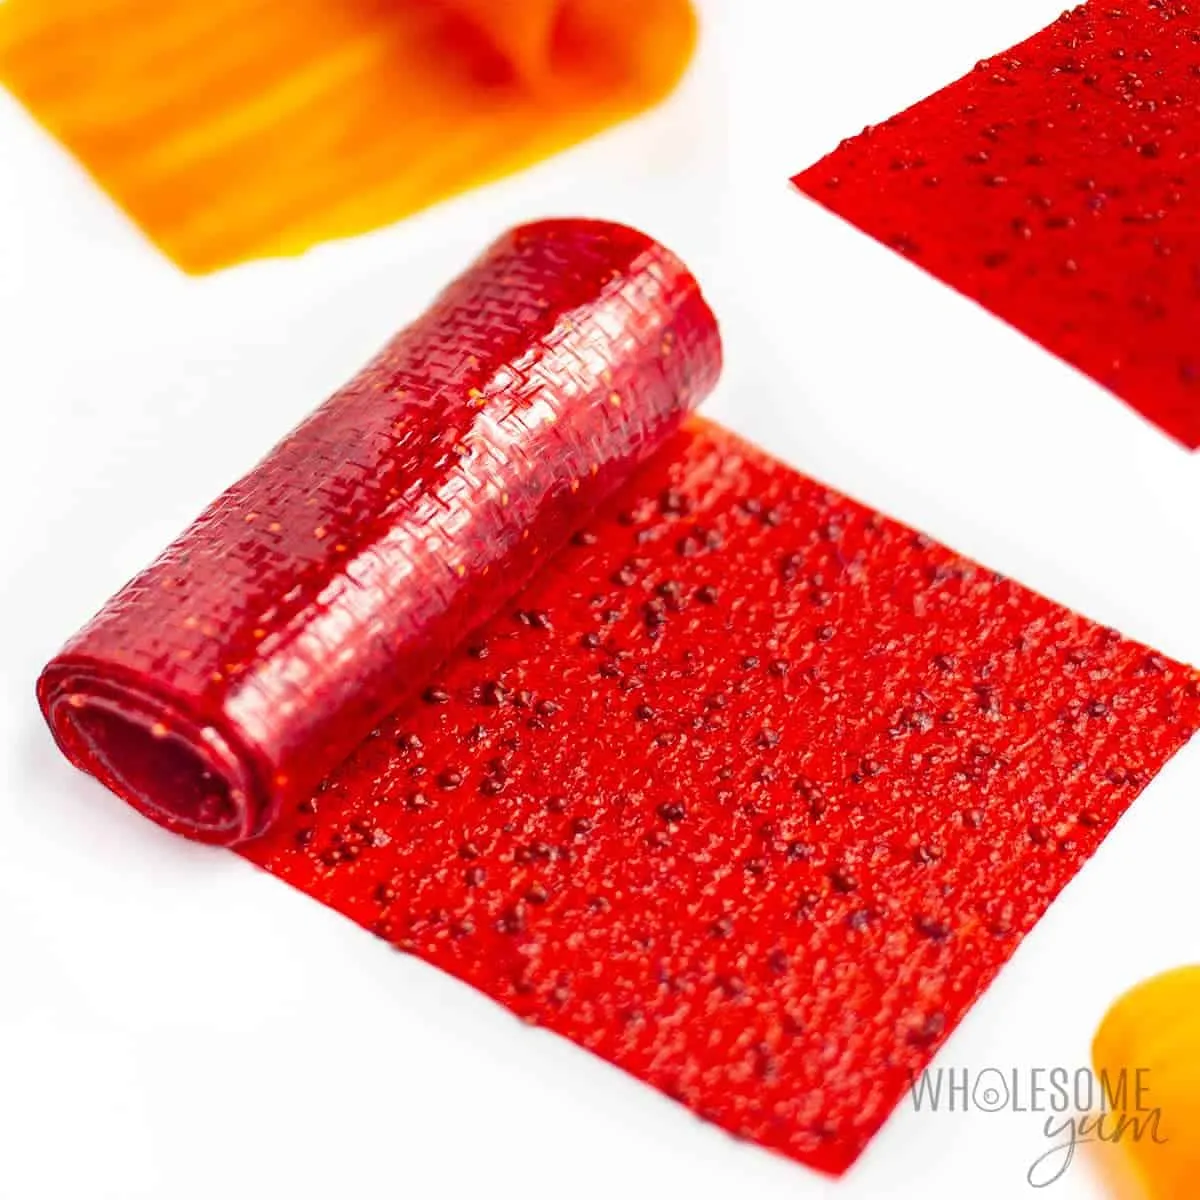
 Homemade fruit leather recipe partially unrolled.
Image: A sheet of homemade fruit leather, partially unrolled to show its texture.
Creating Your Masterpiece: A Step-by-Step Guide
1. Preparing the Fruit Puree
- Wash and chop your chosen fruit, removing any stems, pits, or peels that aren’t appealing in your final product.
- Combine the chopped fruit and lemon juice in your blender.
- Blend on high speed until the mixture transforms into a smooth, lump-free puree. You may need to stop and scrape down the sides of the blender occasionally to ensure everything is evenly blended.
2. Prepping for Dehydration
- Preheat your oven to its lowest setting. This low and slow method is key to drying out the fruit leather evenly.
- Line your baking sheet with parchment paper or a silicone mat, ensuring it covers the entire surface.
- Pour the fruit puree onto the prepared baking sheet.
- Use a spatula to spread the puree into a thin, even layer, reaching all corners of the baking sheet. Aim for a thickness of about 1/8 inch for best results.
3. The Art of Dehydration
- Place the baking sheet in the preheated oven.
- Dehydrate the fruit leather for 6-8 hours, or until the center is no longer sticky to the touch. Keep a close eye on the oven toward the end of the drying time to prevent burning.
- Once the fruit leather is no longer sticky, remove the baking sheet from the oven and allow it to cool completely.
4. The Grand Finale: Rolling Your Fruit Leather
- Once cooled, gently peel the fruit leather off the baking sheet. If using parchment paper, leave it attached for easier handling.
- Using a pizza cutter or a sharp knife, cut the fruit leather into strips of your desired width.
- Carefully roll each strip into a spiral, parchment paper and all. If you prefer, you can peel off the parchment paper before rolling.
- And there you have it—delicious, homemade fruit leather ready to be enjoyed!
Tips from the Artist’s Studio
- For a smoother texture, consider straining the fruit puree through a fine-mesh sieve before spreading it on the baking sheet. This step will remove any seeds or fibers that might affect the final product’s consistency.
- Don’t be afraid to experiment with flavors! Add a pinch of cinnamon, a dash of vanilla extract, or even a sprinkle of chili powder for a sweet and spicy kick.
- If you’re short on time, you can use a dehydrator instead of an oven. Just follow the manufacturer’s instructions for drying times and temperatures.
Storing Your Creations
Store your fruit leather rolls in an airtight container at room temperature for up to a week or in the freezer for extended storage.
Conclusion
Making your own fruit leather is a rewarding experience that combines creativity, culinary skills, and healthy eating. These homemade treats are not only delicious but also a great way to use up ripe fruit and reduce food waste.
So, unleash your inner artist and experiment with different fruit combinations, flavors, and designs. Share your culinary masterpieces with friends and family, and be sure to tag “Robert Kline Art” in your social media posts. Happy crafting!
