Blog
The Art of Homemade Almond Milk: A Creamy, Delicious DIY Guide

There’s a certain magic to crafting something as simple yet satisfying as homemade almond milk. While the convenience of store-bought is undeniable, the ability to personalize your milk, tailoring sweetness and infusing exciting flavors, is an experience in itself. At Robert Kline Art, we believe in the power of handmade creations, and this recipe embodies that spirit perfectly. Join me as we unlock the secrets of creamy, delicious almond milk made right in your kitchen.
Gathering Your Tools and Ingredients
The beauty of this recipe lies in its simplicity. With just a handful of ingredients and minimal equipment, you’ll be well on your way to creamy homemade goodness.
Here’s what you’ll need:
- Raw Almonds: The star of the show! Soaking them overnight is key to achieving a smooth, creamy texture.
- Filtered Water: We’ll be blending this with our almonds to create that milky goodness.
- Sea Salt: A pinch enhances the flavors and balances the sweetness.
- Optional Flavor Enhancers: This is where your creativity can shine! Add a touch of sweetness with dates, a hint of warmth with vanilla extract, or transform it into “chocolate milk” with cocoa powder. Berries are a fantastic addition for a refreshing twist.
- High-Speed Blender: This will be your trusty sidekick in achieving a perfectly smooth consistency.
- Nut Milk Bag or Thin Dish Towel: These will be our tools for straining the almond milk, ensuring a silky texture.
Crafting Your Almond Milk Masterpiece
Now that you’ve assembled your ingredients, let’s dive into the process. Trust me, it’s easier than you think!
- Soaking: Begin by giving your almonds a relaxing overnight soak in cool, filtered water. This crucial step softens them up, resulting in a creamier final product.
- Blending: Drain the soaking water and give your almonds a quick rinse. Then, toss them into your blender along with fresh water, salt, and your chosen flavor enhancers. Now, let that blender work its magic for a good 1-2 minutes, ensuring every bit of almond goodness is released.
- Straining: This is where we achieve that silky smooth texture. Drape your nut milk bag or a clean dish towel over a bowl and pour in the blended almond mixture. Gather the edges of your straining tool and gently squeeze until all the liquid gold is extracted. You’ll be left with a creamy, delicious almond milk, ready to elevate your culinary creations.
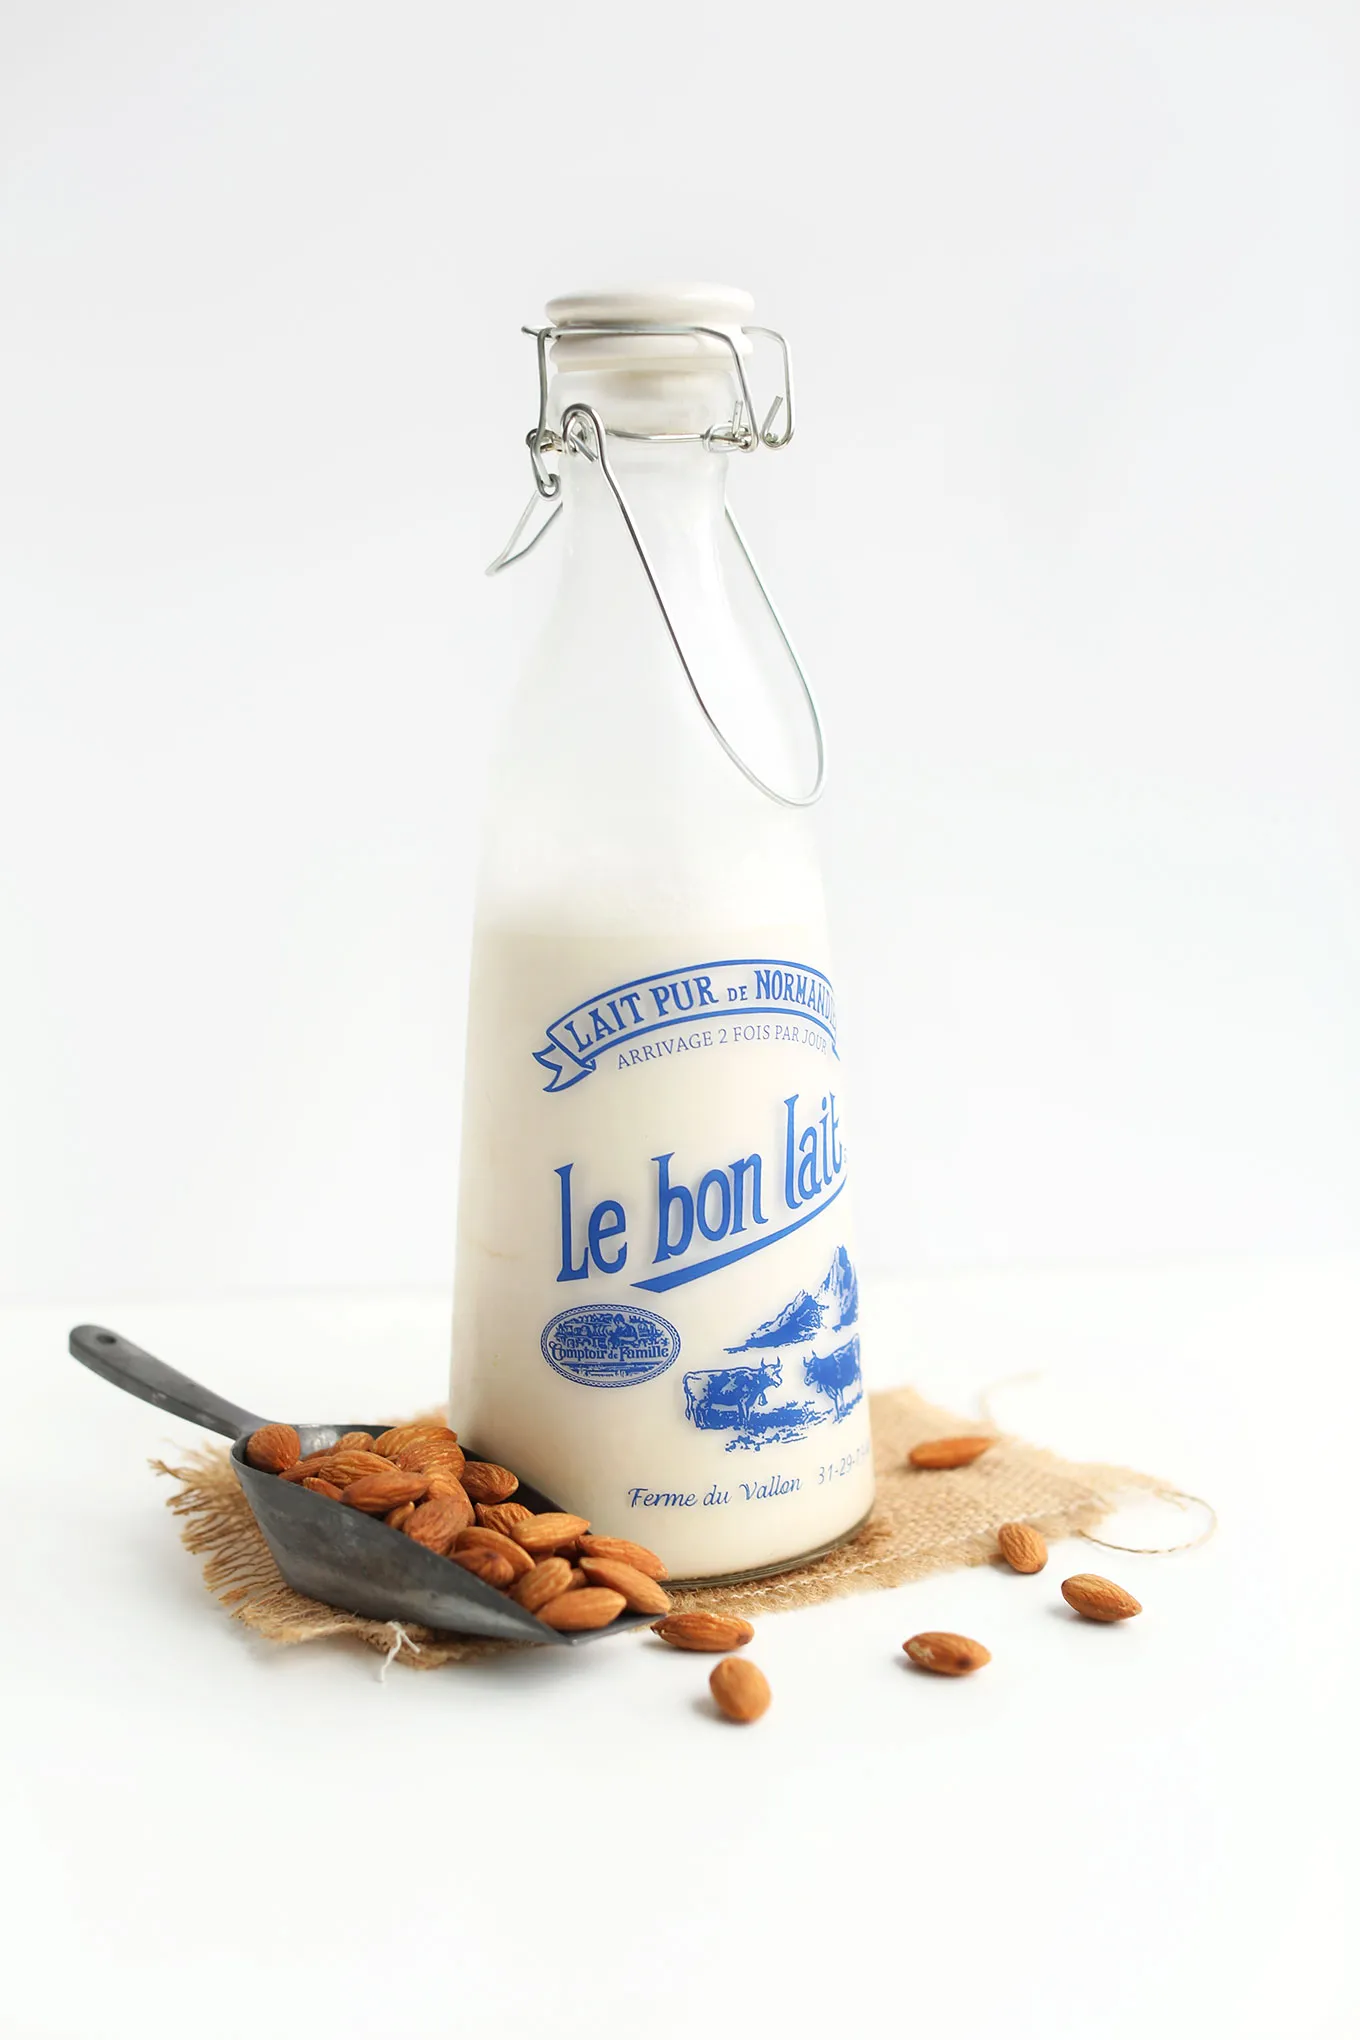
 Old-fashioned milk jug filled with homemade almond milk
The Almond Pulp Dilemma: Waste Not, Want Not
As you admire your freshly made almond milk, you might be wondering about the leftover almond pulp. Don’t even think about discarding it! This nutrient-packed byproduct deserves a second act in your kitchen.
Transform it into almond meal, the perfect gluten-free baking substitute, or incorporate it into crackers, granola bars, or even veggie burgers for a nutritional boost and textural delight. The possibilities are endless!
Savoring the Fruits of Your Labor
Your homemade almond milk is best enjoyed fresh and will keep for up to 4-5 days in the refrigerator. Remember to give it a good shake before each use, as separation is natural.
Here are a few ideas to inspire you:
- Morning Bliss: Elevate your breakfast routine by pouring it over granola, cereal, or overnight oats.
- Baking Delights: Substitute it in your favorite baking recipes for a dairy-free twist.
- Smoothie Sensation: Blend it into your morning smoothies for a boost of creamy goodness.
- Coffee Break: Froth it up for a delicious dairy-free latte or cappuccino.
- Savory Creations: Use it as a base for creamy soups, sauces, or even vegan cheeses.
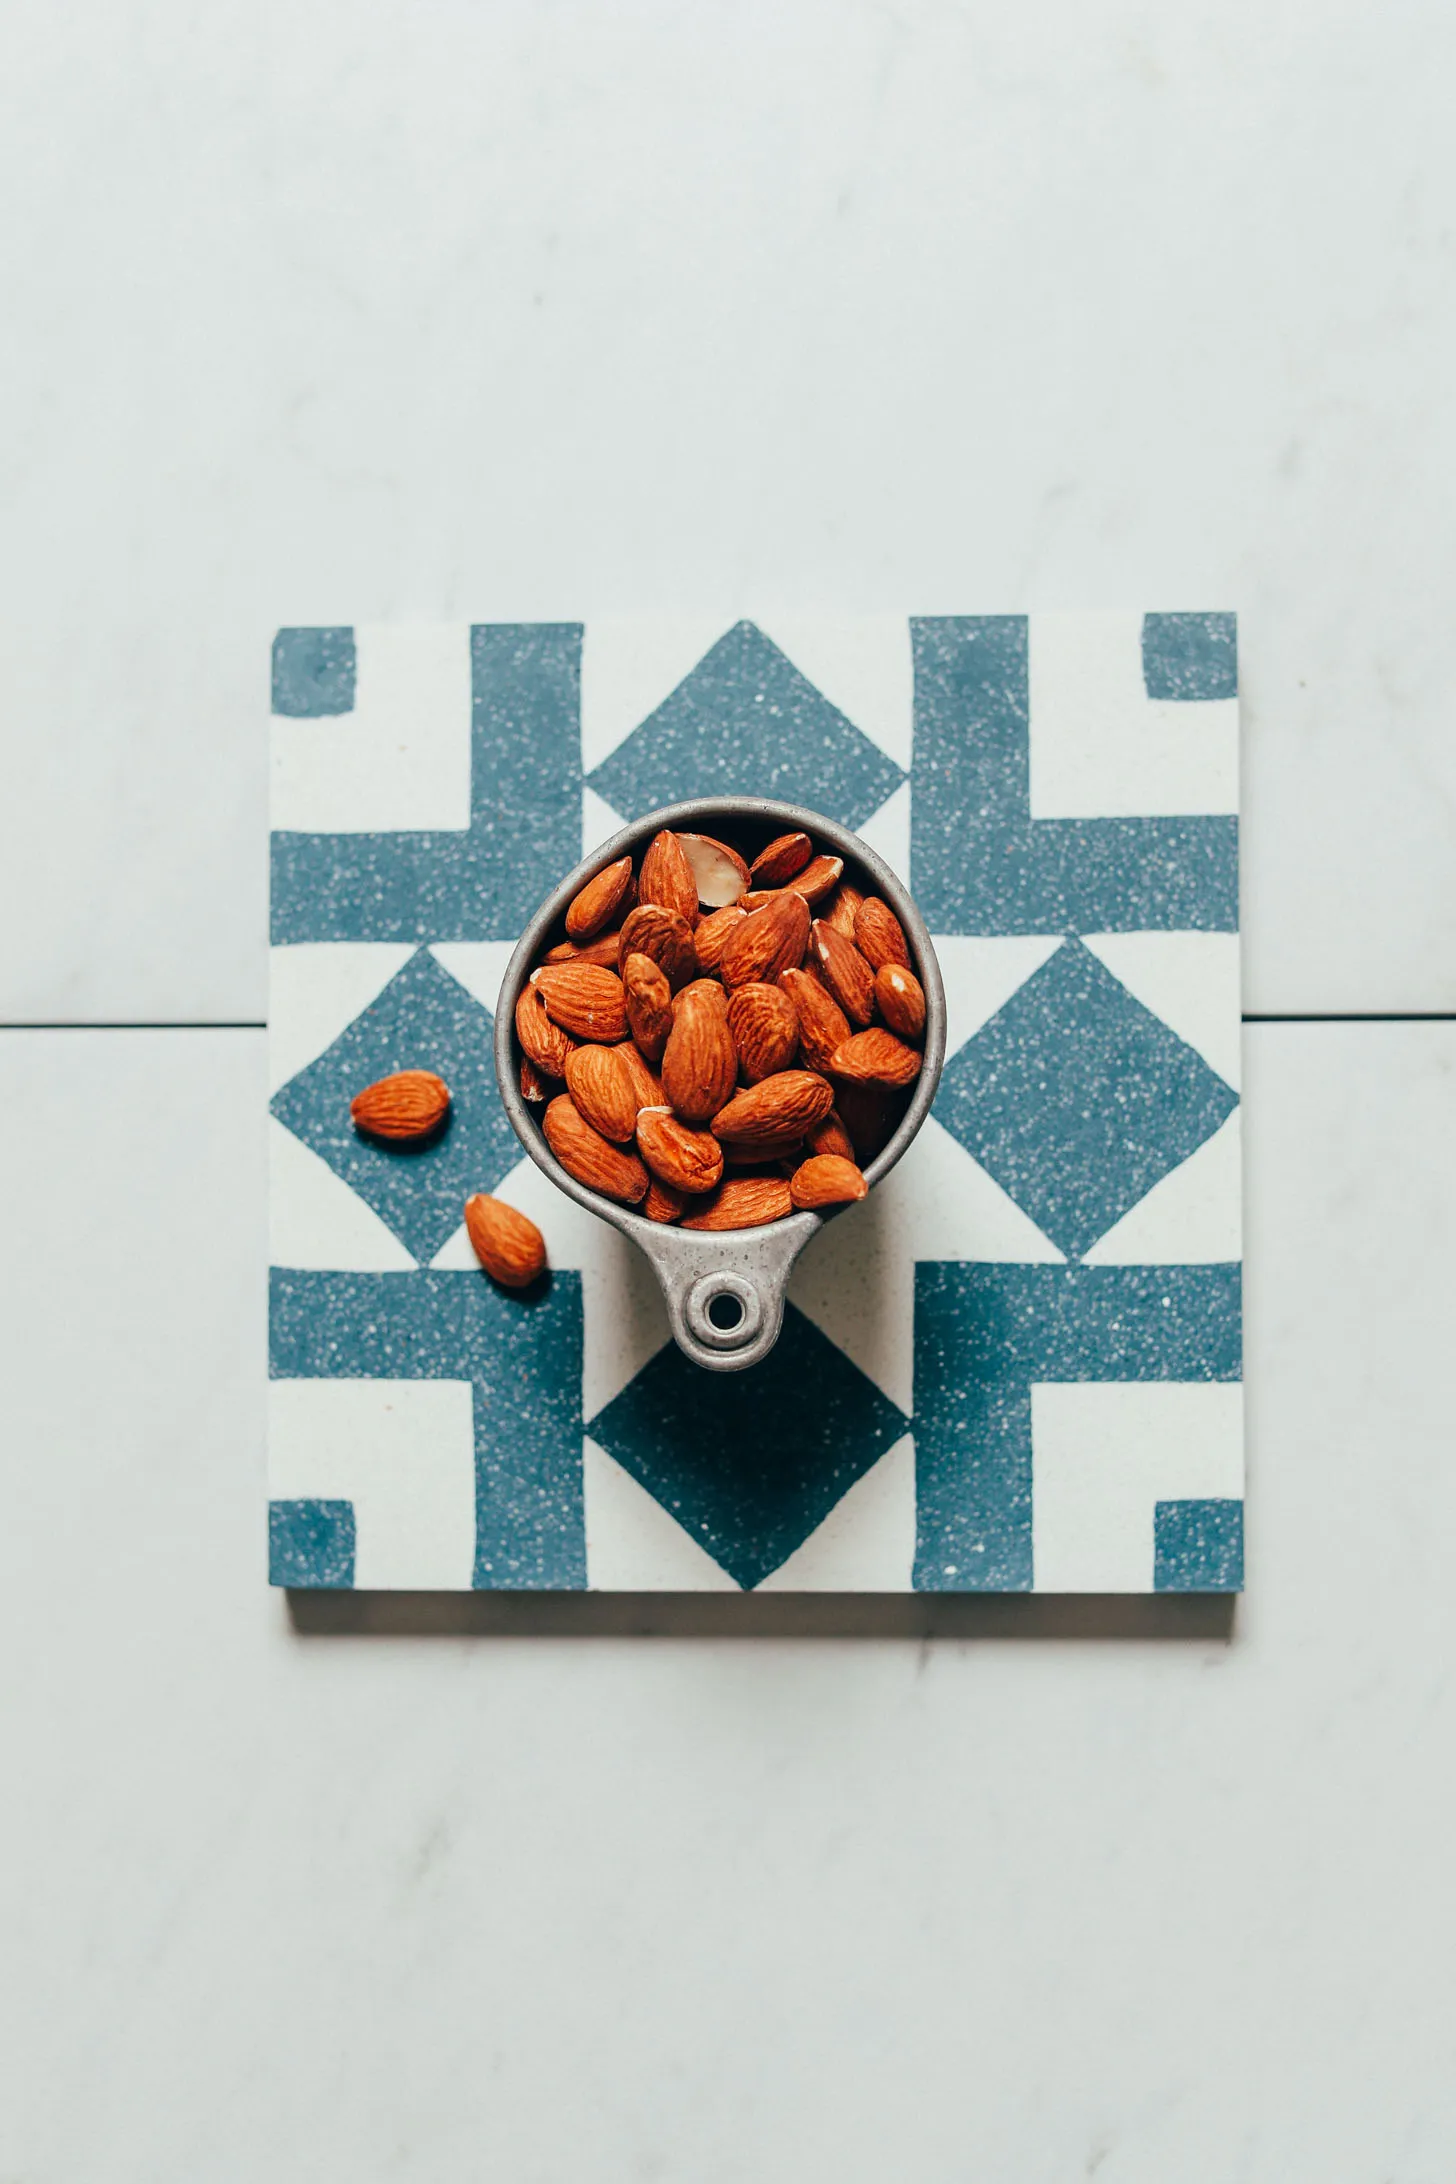
 Measuring cup of raw almonds
Beyond the Basics: Exploring Dairy-Free Delights
Here at Robert Kline Art, we’re passionate about embracing the versatility of homemade creations. If this almond milk journey has sparked your culinary curiosity, I encourage you to explore our treasure trove of dairy-free milk recipes. From cashew milk to oat milk, each variation offers a unique flavor profile and endless possibilities.
A Toast to Handmade Goodness
Making your own almond milk is a testament to the joy of crafting something special with your own two hands. It’s a process that allows you to slow down, connect with your ingredients, and savor the satisfaction of creating something delicious and nourishing.
So go ahead, gather your ingredients, and embark on this rewarding DIY adventure. And be sure to share your creations with us! We love seeing your culinary masterpieces come to life.
