Creating a Stunning DIY Hanging Room Divider: A Step-by-Step Guide

Hey there, fellow craft enthusiasts! Robert Kline here, your guide to all things handmade. Today, we’re diving into a project that’s both stylish and functional: a DIY hanging room divider. This project is perfect for adding a touch of visual interest to your living space while also demarcating different areas. Whether you’re an experienced DIYer or just starting, this guide will provide you with all the steps and inspiration you need.
Gathering Your Supplies
Before we get started, let’s gather our tools and materials. Here’s what you’ll need:
Materials:
- Wood planks (size and quantity depend on your desired dimensions)
- Stain or paint (choose your preferred color)
- Polyurethane (for sealing and protecting the wood)
- Rope or strong cord
- Hooks or ceiling mounts
- Measuring tape
- Pencil
- Saw (circular saw or hand saw)
- Sandpaper (various grits)
- Paintbrushes or rags
- Drill
- Safety glasses
Building Your Divider
Now that we have everything we need, let’s start building:
Step 1: Plan and Measure
Before you pick up a saw, visualize your final product. Consider the divider’s length, width, and the spacing between the planks. Measure your space and jot down the dimensions. “A well-planned project is a successful project,” as my mentor, a seasoned woodworker, always said, and he couldn’t be more right!
Step 2: Cut the Wood Planks
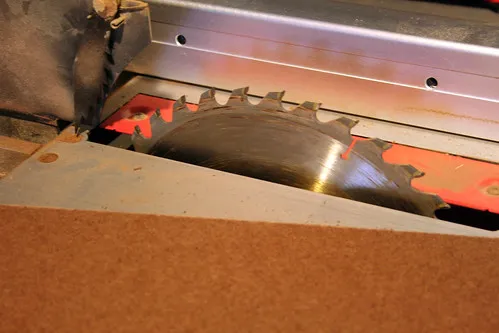
Using your measurements as a guide, cut the wood planks to your desired length. Remember to double-check your measurements before making any cuts!
Step 3: Sand and Finish the Planks
Smooth out the edges and surfaces of your planks using sandpaper. Start with a coarser grit and gradually move to a finer grit for a polished finish. Once you’re happy with the smoothness, apply your chosen stain or paint. Allow it to dry completely before applying a protective layer of polyurethane.
Step 4: Drill Holes for Hanging
Measure and mark the placement for the holes at the top of each plank. Ensure the holes are evenly spaced and at an equal distance from the edges. Drill the holes carefully.
Step 5: Thread the Rope
Cut your rope or cord to your desired length, leaving enough extra length for hanging and tying knots. Thread the rope through the drilled holes in the planks. You can get creative here! Experiment with different knotting techniques or add beads for a decorative touch.
Step 6: Install the Hanging Mechanism
Depending on your ceiling type, install hooks or ceiling mounts where you wish to hang your divider. Ensure they are securely fastened to support the weight of the divider.
Step 7: Hang Your Divider
Hang the rope loops onto the hooks or ceiling mounts. Adjust the spacing between the planks to achieve your desired look.
Showcasing Your Creation
Voila! Your DIY hanging room divider is complete.
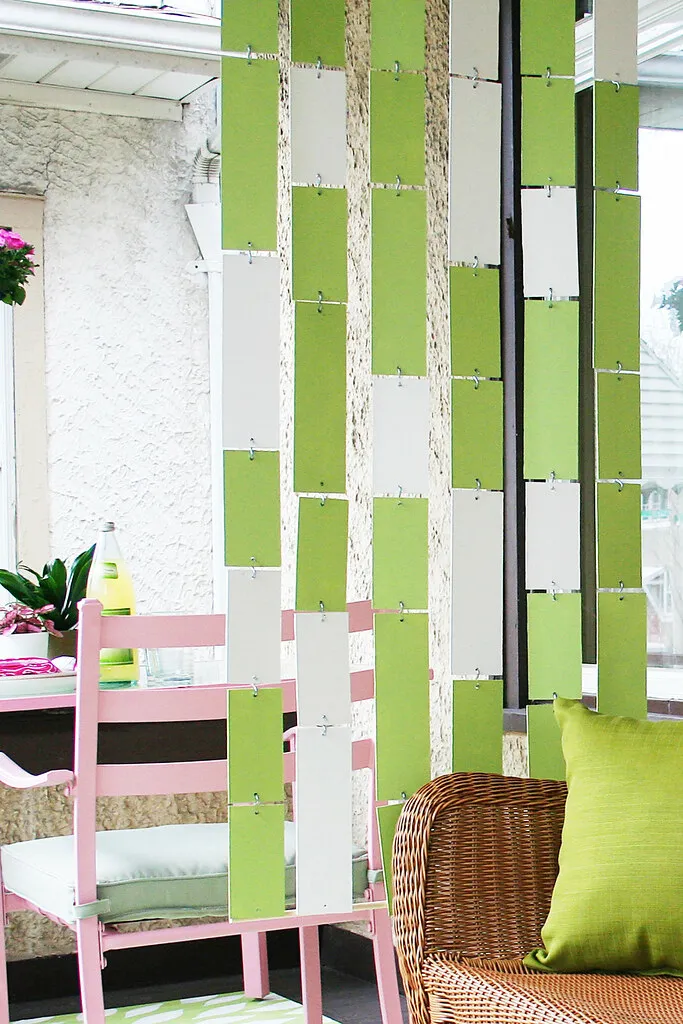
 Front Porch
A beautifully crafted hanging room divider can transform your space.
 Table Saw
Precision cutting ensures a professional-looking result.
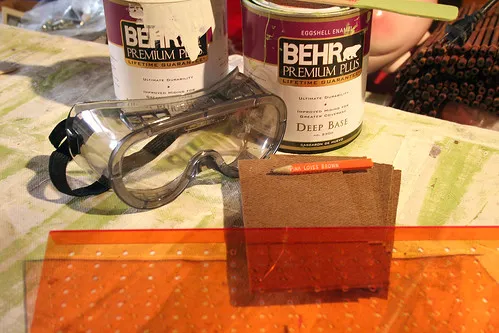
 Hanging Divider Pieces
Each element of the divider contributes to the overall aesthetic.
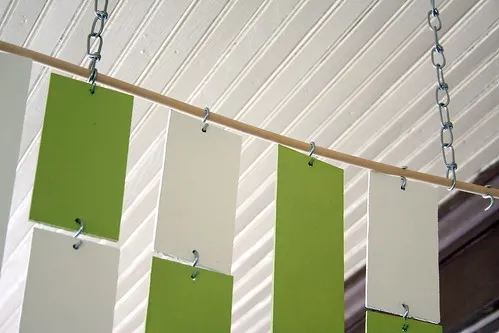
 Hanging Divider
The hanging divider adds a unique and stylish touch to the room.
 Front Porch
The finished room divider enhances the ambiance of the space.
This versatile piece can instantly elevate your home decor. Use it to separate a living area from a dining space, create a cozy reading nook, or add privacy to your bedroom. The possibilities are endless!
What are your favorite ways to divide a room while adding a touch of personality? Share your thoughts and ideas in the comments below. And don’t forget to explore the other unique handcrafted items available on Robert Kline Art for unique and thoughtful gifts for your loved ones. Happy crafting!
