Blog
Ignite Your Taste Buds: A DIY Guide to Crafting Homemade Hot Sauce
Here at Robert Kline Art, we’re passionate about all things handmade, and that extends beyond the realm of paint and clay. Today, we’re diving into the fiery world of homemade hot sauce – a craft that’s both satisfying and delicious!
Why Homemade Hot Sauce?
Sure, the grocery store shelves are lined with countless hot sauce options. But trust me, there’s nothing quite like the sense of accomplishment (and flavor explosion!) that comes with crafting your own. Plus, you control the ingredients, the heat level, and the creativity!
Gather Your Weapons: Essential Ingredients
Before we embark on this culinary adventure, let’s assemble our arsenal:
- Hot Peppers: This is where the magic happens! Choose your weapon of choice – fiery habaneros, smoky chipotles, or even mild jalapeños. The type of pepper dictates the flavor and heat level of your sauce.
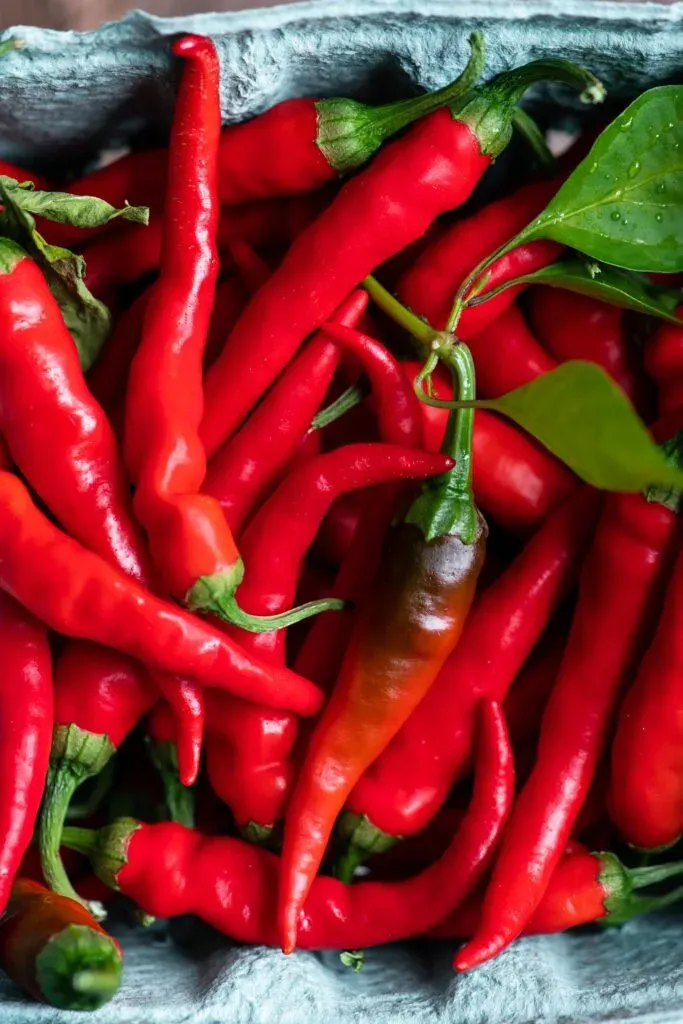
 cayenne peppers in green produce pint container
Caption: Fresh cayenne peppers ready for hot sauce - Garlic: A trusty sidekick, garlic adds pungent depth to your hot sauce.
- Salt: Enhances flavor and acts as a natural preservative during fermentation.
- Water: Helps create the desired consistency.
- Vinegar: Adds tanginess and acidity, which helps preserve the sauce. Apple cider vinegar, white wine vinegar, and rice wine vinegar are all excellent choices.
The Art of Fermentation: Don’t Be Intimidated!
Fermentation might sound intimidating, but it’s surprisingly simple, especially with chilies. Don’t worry, we’re not going full-on kimchi here. A short fermentation period is all we need to develop complex flavors and preserve our fiery creation.
The Robert Kline Art Method: A Step-by-Step Guide to Homemade Hot Sauce
1. Prep the Peppers and Pulse
- Wash and coarsely chop your chosen peppers, remembering to remove the stems. Remember, safety first! Wear gloves when handling hot peppers to protect your skin.
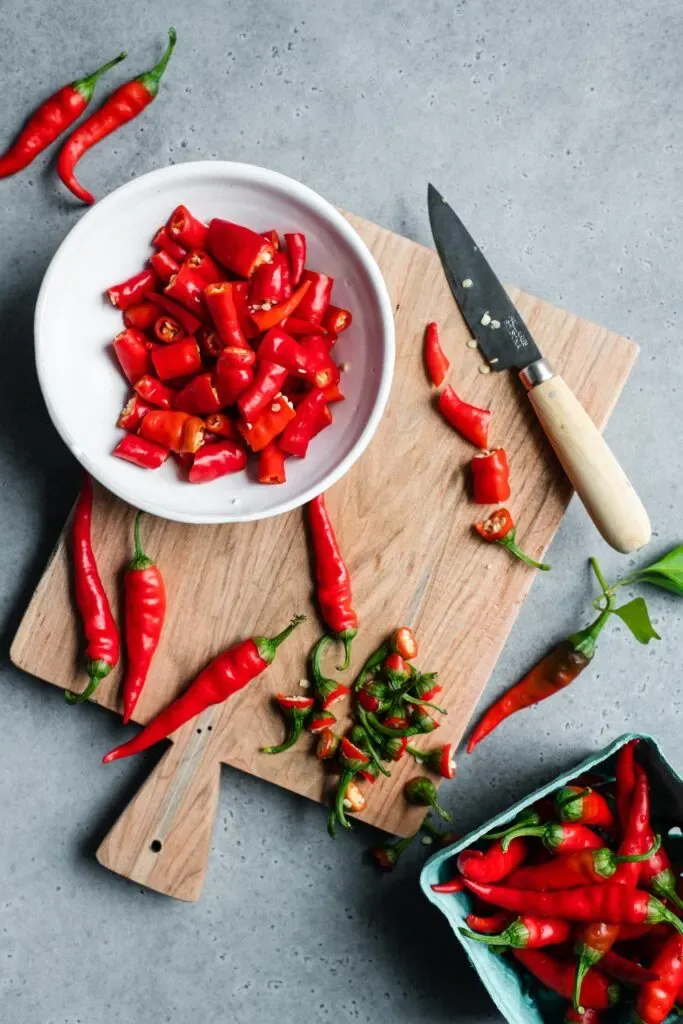 cutting stems and cutting cayenne peers into pieces
Caption: Cutting cayenne peppers for hot sauce - Toss the peppers, garlic cloves, salt, and water into a food processor.
- Pulse until you achieve a chunky salsa-like consistency.
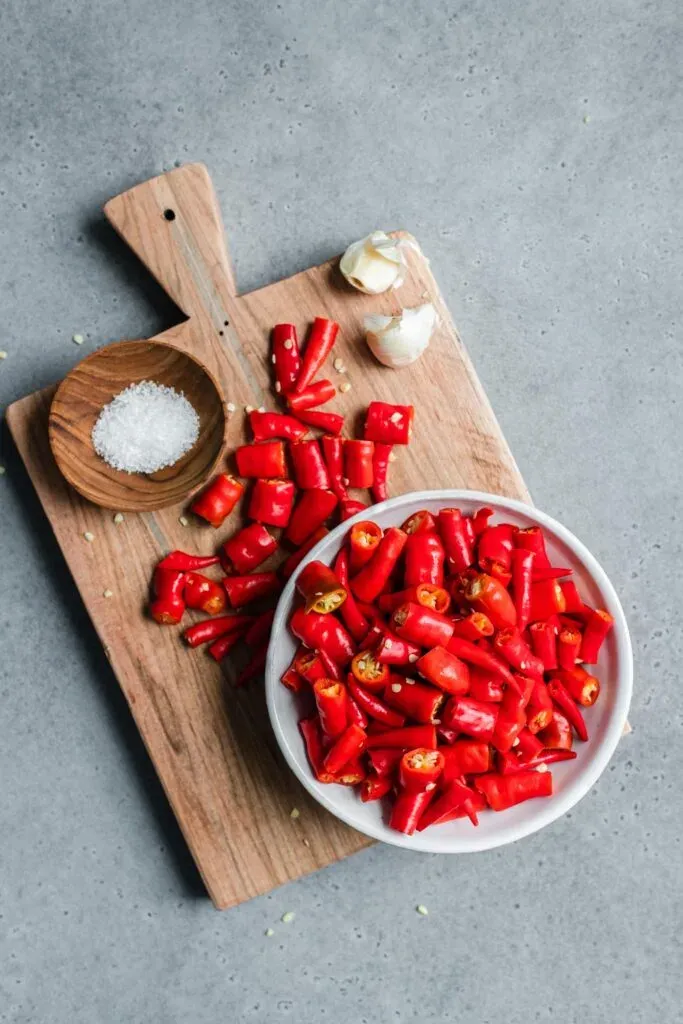 chopped cayenne peppers , garlic, and salt on cutting board
Caption: Chopped cayenne peppers, garlic and salt on a cutting board - Transfer this vibrant mixture into a clean glass jar.
2. Embrace the Ferment
- Cover the jar with cheesecloth, securing it with a rubber band. This allows for airflow while keeping unwanted guests out.
- Find a cozy spot on your counter and let the mixture rest for 24-48 hours. This is where the magic begins!
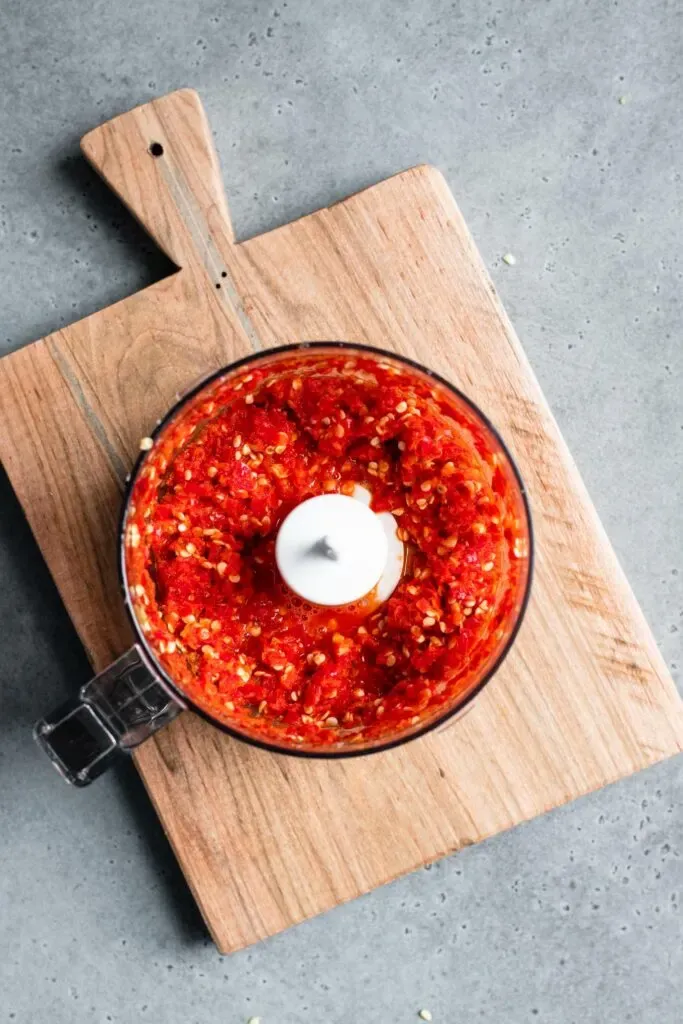 chili's chopped in mini-food processor sitting on a cutting board
Caption: Blended chili peppers in a food processor - After a day or two, stir in your chosen vinegar and let it ferment for another 5-7 days, still covered with cheesecloth.
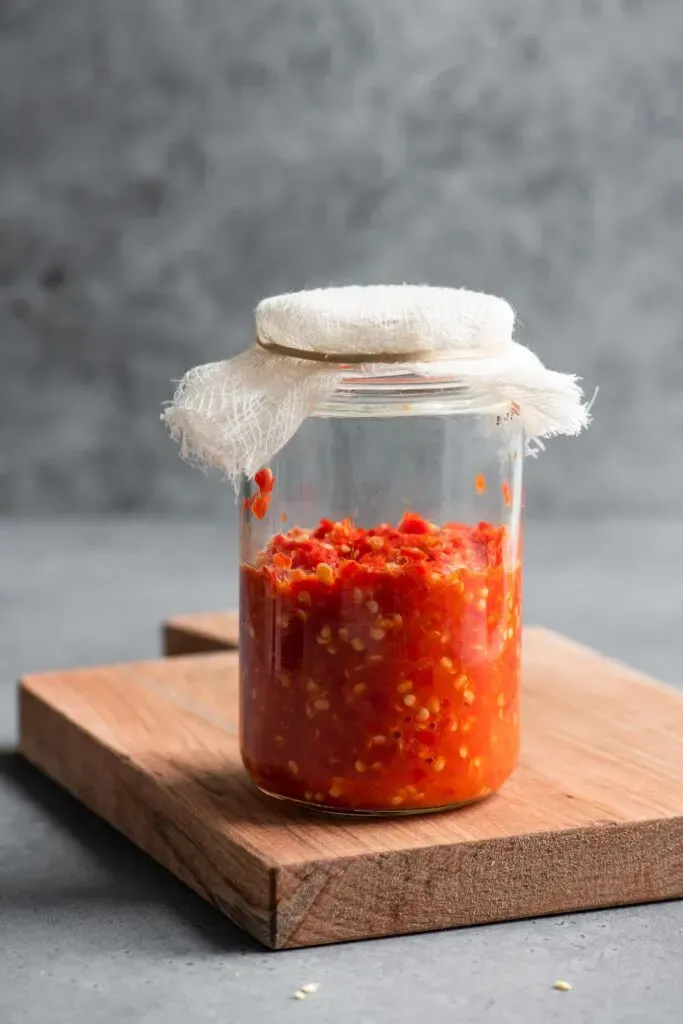 blended chili pulp before fermenting
Caption: Chili peppers and garlic blended together before fermenting
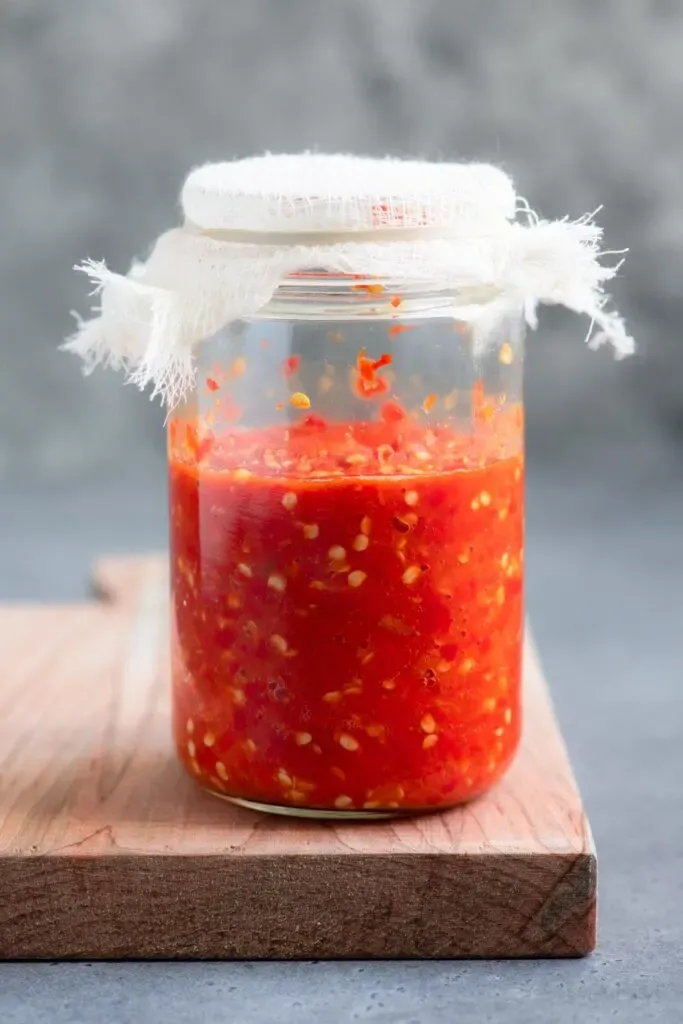 fermented chilies after 1 week
Caption: Fermented chili mixture after one week
3. Blend, Bottle, and Enjoy!
- Once your patience has been rewarded, it’s time to blend! Transfer the fermented mixture into a blender and blitz until smooth. For a thinner consistency, strain the sauce through a fine-mesh strainer or cheesecloth.
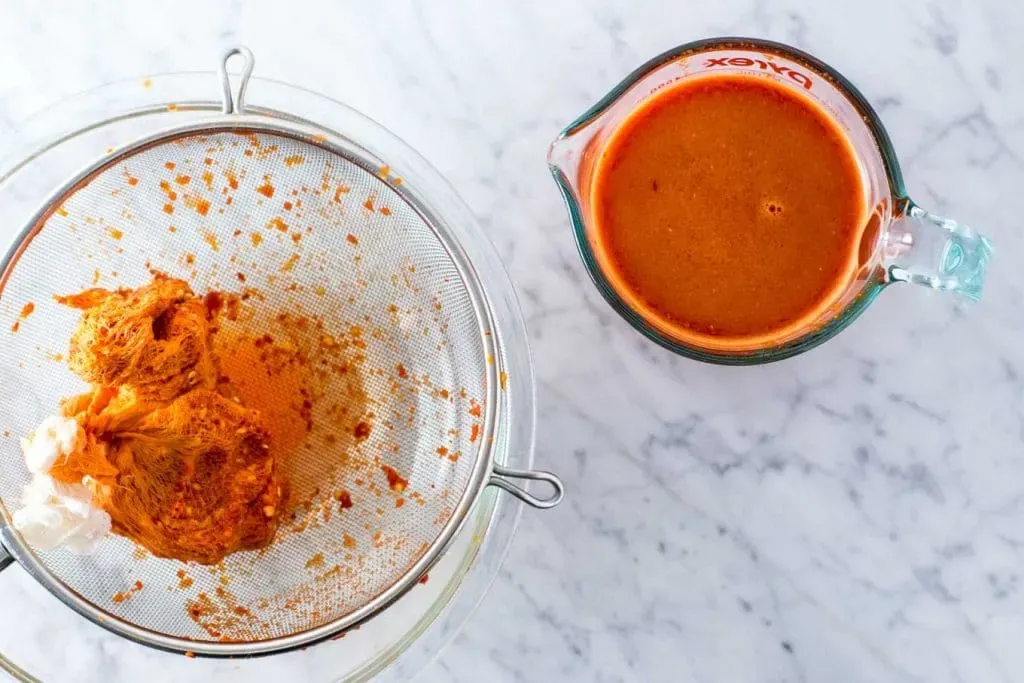 easy homemade hot sauce
Caption: Blended hot sauce ready for bottling
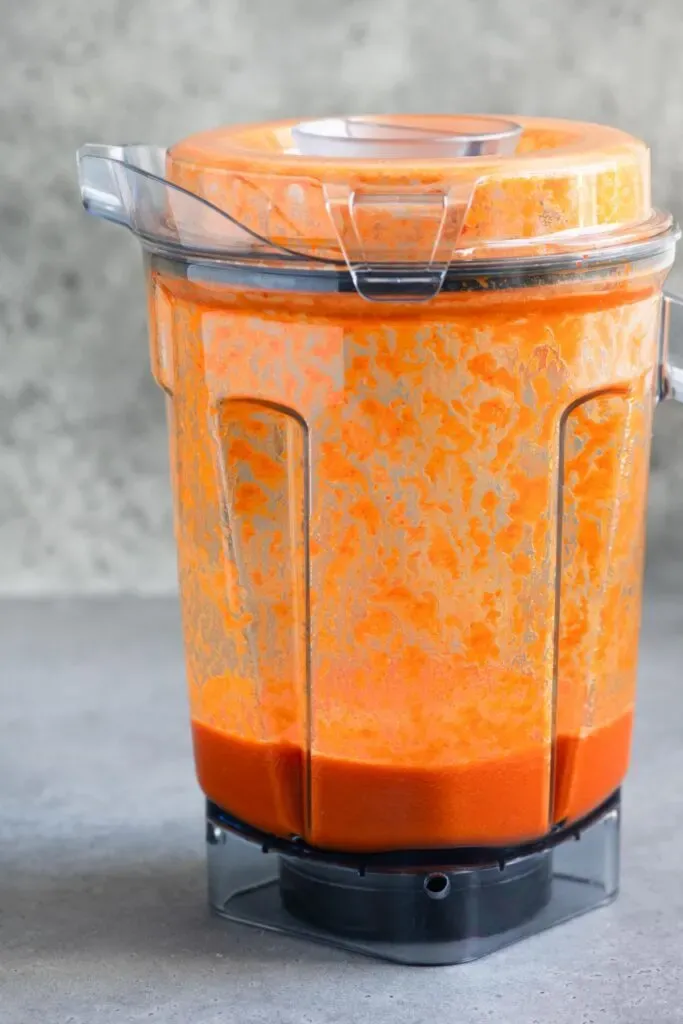 blended hot sauce in blender jar
Caption: Hot sauce blending in a blender - Bottle your fiery masterpiece in a sterilized jar or bottle and store it in the refrigerator. Your homemade hot sauce will last for several months, but with flavor this good, it might not last that long!
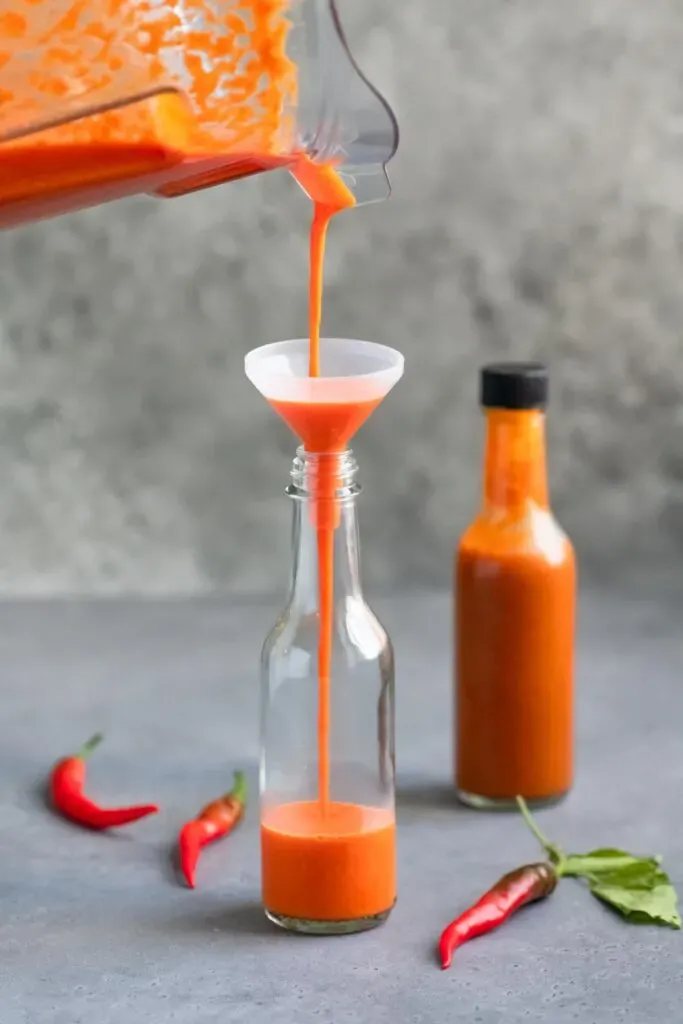 pouring hot sauce into a bottle with a small funnel
Caption: Bottling up homemade hot sauce
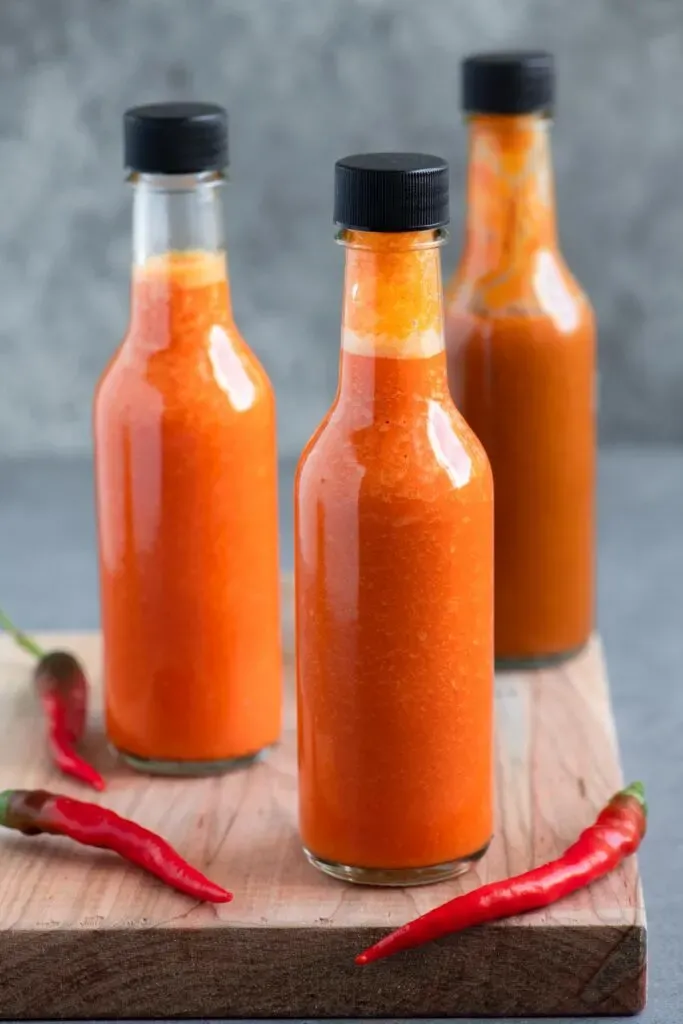 bottled homemade hot sauce on a cutting board with 3 red chilies
Caption: Three bottles of homemade hot sauce
Customize Your Creation:
The beauty of homemade hot sauce lies in its versatility. Here are some ideas to get those creative juices flowing:
- Sweeten the Deal: Balance the heat with a touch of sweetness. Add a pinch of sugar, a diced onion, or even a carrot during the blending process.
- Spice It Up: Experiment with additional spices like cumin, coriander, or mustard seed for an extra layer of flavor.
- Control the Heat: Adjust the heat level by combining different types of peppers. For a milder sauce, opt for jalapeños or serranos. For those who like to live on the edge, habaneros or ghost peppers will do the trick!
Hot Sauce: The Gift that Keeps on Giving
Here at Robert Kline Art, we believe that the best gifts are handmade. A bottle of your homemade hot sauce is a thoughtful and personalized present for friends and family who appreciate a little spice in their lives.
Share Your Creations!
We’d love to see your fiery masterpieces! Share your homemade hot sauce adventures with us on social media using #RobertKlineArt. And remember, always wear gloves when handling those hot peppers! Happy crafting!
