Blog
The Art of Homemade Gnocchi: A Culinary Adventure with Robert Kline Art
Hey there, fellow art enthusiasts and food lovers! Today, we’re diving into the wonderful world of Italian cuisine by crafting a dish that’s both rustic and elegant: homemade gnocchi. Get ready to roll up your sleeves and discover the joy of creating these little pillows of deliciousness from scratch.
A Feast for the Senses: Why Make Gnocchi?
Making gnocchi is a sensory experience. You’ll feel the soft texture of potatoes, the gentle resistance of the dough, and the satisfaction of shaping each piece. The aroma of boiling gnocchi will fill your kitchen, and the final taste? Simply divine.
Gathering Your Artistic Tools: Ingredients for Gnocchi
Just like any art project, we need the right tools, or in this case, ingredients:
- Russet Potatoes: About 2 1/2 pounds, perfect for that fluffy gnocchi texture.
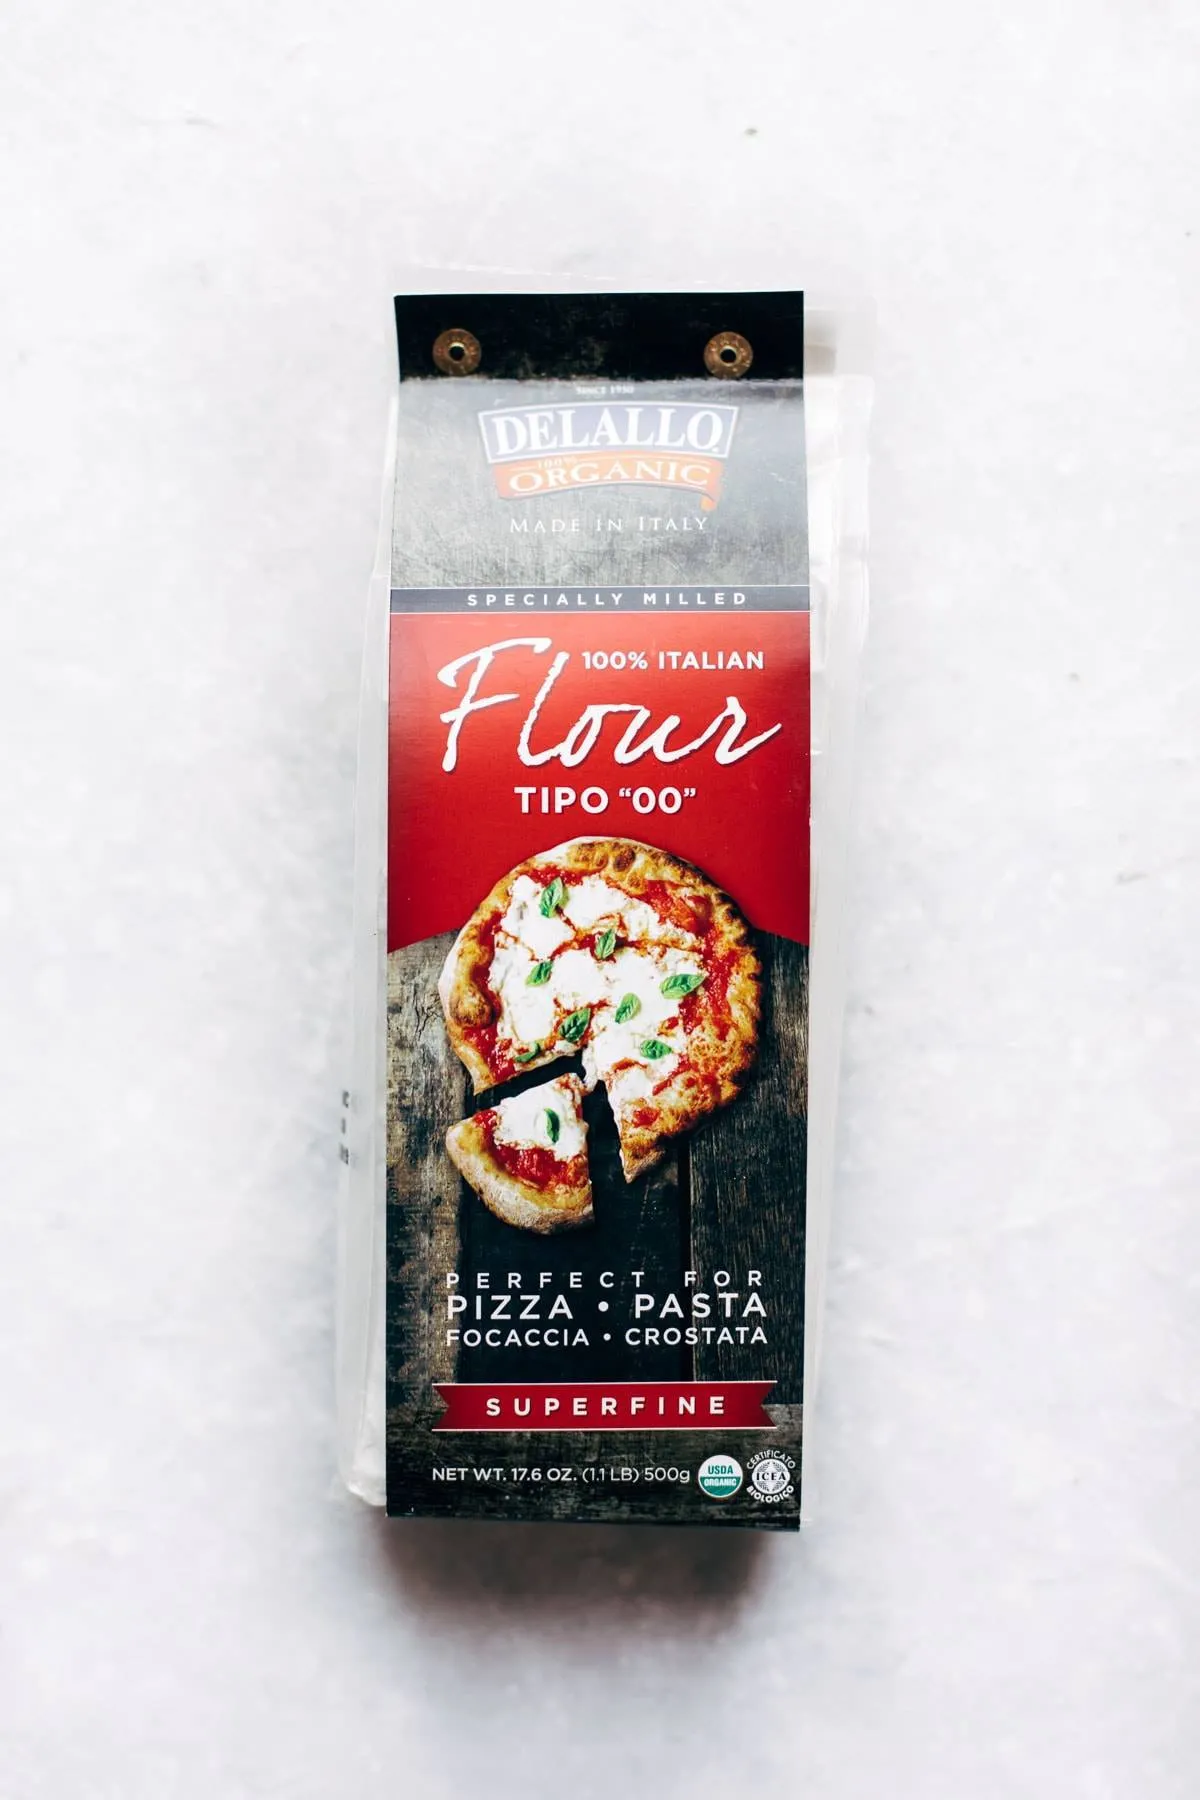
- Flour: I recommend using Tipo 00 flour for its fine, soft texture, preferably from a brand like DeLallo for that authentic Italian touch. All-purpose flour works in a pinch, but trust me, Tipo 00 is worth it!
- Ricotta Cheese: A cup of this will add richness and creaminess.
- Eggs: One large egg will bind our gnocchi dough together.
- Salt: A heaping teaspoon will enhance the flavors.
The Creative Process: Shaping Your Gnocchi Masterpiece
-
Boil, Peel, and Grate: Start by boiling the potatoes until tender. Once cooled, peel and grate them finely.
-
Building the Dough: Create a mound of grated potatoes and add flour, ricotta, egg, and salt. Use a fork to gently combine, starting from the center and working your way out.
 A container of flour sitting on a white surface.
 -
Kneading with Love: Gently knead the dough until it comes together, but avoid overmixing. It should be soft and slightly sticky.
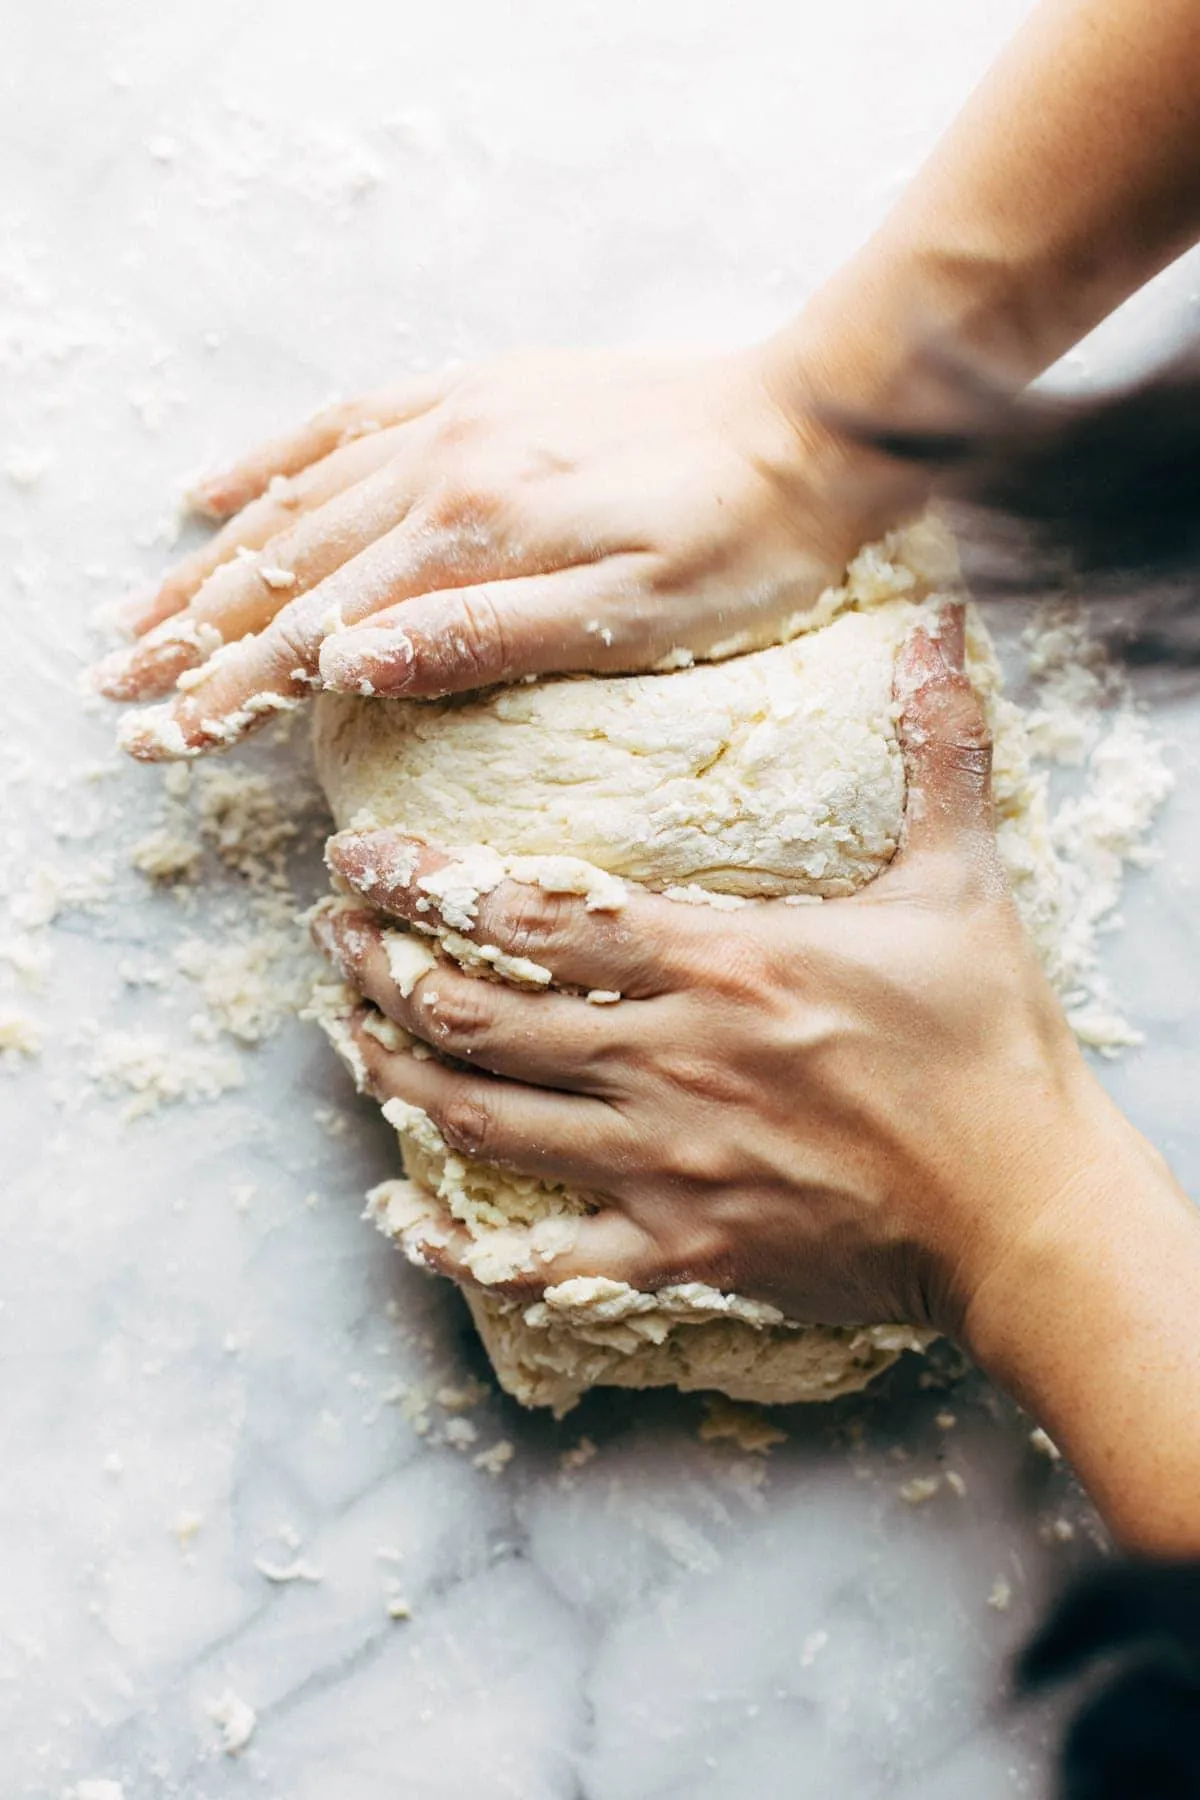 Hands kneading gnocchi dough.
 -
Shaping the Gnocchi: Divide the dough into manageable portions. Roll each portion into a long rope, about an inch thick. Cut each rope into bite-sized pieces.
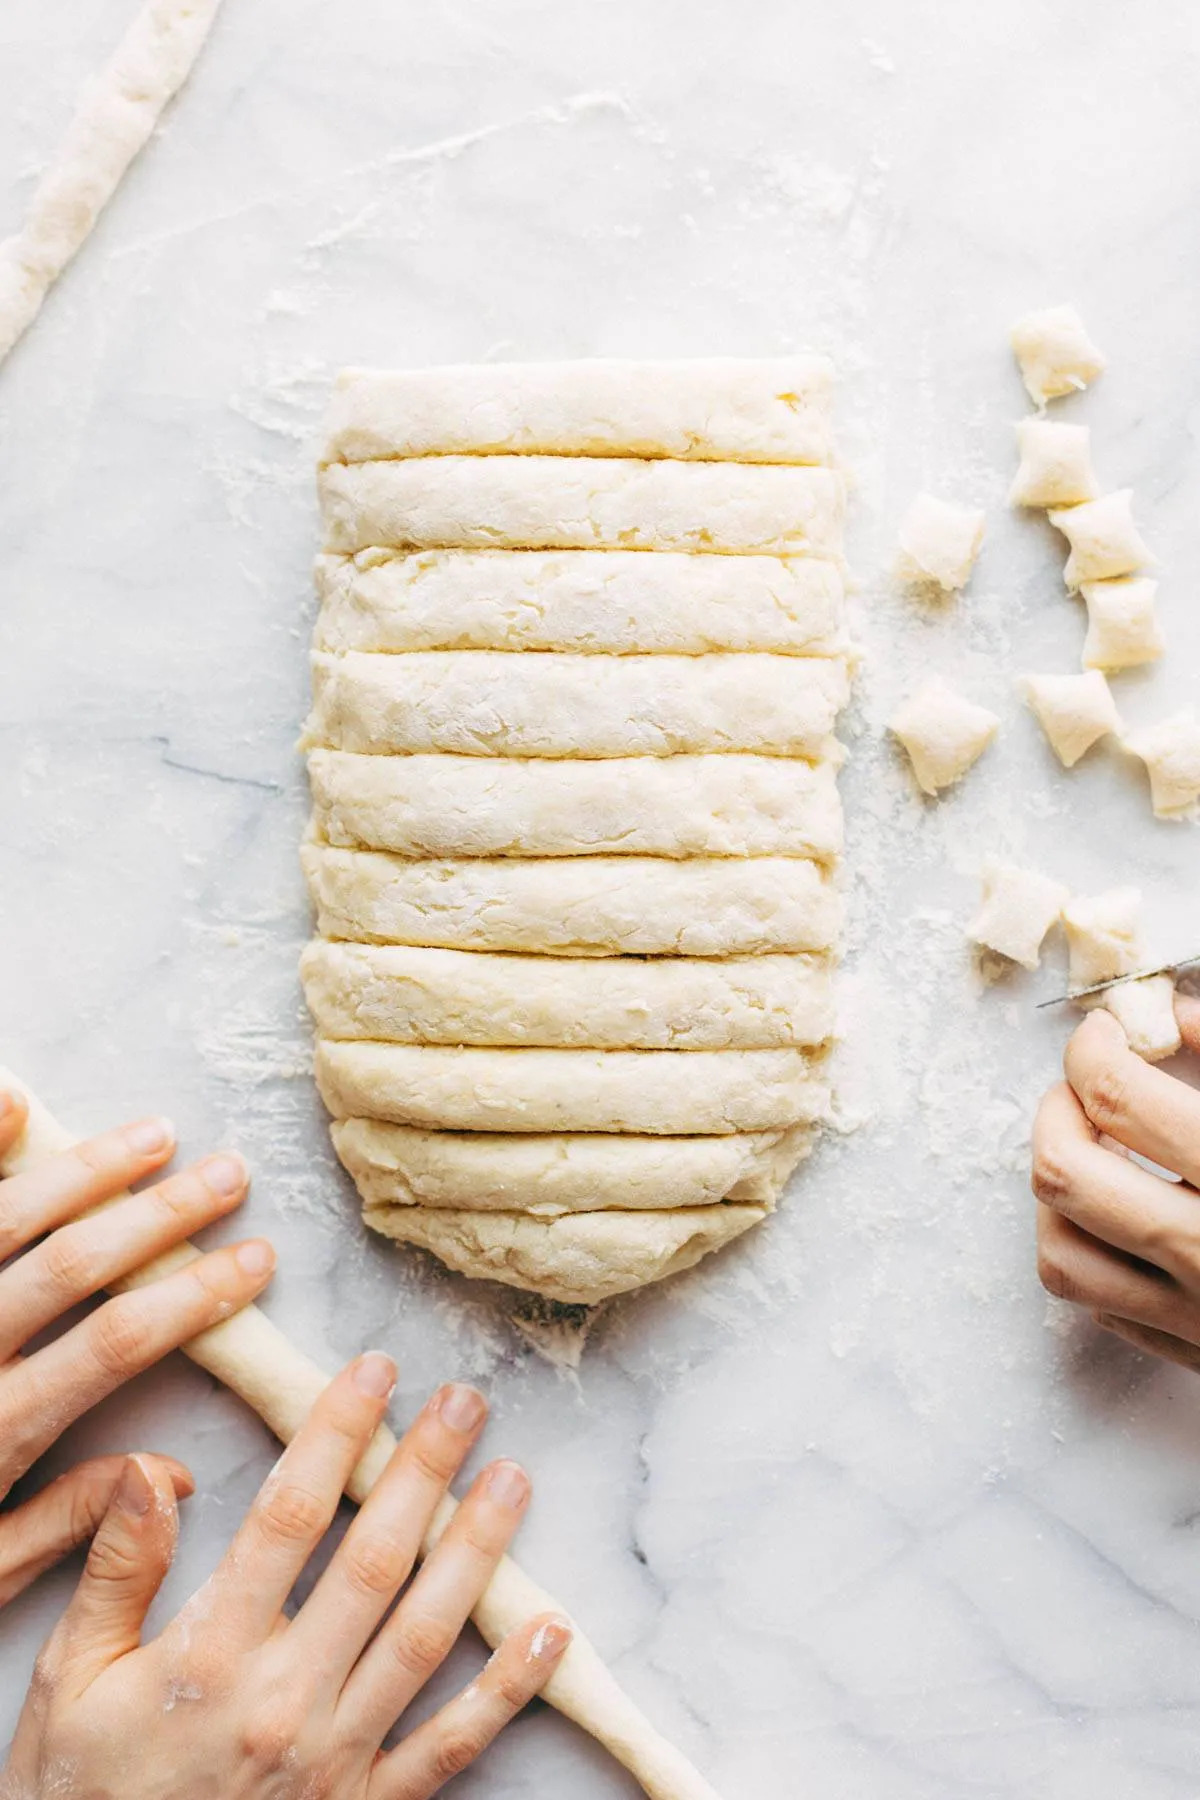 Cutting, rolling, and shaping gnocchi dough.
 -
Adding Flourish: For a professional touch, create ridges on each gnocchi piece using a fork. This not only looks beautiful but also helps the sauce cling better.
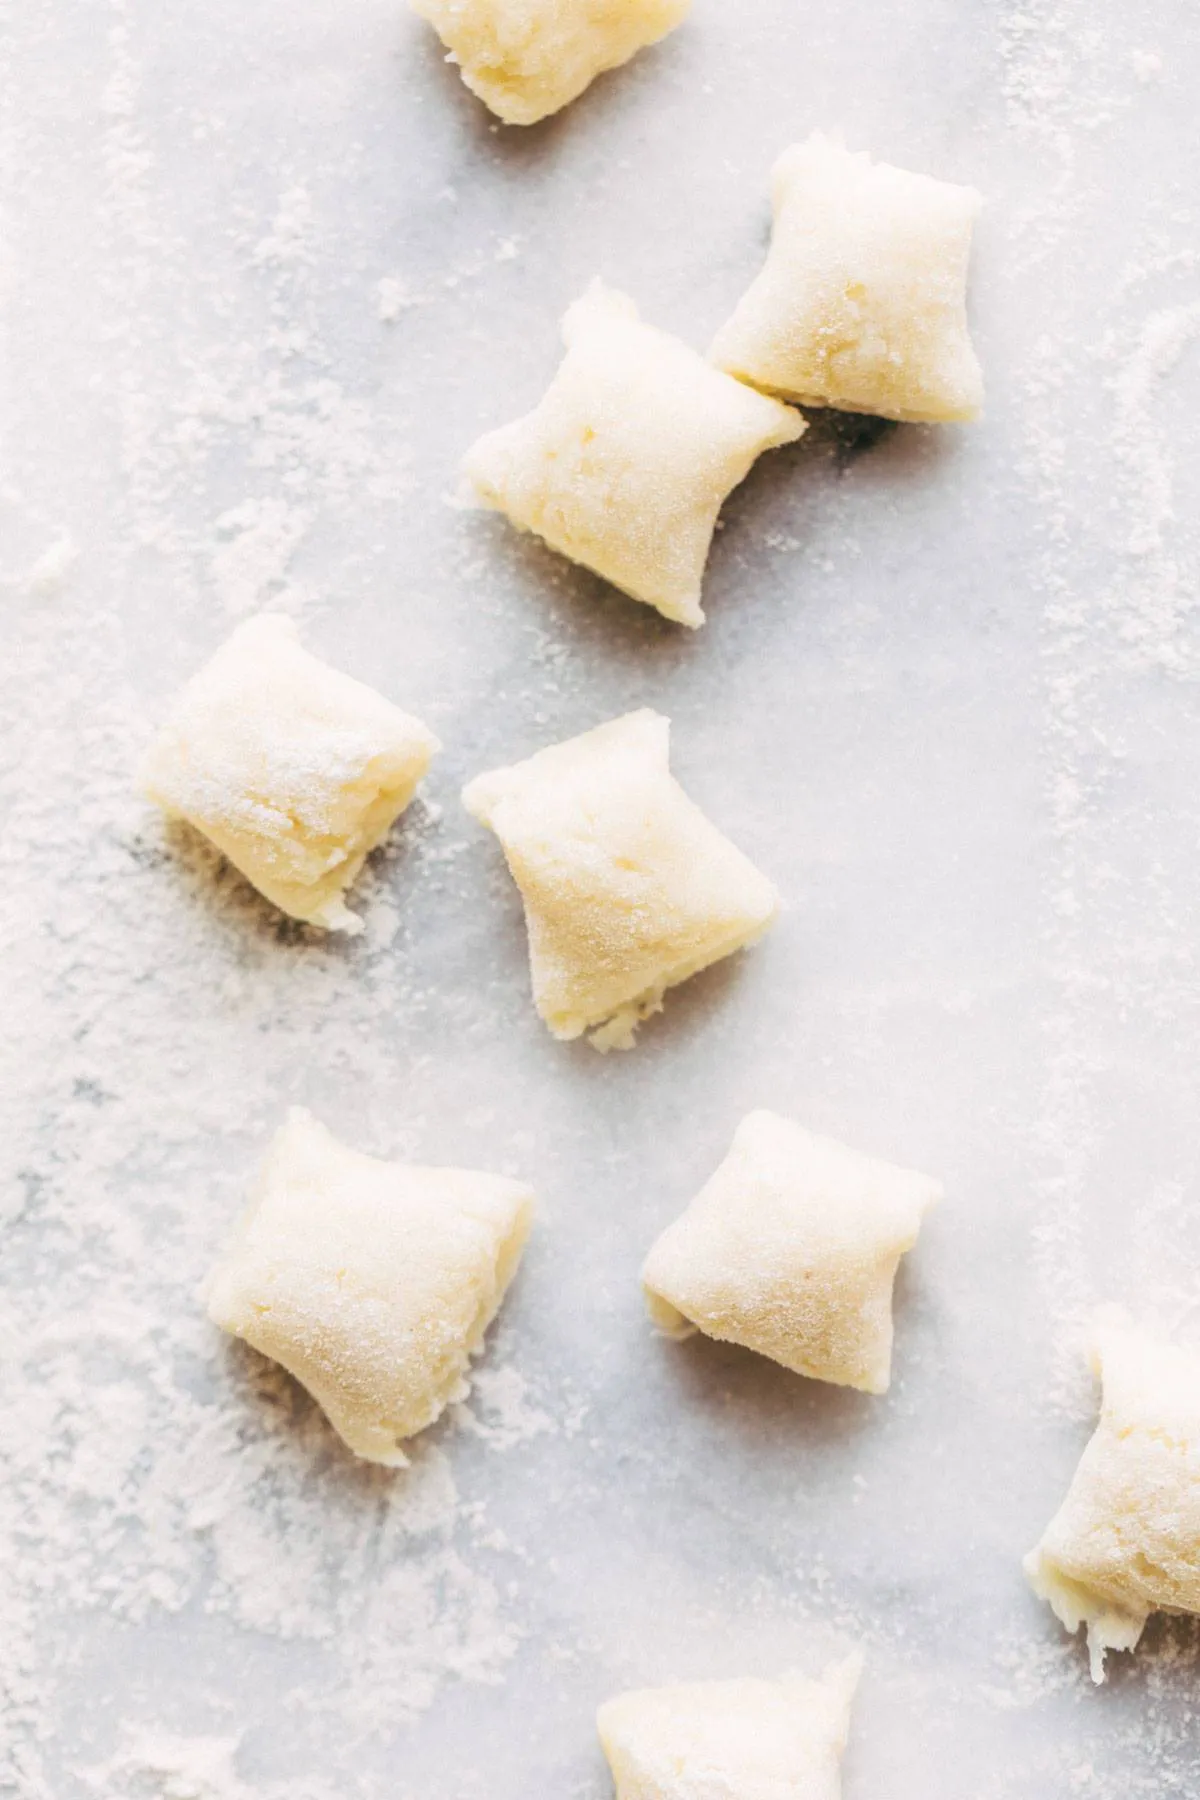 Pieces of cut gnocchi
The Grand Finale: Cooking and Serving Your Gnocchi
-
Boiling to Perfection: Bring a large pot of salted water to a boil. Gently add the gnocchi in batches. They’re ready when they float to the surface.
-
Sauce It Up: Now comes the fun part! Toss your cooked gnocchi with your favorite sauce. A classic tomato sauce, a creamy pesto, or a simple sage and butter sauce are all delicious options.
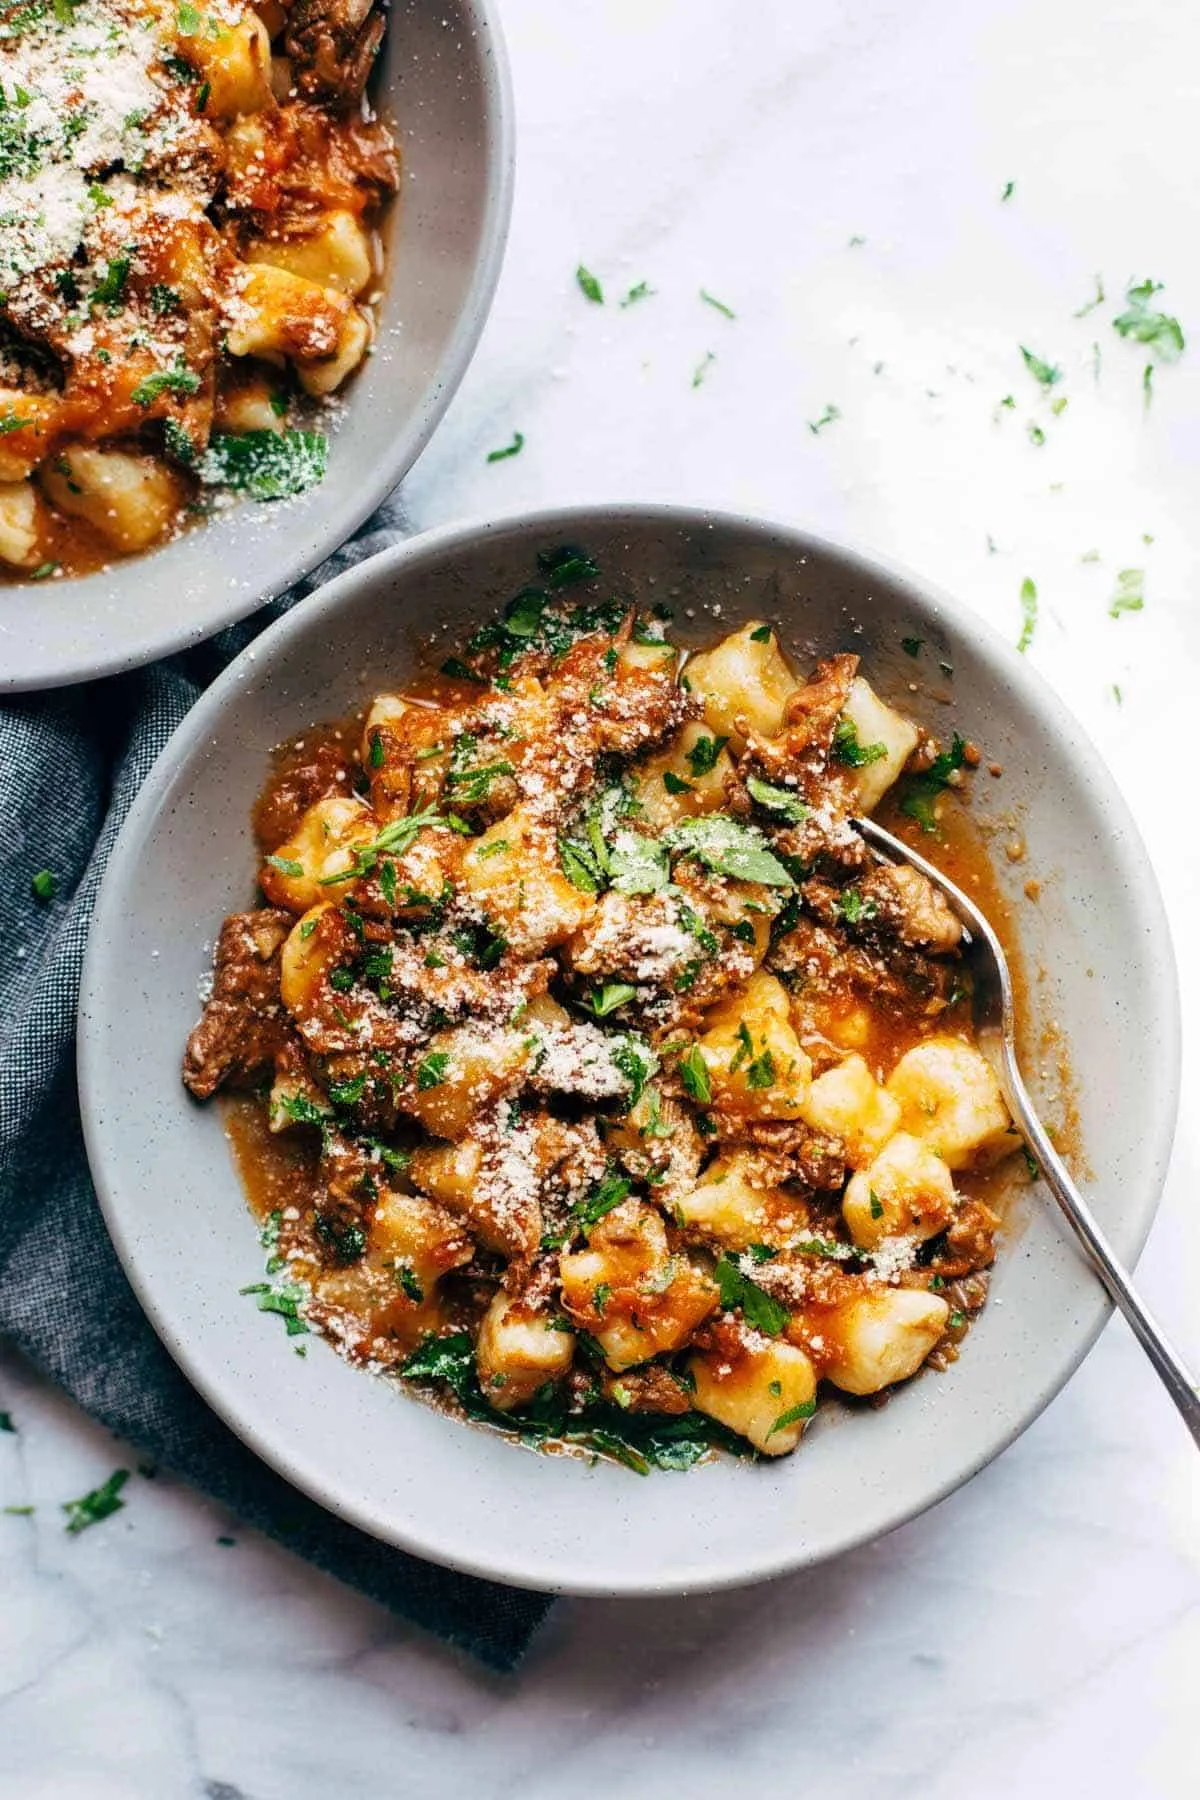 Short Rib Ragu in bowls with gnocchi.
Robert Kline Art’s Expert Tips:
- Dry Potatoes, Perfect Gnocchi: Make sure your grated potatoes are as dry as possible to prevent a sticky dough. You can spread them out on a clean kitchen towel to absorb excess moisture.
- Flour Power: Add flour gradually while kneading, only if needed. Too much flour can result in dense, chewy gnocchi.
- Don’t Overwork the Dough: Knead the dough just until it comes together. Overworking can make the gnocchi tough.
Conclusion
Making homemade gnocchi is a labor of love, a true culinary adventure that allows you to express your creativity in the kitchen. So, gather your ingredients, invite some friends over, and enjoy the process of crafting these little Italian delights. Don’t forget to share your gnocchi masterpieces with us at Robert Kline Art. We’d love to see your culinary creations!
