Blog
DIY Test Tube Spice Rack: A Touch of Science in Your Kitchen
Hello there, fellow craft enthusiasts! Robert Kline here, ready to guide you on another exciting woodworking journey. Today, we’re diving into the fascinating world of spices by crafting a unique and practical DIY test tube spice rack. Imagine this: a beautiful hardwood frame suspending a series of test tubes, each holding your favorite spices. It’s not just a spice rack, it’s a statement piece that adds a touch of science and organization to your kitchen.
Why You Need This Spice Rack
Let me tell you, I’ve been there – a cabinet overflowing with spices, yet I find myself reaching for the same ones day after day. Sound familiar? This DIY test tube spice rack solves that problem! It puts your most-used spices front and center, while also freeing up valuable cabinet space. Plus, the clear test tubes make it incredibly easy to see when you’re running low on a particular spice. No more last-minute dashes to the grocery store in the middle of cooking!
Gathering Your Materials
Before we embark on this exciting project, let’s gather our tools and materials. Don’t worry, I’ve got you covered with a complete list:
For the Rack:
- One 1×4 board of hardwood (Walnut is recommended for its beauty and durability, but feel free to experiment with other hardwoods or even pine)
- 20mm test tubes with cork stoppers
- 21mm diameter Forstner bit
- 18mm inner diameter rubber O-rings (These will keep the test tubes securely in place)
Tools of the Trade:
- Table saw
- Drill or drill press (A drill press ensures perfectly straight holes, but a regular drill will work too)
- Sander and sandpaper (Various grits for a smooth finish)
- Wood glue
- 12″ clamps
- Measuring tape, pencil, and safety glasses
For the Finish:
- Mineral oil (for hardwoods)
- Cutting board wax (optional, for added protection)
Optional for Labels:
- Vinyl cutting machine (like a Silhouette or Cricut)
- Vinyl in your choice of color
- Transfer tape
Remember, safety first! Always wear appropriate safety gear, including safety glasses and ear protection while working with power tools.
Let’s Get Building
This project is perfect for both beginner and experienced woodworkers. I’ve broken it down into manageable steps, so you can tackle it with confidence.
Step 1: Planning and Testing
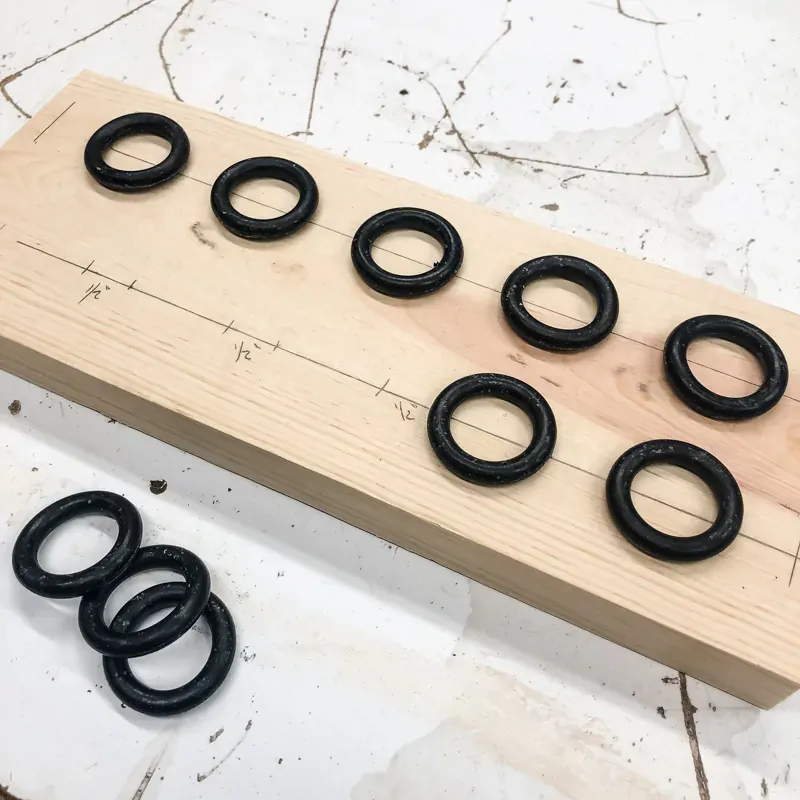
- Determine Spacing: Start by arranging the O-rings on a scrap piece of wood to determine the ideal spacing for your test tubes. This will ensure your spice rack is both functional and visually appealing.
- Mark and Drill Test Holes: Once you’re happy with the spacing, mark the center of each O-ring on the scrap wood and drill test holes using the 21mm Forstner bit. This will help you perfect your drilling technique before moving on to the actual spice rack pieces.
 black O rings spaced apart on wood board for DIY spice rack
Image: Testing the O-ring spacing on a scrap piece of wood.
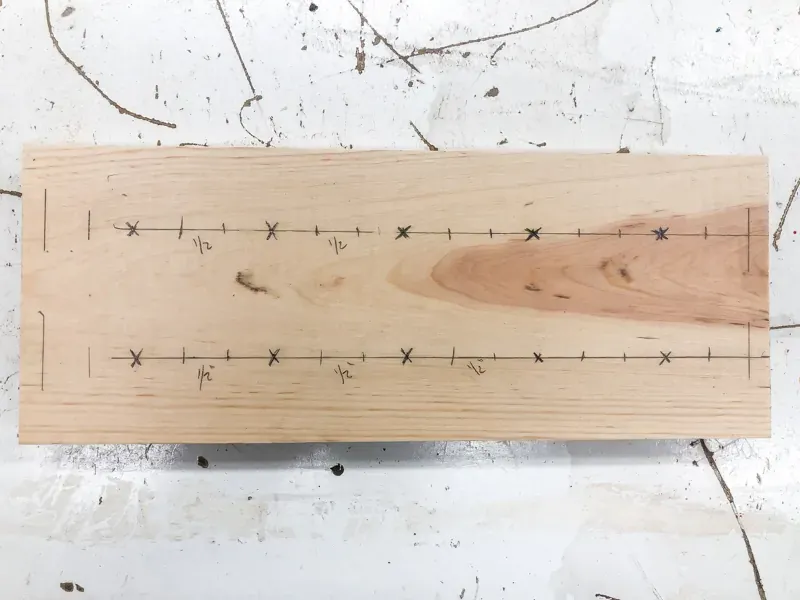 marked out hole position for DIY spice rack
Image: Marking the center points for drilling the test tube holes.
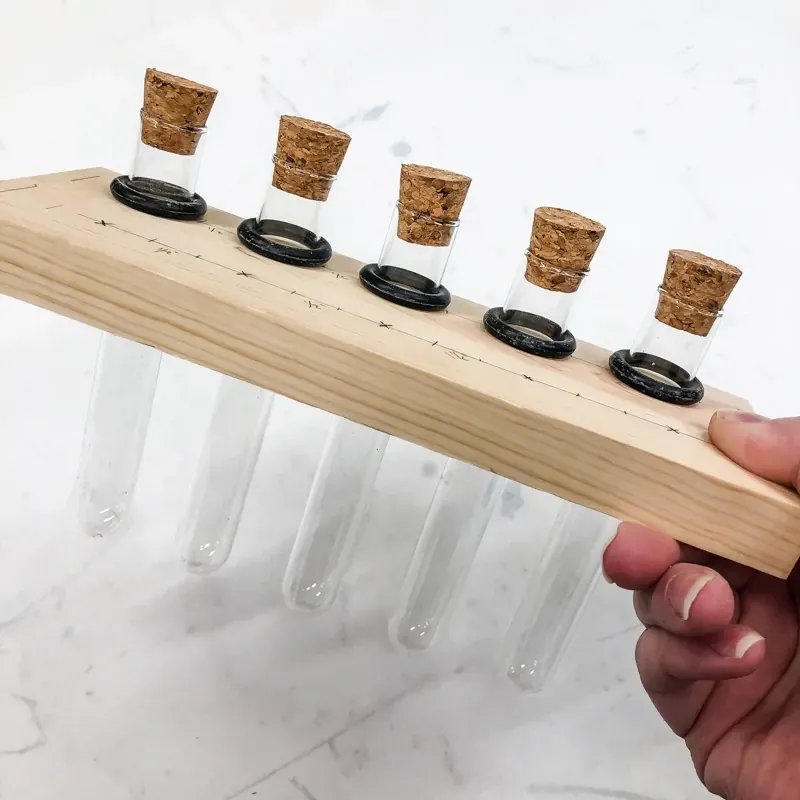 testing idea for DIY spice rack with test tubes
Image: A trial run with the test tubes to make sure everything fits perfectly.
Step 2: Cutting the Spice Rack Pieces
- Measure and Cut: With the spacing figured out, measure and cut one 9 ¾” piece (or adjust based on your spacing) for the top and two 7″ pieces for the sides from your hardwood board.
- Mark for Drilling: Transfer the markings for the test tube holes from your scrap piece to the 9 ¾” piece.
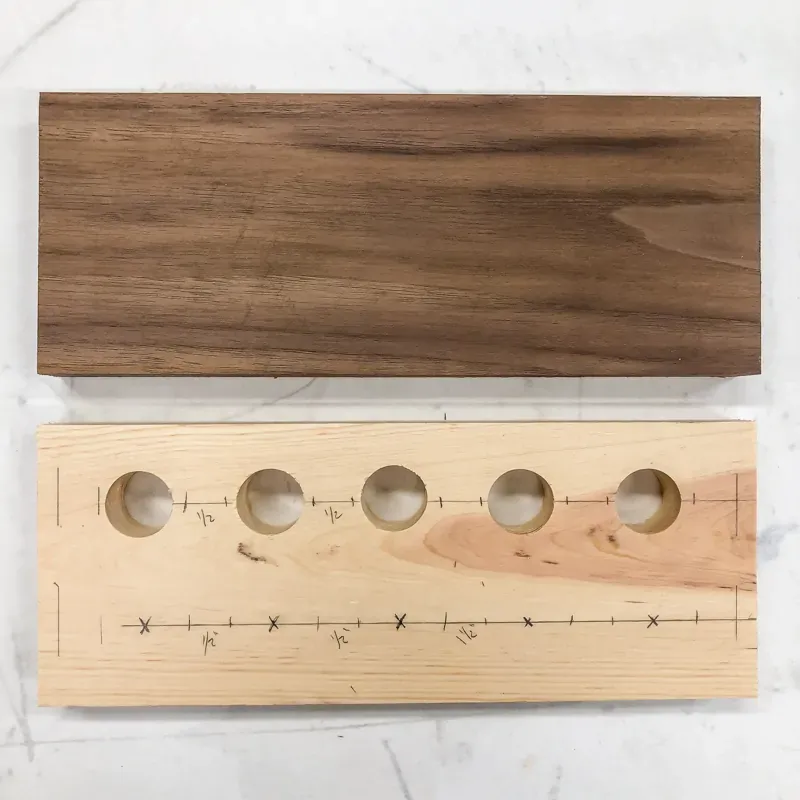 test board and walnut board for DIY spice rack
Image: The final pieces cut from walnut wood, ready for the next step.
Step 3: Drilling the Test Tube Holes
- Secure and Drill: Secure the top piece to your work surface using clamps. Carefully align the Forstner bit with your markings and drill through the wood.
- Sand for Smoothness: After drilling all the holes, sand all three pieces of the spice rack with progressively finer grits of sandpaper to achieve a smooth and splinter-free finish.
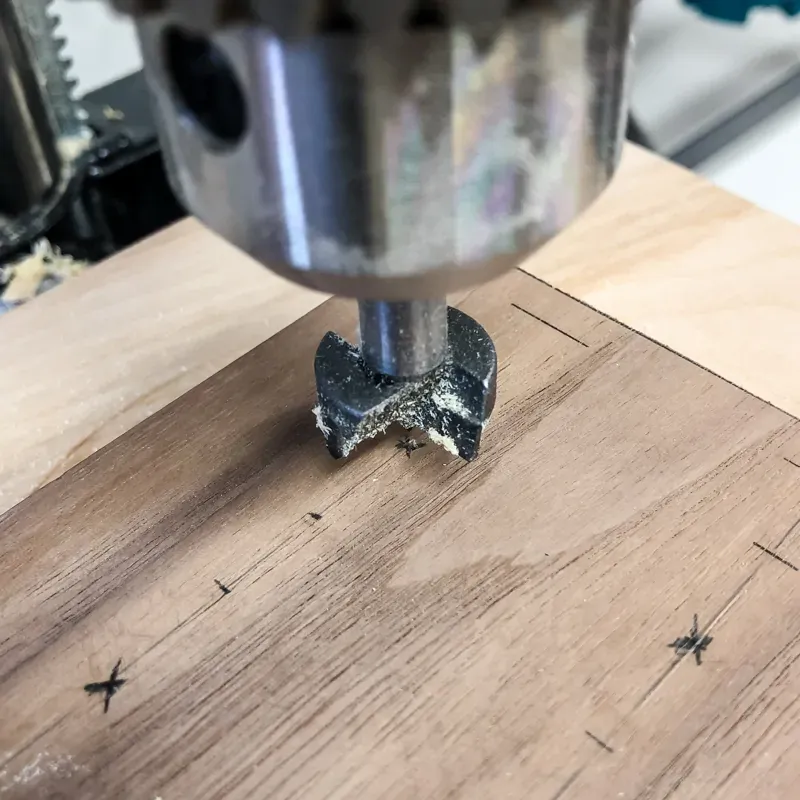 drilling holes with forstner bit in drill press
Image: Using a Forstner bit to drill clean and precise holes for the test tubes.
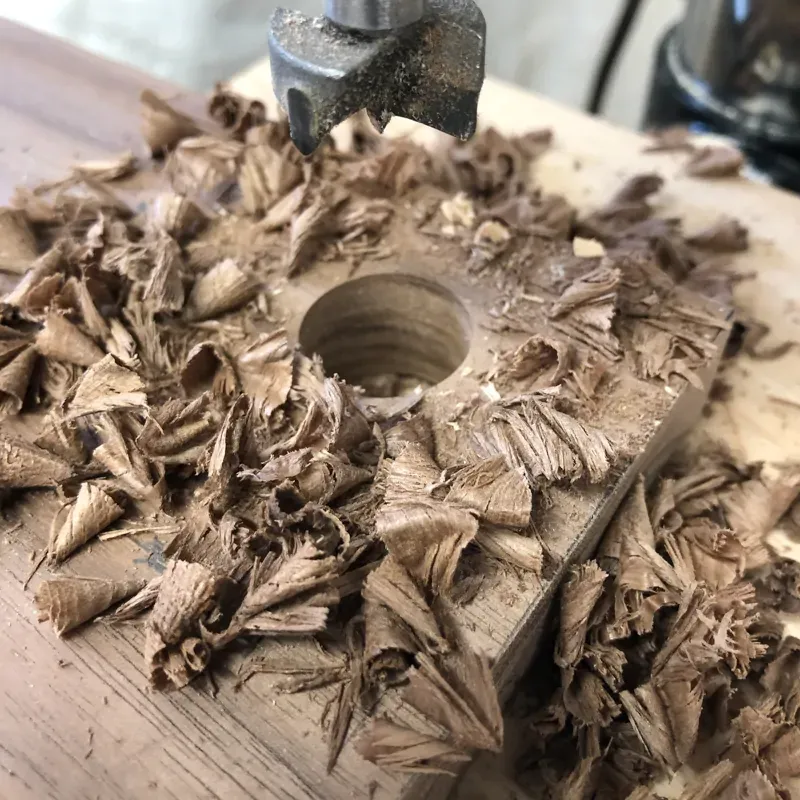 walnut wood shaving around hole drilled with forstner bit
Image: The satisfying result of drilling into hardwood – smooth, clean holes.
Step 4: Creating the Dado Joints
- Mark the Dadoes: On each side piece, mark a line 1 ½” down from the top edge. This will be the top of your dado joint. Then, mark a second line to indicate the bottom of the dado, which should be the same width as your top piece (typically ¾”).
- Cut the Dadoes: Set your table saw blade height to ⅛” and carefully cut along your marked lines to create the dado grooves. Make multiple passes, gradually widening the groove to ensure a snug fit for the top piece.
- Test the Fit: Before moving on, test fit the top piece into the dadoes. You want a snug fit, but not too tight. Sand if needed to achieve the perfect fit.
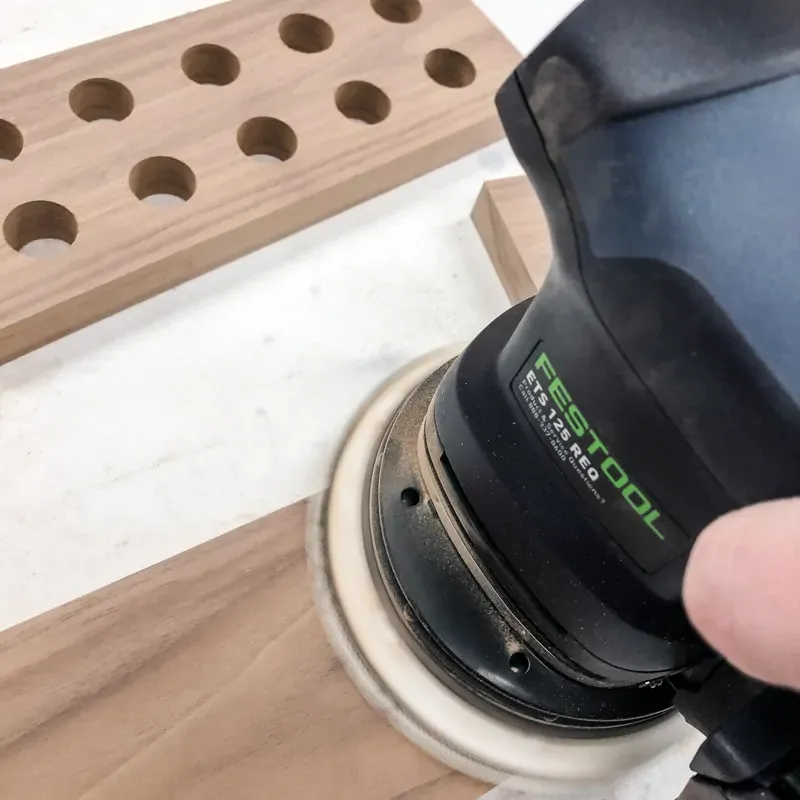 sanding walnut board with a Festool sander
Image: Sanding the walnut wood to prepare it for assembly.
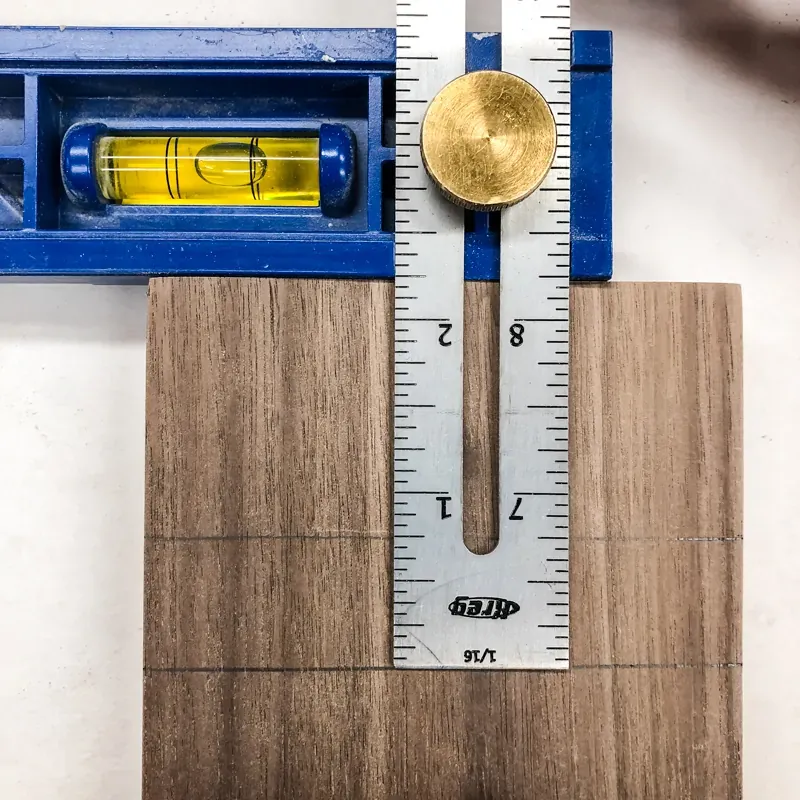 marking the top and bottom of a dado with the Kreg Multi-Mark tool
Image: Accurately marking the location of the dado grooves on the side pieces.
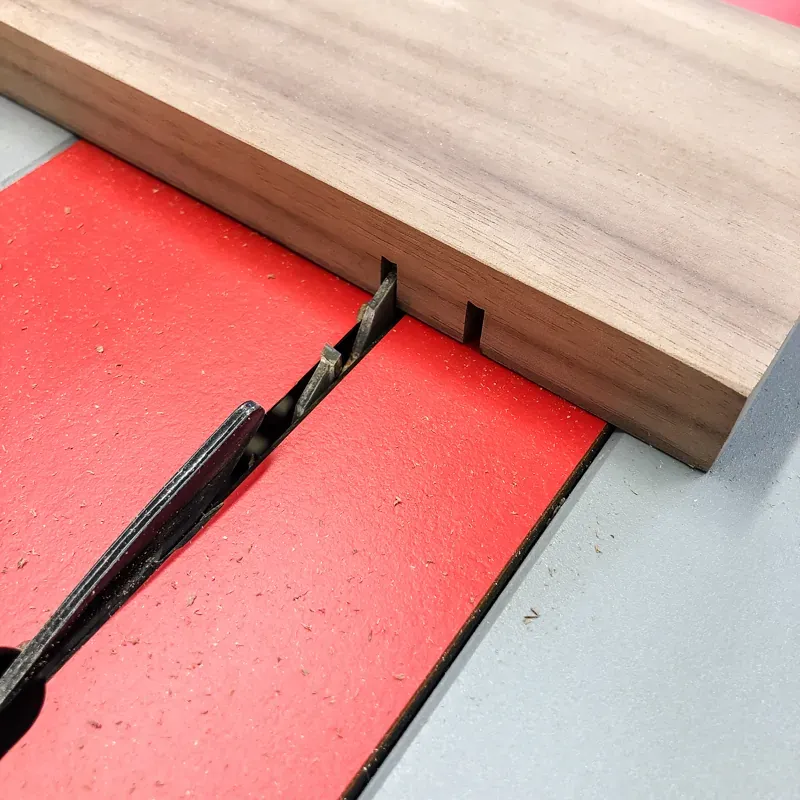 cutting outside edges of dado groove with table saw
Image: Carefully cutting the dado grooves on the table saw.
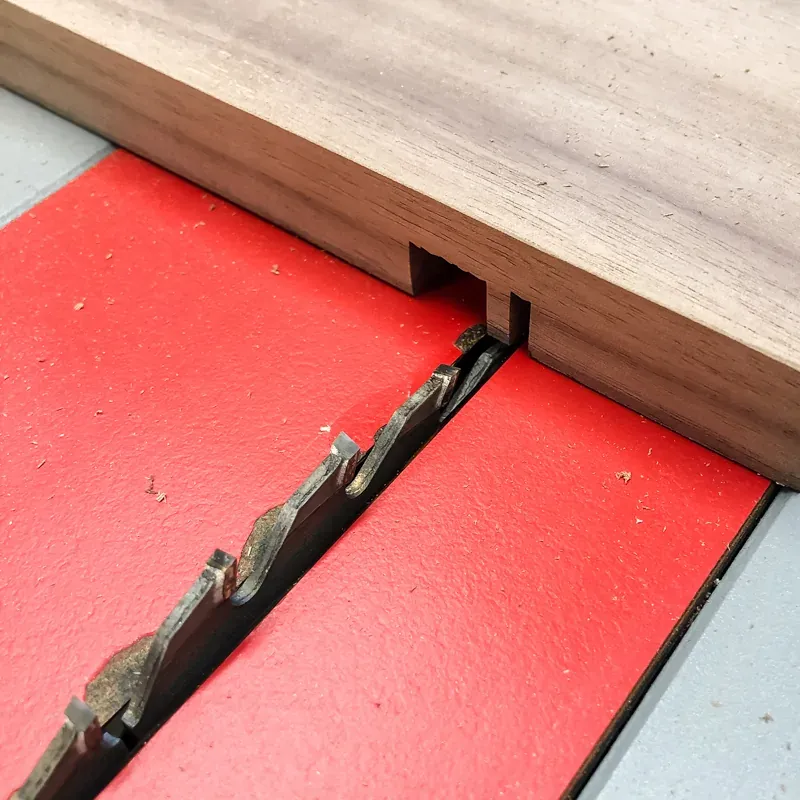 cutting away middle of dado with regular table saw blade
Image: Removing the excess wood from the dado groove for a clean finish.
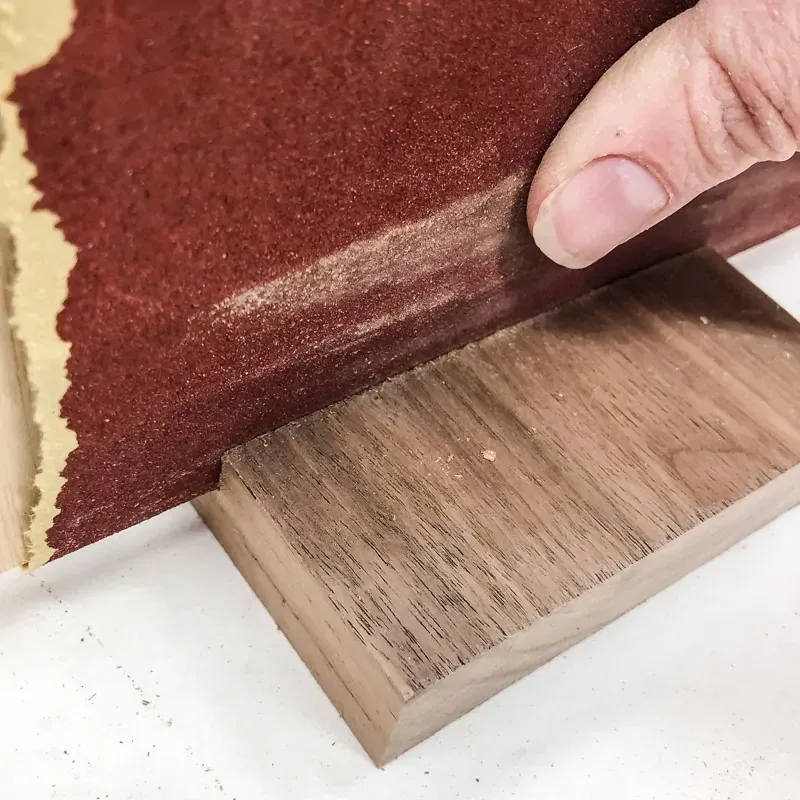 sanding inside of dado
Image: Sanding the inside of the dado to ensure a smooth and flush fit.
Step 5: Assembling the Spice Rack
- Glue and Clamp: Apply wood glue to the inside of the dadoes. Carefully insert the top piece into the side pieces, ensuring it sits flush with the top of the dadoes. Use clamps to secure the pieces together while the glue dries. Remember to wipe away any excess glue.
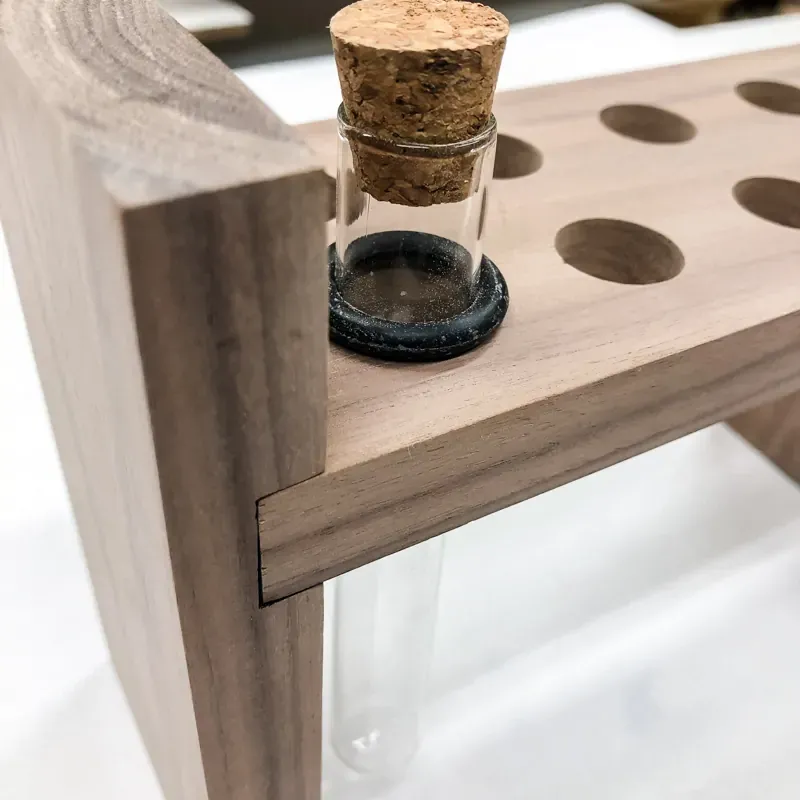 test fit of DIY spice rack in walnut
Image: A test fit before the final glue-up, ensuring everything aligns perfectly.
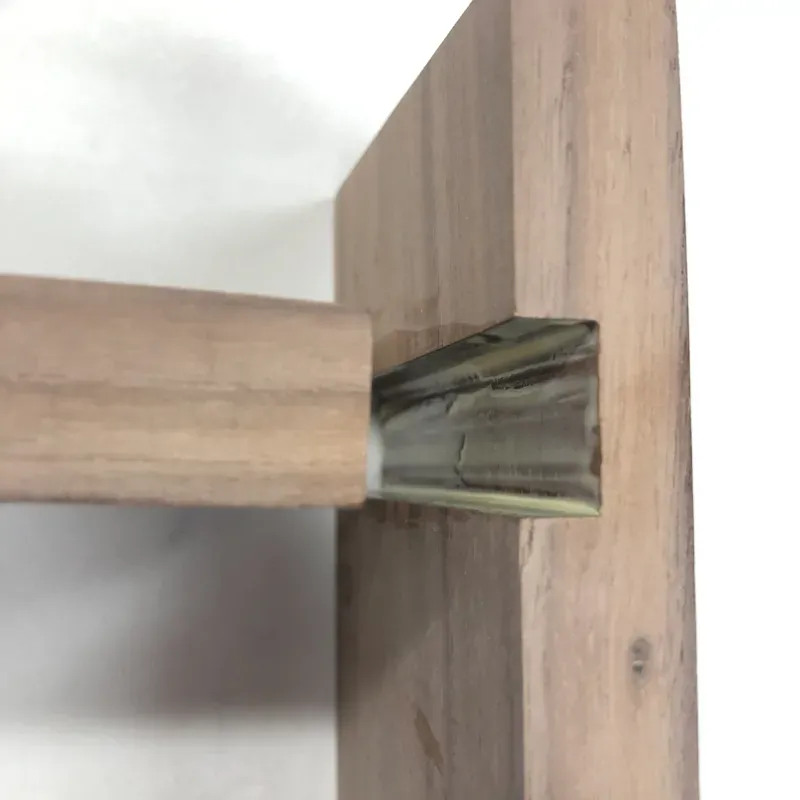 wood glue inside dado of DIY spice rack
Image: Applying wood glue to the dado grooves for a strong and lasting bond.
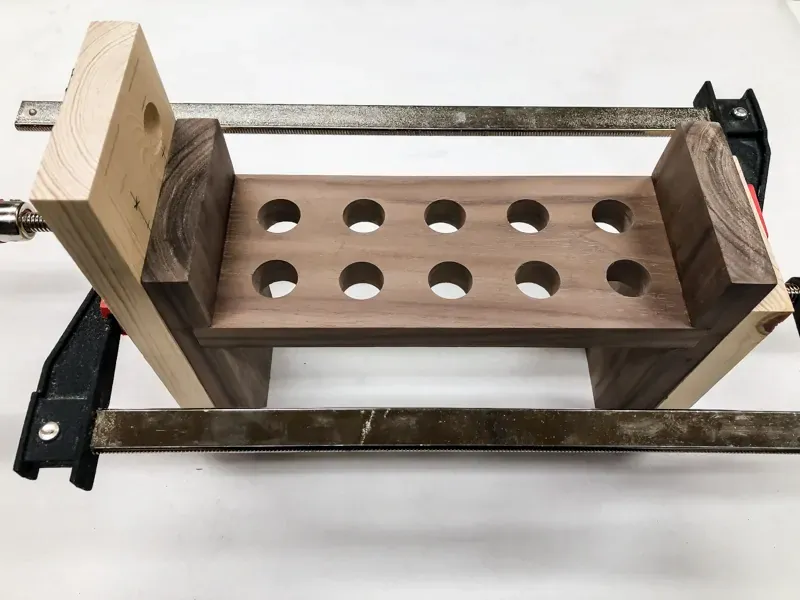 DIY spice rack clamped together
Image: Clamping the spice rack together securely while the glue dries.
Step 6: Applying the Finish
- Enhance and Protect: Now it’s time to give your spice rack a beautiful and protective finish. If you used hardwood, apply a generous coat of mineral oil to enhance the wood’s natural beauty and protect it from moisture.
- Optional Wax Coating: For added durability, consider applying a coat of cutting board wax after the mineral oil has dried.
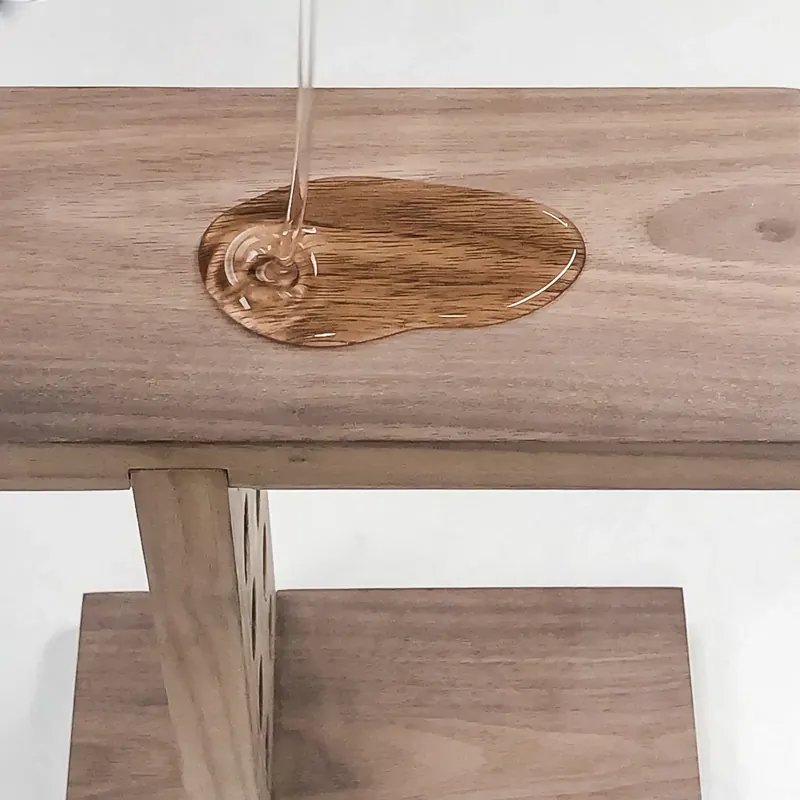 pouring mineral oil onto walnut wood spice rack
Image: Applying mineral oil to the walnut wood, bringing out its rich color and grain.
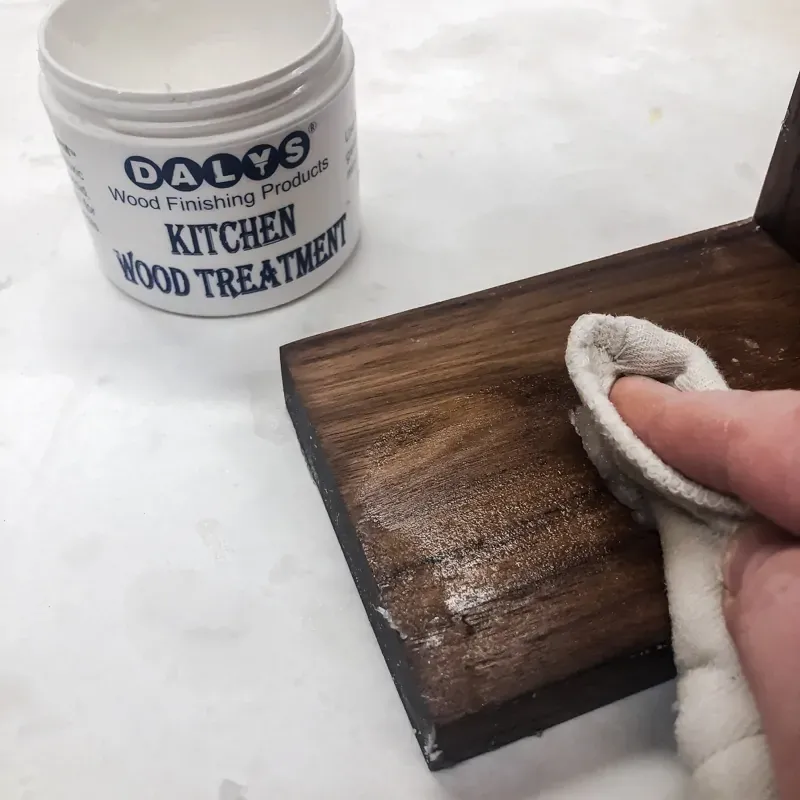 applying cutting board wax to surface of DIY spice rack
Image: Adding a layer of cutting board wax for extra protection and a polished look.
Step 7: Labeling and Filling the Test Tubes
- Label with Style: To keep your spices organized, create labels for each test tube. You can use a vinyl cutting machine for a professional look or get creative with hand-lettered labels.
- Fill and Arrange: Once the labels are ready, slip an O-ring onto each test tube and fill them with your favorite spices.
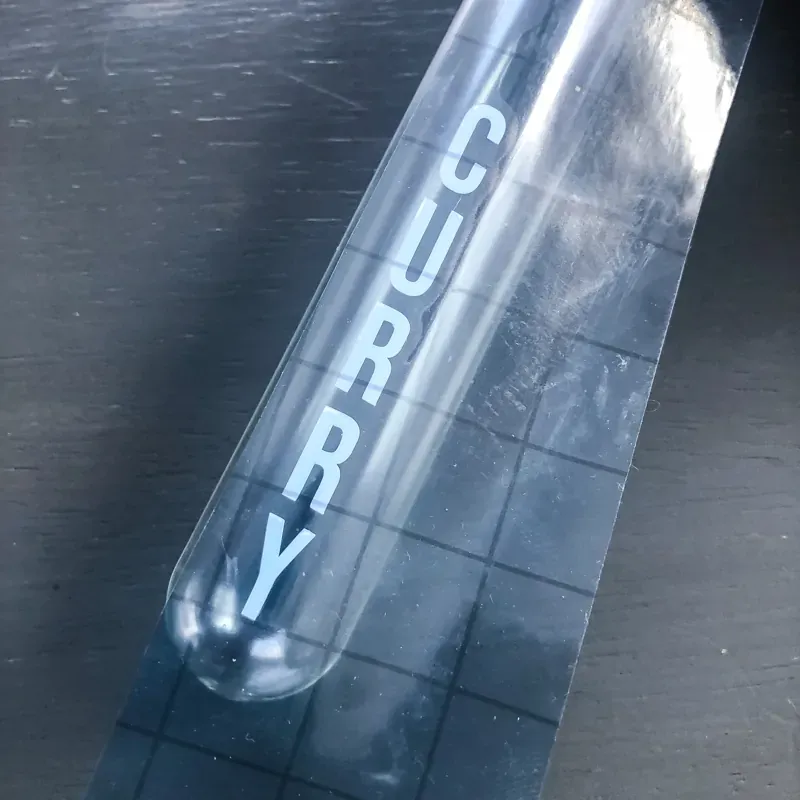 applying vinyl letters to glass test tube
Image: Adding labels to the test tubes for easy identification.
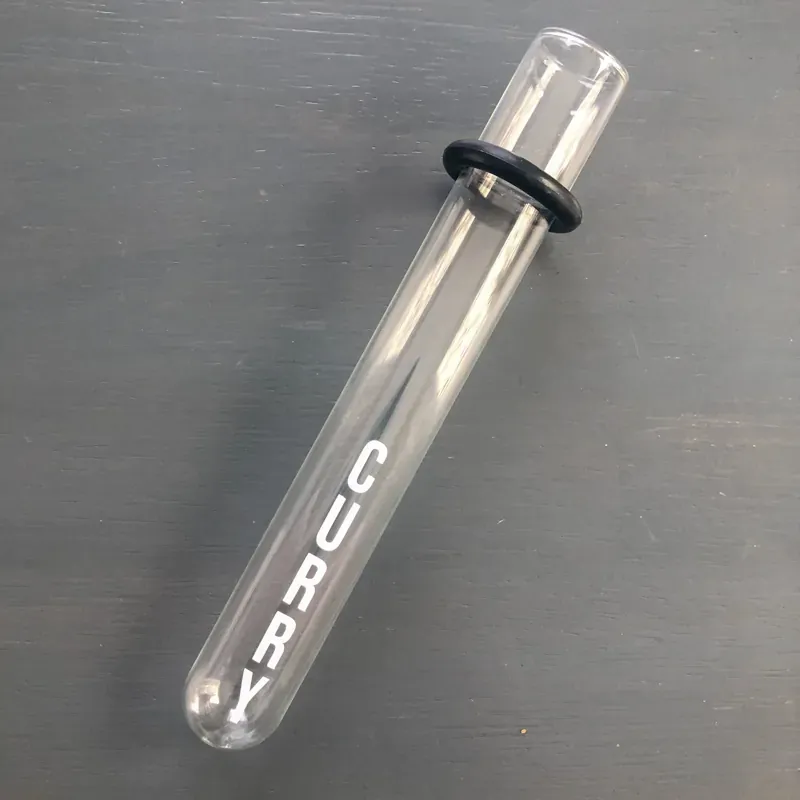 labeled test tube for DIY spice rack
Image: The labeled test tubes, ready to be filled with spices.
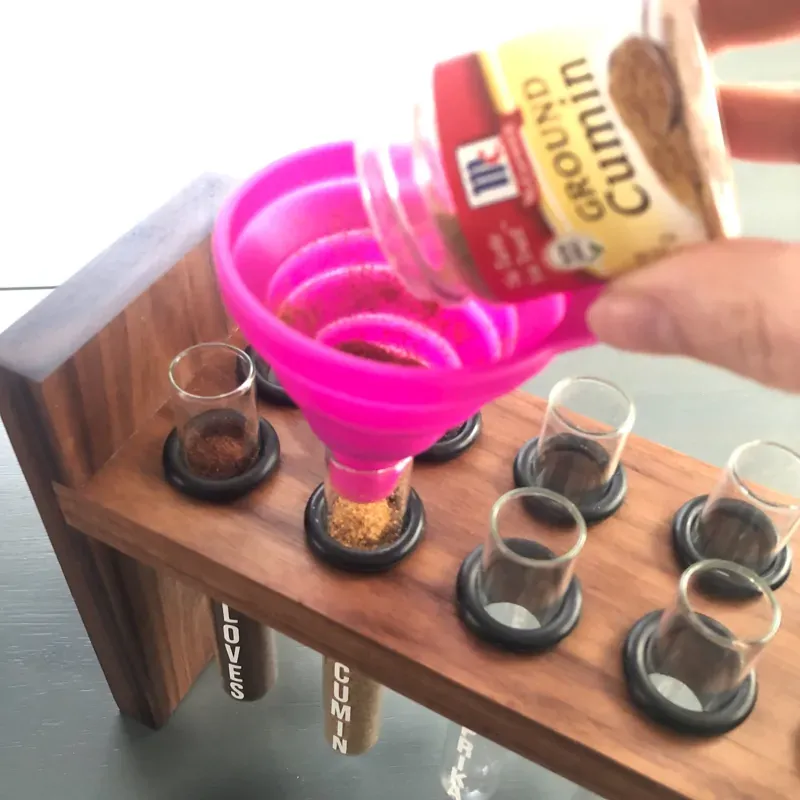 filling test tubes for DIY spice rack with pink funnel
Image: Using a funnel to easily fill the test tubes with spices.
Your Masterpiece Awaits
Congratulations! You’ve just transformed your kitchen with a stunning and practical DIY test tube spice rack. This project is a testament to the beauty of handcrafted items and the joy of creating something unique for your home.
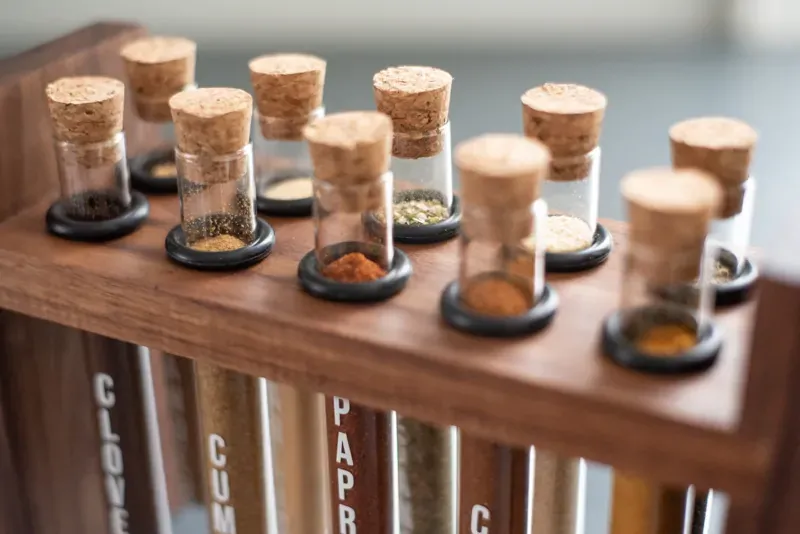 close up view of DIY spice rack with corks in the top of each test tube
Image: A close-up view of the finished spice rack, showcasing the neatly labeled test tubes.
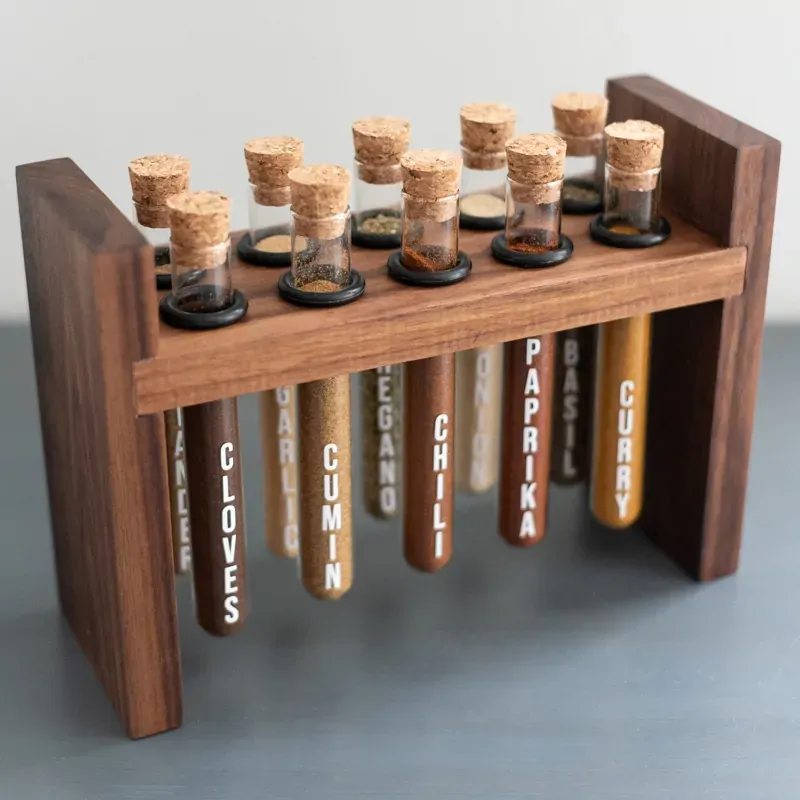 DIY spice rack with test tubes suspended from walnut frame
Image: The completed DIY test tube spice rack, a beautiful and functional addition to any kitchen.
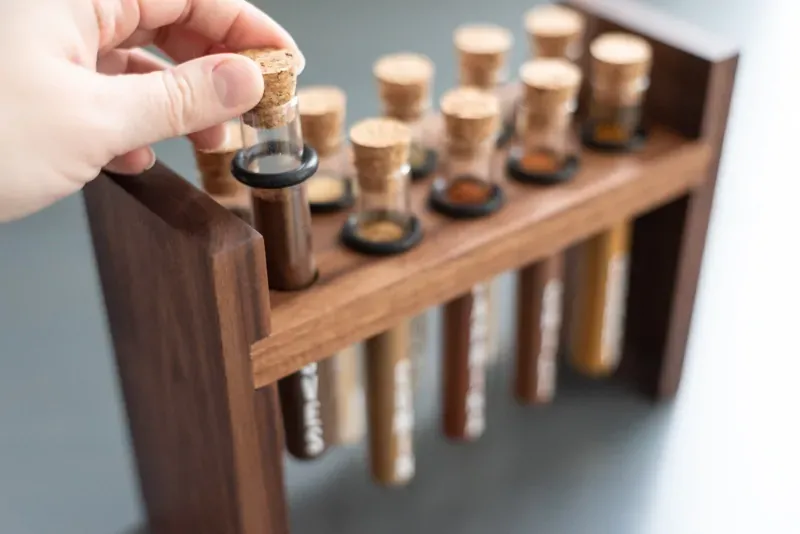 pulling one test tube out of DIY spice rack
Image: The ease of accessing spices with this DIY spice rack design.
Looking for More Inspiration?
If you enjoyed this project and are eager to tackle more DIY home improvement and organization ideas, I encourage you to check out these other inspiring projects on Robert Kline Art:
- DIY Drawer Dividers: Maximize your drawer space and banish clutter with custom-made drawer dividers.
- DIY Drawer Organizers: Create a place for everything with these practical and easy-to-build drawer organizers.
- DIY Kitchen Storage Ideas: Discover a wealth of ingenious kitchen storage solutions to streamline your cooking space.
- DIY Pantry Makeover: Transform your pantry from chaotic to organized with this step-by-step guide.
- DIY Coffee Mug Display: Showcase your favorite mugs with style using this creative and easy DIY project.
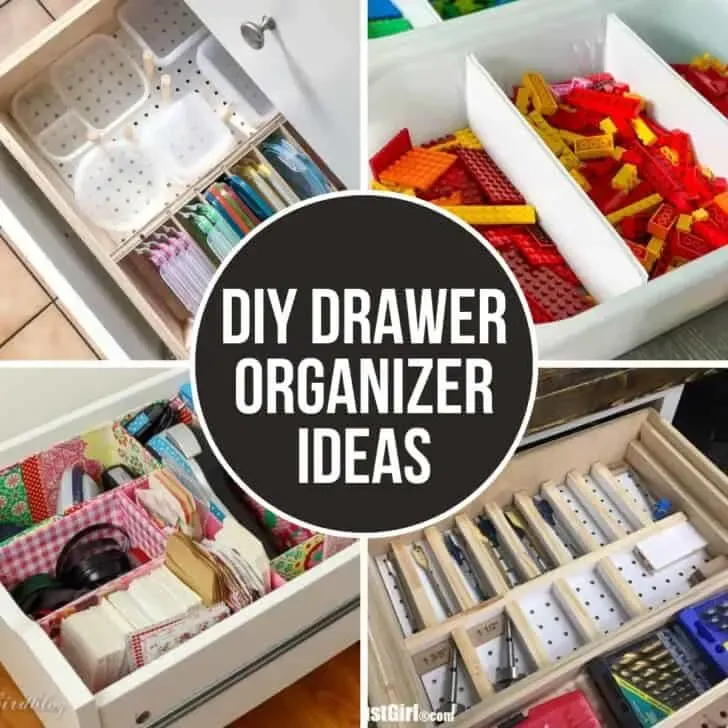 DIY drawer dividers
Image: Keep your drawers organized with DIY dividers.
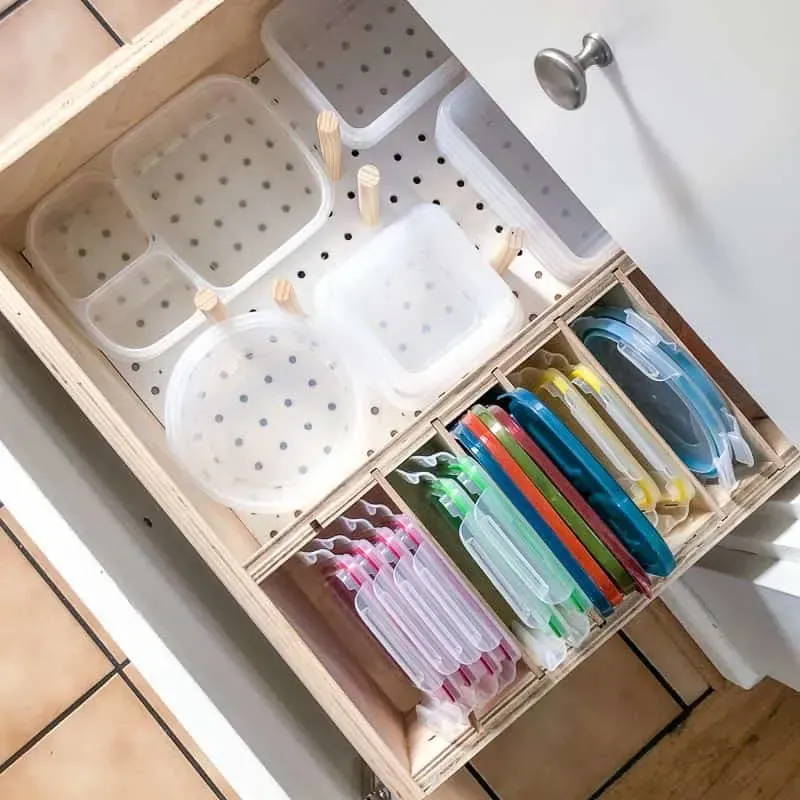 DIY drawer organizer
Image: A tidy drawer starts with a DIY drawer organizer.
 DIY kitchen storage ideas
Image: Explore a variety of creative DIY kitchen storage solutions.
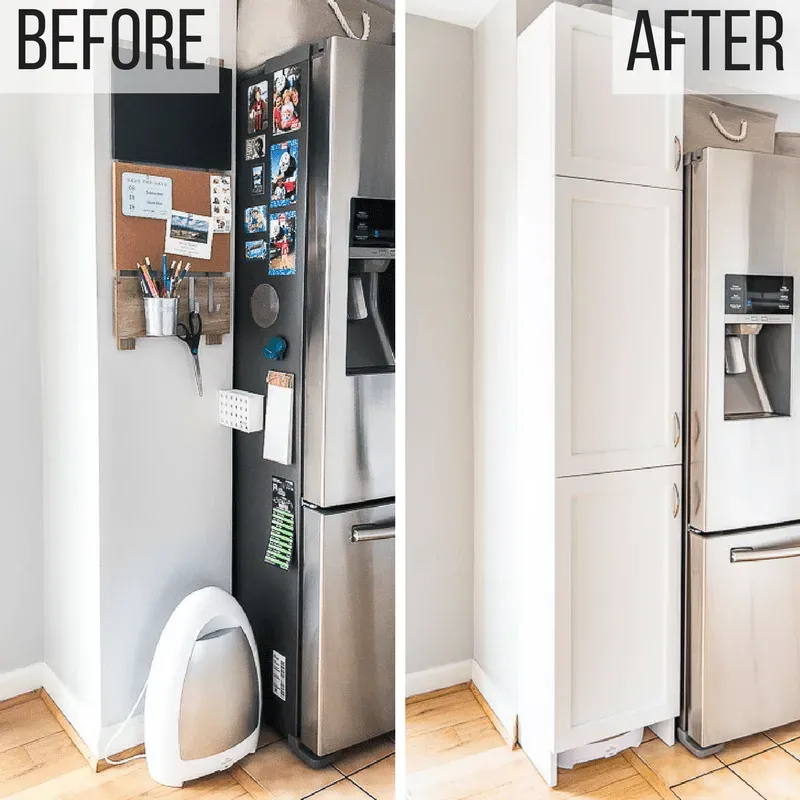 how to build a pantry cabinet – before and after
Image: A pantry transformation with smart DIY solutions.
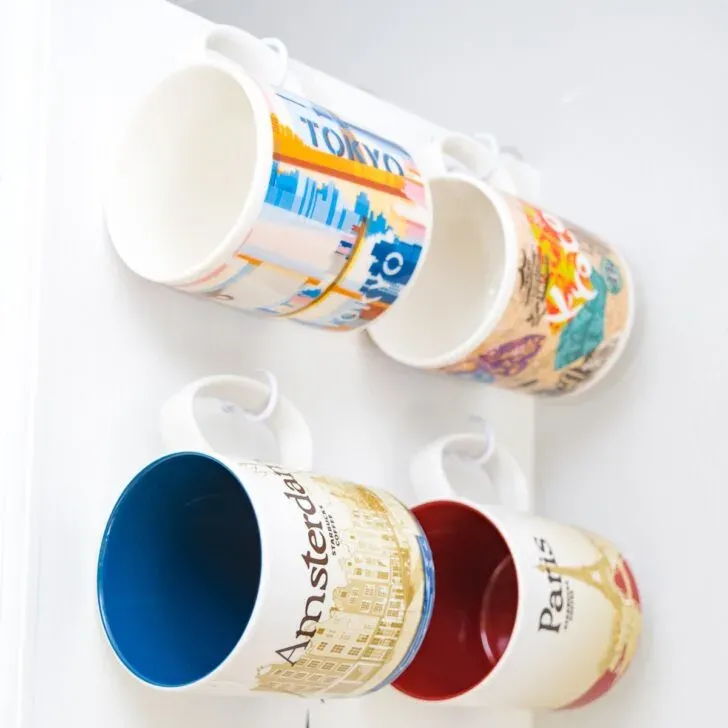 Starbucks mug display
Image: Display your mug collection with pride using this DIY idea.
I can’t wait to see your own creations! Share your experiences and photos in the comments below. Happy crafting!
