Blog
Crafting Your Own Bookcloth: A Step-by-Step Guide

Have you ever wanted to elevate your crafting projects with beautiful, custom-made bookcloth? At Robert Kline Art, we believe in tapping into your creativity, and what better way than crafting your own bookcloth from scratch? This comprehensive guide will walk you through the process, providing tips and insights from my years of experience.
Understanding Bookcloth
Before we dive in, let’s talk about what makes bookcloth unique. Unlike regular fabric, bookcloth often has a paper or acrylic backing. This serves several purposes:
- Strength and Stability: The backing adds rigidity, preventing stretching and warping, crucial for a smooth and professional finish.
- Preventing Glue Seepage: It acts as a barrier, stopping glue from bleeding through the fabric weave and marring your cover. Just imagine ruining a beautiful fabric with unsightly glue stains – a crafting nightmare!
Gathering Your Materials
Every masterpiece starts with the right tools. Here’s what you’ll need:
- Fabric of your choice: Let your creativity guide you!
- Lightweight backing paper: Kozo or Unryu Japanese rice papers are excellent choices.
- Wheat paste: You can easily make your own! More on that in a bit.
- Large, flat surface: A glass pane or cutting mat works best.
- Spray bottle with water
- Paintbrushes or a brayer
- Scissors
Making Wheat Paste: A Simple Recipe
Skip the store-bought stuff and embrace the satisfaction of making your own! Here’s a simple recipe:
- Boil water: Bring four parts water to a boil.
- Mix flour and water: In a separate container, whisk together one part flour and one part cold water until smooth.
- Combine mixtures: Slowly pour the flour mixture into the boiling water while continuously stirring.
- Cook and cool: Reduce heat to a simmer, stirring constantly until the mixture thickens to a gravy-like consistency. Pour into a container and let it cool completely.
Pro Tip: For smaller batches, use 1 cup of hot water and 3 tablespoons of flour. Remember, fresh paste is always best!
Step-by-Step Guide to Making Bookcloth
1. Prepare Your Fabric
Cut your chosen fabric slightly larger than your desired finished size, leaving room for adjustments. Lightly spray the fabric with water and smooth it face down on your work surface.
2. Prepare Your Backing Paper
Cut your backing paper two inches larger than your fabric on all sides. Lightly spray the paper with water and use a brush to relax the fibers.
3. Applying the Paste
Working quickly, evenly spread the wheat paste across the entire surface of the backing paper. Start from the center and work your way outwards.
Pro Tip: For larger pieces, consider using multiple smaller sheets of backing paper to avoid wrinkles and ensure even coverage.
4. Adhering the Fabric
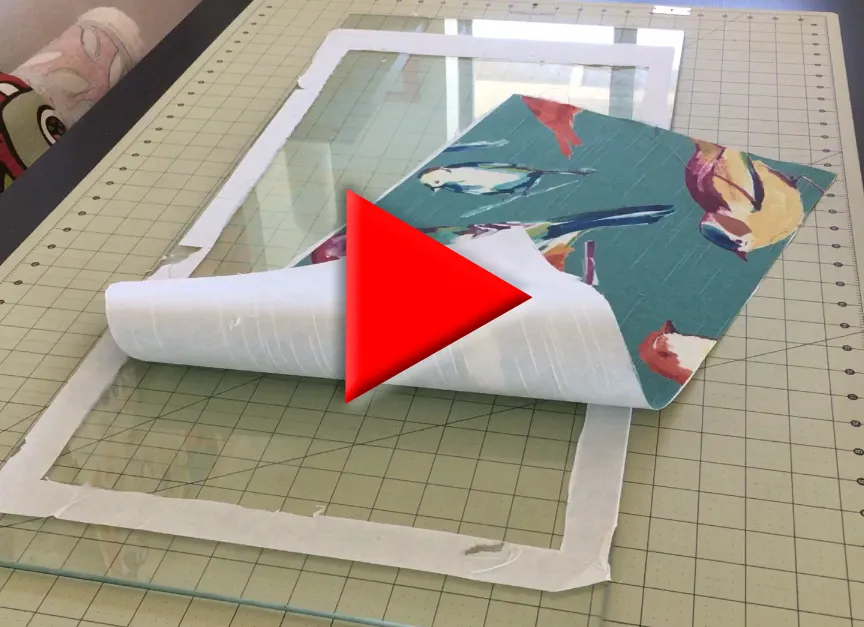
Carefully place the pasted side of the backing paper onto the backside of your fabric. Using a brush or brayer, gently smooth out any air bubbles, working from the center towards the edges.
Pro Tip: Apply light pressure with the brayer to avoid pushing paste through the fabric.
5. Drying and Finishing
Allow your bookcloth to dry thoroughly. Once dry, trim the excess backing paper around the fabric. Clean up any residual paste with a damp cloth.
Conclusion
Congratulations! You’ve just created your own unique bookcloth. Now you can add a touch of handmade elegance to journals, photo albums, boxes and more.
Don’t forget to share your creations and experiences in the comments below! And be sure to browse the curated collection of handmade gifts and crafting supplies on Robert Kline Art for more inspiration.
Remember, creativity thrives on experimentation and personal expression. Happy crafting!
 " width=
