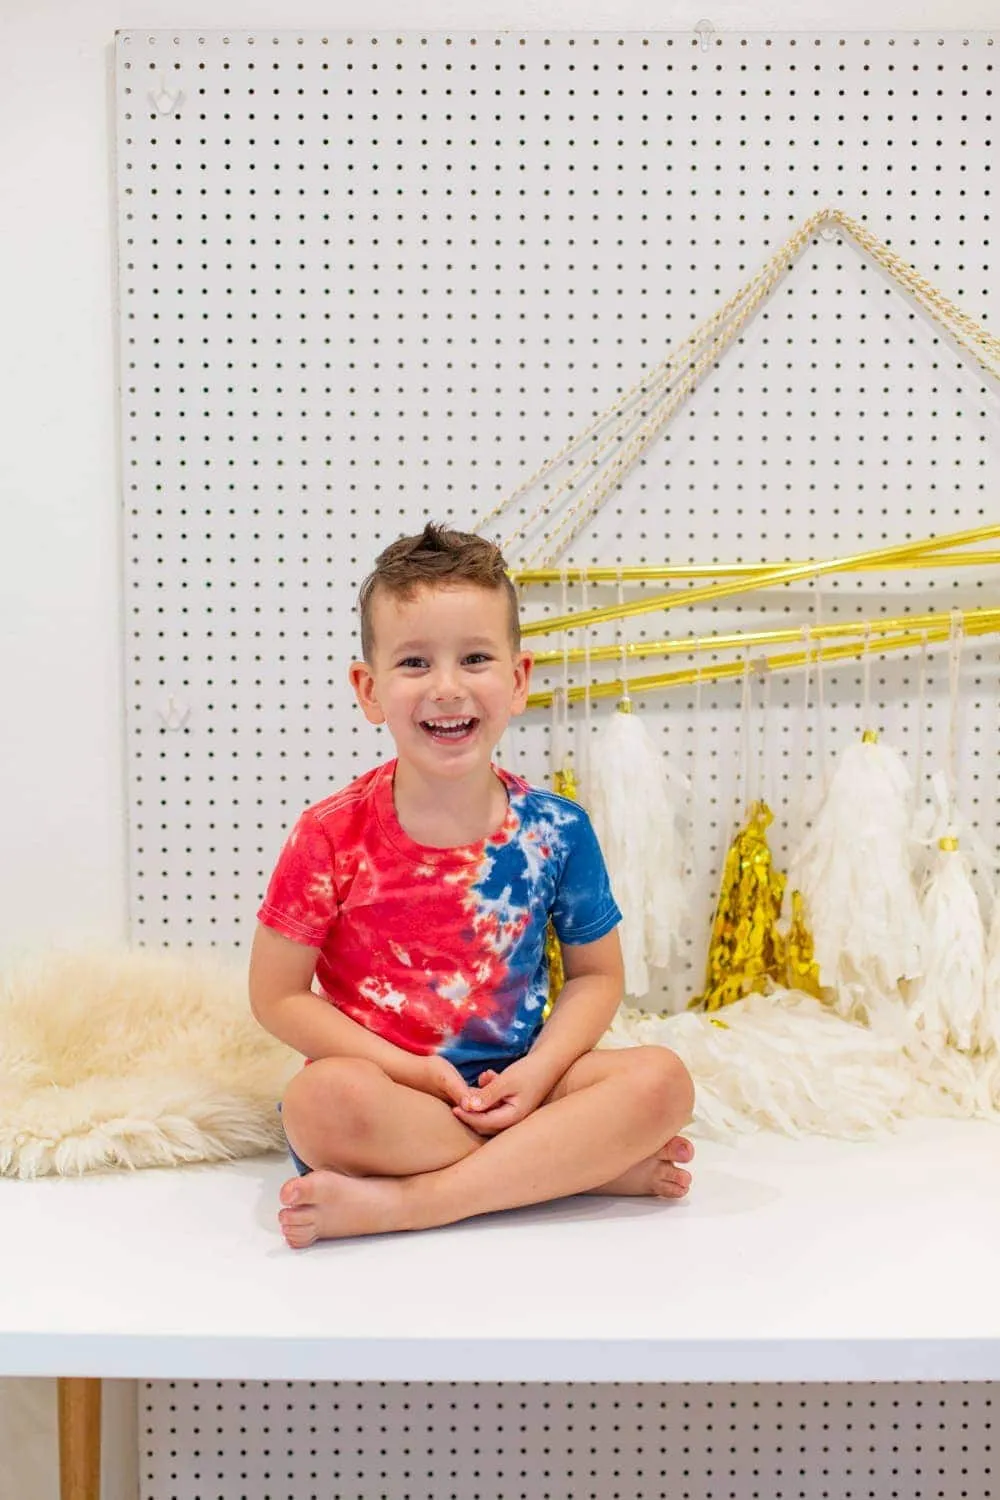
DIY Tie-Dye Shirts for a Festive Fourth of July Celebration

Hey there, fellow craft enthusiasts! Robert Kline here, and let me tell you, there’s nothing quite like the feeling of creating something with your own two hands. With Independence Day right around the corner, I was itching for a fun project that would let me unleash my creativity and get into the patriotic spirit. That’s when I stumbled upon the idea of making tie-dye Fourth of July shirts – a classic, always exciting way to show off your red, white, and blue pride!
Why Tie-Dye for the Fourth of July?
For me, Fourth of July is all about embracing the joy and freedom of the holiday. And what better way to do that than by rocking a unique, hand-dyed shirt that screams “Happy Birthday, America!”? Tie-dye is a fantastic activity for the whole family, allowing everyone to get involved and express their artistic side. Plus, you end up with one-of-a-kind shirts that are perfect for parades, barbecues, or just lounging around in style.
Gathering Your Tie-Dye Arsenal
Before we dive into the fun part, let’s talk supplies. You can find everything you need for this project at your local craft store or online. Here’s a quick rundown:
Materials:
- Tie-dye kit: I highly recommend using a pre-packaged kit like this one for convenience ([link to a tie-dye kit]). However, if you prefer, you can also purchase individual red and blue dyes separately.
- Plain white t-shirts: Opt for 100% pre-shrunk cotton shirts for the most vibrant and long-lasting results.
- Rubber bands: These are essential for creating those cool tie-dye patterns.
- Plastic trash bags: To protect your work surface from dye splatters.
- Rubber gloves: To keep your hands clean and stain-free.
Tools:
- Scissors: For cutting the rubber bands.
Time to Get Crafty: Creating Your Fourth of July Masterpieces
Now, let’s get down to business! This tie-dye technique is super simple and easy to customize.
Step 1: Prepping Your Canvas
Start by washing and drying your shirts to remove any residue that might interfere with the dye absorption. Once they’re dry, lay them out on a flat surface and decide on your desired tie-dye pattern.
Pro Tip: Experiment with different folding and bunching techniques to create unique designs.
For a classic spiral pattern, pinch the center of the shirt and twist, securing the fabric with rubber bands as you go. For a more abstract look, try scrunching the shirt randomly and adding rubber bands to hold the folds in place.
Step 2: Unleashing the Colors
Put on your gloves and prepare your dyes according to the kit instructions. I went with a bold red and royal blue combo for that quintessential Fourth of July vibe.
Lay your banded shirt on a plastic trash bag to protect your work area. Then, start applying the dye to your shirt.
Remember: A little dye goes a long way! Apply the dye strategically, ensuring that it penetrates the folds and crevices of your design.
 make tie-dye shirts for fourth of july
Step 3: The Waiting Game
Once you’re satisfied with your dye application, carefully wrap the shirt in another trash bag and set it aside to cure for 4-6 hours. This step is crucial for allowing the dye to set and create vibrant, long-lasting colors.
 make tie-dye shirts for fourth of july
Step 4: The Big Reveal
After the curing time is up, it’s time to unveil your masterpiece! Carefully remove the rubber bands, revealing the intricate patterns you’ve created.
Pro Tip: Rinse the shirt thoroughly under cold water until the water runs clear. Then, wash it separately in cold water with a mild detergent.
 make tie-dye shirts for fourth of july
Show Off Your Creations
And there you have it – your very own tie-dye Fourth of July shirts, ready to make a statement!
 make tie-dye shirts for fourth of july
Get creative: Don’t limit yourself to just shirts! Try tie-dyeing bandanas, tote bags, or even socks to add a splash of patriotic flair to your wardrobe.
 make tie-dye shirts for fourth of july
Make it a family affair: Gather your loved ones, put on some music, and turn tie-dyeing into a memorable Fourth of July tradition.
 make tie-dye shirts for fourth of july
Now go out there and rock those one-of-a-kind creations with pride! I’d love to see your tie-dye masterpieces. Share your creations in the comments below and let’s inspire each other!
And while you’re at it, be sure to check out Robert Kline Art for more handcrafted gift ideas and artistic inspiration. Let’s celebrate creativity together!
