DIY Vintage Recipe Card Box: A Touch of Nostalgia for Your Kitchen
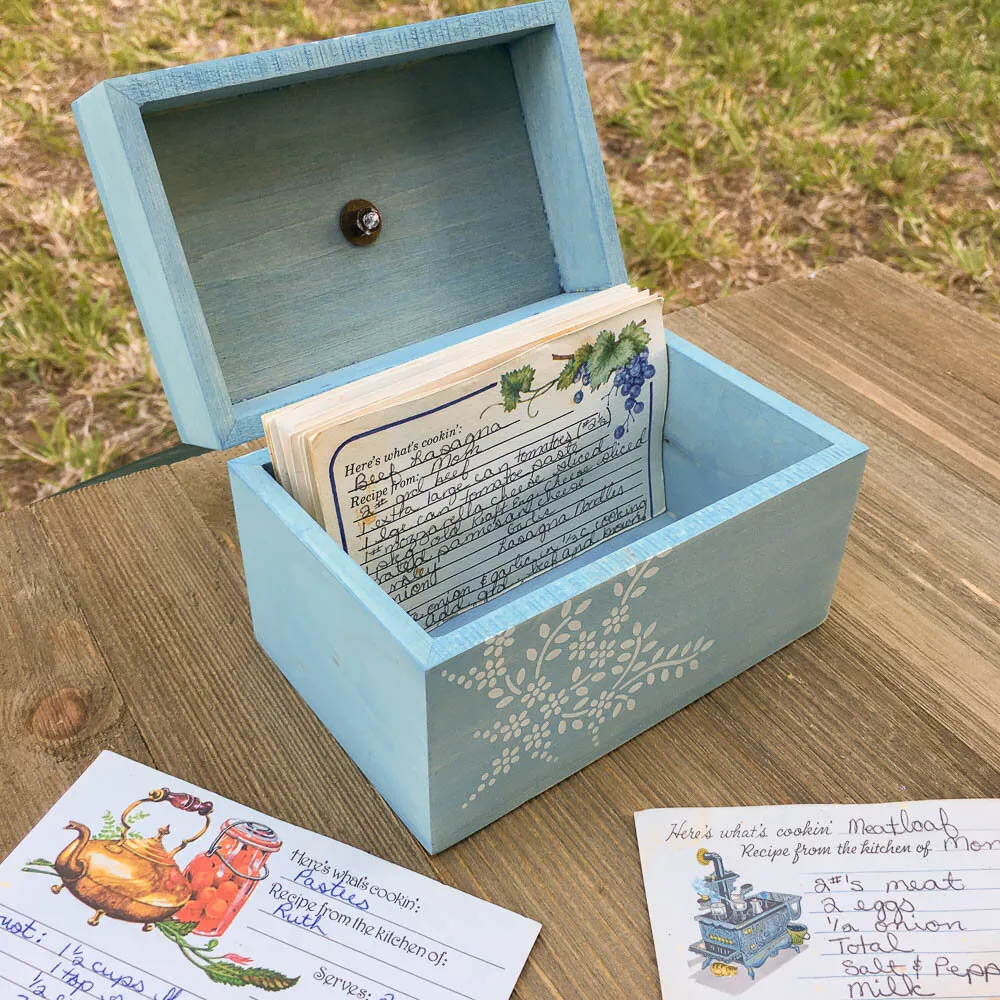
Hey there, fellow craft enthusiasts! Robert Kline here, and I’m thrilled to share my latest project with you: a charming DIY vintage recipe card box. There’s just something so heartwarming about preserving handwritten recipes passed down through generations. In this tutorial, we’ll transform a simple wooden box into a treasured keepsake using the magic of paint and a few crafty techniques. Let’s get started!
Materials You’ll Need
- A Walnut Hollow Recipe Box (or any wooden box you prefer)
- 320-grit sandpaper
- Tack cloth
- Plaid Pickling Wash in your desired color (I used Papillon)
- Martha Stewart “Fair Isle Dots” Adhesive Stencils (feel free to choose your own!)
- Plaid FolkArt “Vintage White” Acrylic Paint
- Plaid 5/8″ Premium Stencil Brush
- 3M Safe Release Edge Lock Painter’s Tape
- Decorative Knob
- Drill with a bit slightly smaller than your knob screw
- Dremel 3000 Tool (or a similar rotary tool)
- Blue shop towels
Step-by-Step Guide: Crafting Your Vintage Recipe Box
1. Prepping for the Perfect Finish
“A smooth finish starts with proper preparation,” as any seasoned crafter would tell you. I began by giving my recipe box a good sanding with 320-grit sandpaper. This ensures the Plaid Pickling Wash, our star product for that vintage look, adheres beautifully. Remember to wipe away any sanding dust with a tack cloth before moving on.
2. The Pickling Wash Transformation
Plaid Pickling Wash is a game-changer! This thin liquid creates a whitewashed, distressed look effortlessly. I started by applying it to the inside of the box with a foam brush (always a good idea to practice in less visible areas first). After letting it sit for 30 seconds, I gently wiped away the excess with a shop towel, revealing a gorgeous, timeworn finish. Repeat the process on the outside, and allow ample drying time.
 DIY Vintage Recipe Card Box
3. Adding a Touch of Stencil Elegance
Once the Pickling Wash dried, it was time to introduce my stencil. I opted for a classic “Fair Isle Dots” pattern by Martha Stewart, but feel free to choose one that speaks to your style. Using painter’s tape, secure the lid and mask off the stencil edges to prevent paint bleeding.
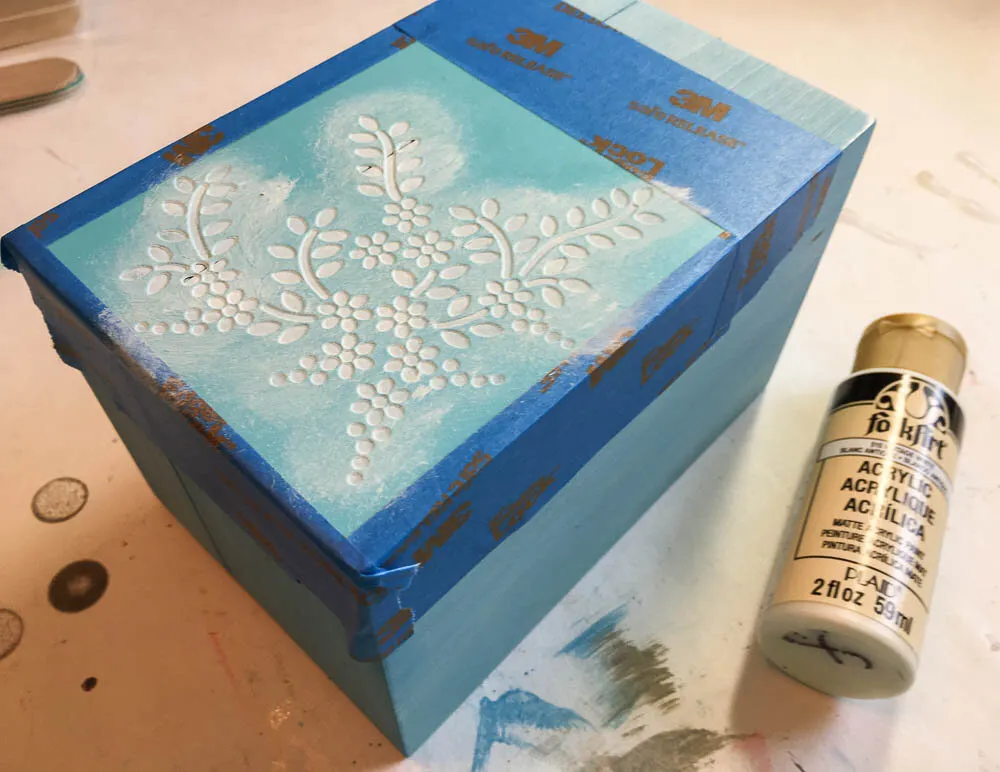 DIY Vintage Recipe Card Box stenciling
4. Stenciling: Embracing Imperfection
For the stenciling, I used FolkArt “Vintage White” Acrylic Paint. Remember, we’re aiming for an aged look, so don’t fret about achieving perfect coverage. Using a dry stencil brush and a light hand, dab on the paint, embracing any slight inconsistencies for that authentic vintage charm.
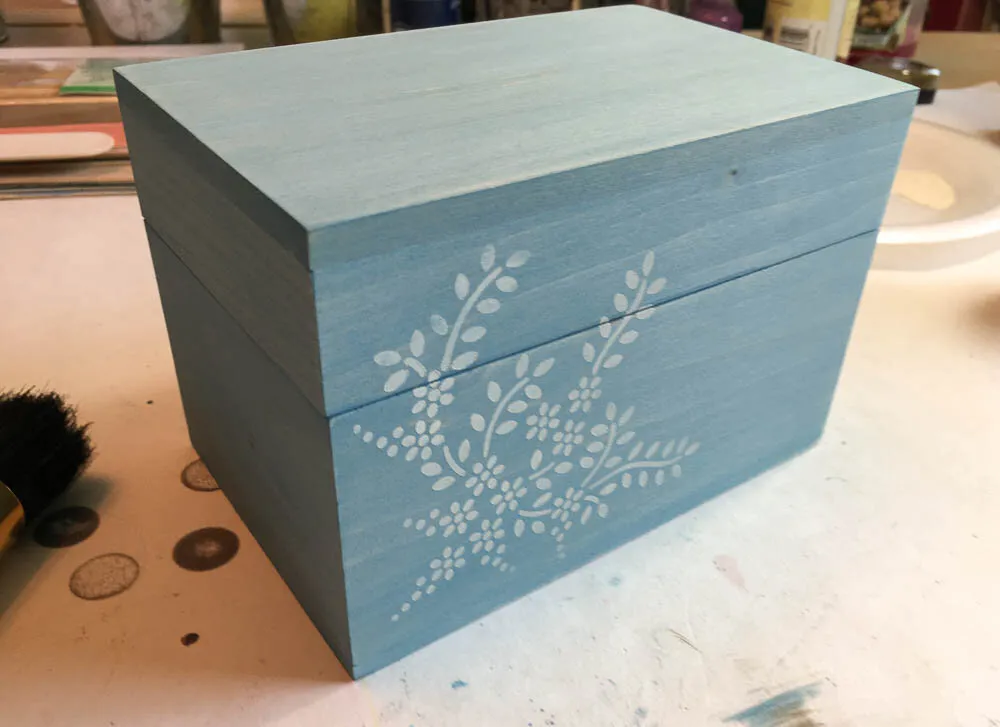 DIY Vintage Recipe Card box with stenciling
5. The Finishing Touches: Knob and You’re Done!
Once the stenciling dried, I drilled a hole in the lid’s center for my decorative knob. I chose a faux milk glass knob for its vintage appeal, echoing the stenciled design. After securing the knob, I used my trusty Dremel to trim any excess bolt length.
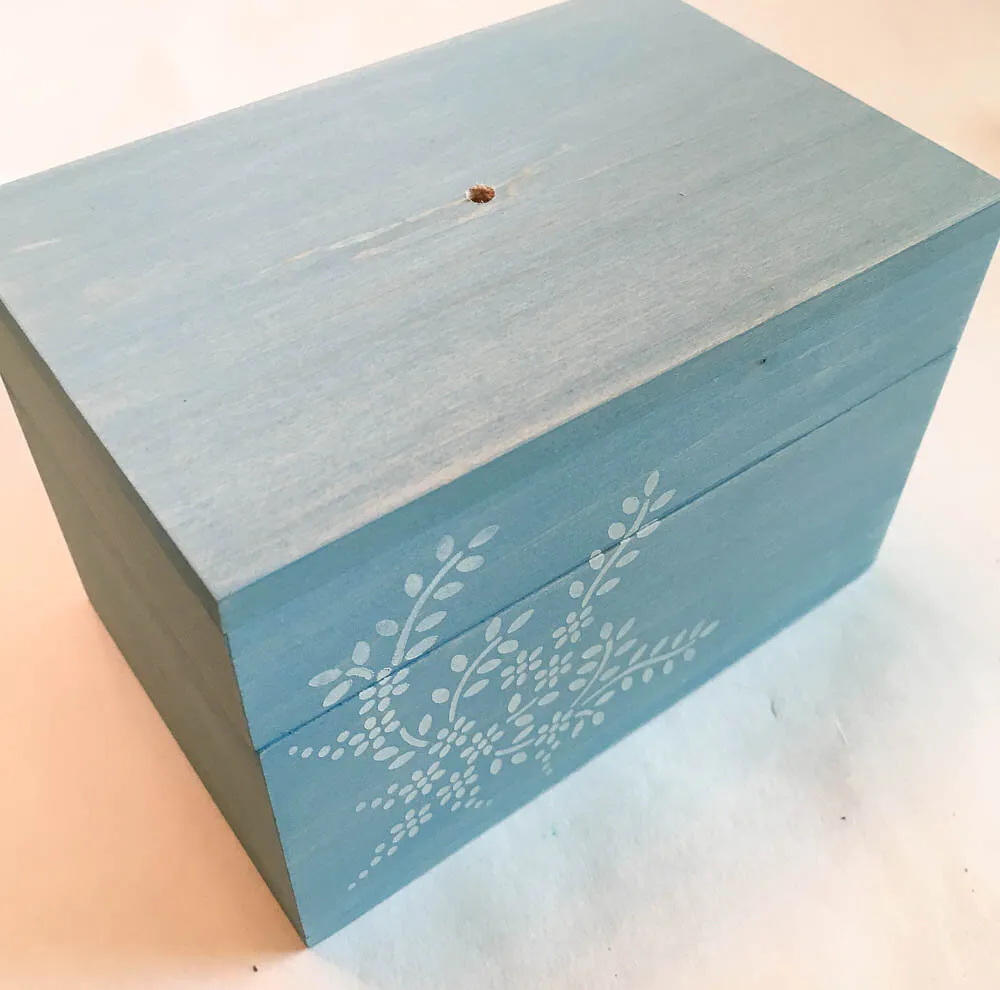 DIY Vintage Recipe Card Box hole for knob
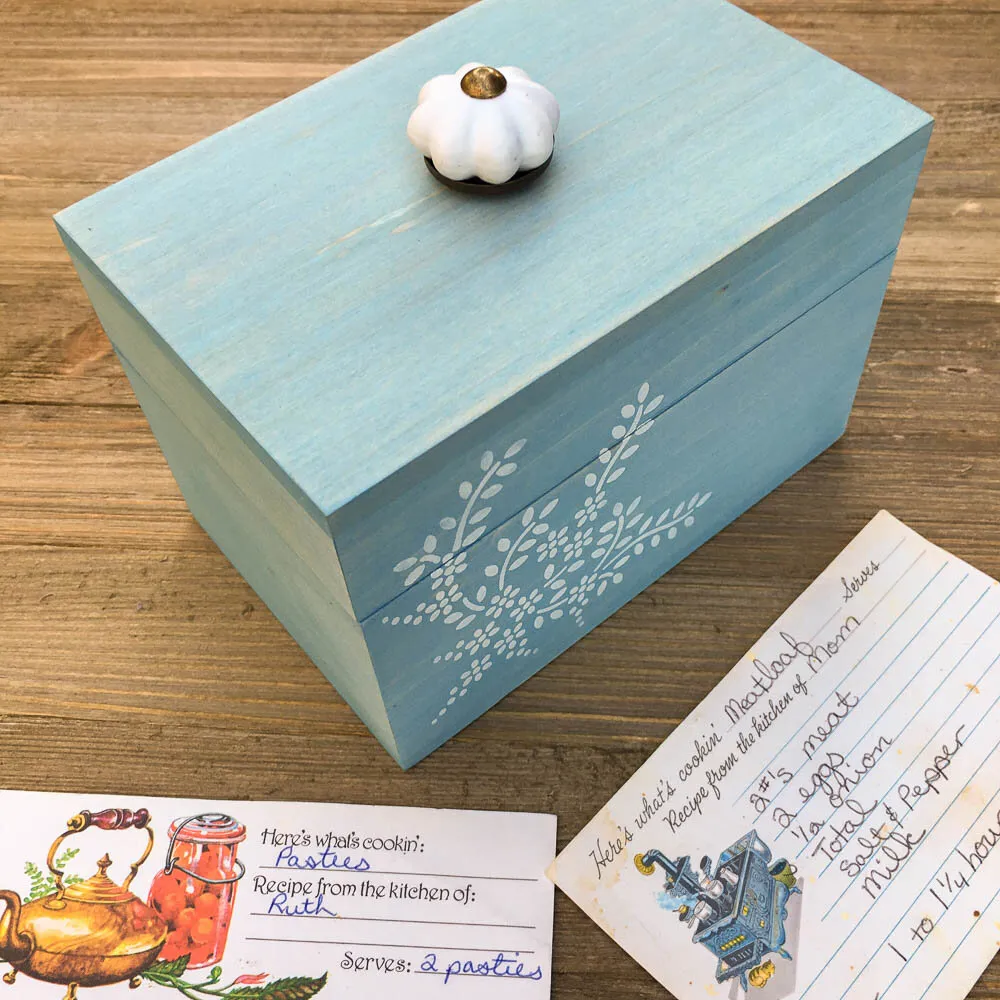 DIY Vintage Recipe Card Box with knob
 DIY Vintage Recipe Card Box
Conclusion: A Treasure to Cherish
There you have it—a beautiful, handcrafted recipe card box with a vintage soul! This project is a testament to the power of simple techniques and a little creativity. Now, you can gather those cherished family recipes and store them in a box as unique and special as the recipes themselves.
What do you think? Ready to give this DIY a try? Share your creations and thoughts in the comments below. Don’t forget to explore Robert Kline Art for more unique handmade gifts and craft inspiration. Happy crafting!
