Blog
DIY Macrame Hanging Shelf: Add a Boho Touch to Your Home

Hey there, fellow craft enthusiasts! Robert Kline here, and I’m thrilled to share a recent project that’s perfect for adding a touch of boho charm to your living space: a DIY macrame hanging shelf.
Reviving an Old Favorite with Macrame
You might recall my DIY floating shelf tutorial from a while back. It’s been a real crowd-pleaser! Recently, I decided to give it a fresh, boho twist by incorporating macrame. Let me tell you, the results are stunning!
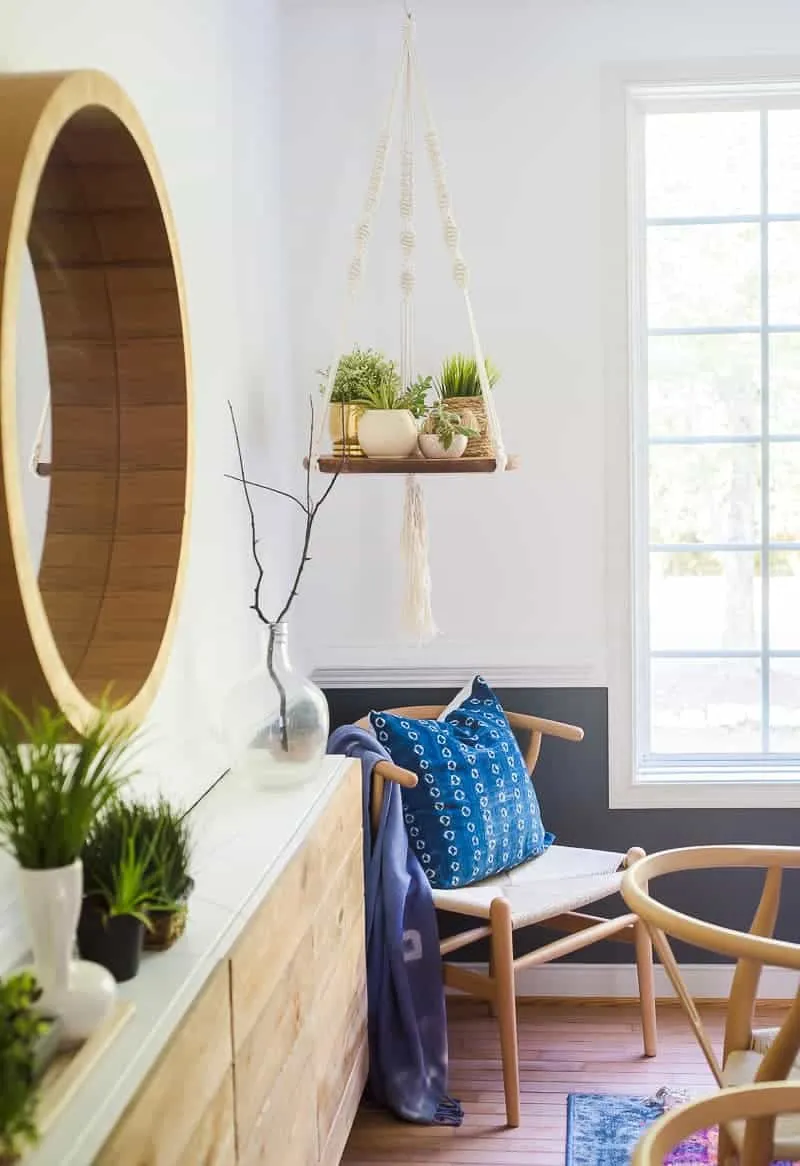
 A stylish macrame hanging shelf adorned with a plant and a decorative item.
Why You’ll Love This Project
This DIY project is perfect for several reasons:
- Easy to Customize: Choose your cord color, wood stain, and shelf size to match your decor.
- Budget-Friendly: Crafting your own shelf is much more affordable than buying a pre-made one.
- Unique & Stylish: Add a handmade, personalized touch to your home décor.
Materials You’ll Need:
- 6 cotton cord strings (15 inches long each) – I recommend using twisted cords for a beautiful texture.
- Round wooden plate (you can leave it natural or stain it for a personalized touch)
- Wooden ring
- Scissors
- Tape measure
- Optional: Wood stain
Step-by-Step Guide:
-
Prepare Your Cords: Cut six 15-inch cotton cord strings.
-
Attach Cords to the Ring: Gather the strings and fold them in half. Thread the looped end of the cords through the wooden ring from underneath. Bring the loose ends of the cords through the loop and pull tight to secure.
-
Start Knotting: Tie a double or triple knot just below the ring to secure the cords.
-
Create Your Macrame Pattern: Now, let your creativity flow! Use your favorite macrame knots to create a pattern along the cords. I recommend starting with basic square knots for a classic look. My basic macrame tutorial can guide you through the process.
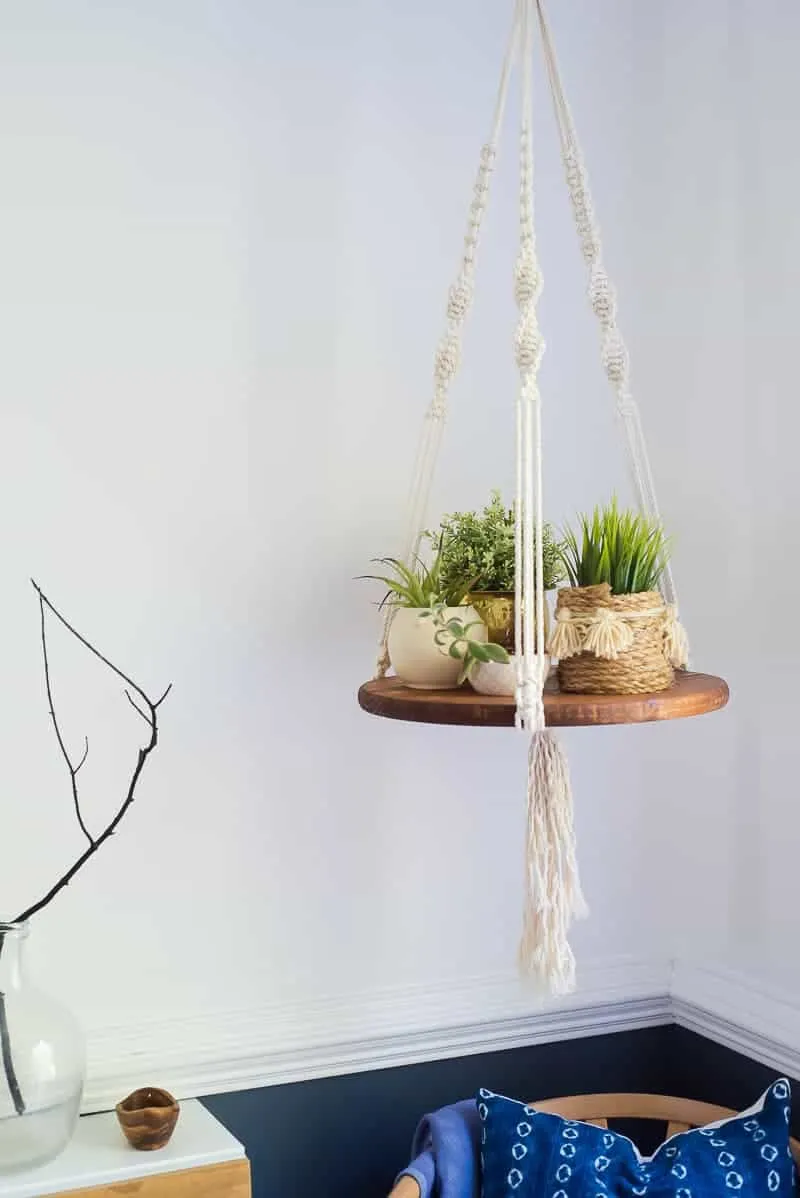
 Close-up of the macrame knots on a hanging shelf.
 -
Determine Your Shelf Length: As you knot, periodically hold your work up to determine the desired length for your hanging shelf. Remember to account for the length of the wooden plate.
-
Finish with a Gathering Knot: Once you’ve reached your desired length, tie another double or triple knot to gather all the cords together.
-
Attach the Wooden Plate: Thread the loose ends of the cords through the hole in your wooden plate (if it has one). If not, you can use strong glue to secure the plate to the cords.
-
Add Finishing Touches (Optional): Trim the excess cord below the plate. You can unravel the ends of the cords for a fringed look.
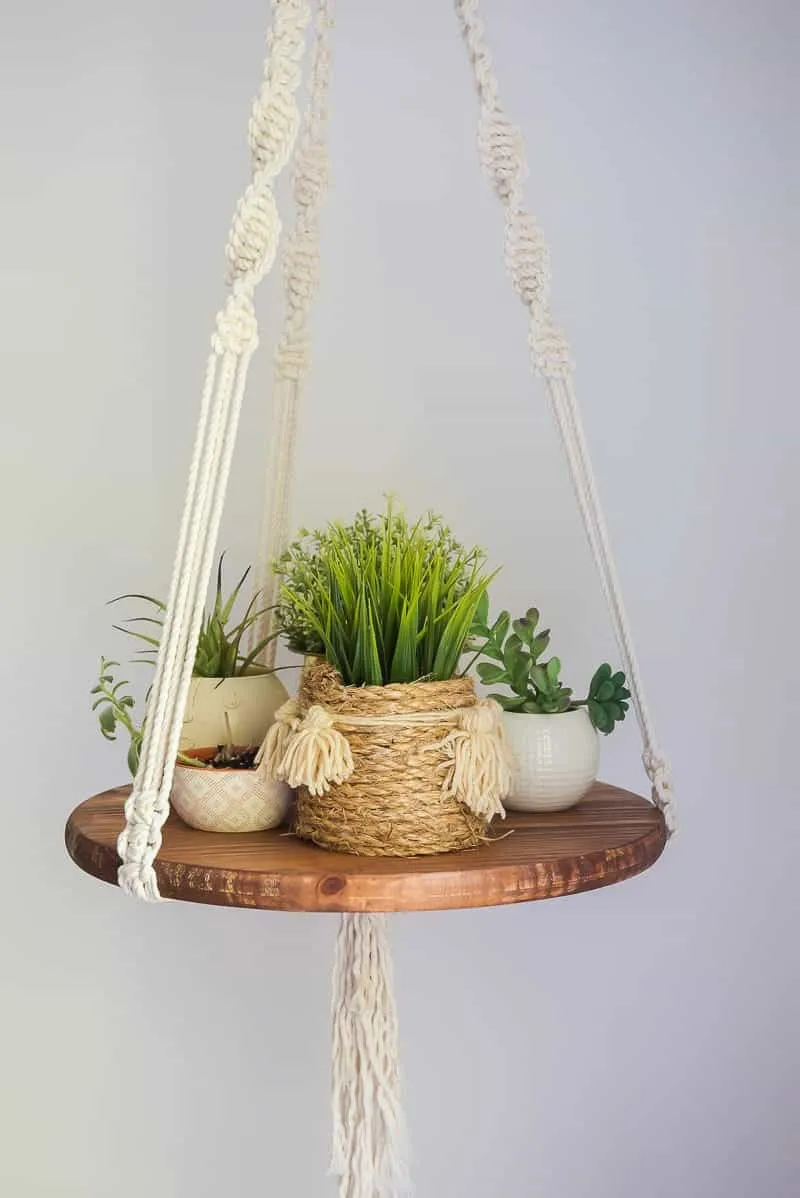
 A finished macrame hanging shelf with a wooden plate, ready to be hung.
Tips and Tricks:
- Even Tension: Maintain consistent tension while knotting for a professional-looking result.
- Experiment with Knots: Don’t be afraid to try different macrame knots and patterns.
- Personalize with Stain: Add a touch of color or warmth by staining the wooden plate to match your style.
- Display Your Creations: This shelf is perfect for small plants, candles, or decorative items.
Conclusion:
Congratulations on crafting your very own macrame hanging shelf! This project is a wonderful way to bring a bit of bohemian style and handcrafted charm into your home. Remember, the beauty of DIY is the freedom to personalize, so don’t hesitate to experiment and make it your own.
Feeling inspired? Share pictures of your creations in the comments below! And if you’re looking for more unique, handmade gift ideas, be sure to explore the stunning selection of crafts available on Robert Kline Art. Happy crafting!
