Blog
Building the Ultimate Ergonomic Computer Desk: A DIY Guide
Tired of cramped computer desks that can barely fit your keyboard, let alone your dual monitors and epic sound system? You’re not alone. At Robert Kline Art, we believe your workspace should inspire creativity, not cramp your style. That’s why we’re going to show you how to build your own custom computer desk – one that’s ergonomic, spacious, and easy on the wallet.
Why You Need a Custom Computer Desk
Sure, you could buy a pre-made desk, but where’s the fun in that? Building your own desk allows you to:
- Maximize Space: Say goodbye to cramped workspaces! Design a desk as large as you need to accommodate all your gear comfortably.
- Prioritize Ergonomics: No more hunching over a keyboard. A custom desk can be built to your exact height and specifications, ensuring a comfortable and healthy posture.
- Unleash Your Creativity: Choose your materials, colors, and design elements to create a desk that reflects your unique personality and style.
- Save Money: Building your own desk is often significantly cheaper than buying a comparable pre-made option.
Gathering Your Materials: A Trip to Ikea (and Beyond!)
For this project, we’ll be focusing on a design that’s both budget-friendly and beginner-friendly. Here’s what you’ll need:
The Surface:
- Option 1: The Ikea Karlby Countertop: Popular for its size and affordability (around $100-$200), the Karlby countertop is a great option for a spacious desktop.
- Option 2: The Humble Door: Looking for a more industrial aesthetic and even bigger savings? A solid-core door (new or even second-hand) can make a fantastic desktop. Doors can range from $50-$100 new, but you can often find them cheaper (or even free!) on Craigslist.
The Legs:
- Ikea Olov Legs: These adjustable legs ($15 each) are a bit pricier than standard table legs, but their adjustability is crucial for achieving perfect ergonomics.
The Drawers:
- Filing Cabinet or Drawers: Choose a filing cabinet or set of drawers that match your ideal desk height. You can often find great deals on these secondhand on Craigslist or Wayfair.
Everything Else:
- Anti-Sag Stiffeners (x2): Essential for preventing large desktops from sagging under their own weight.
- Wood Stain and Finish: If using an unfinished door or countertop.
- Monitor Stand(s): For raising your monitors to eye level if they aren’t height-adjustable.
- Cable Management: Keep those cords tidy with a rain gutter system, Ikea Signum tray, or similar.
- Mousepad: Protect your desk surface and ensure smooth mouse movements.
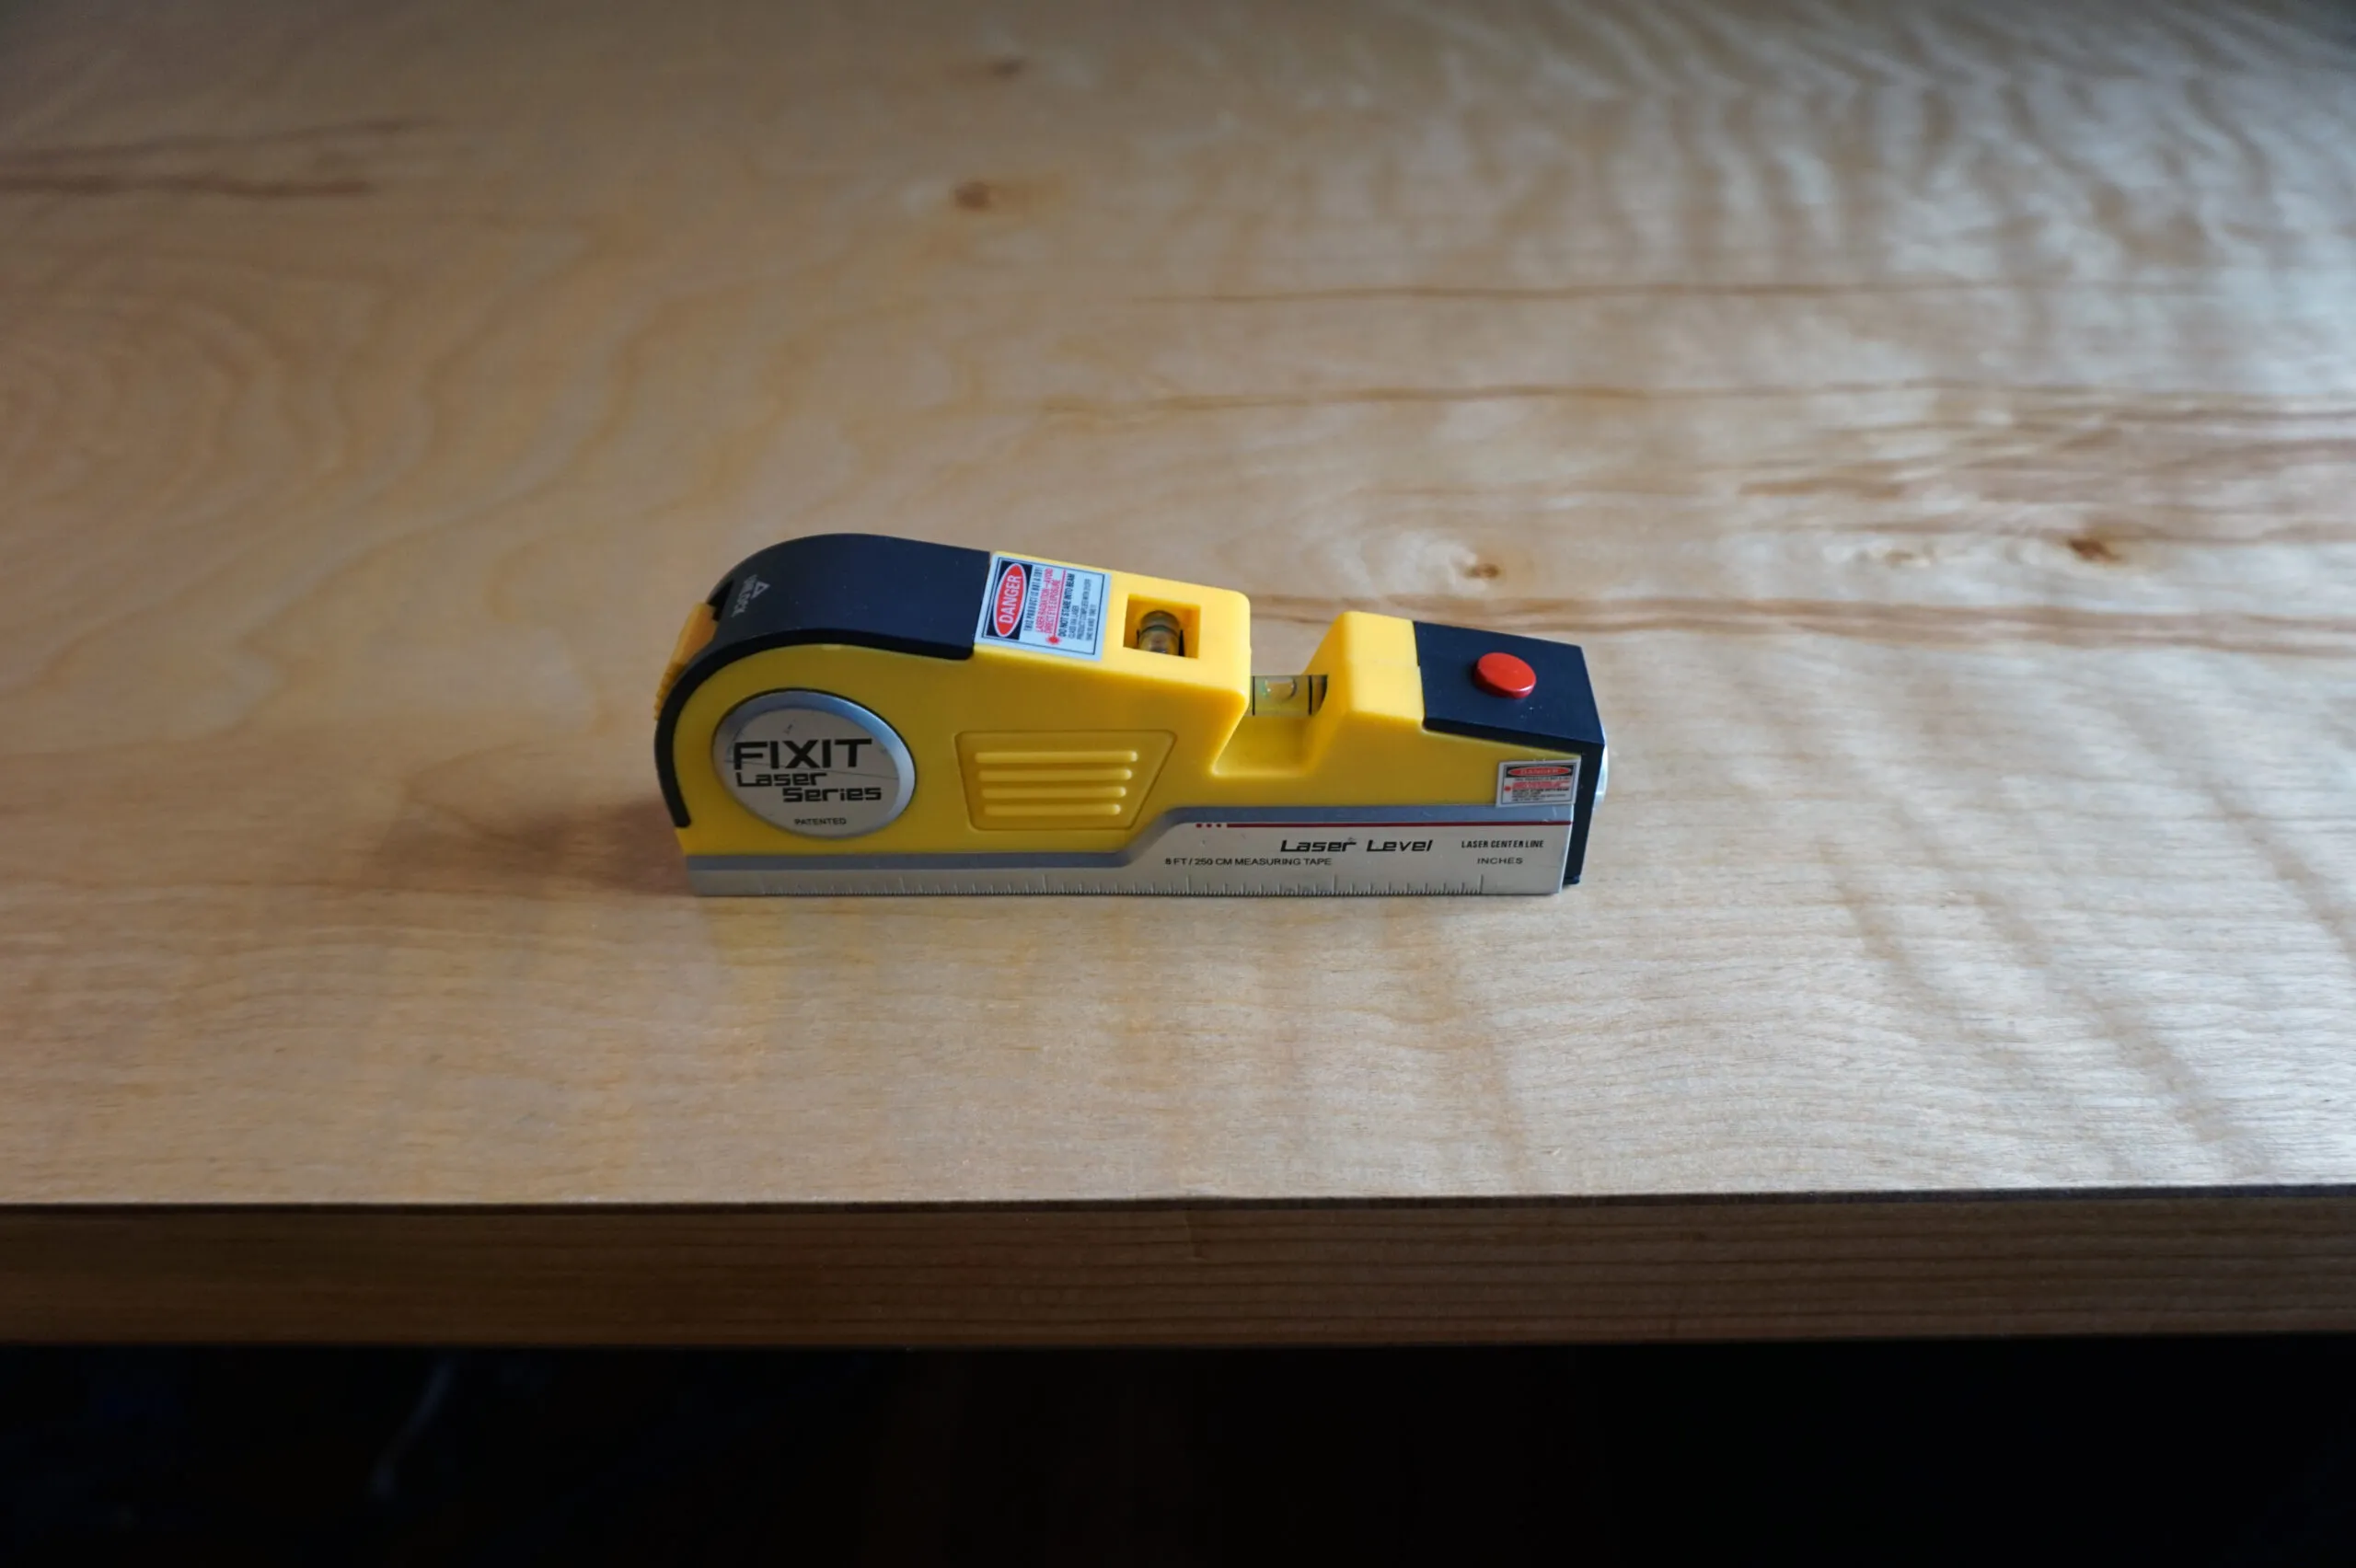
- Tools: Drill, screwdriver (or drive bit for your drill), level.
Building Your Dream Desk: A Step-by-Step Guide
-
Prep Your Surface:
- If using a door or unfinished countertop, sand, stain, and finish it according to your desired look. Remember to work in a well-ventilated area when applying stain and finish.
 Applying stain can be relaxing, but make sure you're working in a well-ventilated area.
 -
Ergonomics are Key:
- While your surface dries, determine your ideal desk height:
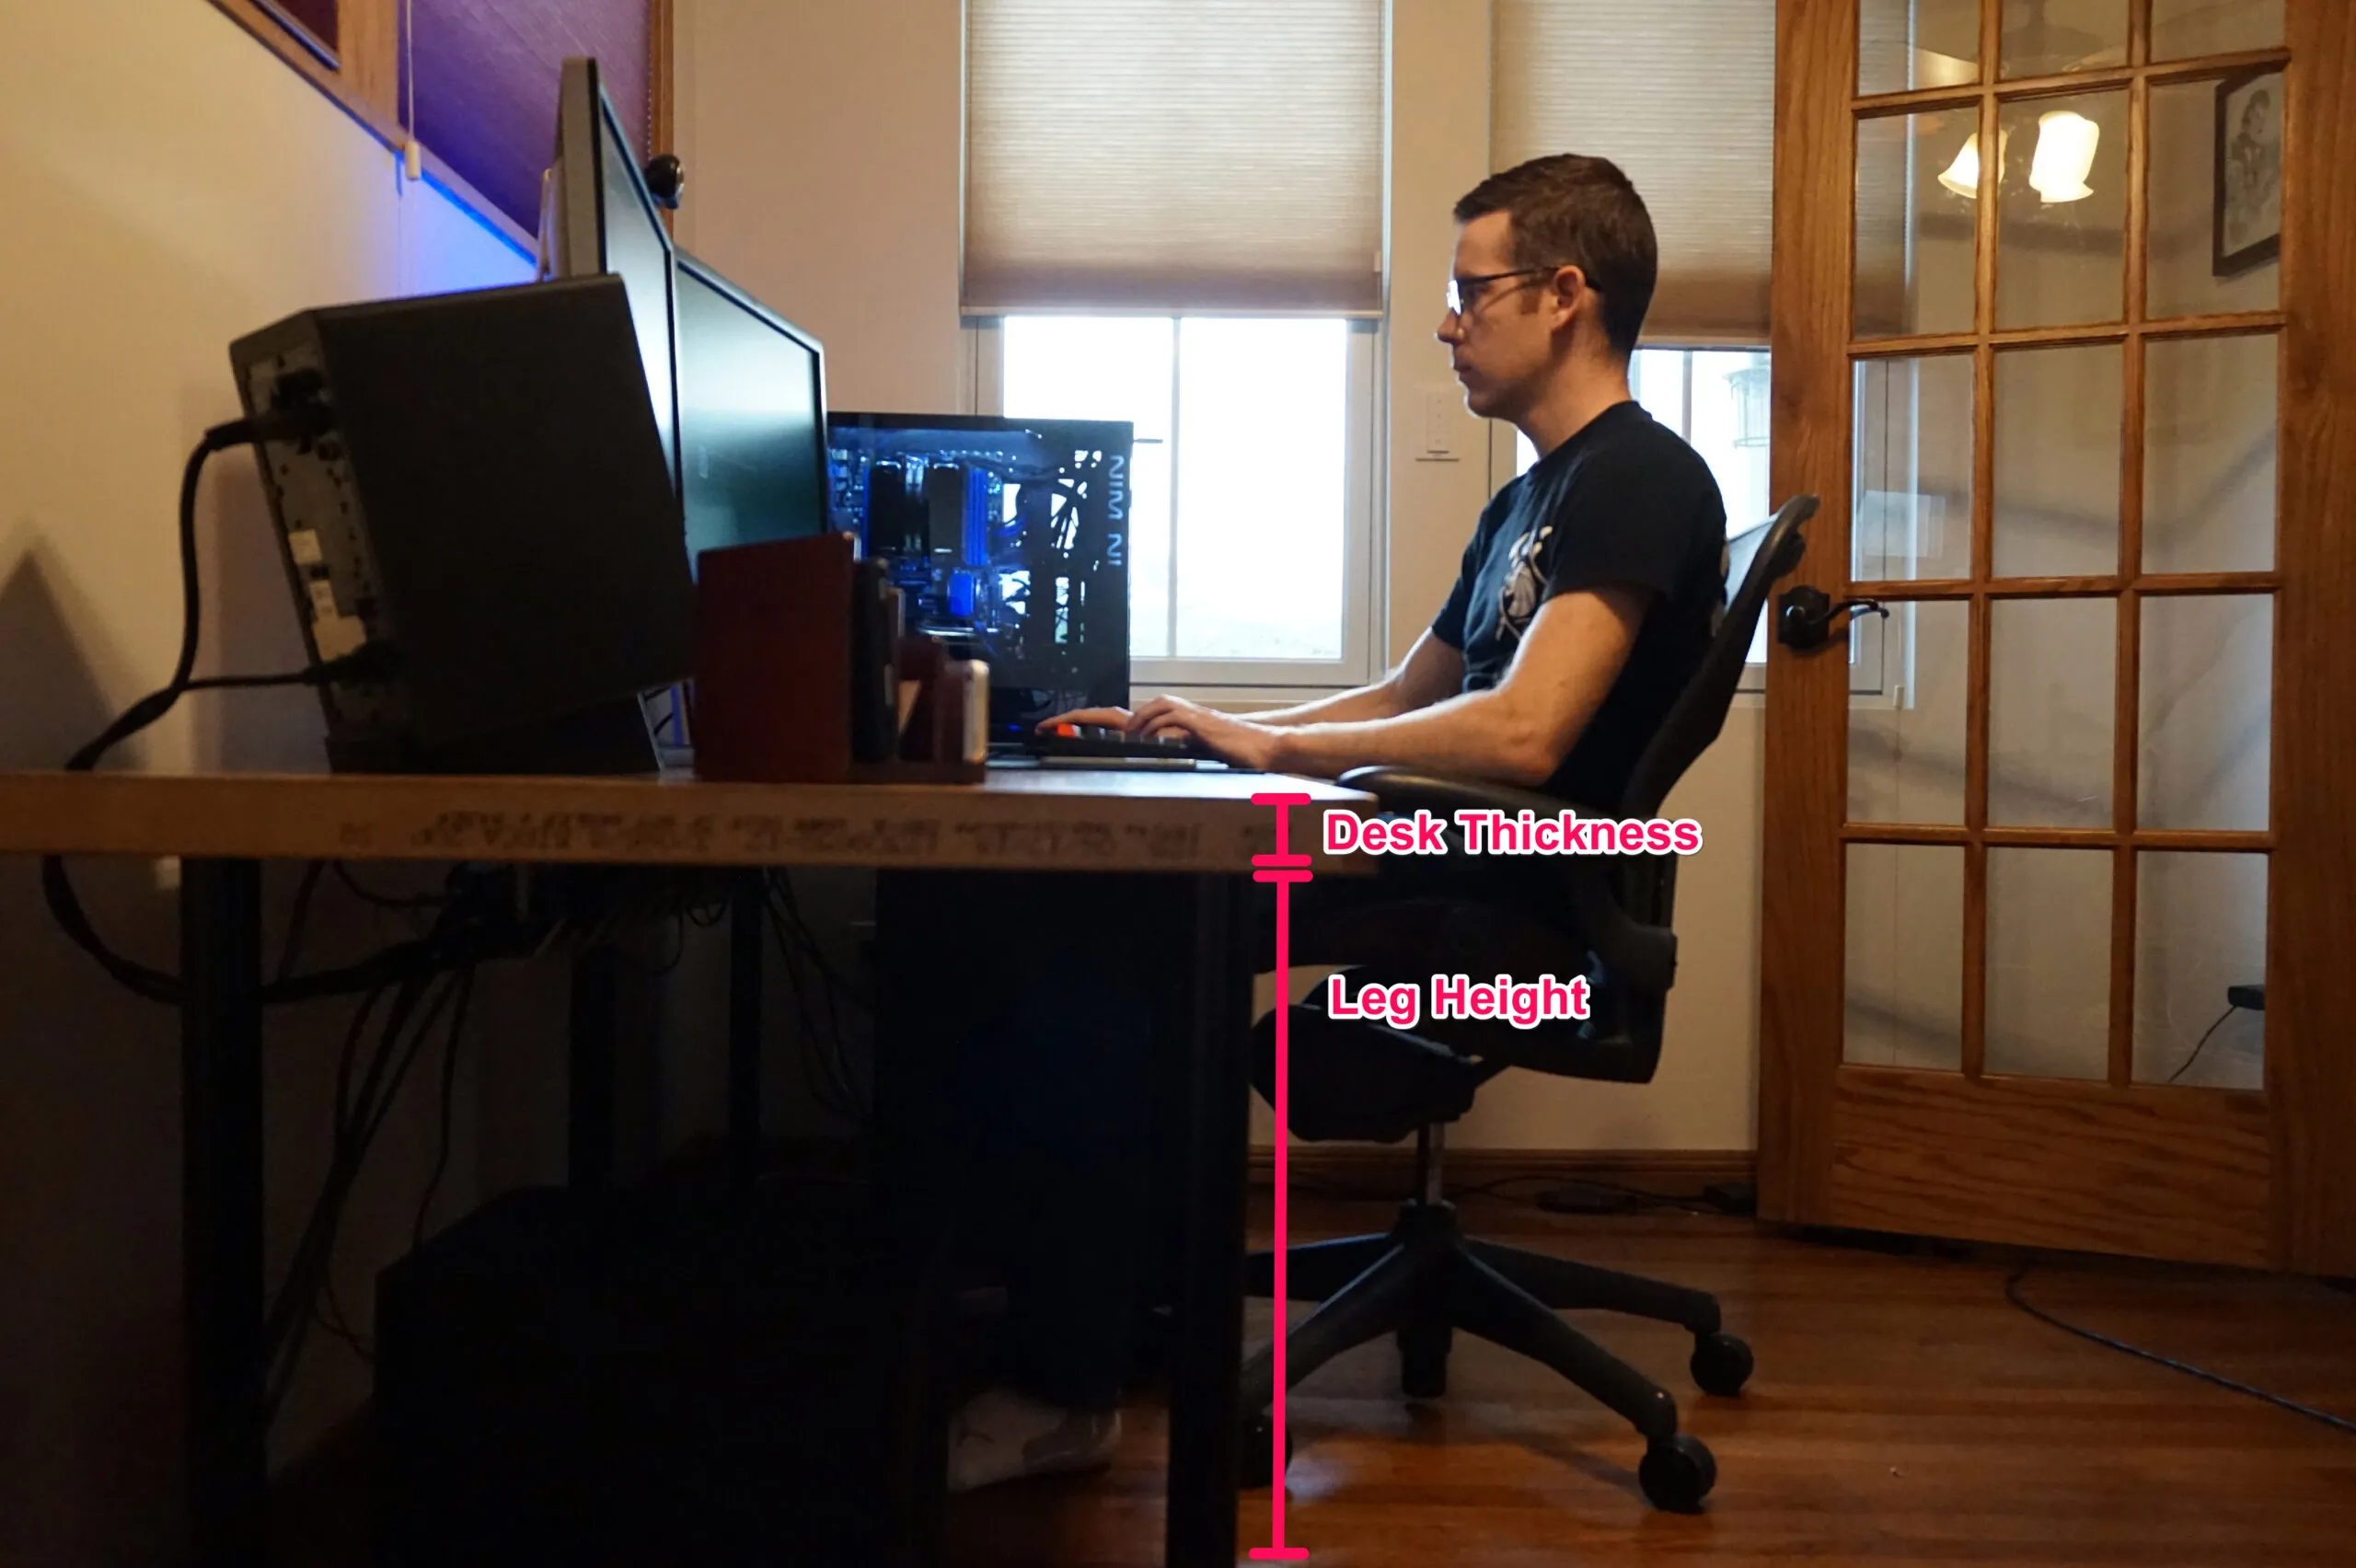
- Sit in your desk chair with your feet flat on the floor and elbows and knees at approximately 90-degree angles.
- Measure from the floor to the top of your armrests.
- Subtract the thickness of your desktop. This final measurement is your target desk height.
 If you're going to be using your desk a lot, you'll want it to be comfortable.
- While your surface dries, determine your ideal desk height:
-
Plan Your Layout:
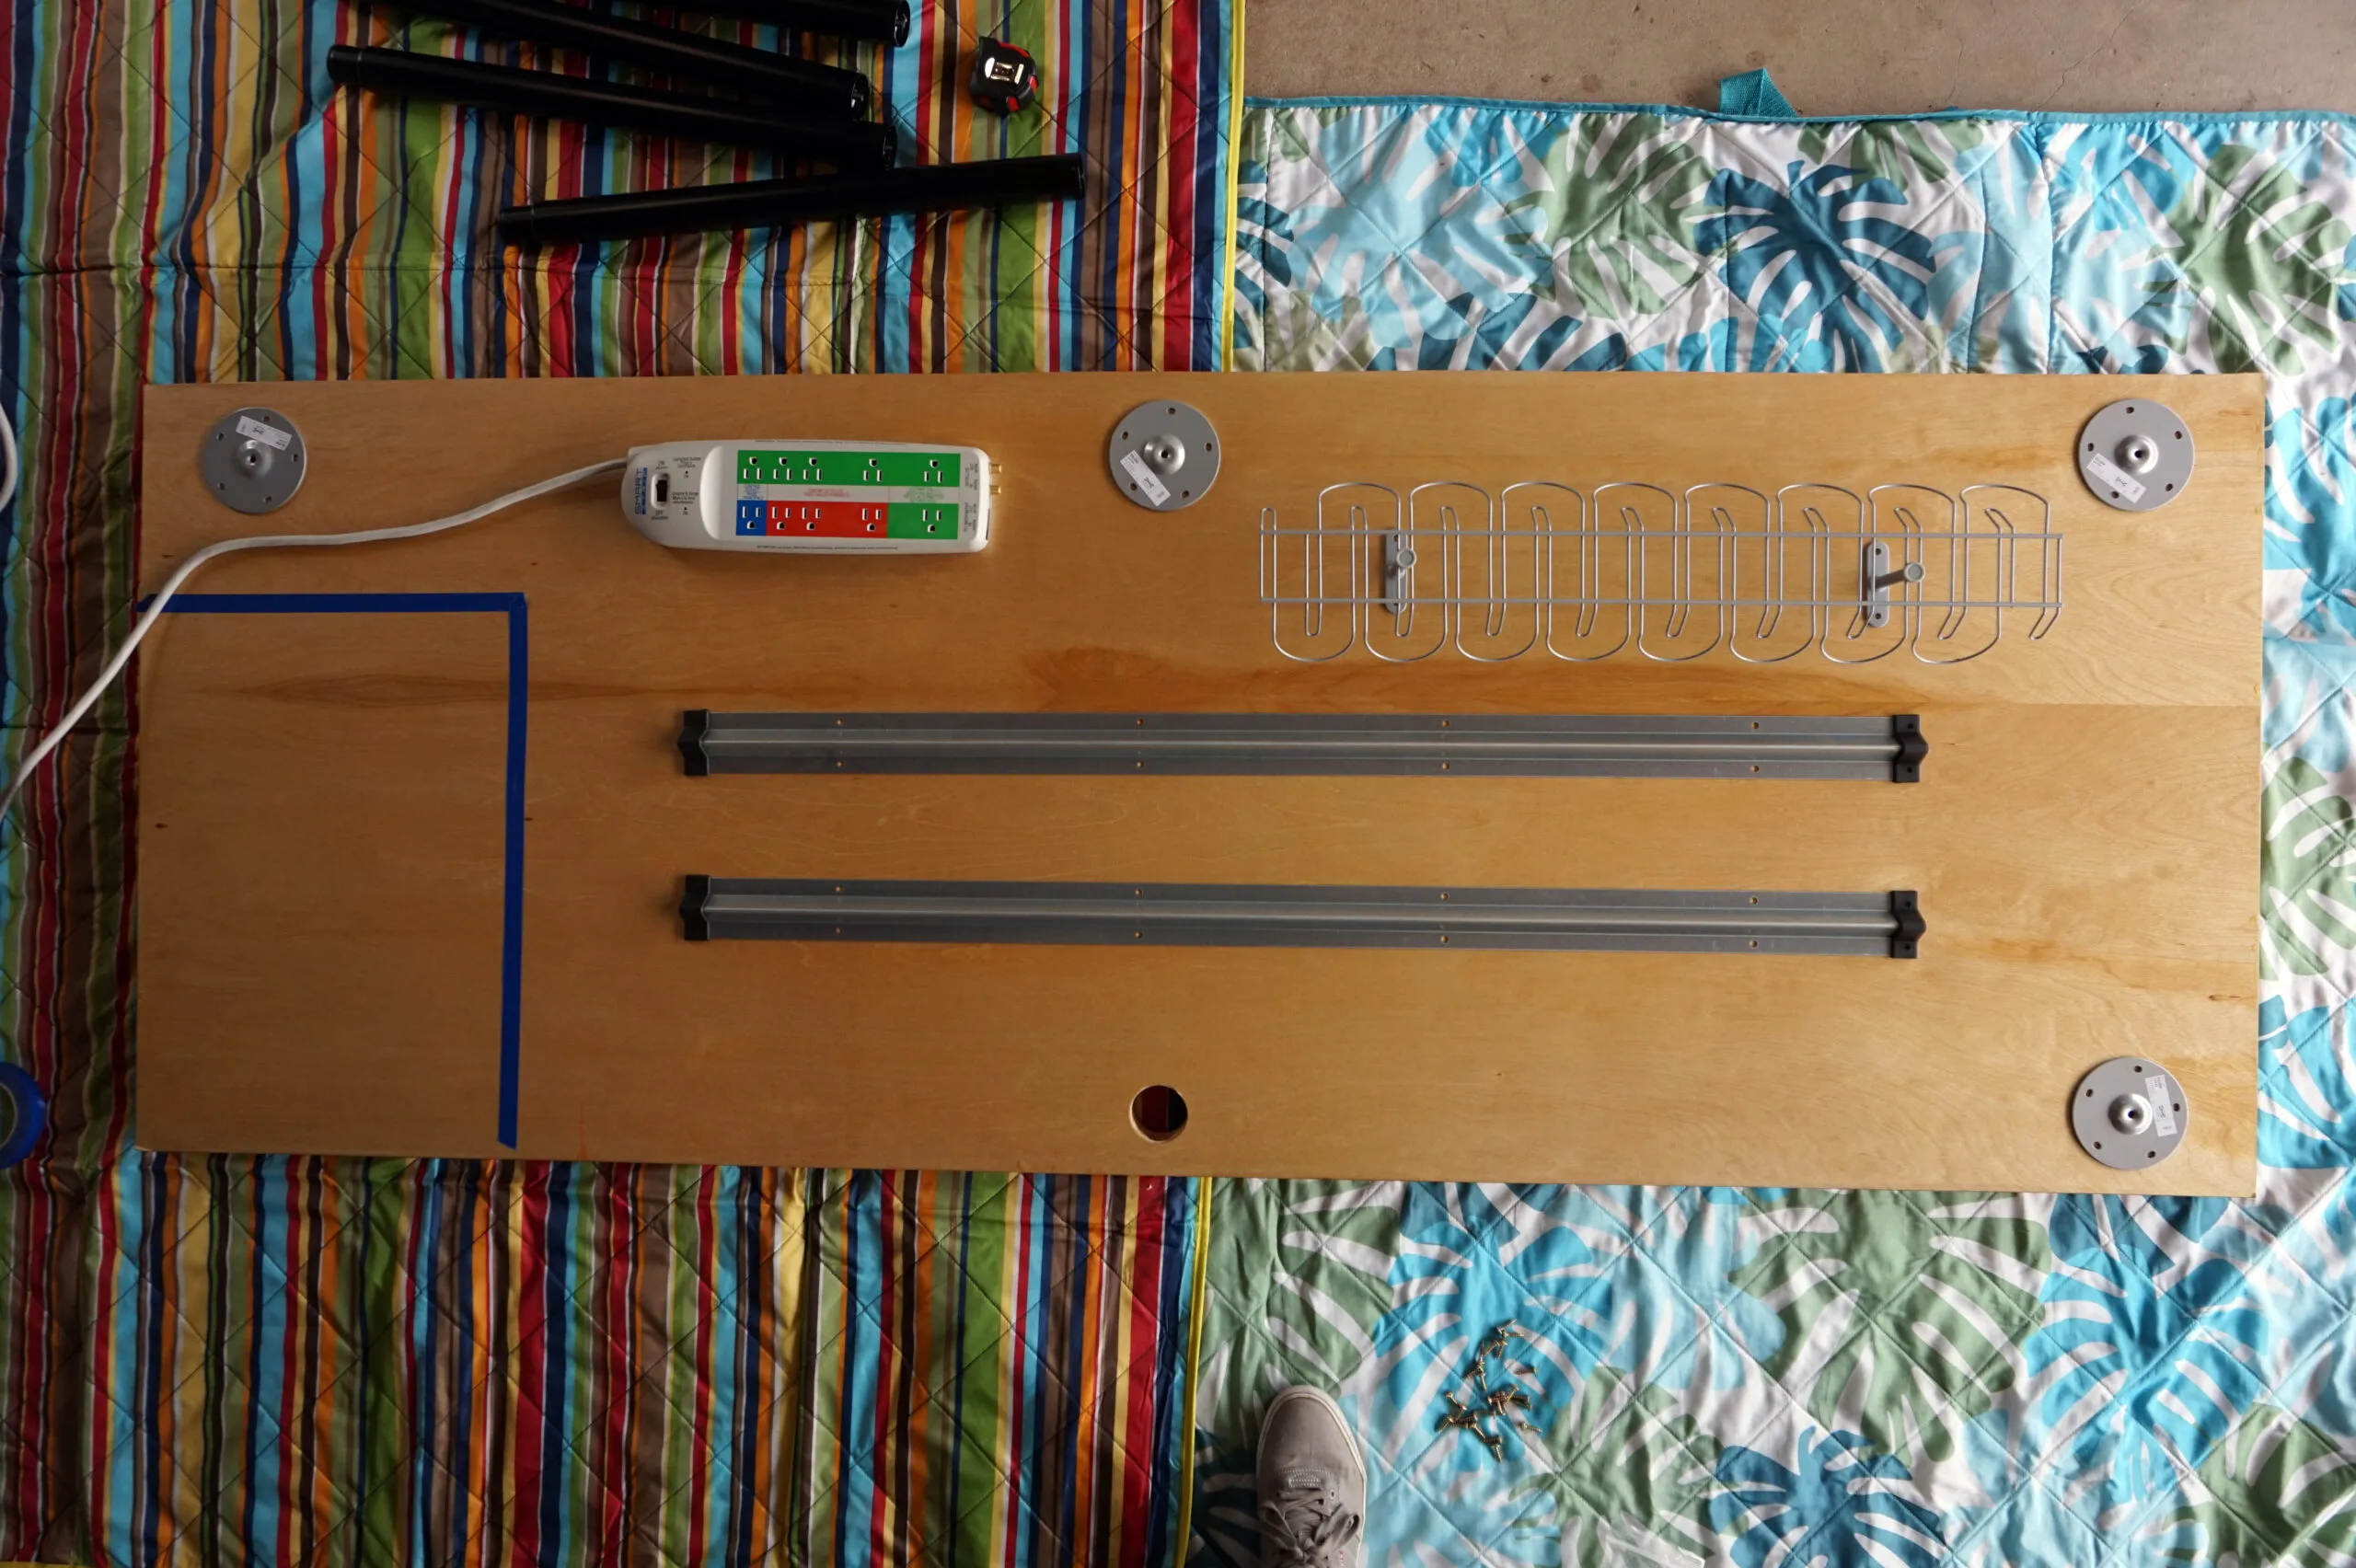
- Flip your desktop upside down.
- Mark the placement of your legs (one in each corner, plus an optional fifth leg in the center back for extra support), anti-sag braces, cable management system, and any other components.
 Planning everything out will ensure you won't run into many problems as you build.
 -
Assemble the Base:
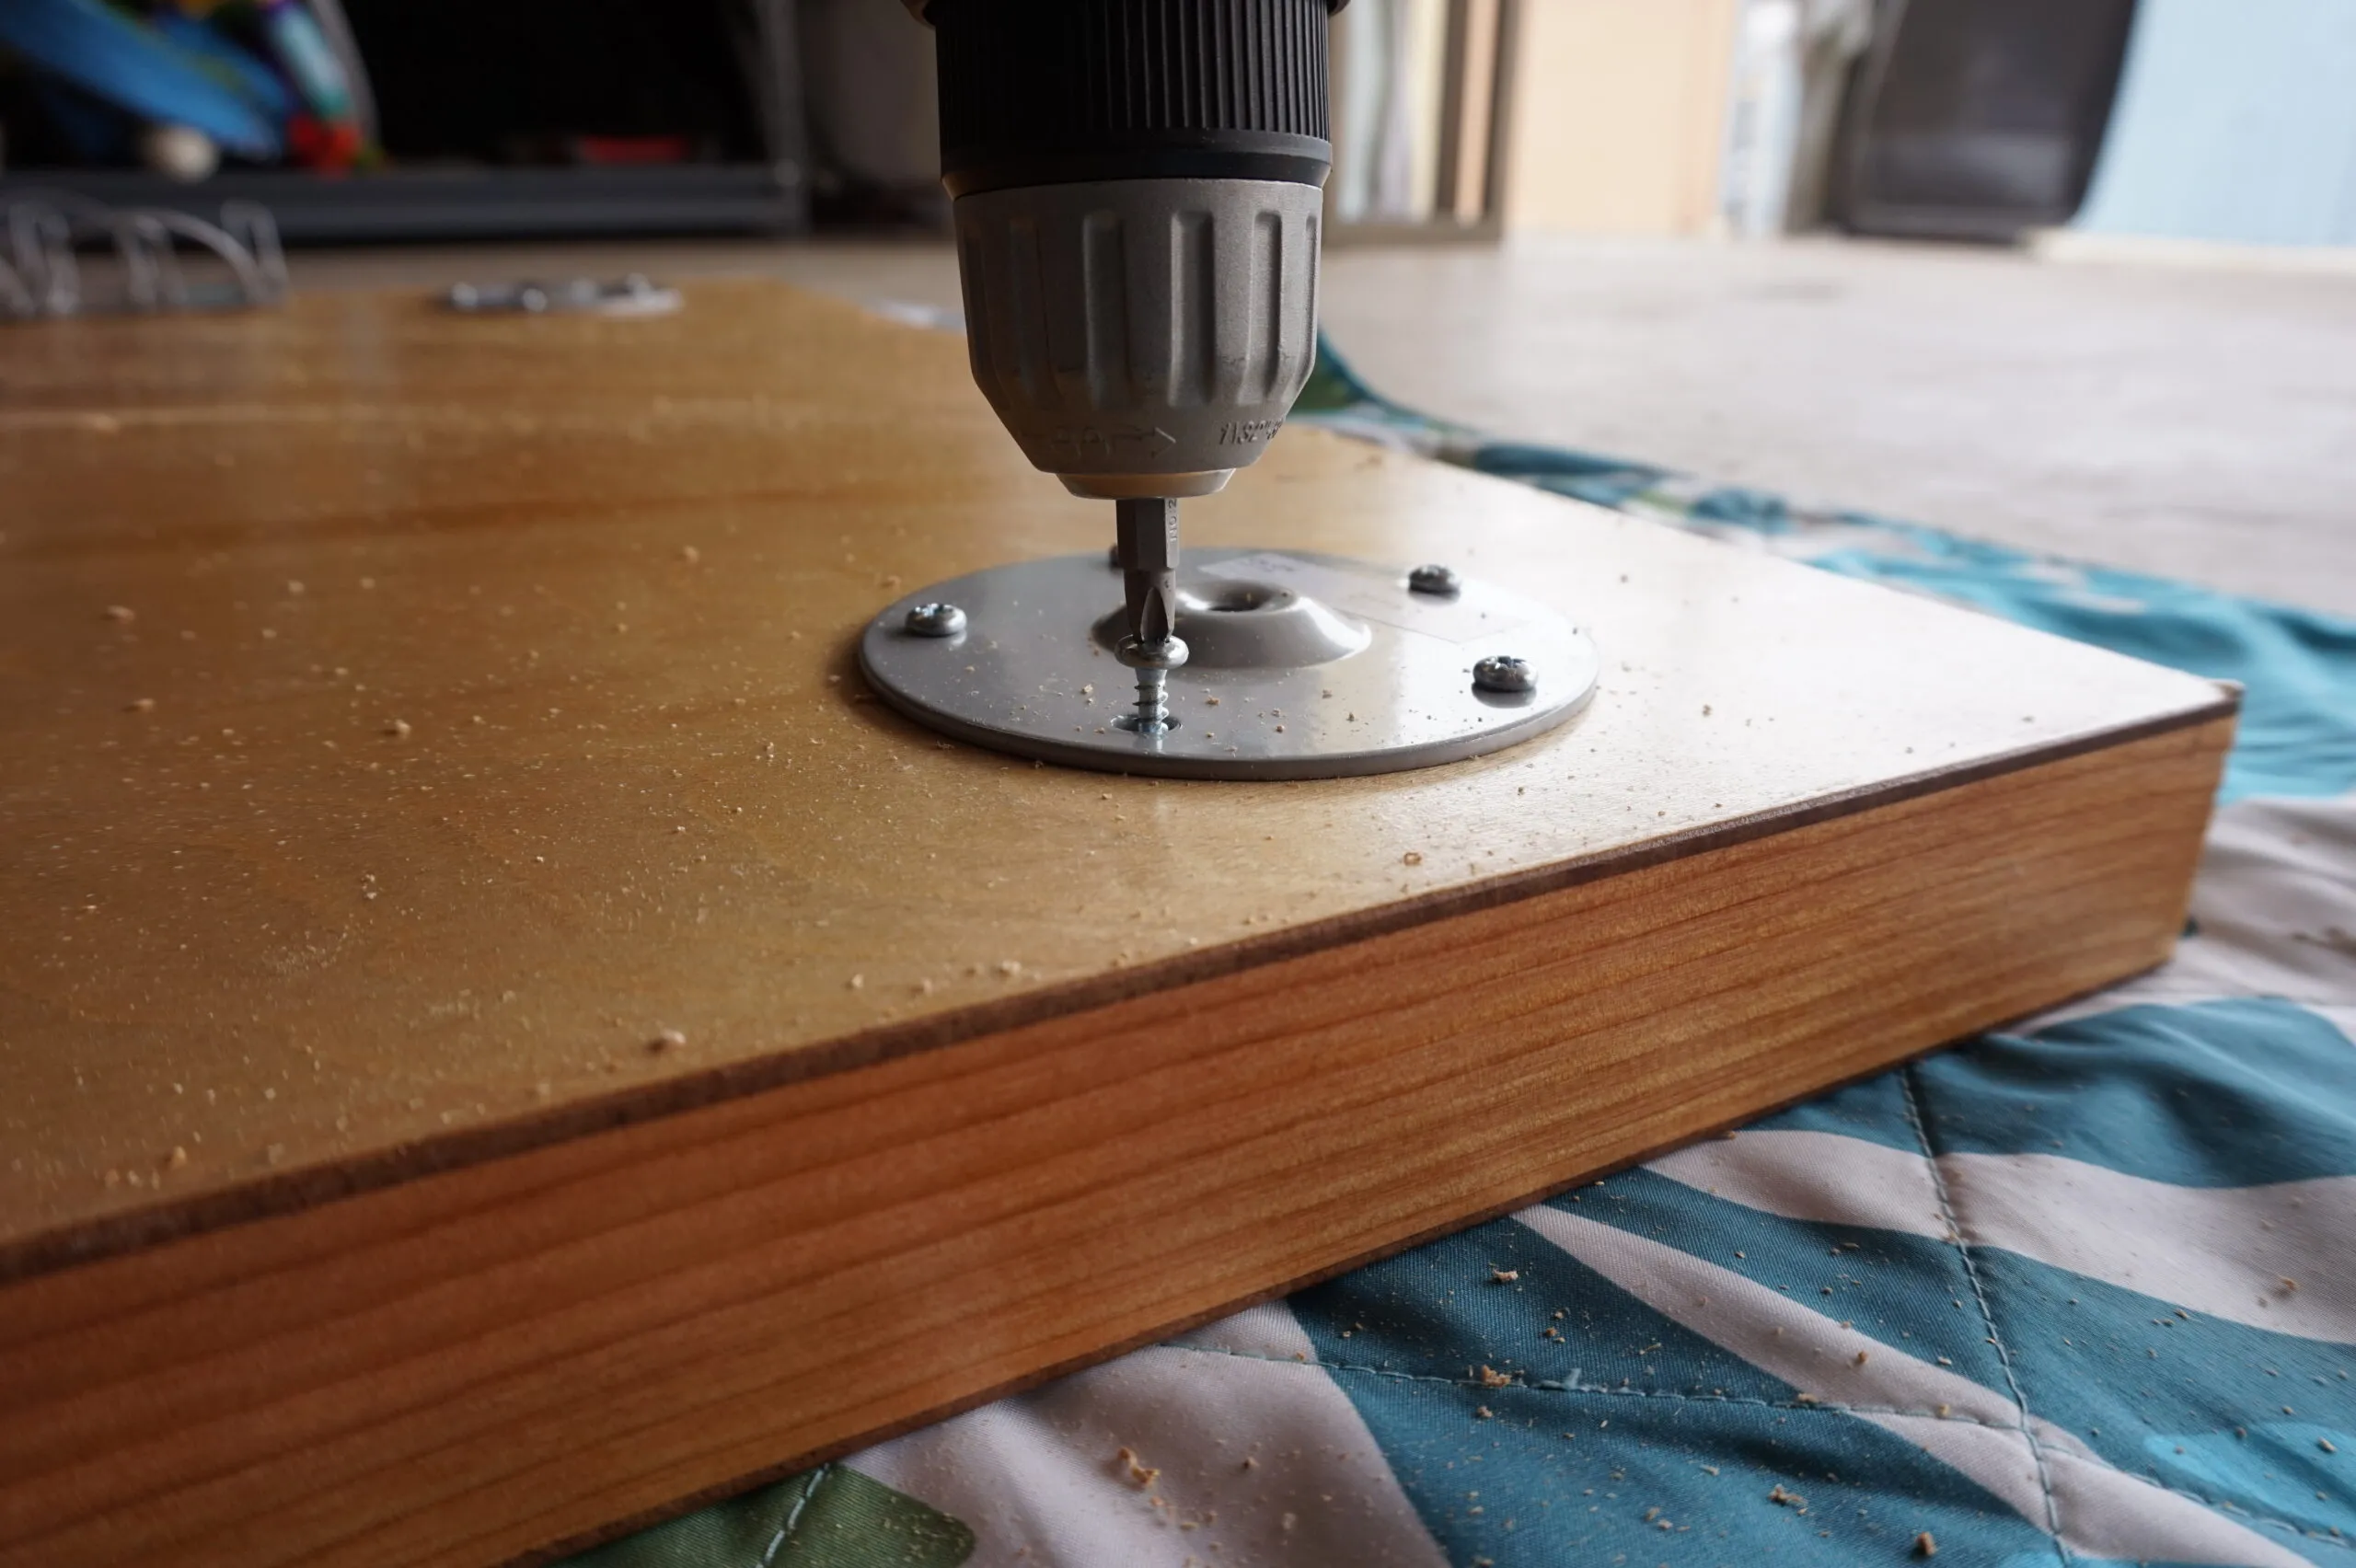
- Drill pilot holes for all leg brackets, anti-sag braces, and other components.
- Attach everything except the legs themselves using screws. Using your drill as a driver will speed up this process.
 We recommend using a drill, but this can be done with a screwdriver—it'll just take longer.
 -
Attach the Legs:
-
Carefully move your desk to its final location before attaching the legs.
-
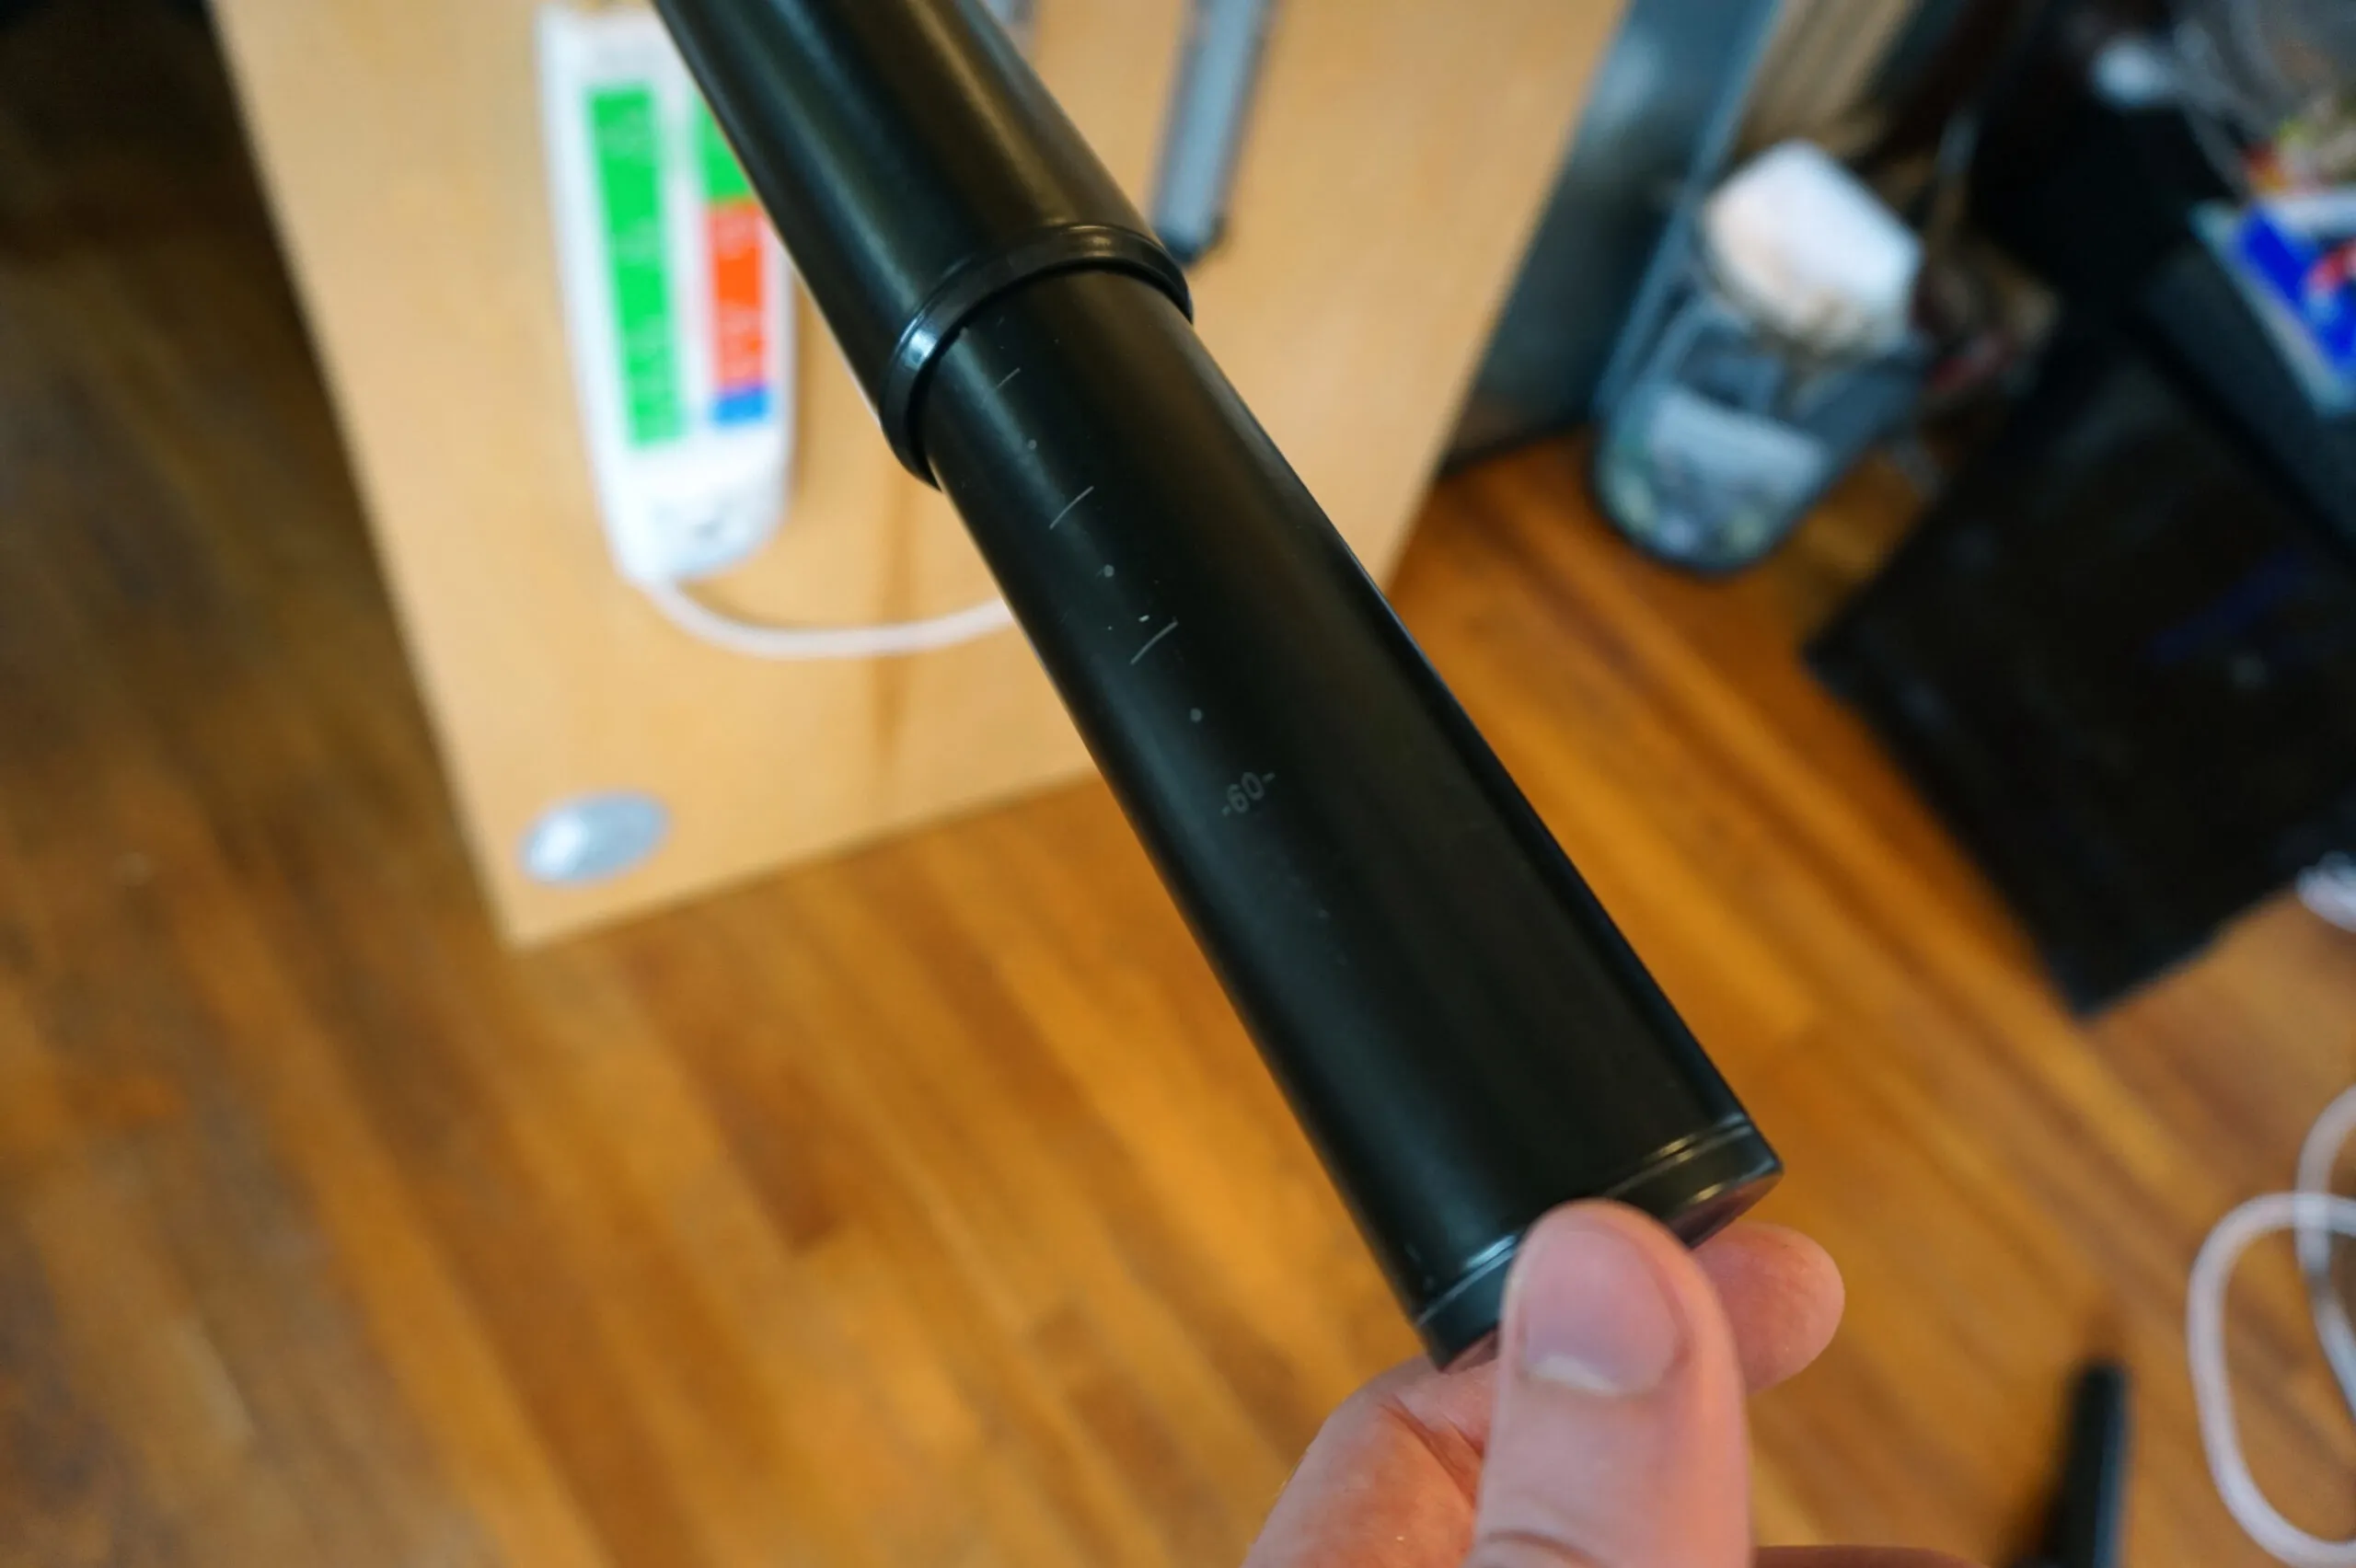
Screw the Olov legs into the brackets.
-
Adjust the legs to your desired height.
 Seriously, don't attach the legs until you desk is in its final location.
-
-
Level and Stabilize:
- Place your filing cabinet or drawers under the desk.
- Use a level (or your phone’s level app) to ensure your desk is stable and even.
- Double-check the desk height against your seated position to ensure optimal comfort.
 If the desk's legs are adjustable, fixing any leveling problems should be a breeze.
 -
Personalize Your Workspace:
-
Set up your computer, monitor(s), keyboard, mouse, and other peripherals.
-
Arrange your workspace to maximize efficiency and inspiration.
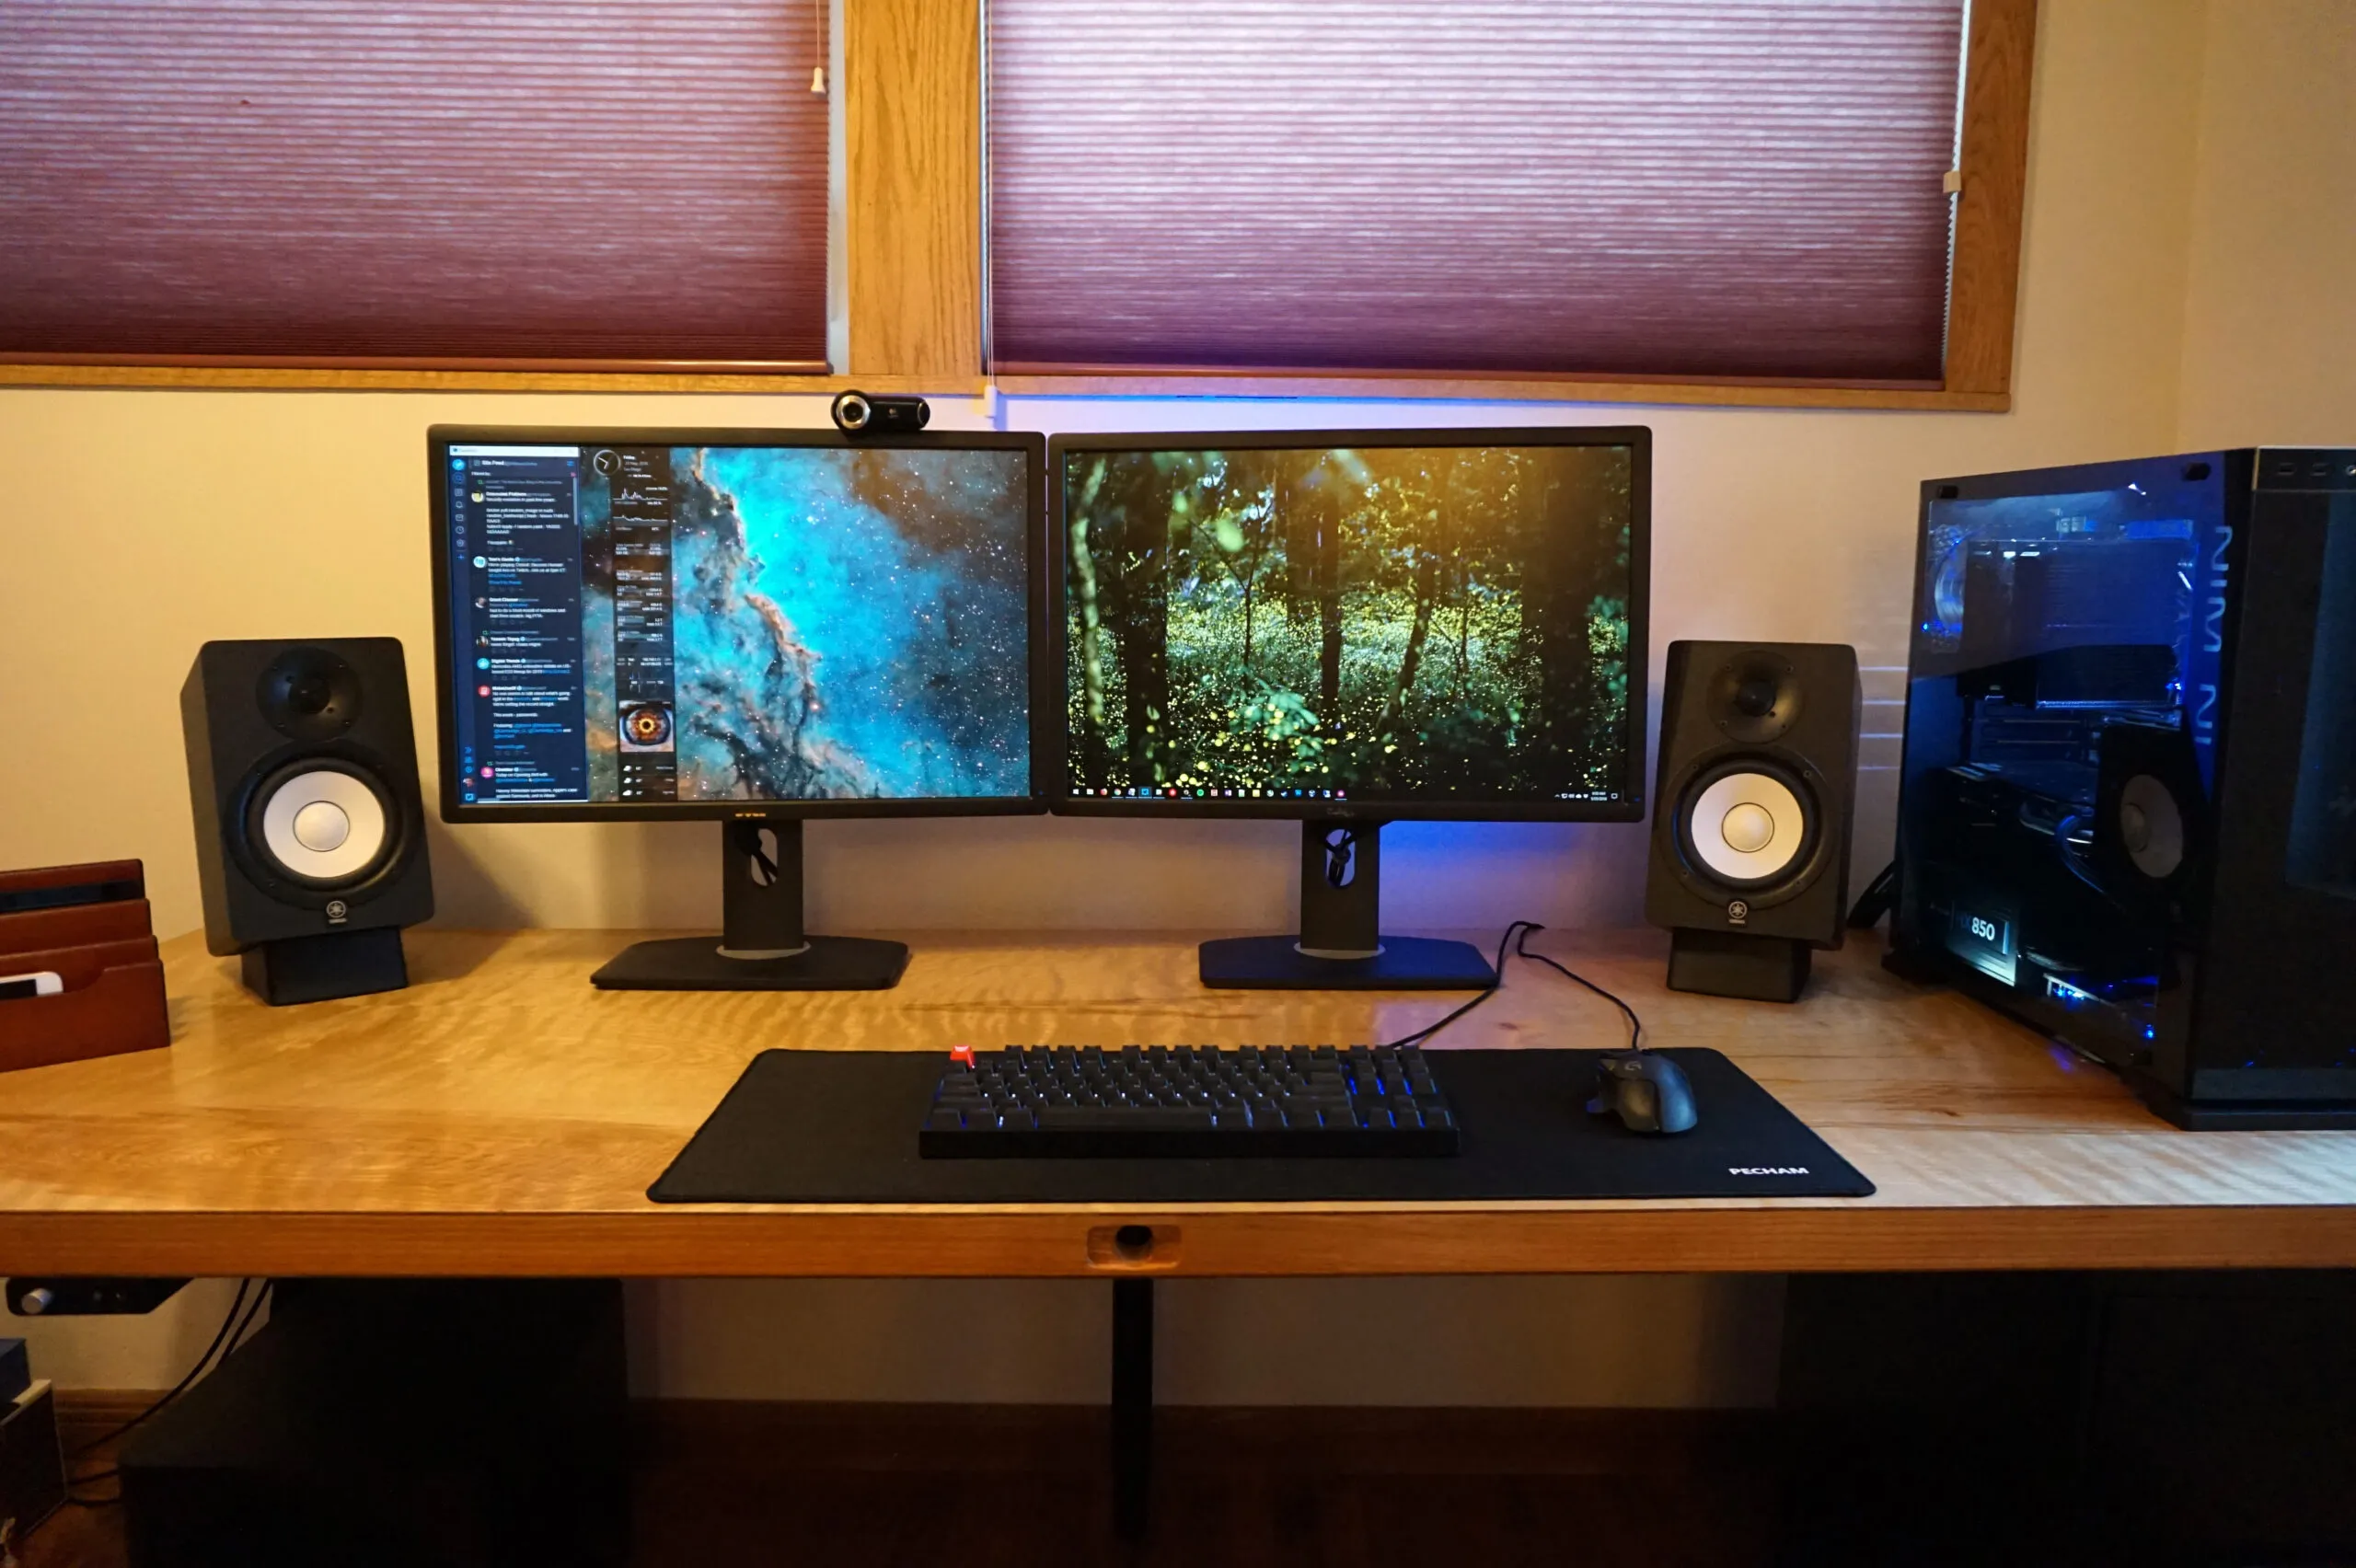
 Your friends and family will be jealous.
-
Make It Your Own: Customizing Your Creation
This guide provides a framework – the real magic happens when you add your personal touch.
- Woodworking Enthusiast? Build your own custom legs or add intricate design elements.
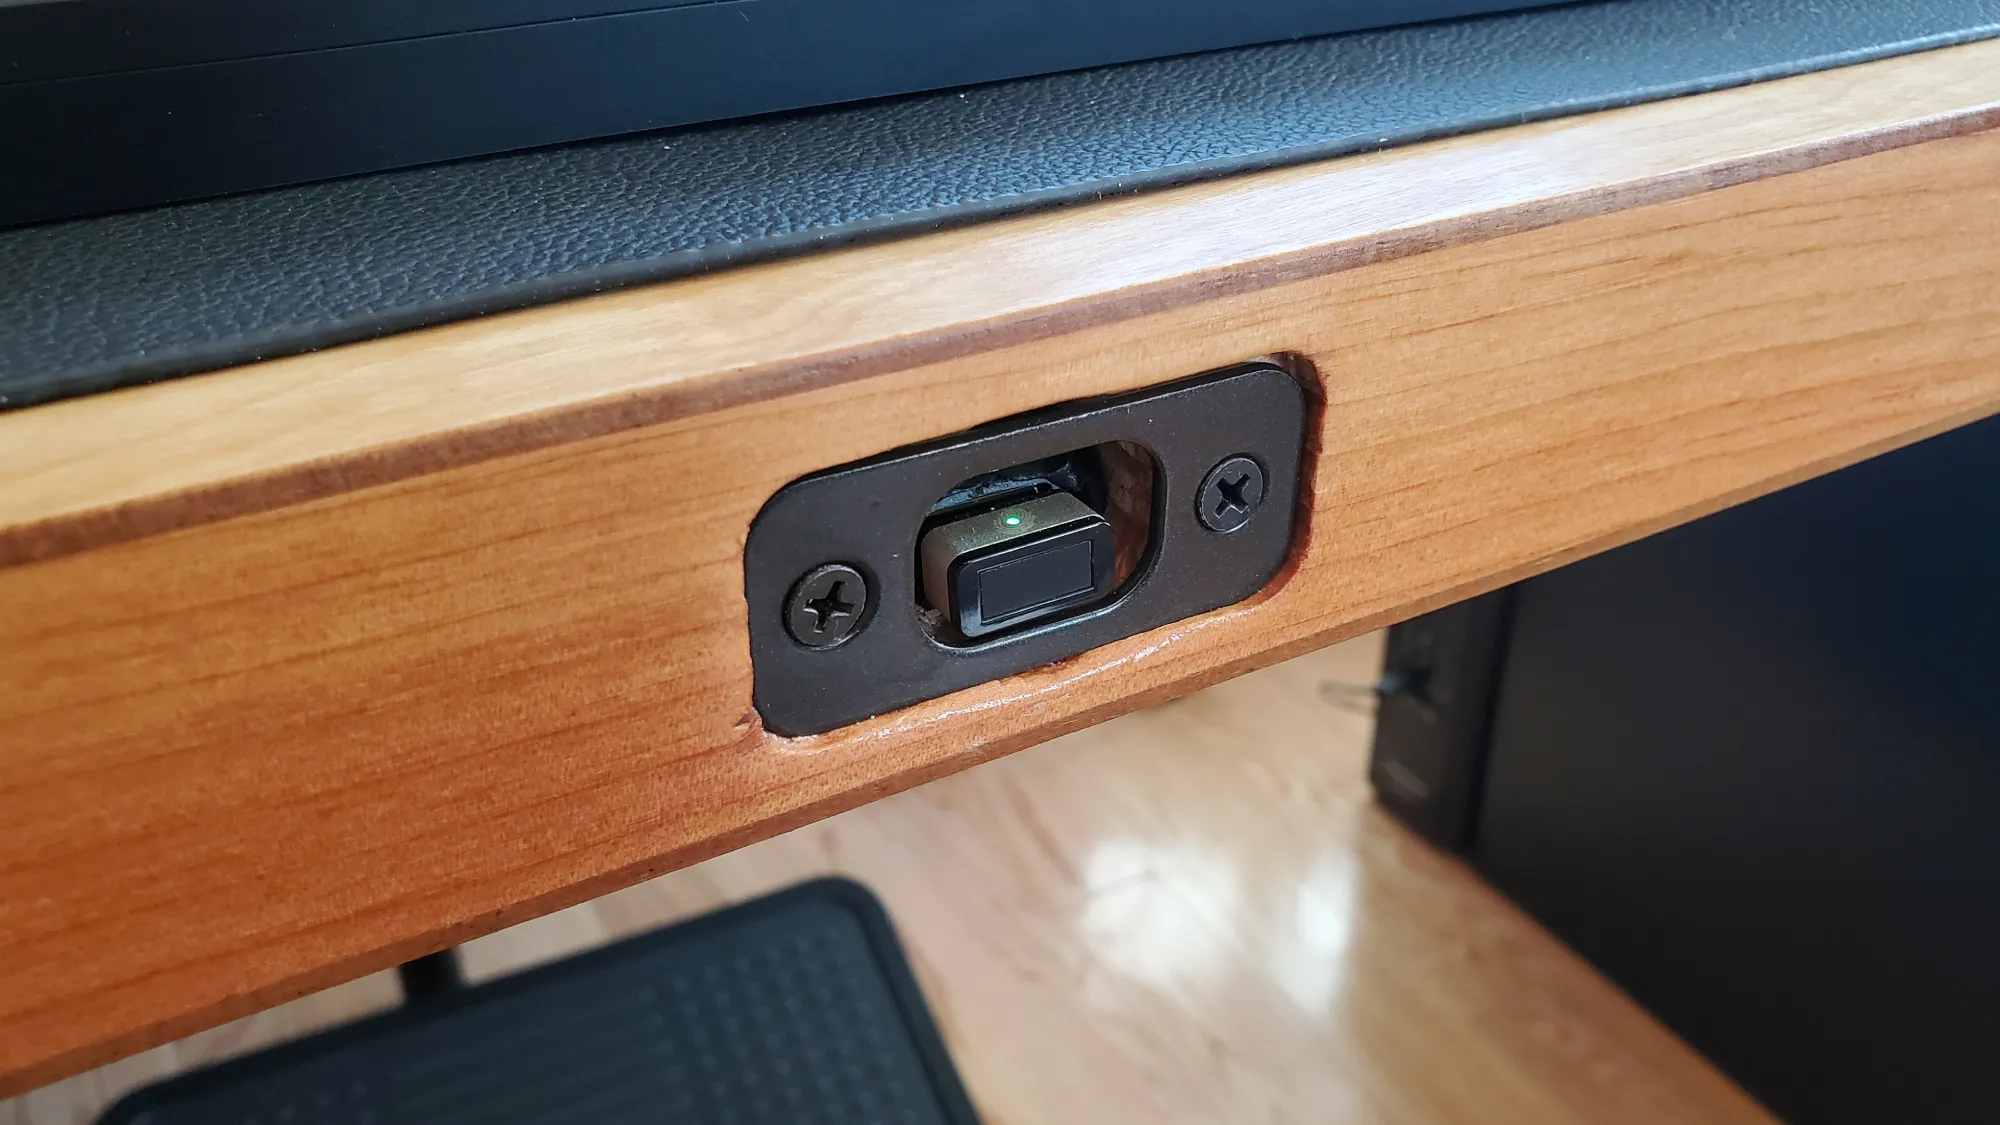
- Tech Savvy? Install built-in USB ports or even a fingerprint scanner for a futuristic feel.
- Color Lover? Paint your desk a vibrant hue or add a patterned desktop.
The possibilities are endless!
Share Your Masterpiece
We’d love to see your custom computer desk creations! Share your projects with us on social media and tag Robert Kline Art. And be sure to explore our website for more DIY inspiration and unique handmade gifts.
