Blog
Crafting a Cozy Corner: Your Guide to Building a Window Seat with Storage

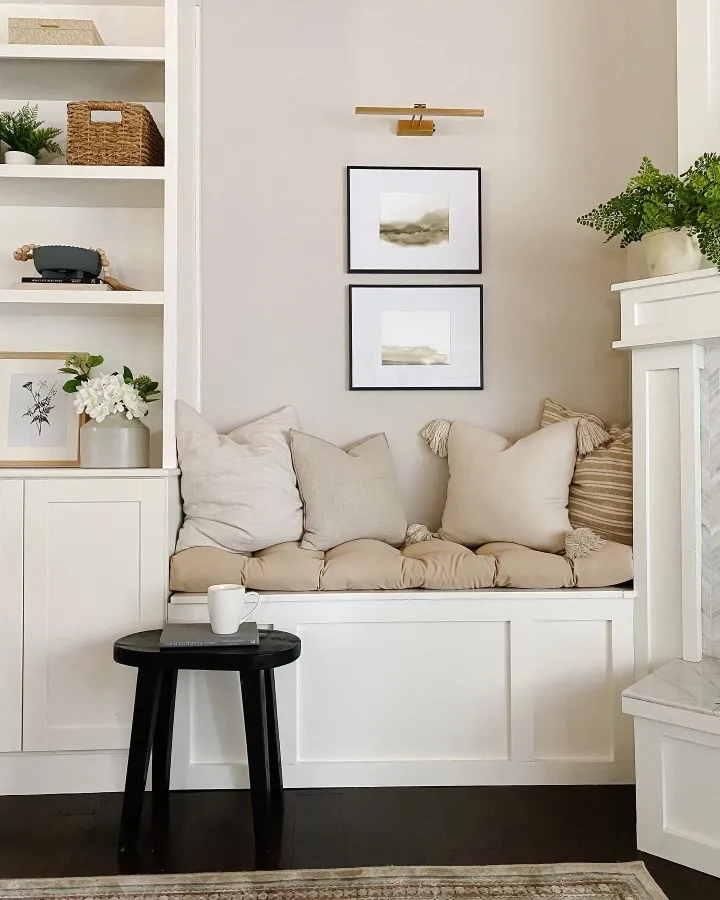
A window seat is a charming addition to any home, offering a cozy nook to relax and enjoy the view. It’s a design element I’ve always adored, reminiscent of storybooks and secret hideaways. When I finally had the opportunity to add one to my own home, I knew it had to be extra special – a built-in window seat with storage. The project was incredibly rewarding, and now I’m excited to share my experience and guide you through crafting your own!
Planning Your Project: Size, Design, and Functionality
Before diving into construction, take some time to plan the size, design, and functionality of your window seat. Consider these key factors:
- Storage Needs: What will you store inside? Books, blankets, board games? Determine the storage capacity you need.
- Space Usage: How will the space be used? A reading nook, a play area, or extra seating? The intended use will influence the size and design choices.
- Cushion Choice: Will you use a pre-made cushion or create a custom one? Keep in mind that pre-made cushions come in standard sizes, which may impact your bench dimensions.
Expert Tip: “Measure twice, cut once” is a mantra for a reason! Accurate measurements are crucial for a successful project. Double-check your measurements before making any cuts. – John Carpenter, Master Woodworker
Building the Foundation: Constructing the Bench Frame
With a clear plan in hand, it’s time to start building! Here’s a step-by-step guide:
1. Frame Construction:
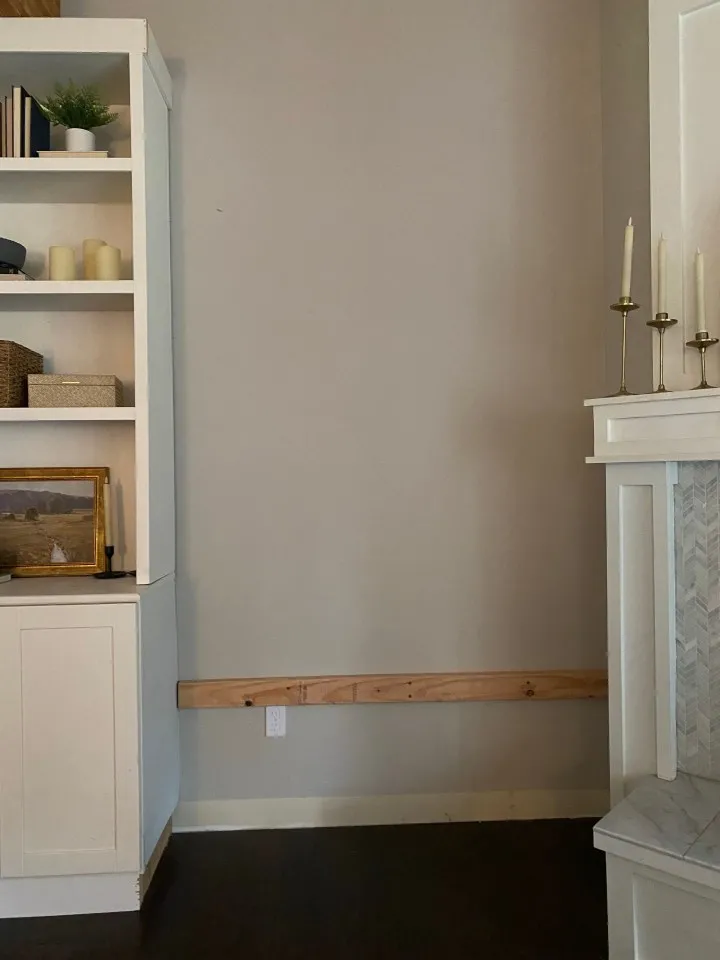
- Begin by locating the wall studs for sturdy attachment.
- Using 2x4s, build a rectangular frame that will be the base and support structure of your bench.
- Attach the back 2×4 to the wall studs securely using wood screws, ensuring it is level.
- For the legs, you can either screw them directly into the subfloor or add a horizontal support bar for extra stability.
2. Adding the Skin:
- Once the frame is complete, cover it with your chosen material – plywood or MDF.
- Measure and cut the pieces to fit the frame precisely.
- Attach the plywood to the frame using a nail gun, creating a clean and finished look.
 "Skinning the frame with plywood."
Adding Character: Trim and Finishing Touches
Now it’s time to infuse your personal style and elevate the look of your bench with trim work.
3. Trim Installation:
- This step allows for creativity. I opted for a board and batten style using 3″ trim pieces, creating a visually appealing pattern.
- Experiment with different trim styles and spacing to find what best suits your aesthetic.
- Secure the trim to the bench front using a nail gun.
 "Adding trim for a polished look."
4. Hinging the Seat Top:
- With the trim in place, it’s time to create the hinged seat top.
- Cut a piece of plywood for the top, ensuring it overlaps the bench frame slightly.
- Attach two sturdy hinges – standard or piano hinges work well – to the back of the plywood and the bench frame.
 "Attaching the hinged seat top."
Robert Kline Art Tip: If you prefer to conceal the hinges, you can paint them to match the bench color for a seamless finish.
Final Flourishes: Painting and Finishing
The home stretch! It’s time to add those final touches that truly bring your project to life.
5. Prepping and Painting:
- Fill any nail holes with wood filler and caulk along the seams for a smooth and polished look.
- Lightly sand the filled areas for a flawless finish.
- Apply a primer to the entire bench, followed by two coats of your chosen paint color. I recommend a semi-gloss finish for durability and easy cleaning.
 "Adding a fresh coat of paint."
6. The Finishing Touch:
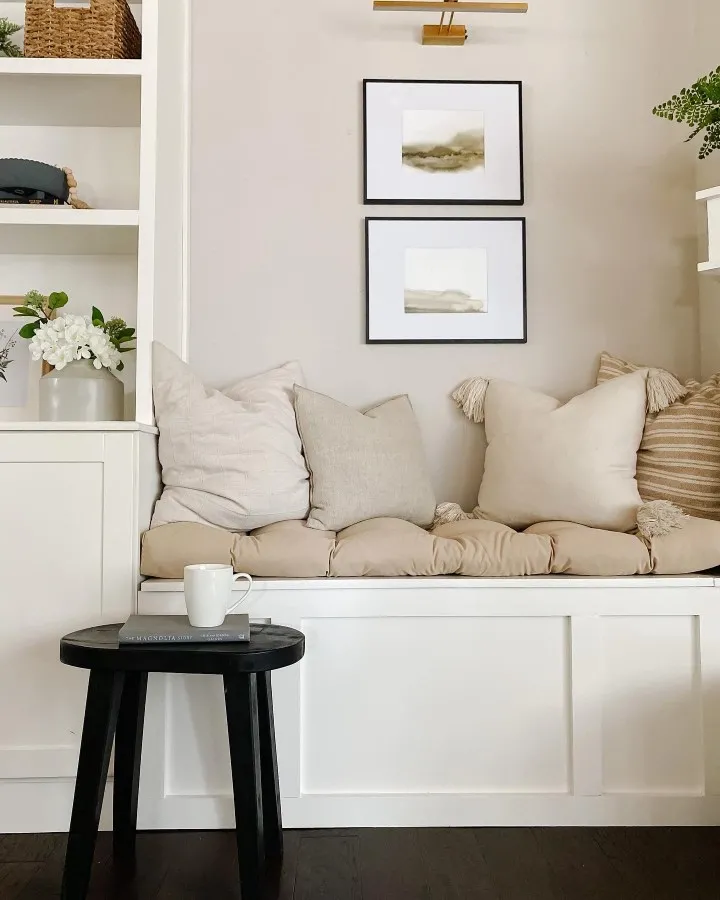
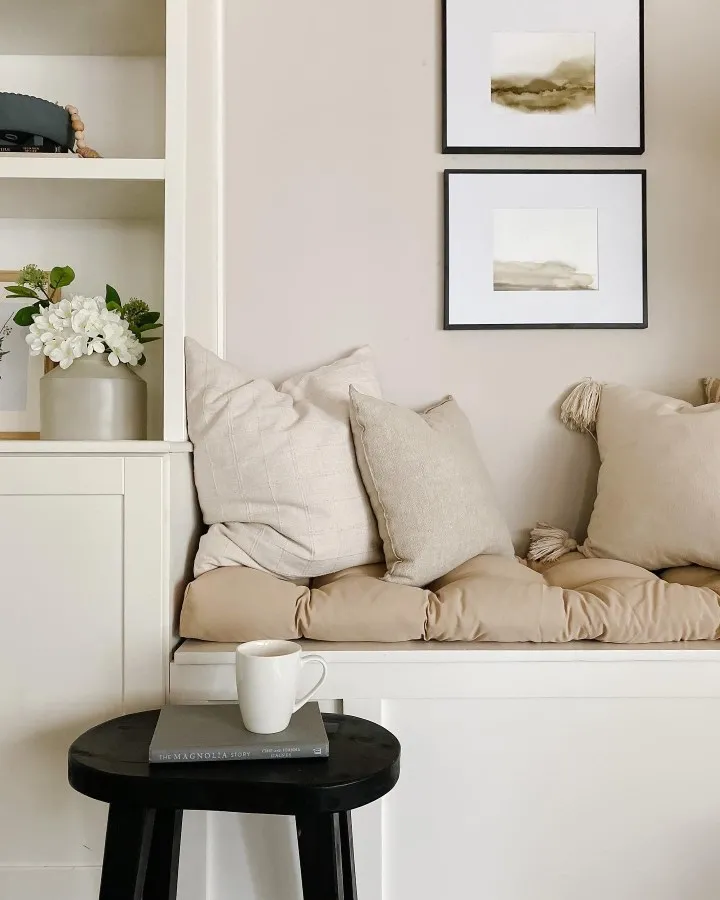
- With the paint dry, add your chosen cushion – a pop of color, a cozy texture, or a classic pattern.
Your Cozy Retreat Awaits
Congratulations on building your very own window seat with storage! It’s a place to curl up with a good book, enjoy a cup of tea, and savor the simple pleasures of a handmade haven.
What are your favorite window seat ideas? Share your thoughts and experiences in the comments below. And be sure to explore Robert Kline Art for more creative inspiration and unique handcrafted gifts!
