Build Your Own Entryway Organizer: A Step-by-Step Guide
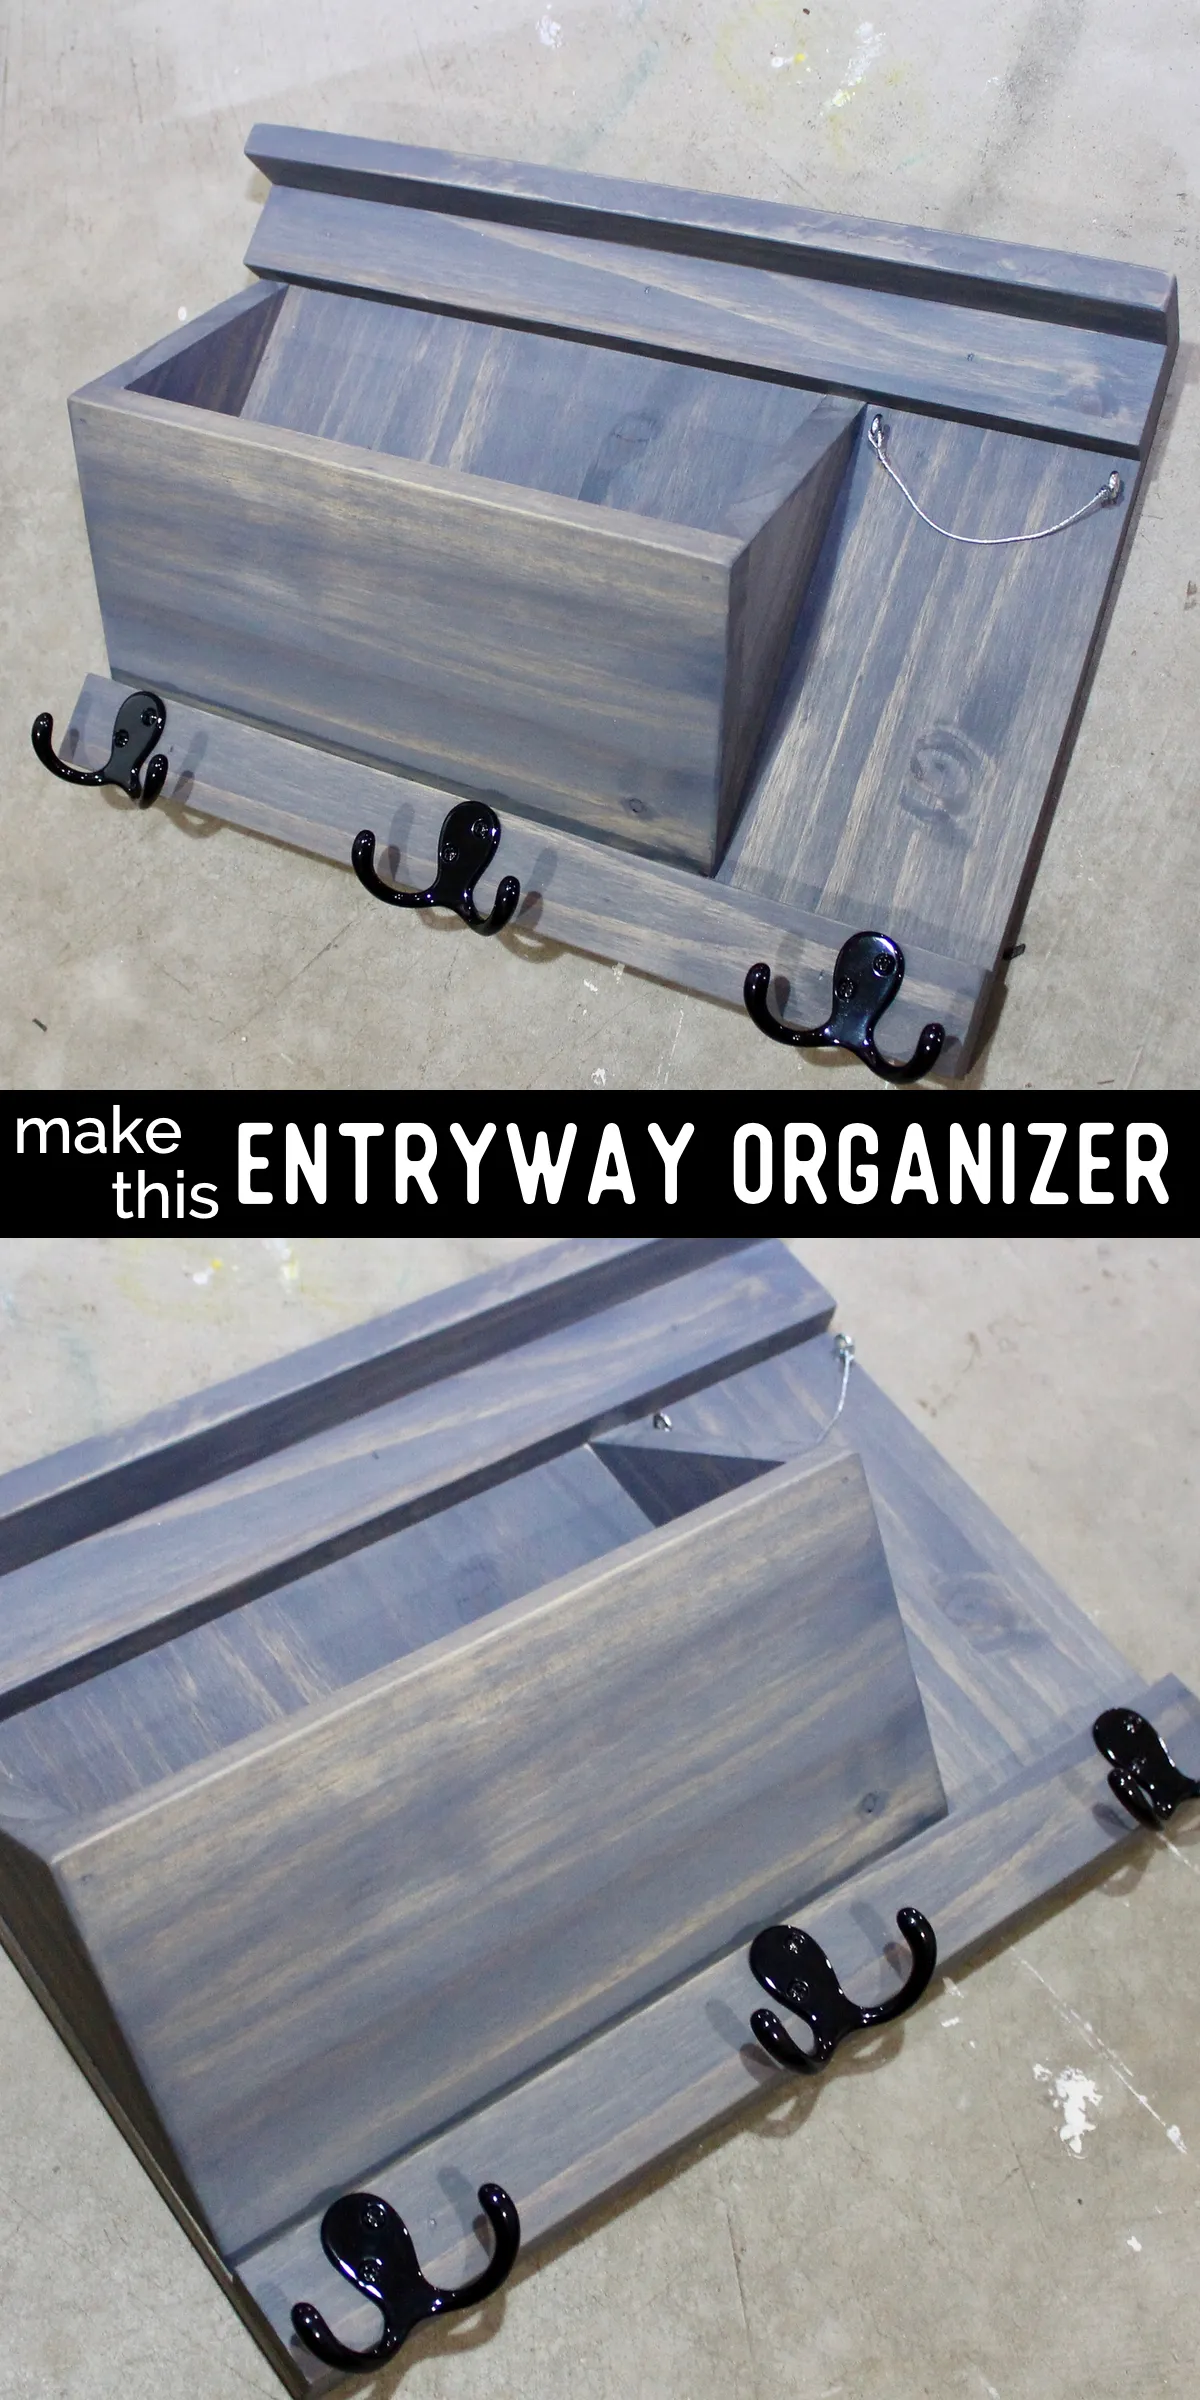
Keeping your entryway tidy can be a constant struggle. Keys get lost, sunglasses vanish, and mail piles up. But fear not! I’m Robert Kline, and I’m here to share a simple solution: a DIY entryway organizer that’s as stylish as it is functional.
Over the years, I’ve built countless entryway organizers, experimenting with various materials and designs. Today, I’ll guide you through my streamlined process using readily available edge-glued pine, making this project perfect for woodworkers of all levels.
Gathering Your Tools and Materials
Before we dive in, let’s ensure you have everything you need. Here’s a list of the tools and materials I use:
Tools:
- Dewalt Table Saw
- Dewalt Sliding Mitre Saw
- Ryobi Nail Gun
- Dewalt Cordless Drill
Materials:
- Edge-glued pine panel (approximately 10.5″ x 15.5″)
- Wood glue
- 1.25″ x 15.5″ pine strips (x2)
- 2.5″ x 15.5″ pine strip (x1)
- 5.5″ x 11.25″ pine piece for mail holder (bottom cut at a 45º angle)
- Two triangular pine pieces (longest side: 6 5/8”, angles: 45º, 22.5º, 22.5º)
- Wood stain (I prefer Minwax Classic Gray for this design)
- Mounting hardware (D-ring picture hangers, clear rubber feet)
- Utility hooks
- Braided steel wire
- Screw eye rings
Building the Base: A Solid Foundation
 how to make this
The key to a sturdy organizer is a well-constructed base.
-
Preparing the Panel: Start by cutting your pine panel to 10.5″ tall and 15.5″ wide. If you don’t have a large enough panel, don’t worry! You can easily achieve the same dimensions by gluing narrower pieces side by side.
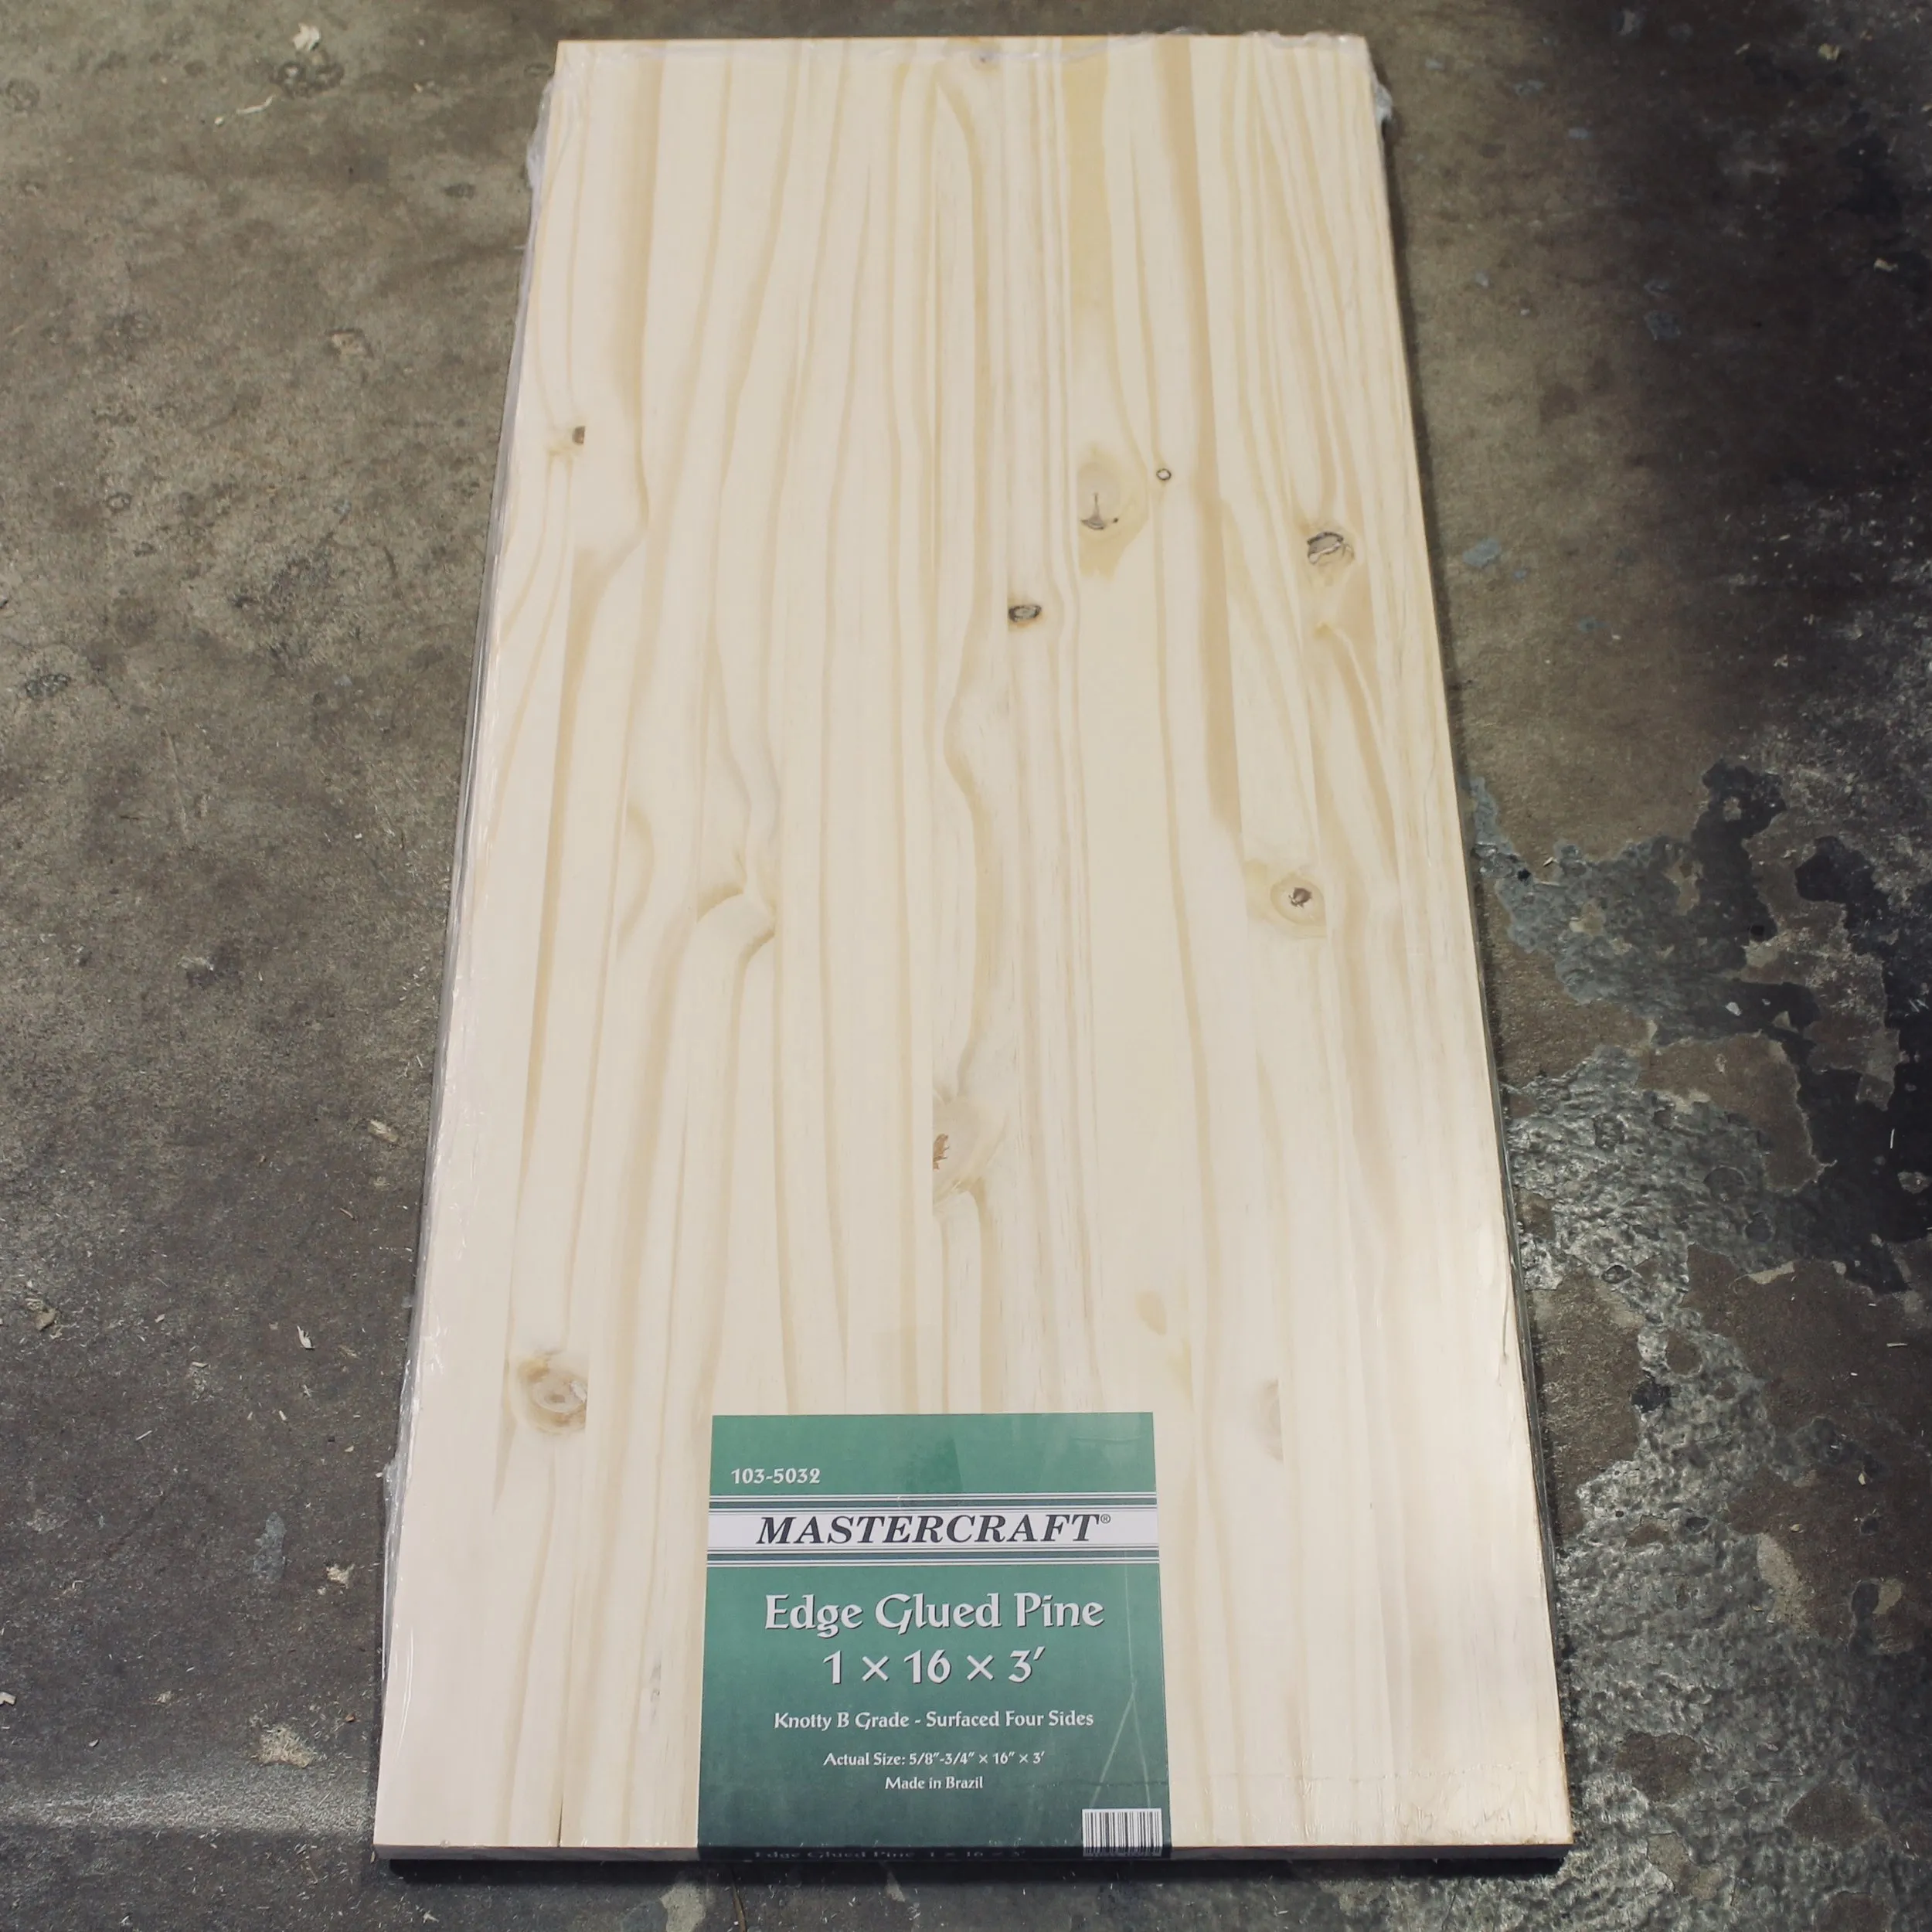 Using a big panel like this saves me a lot of time. I pick this up at my local lumber yard for under .
 -
Vertical Wood Grain: When selecting your panel, try to choose one with a vertical wood grain for this piece. It adds a subtle visual appeal.
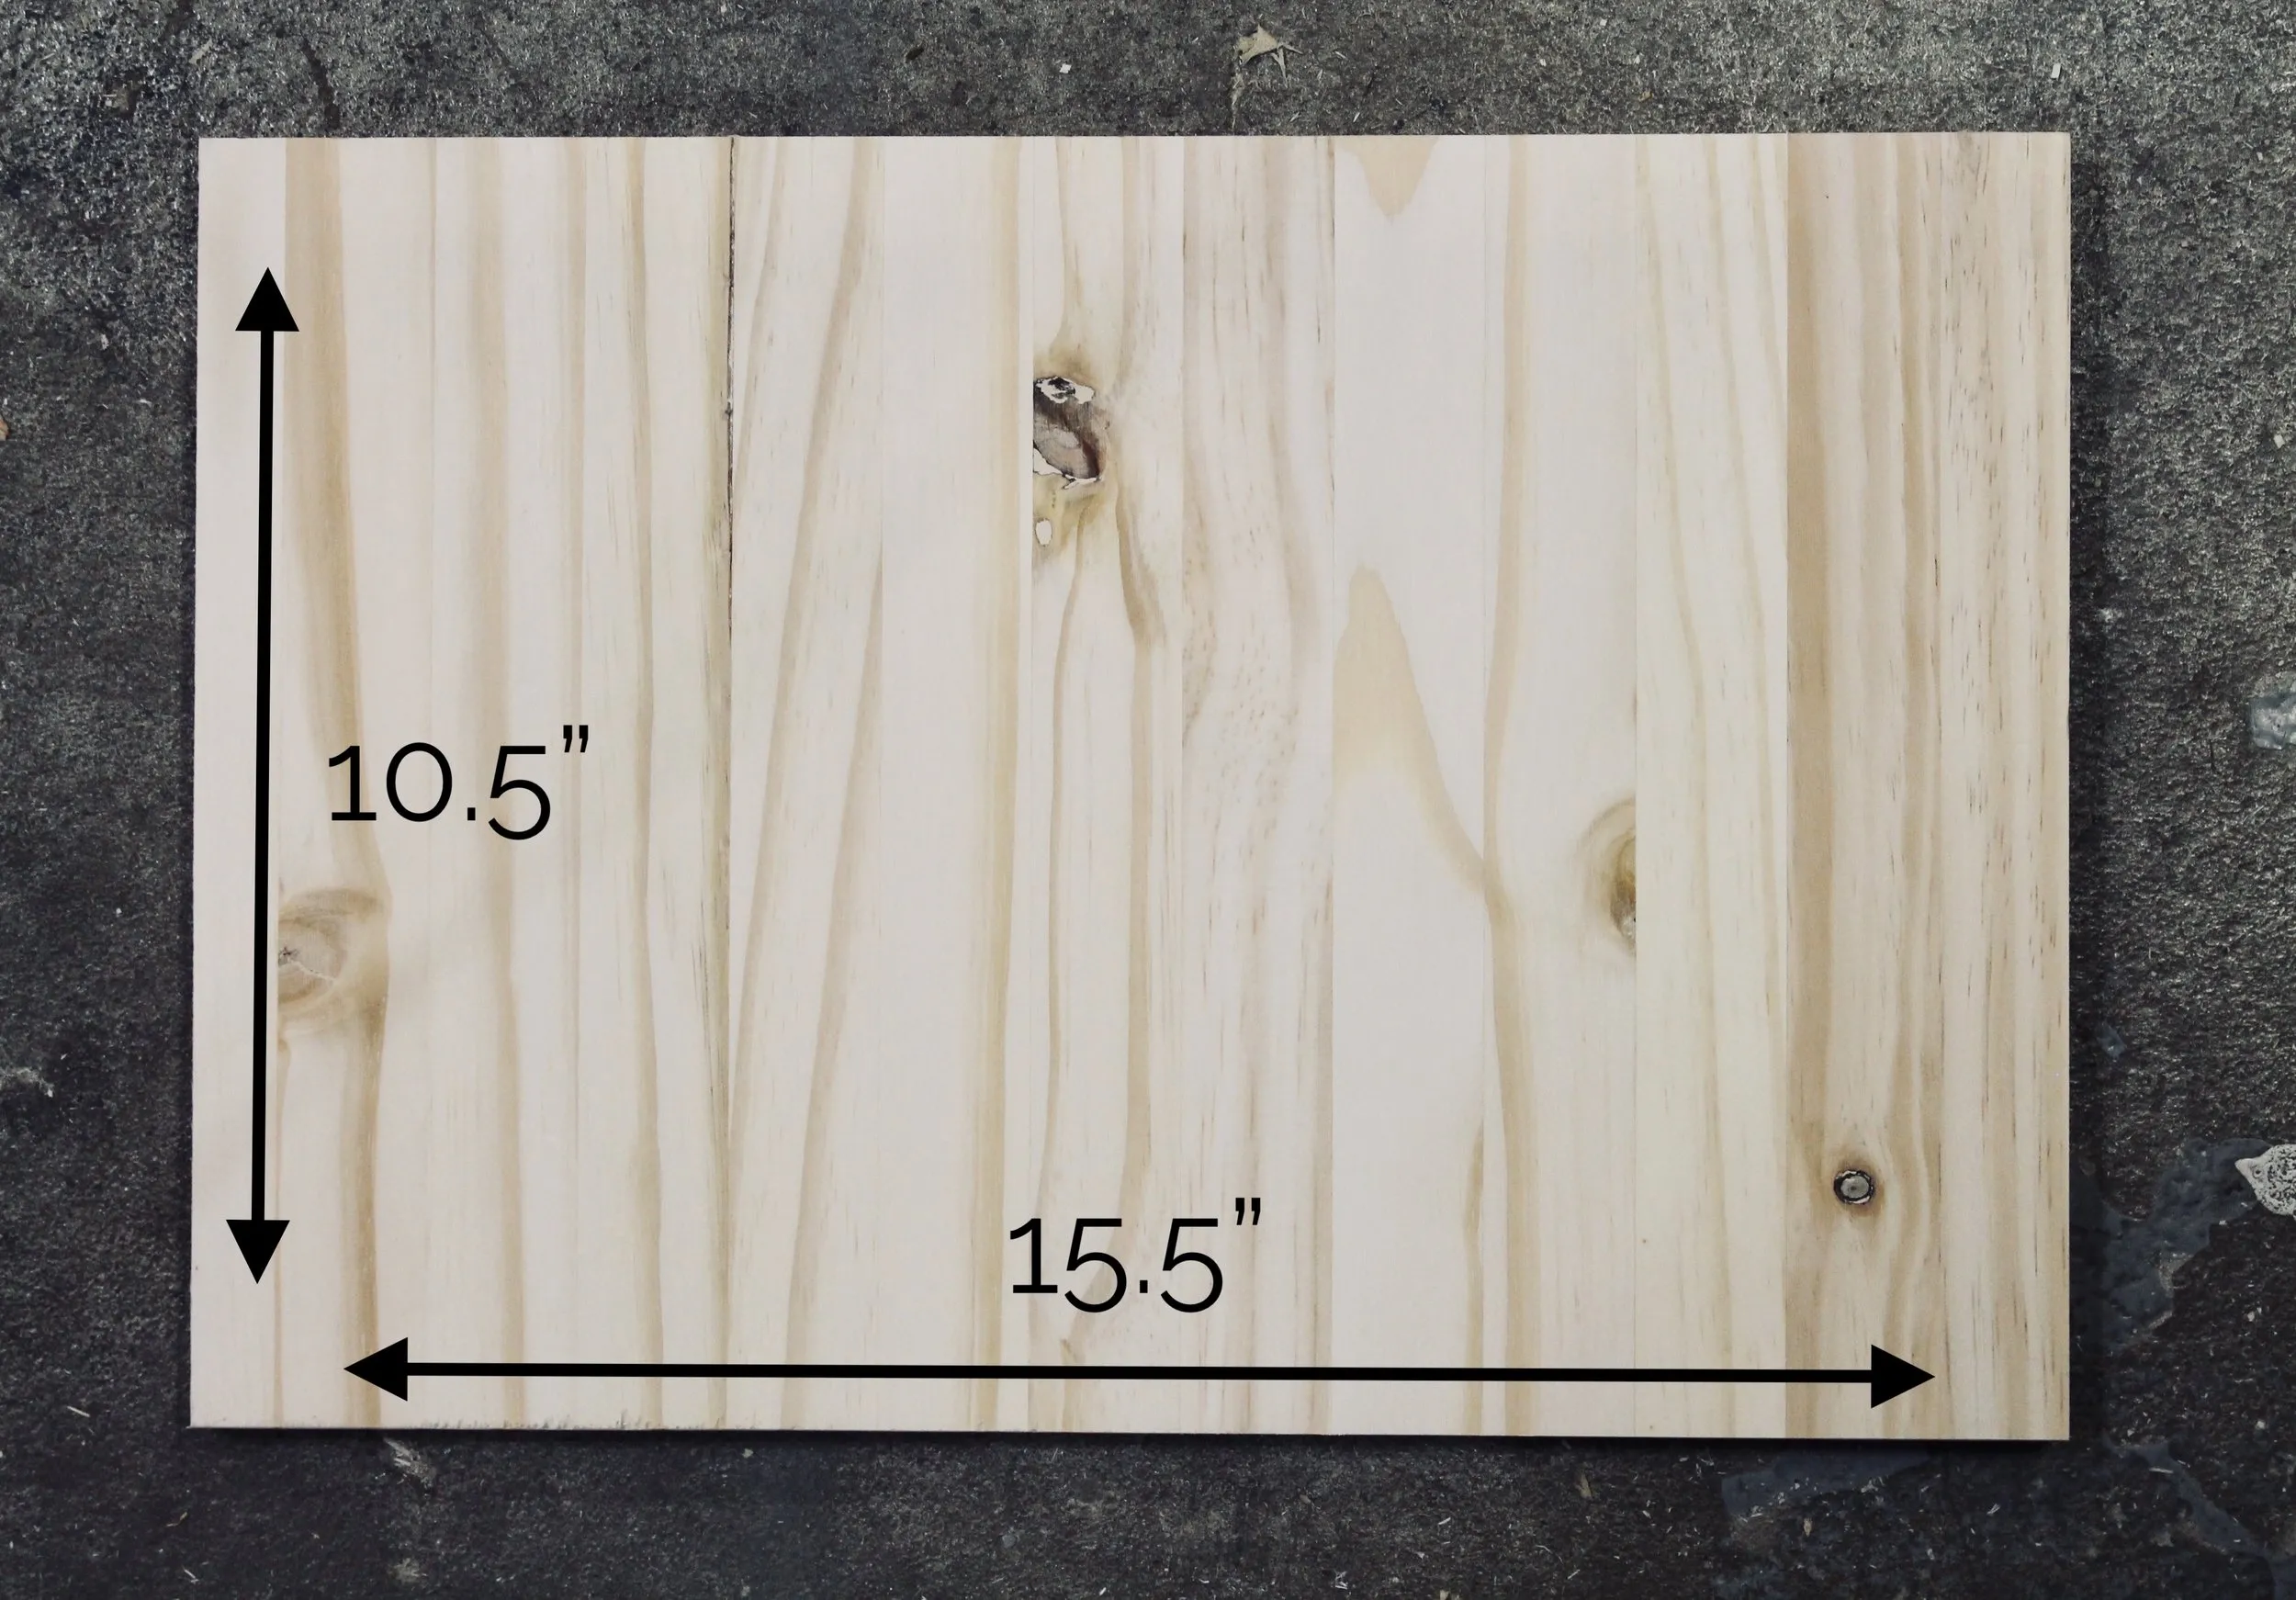 I always prefer this piece to have vertical wood grain.
 -
Cutting the Strips: Next, cut your pine strips to the following dimensions:
- Two strips at 1.25″ x 15.5″
- One strip at 2.5″ x 15.5″
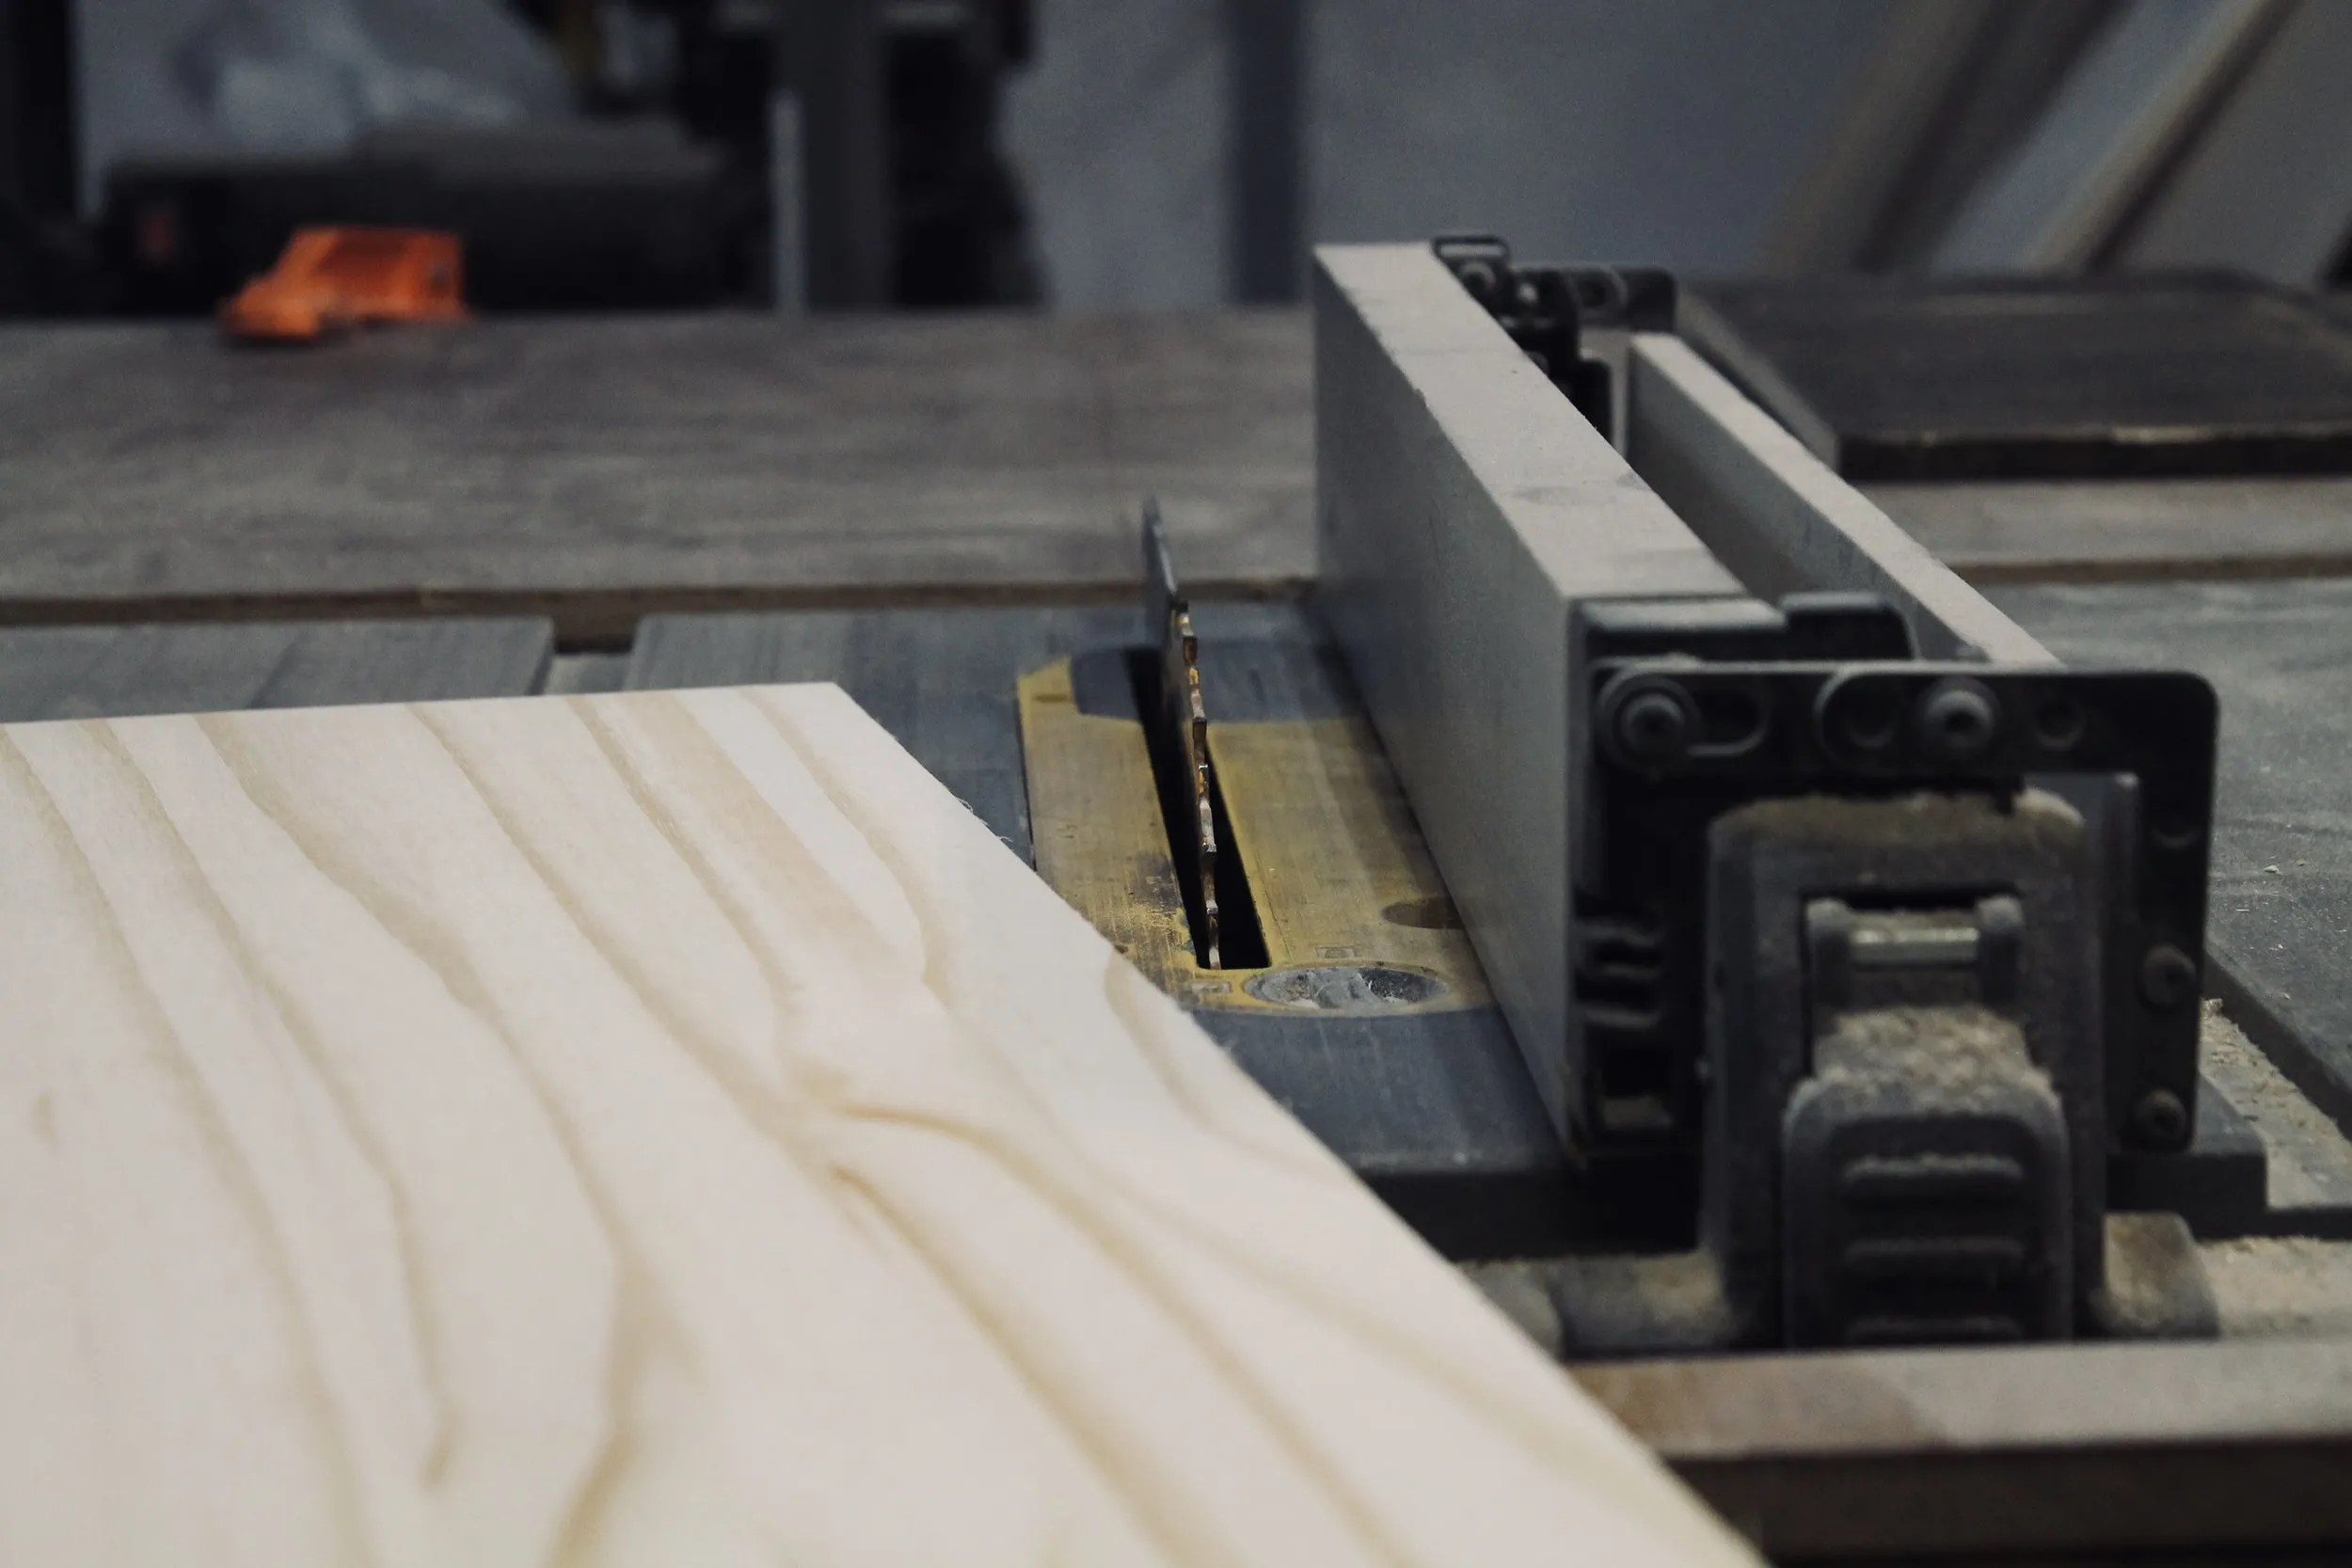 dewalt table saw
Crafting the Mail Holder and Assembling the Pieces
Now, let’s create the mail holder and bring all the components together.
-
The Angled Mail Slot: Take your 5.5″ x 11.25″ pine piece and cut the bottom edge at a 45º angle. This will create the slanted opening for your mail slot.
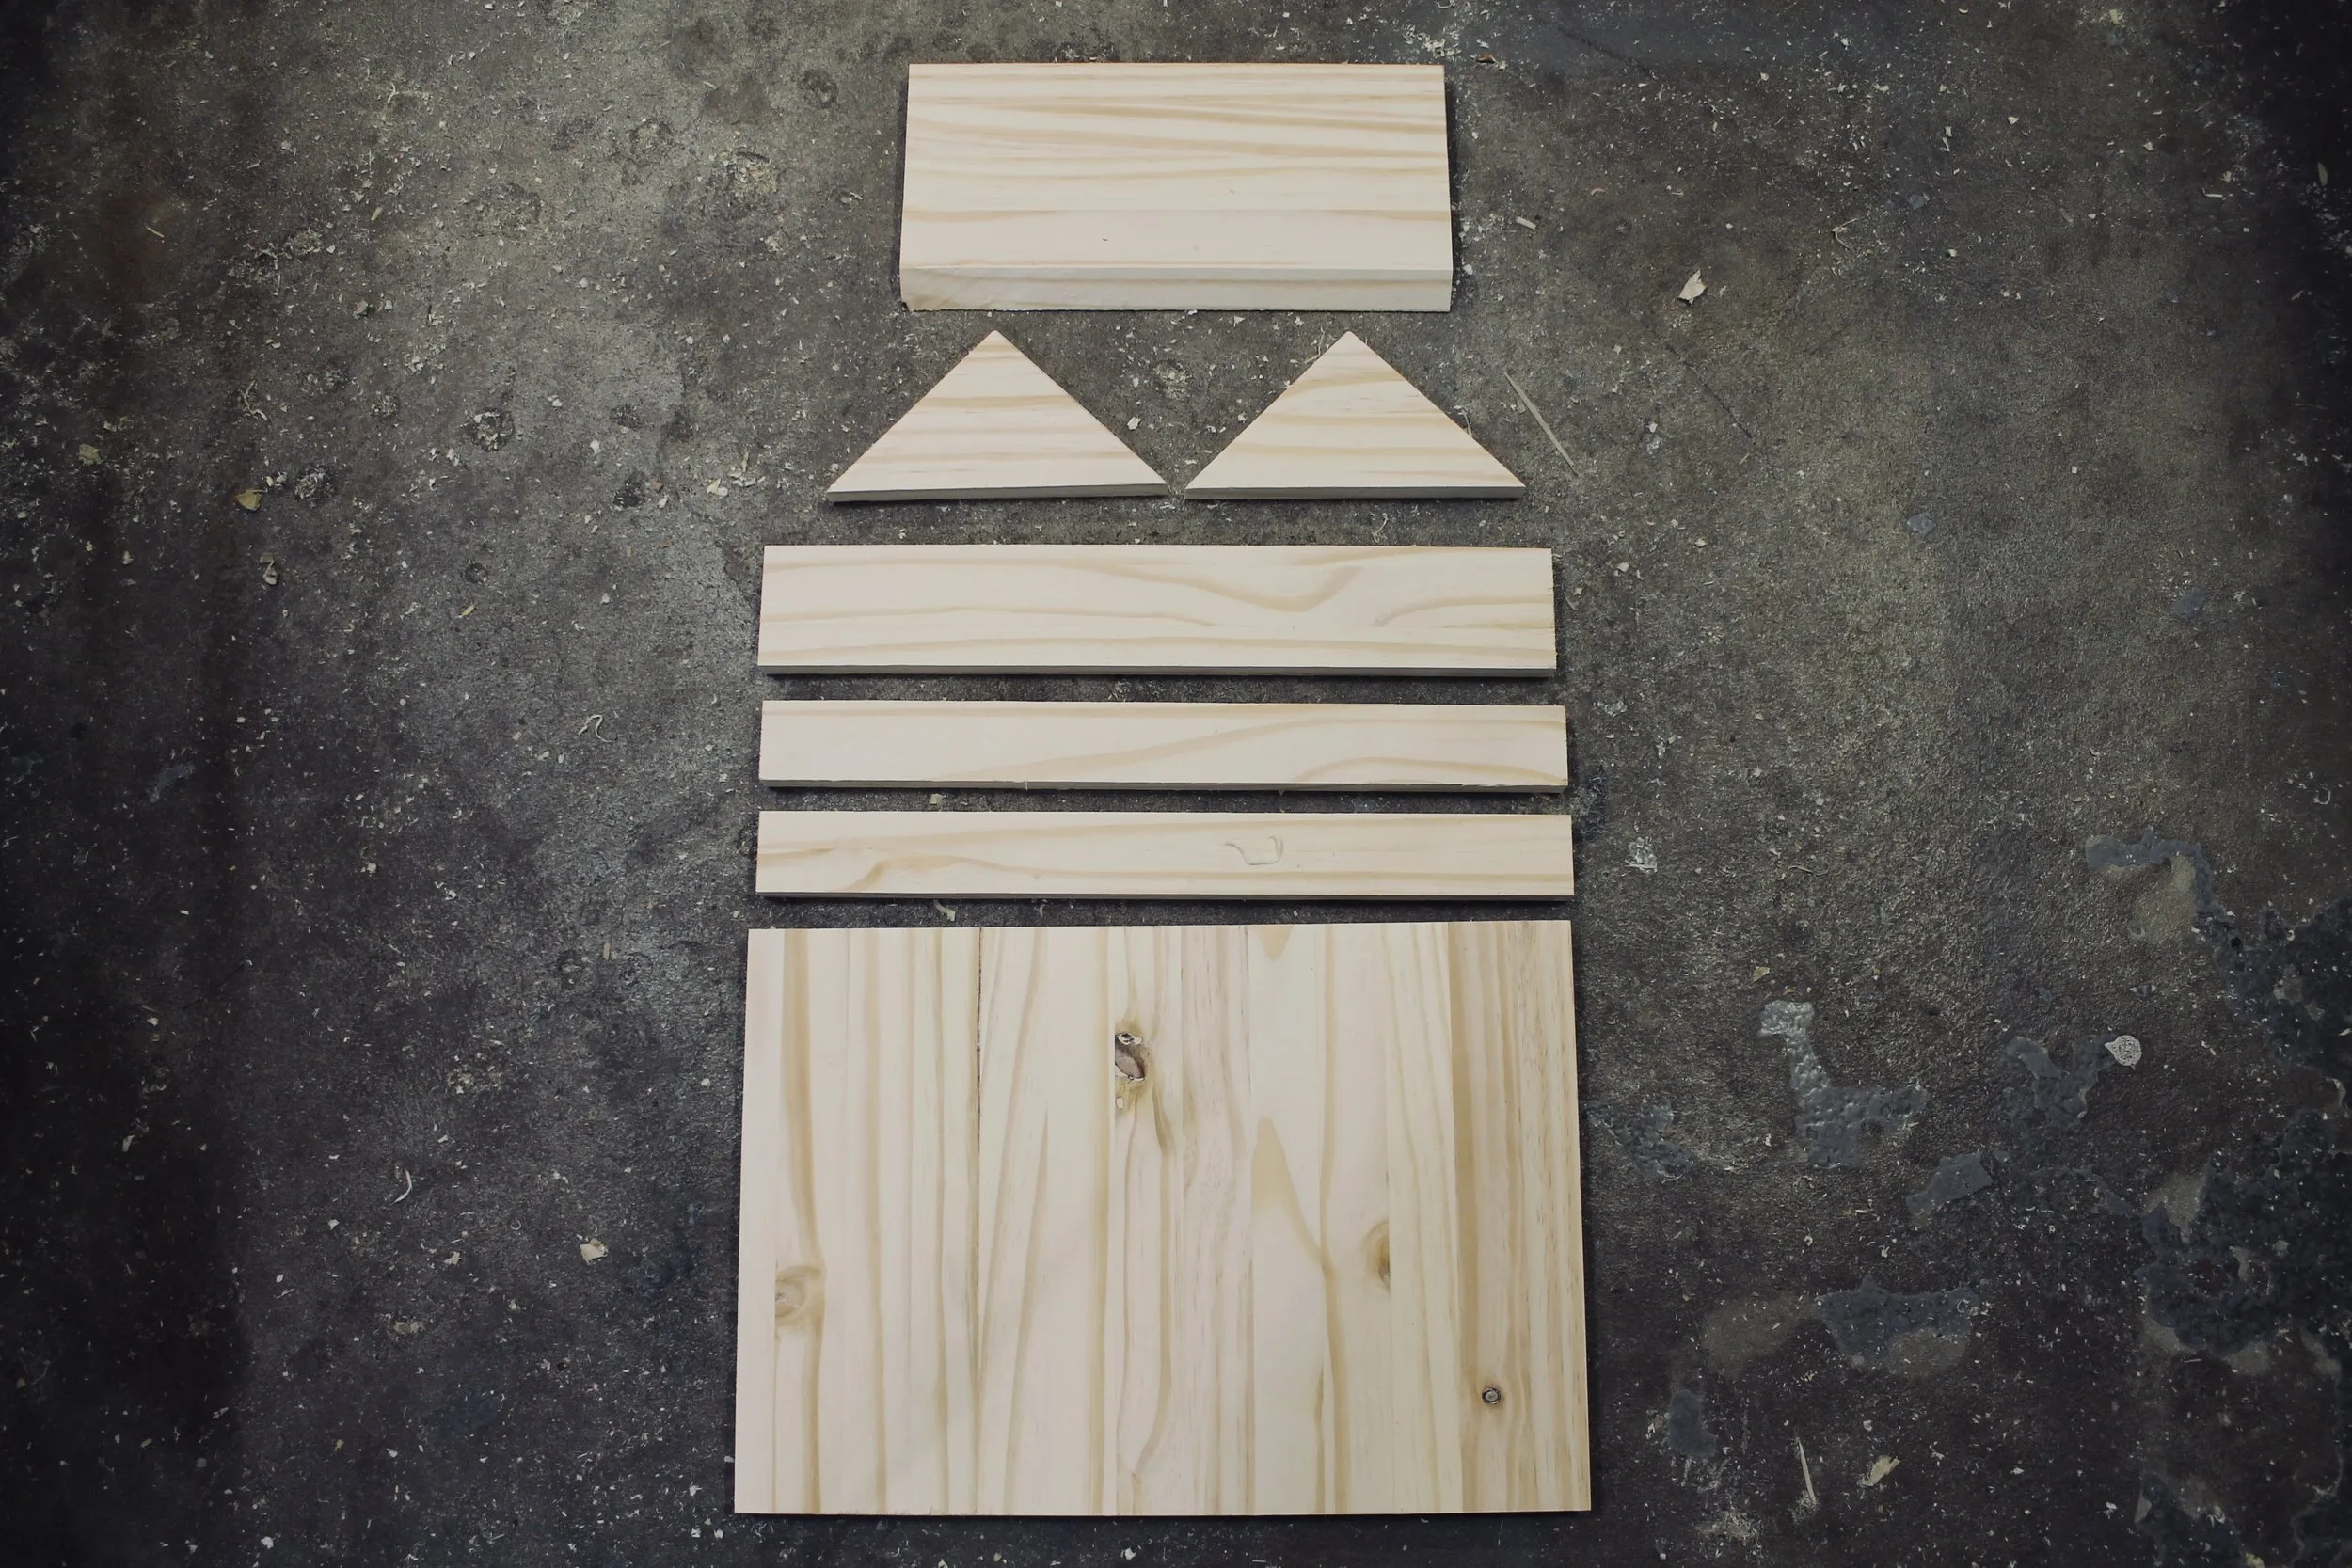 cut pieces
 -
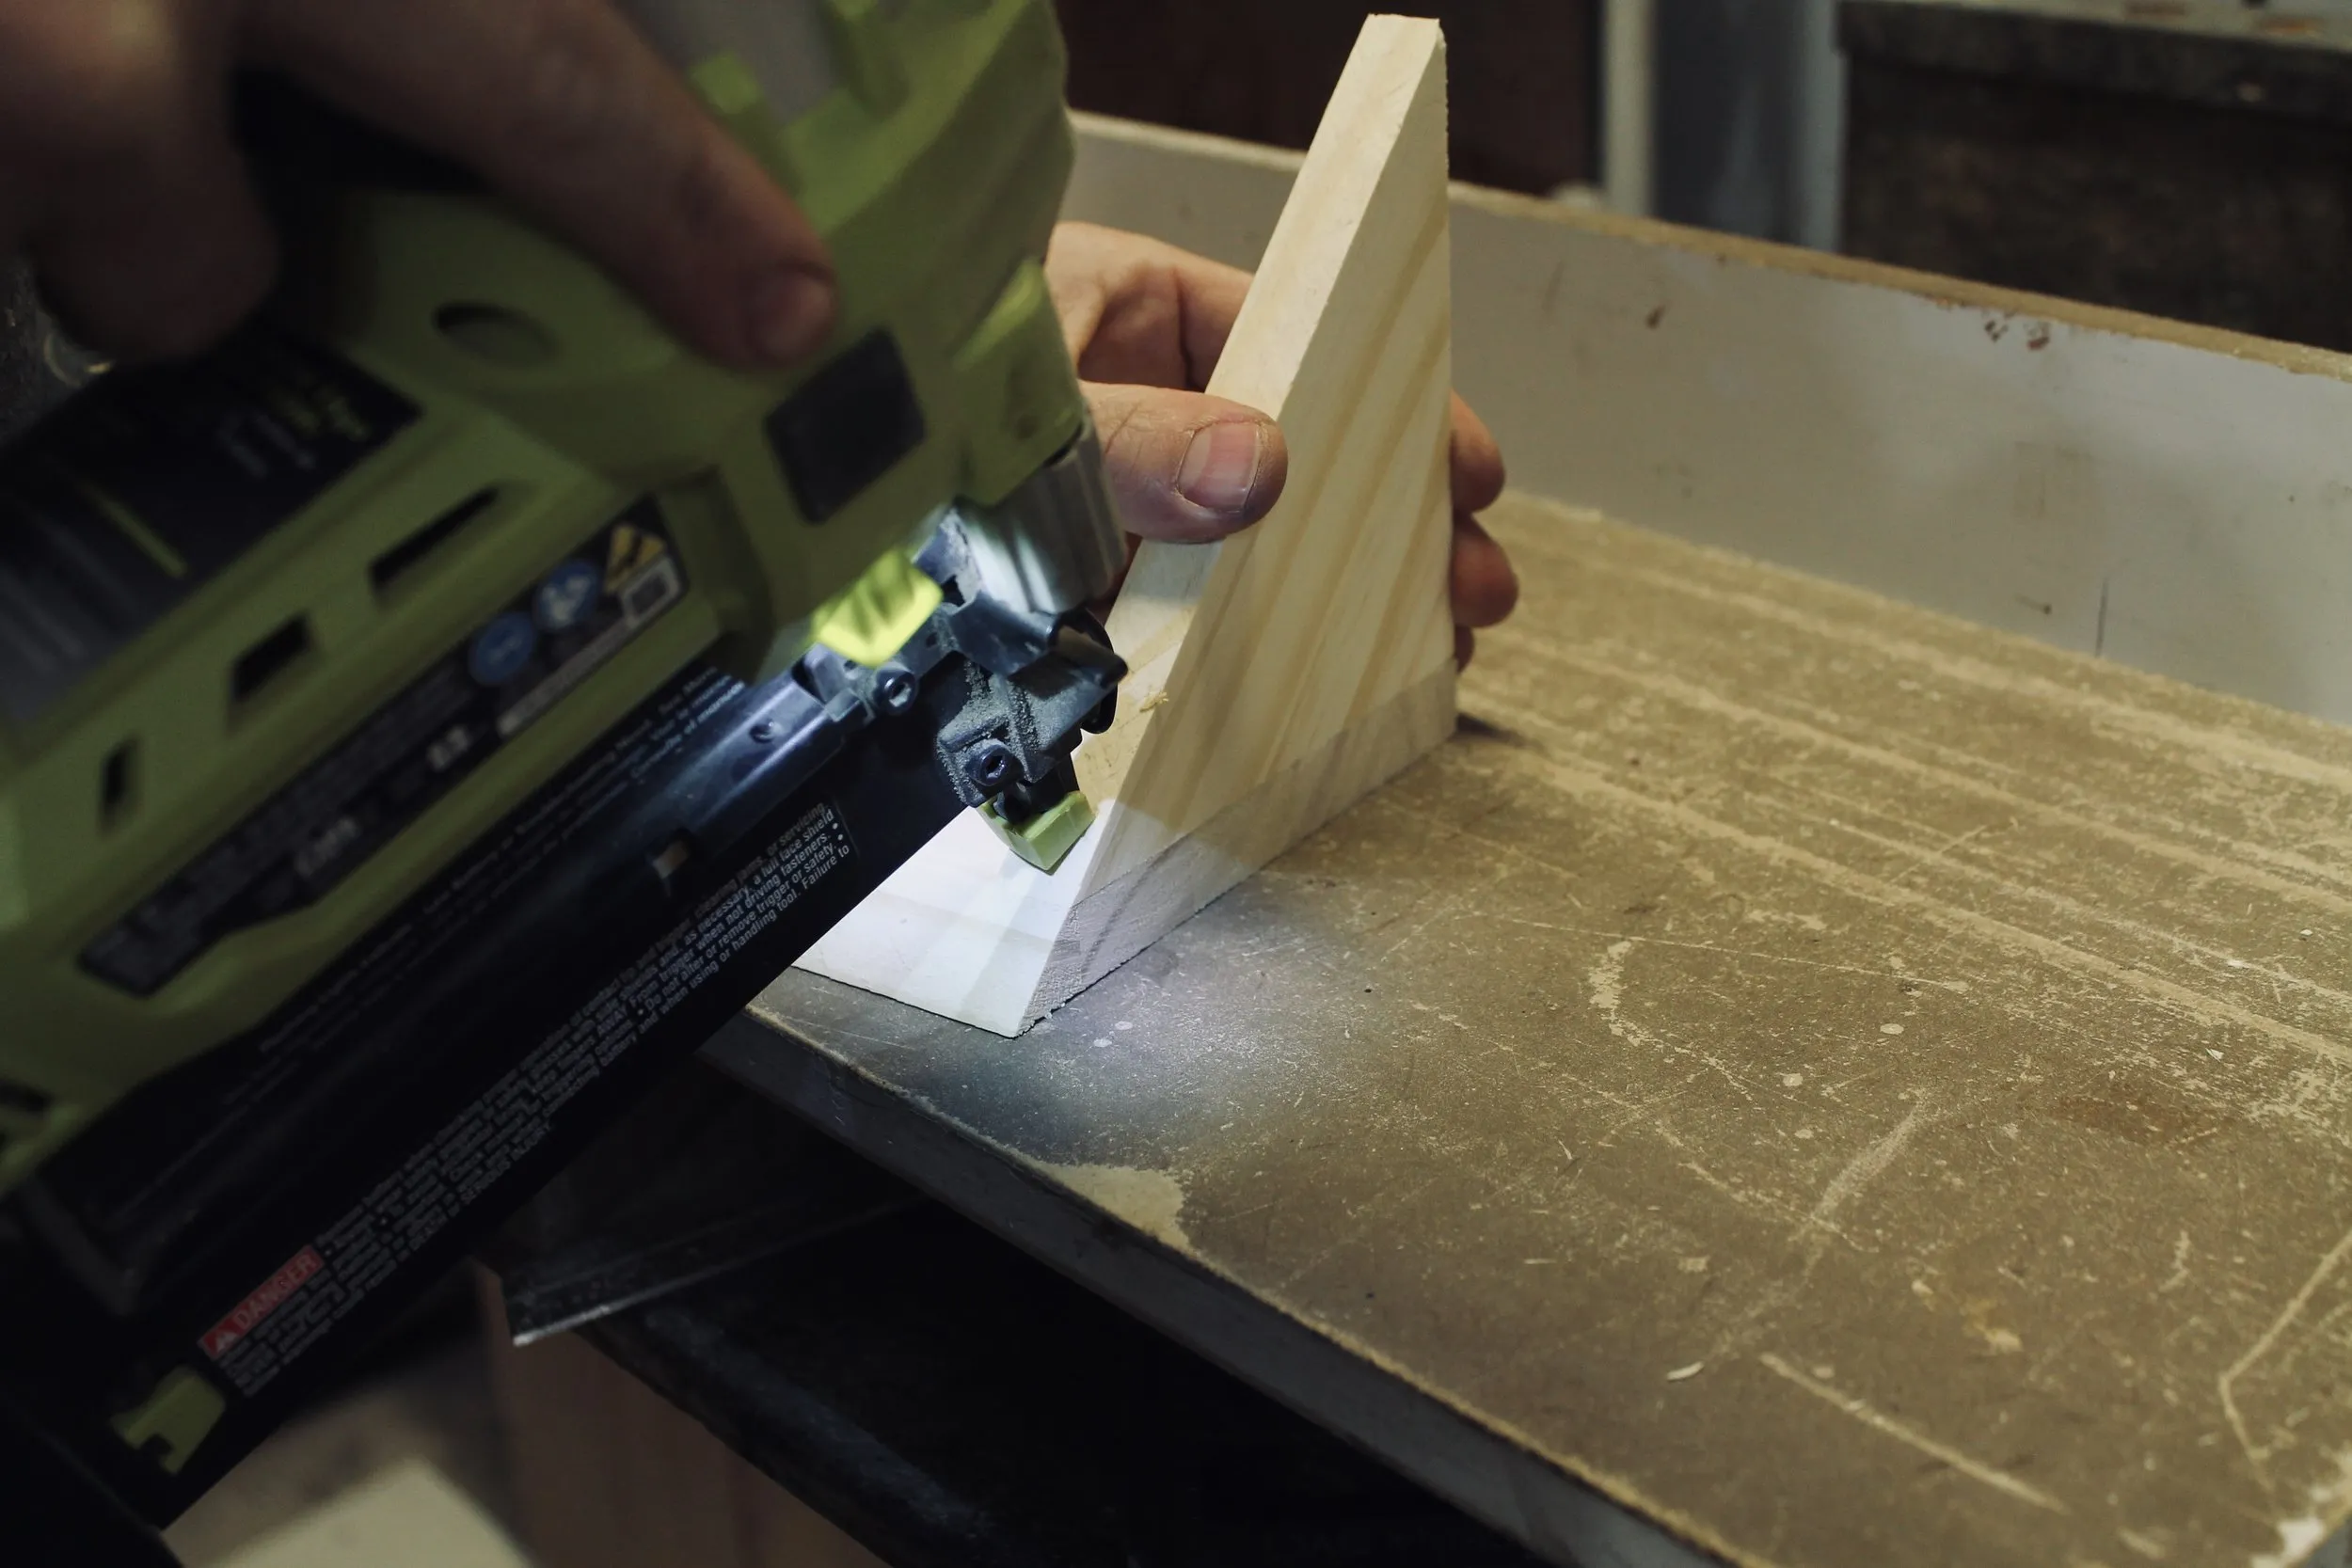
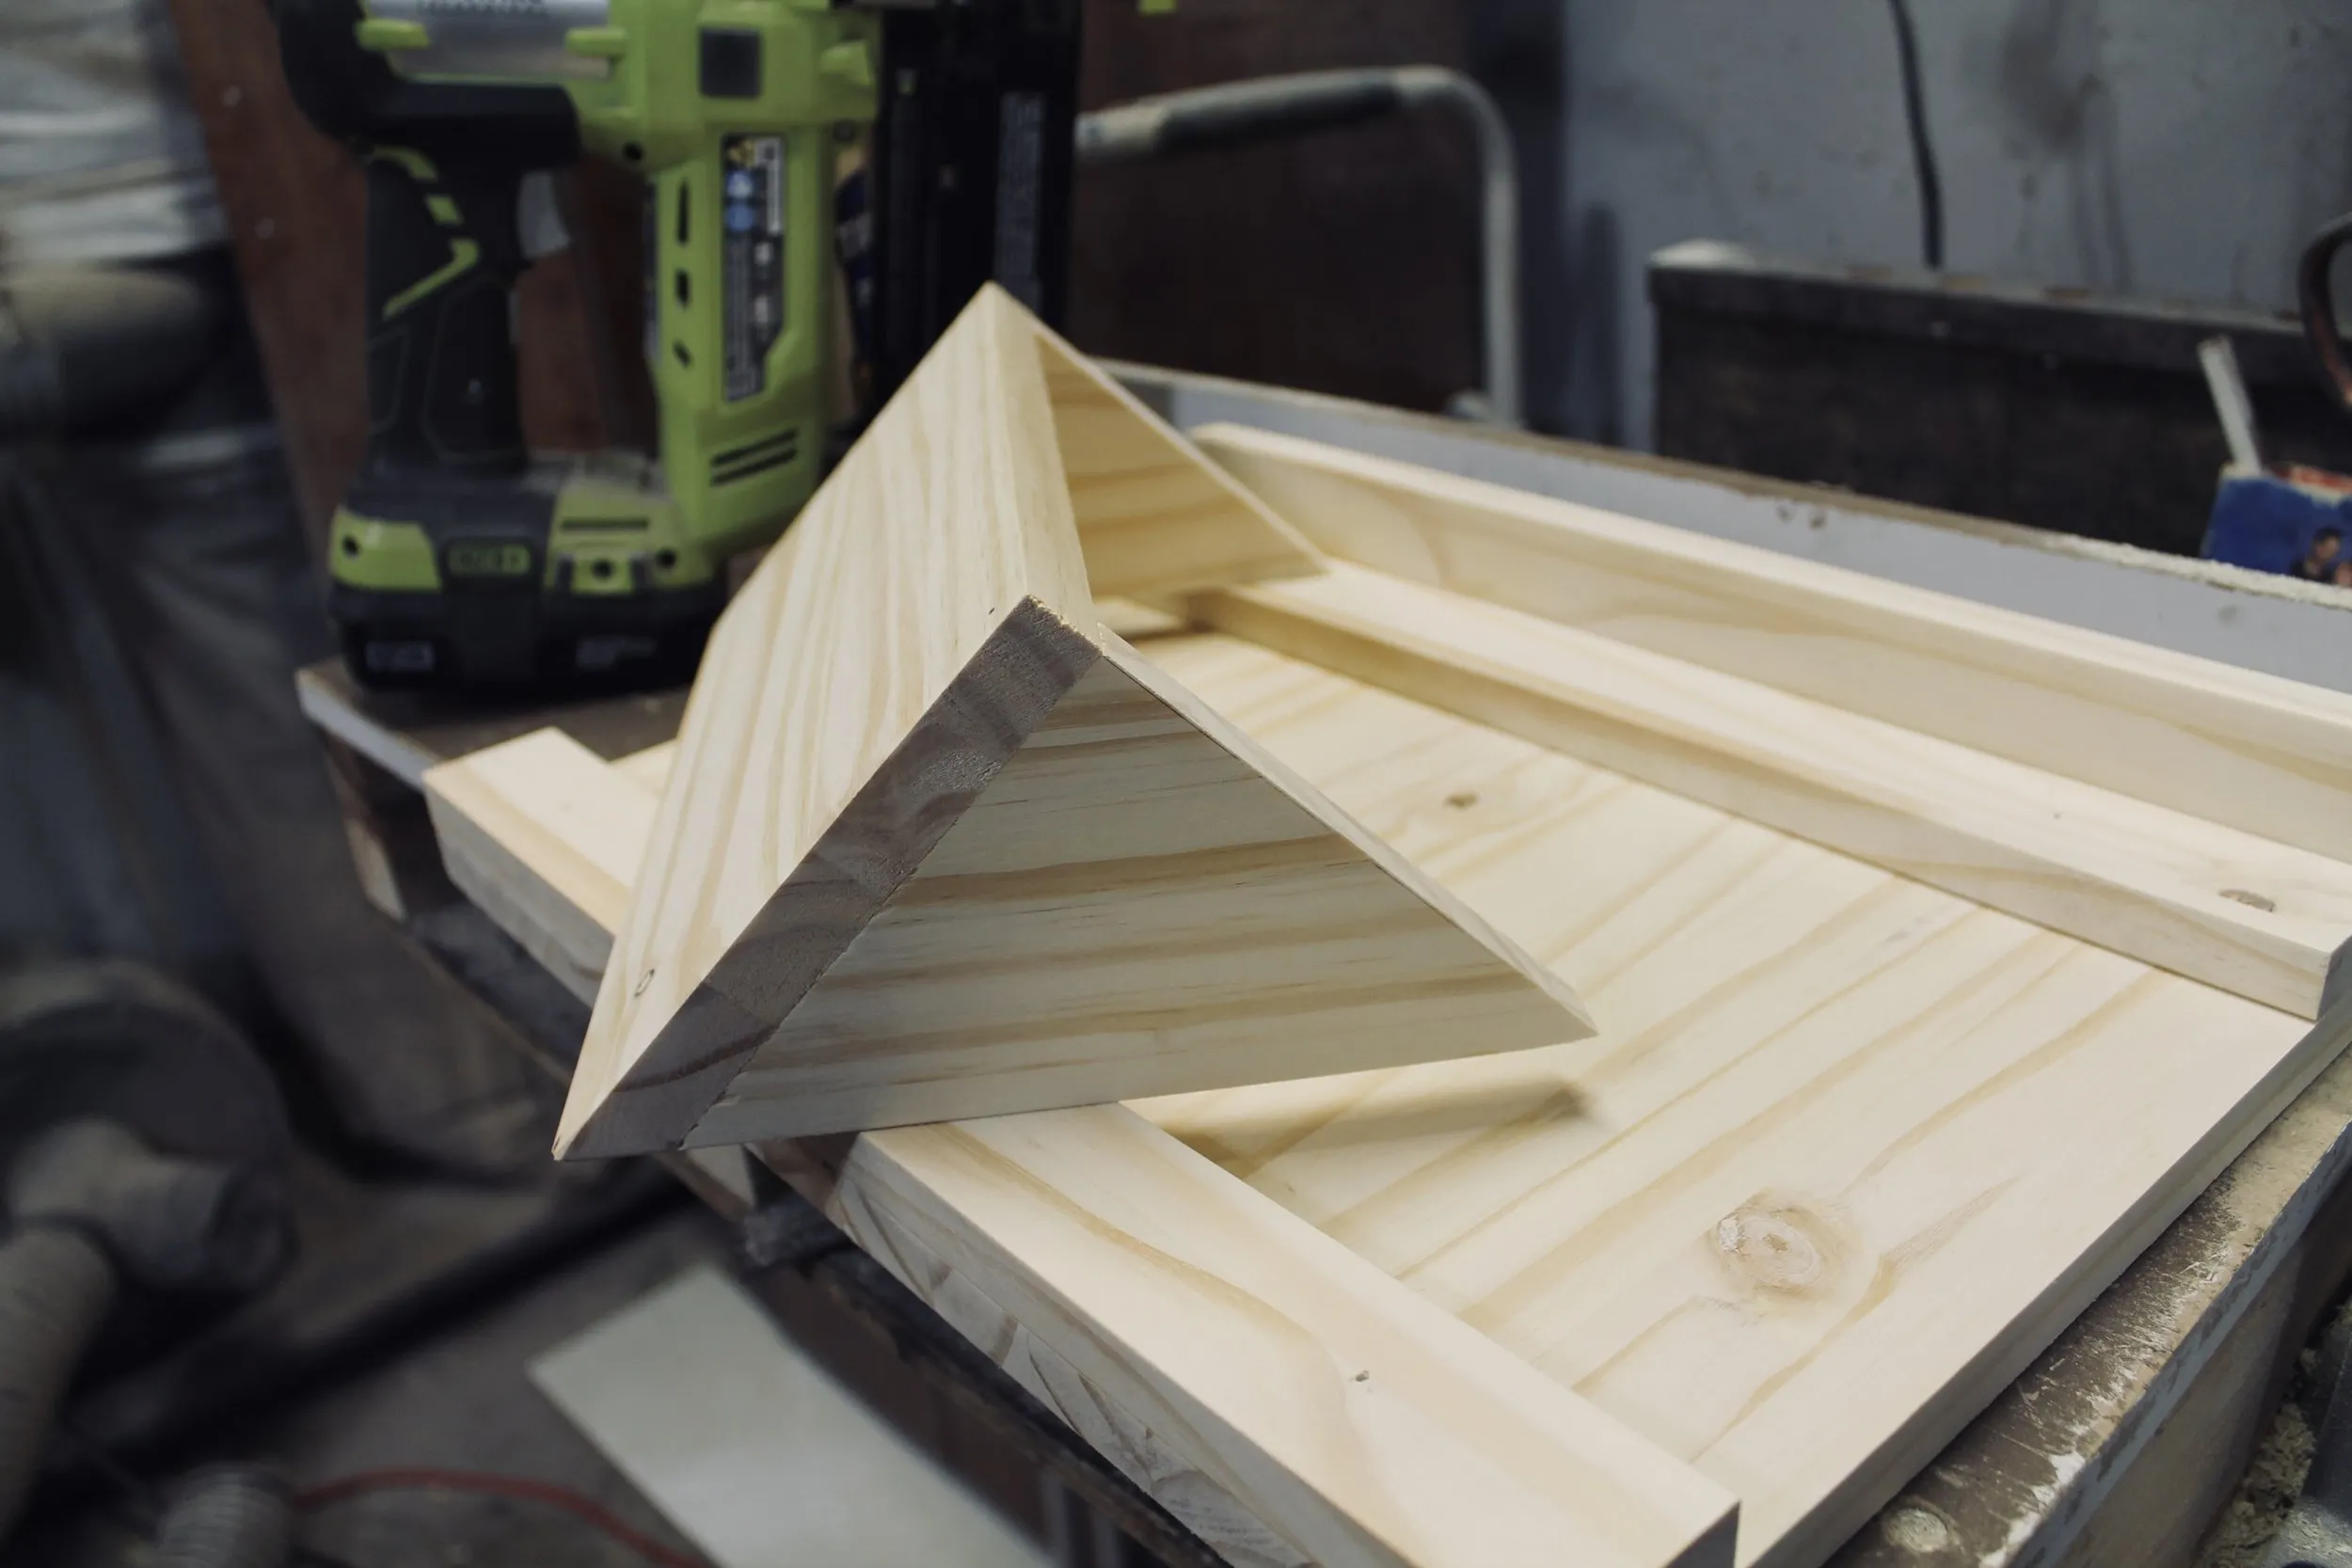
Triangular Supports: Attach the two triangular pieces to the sides of the mail slot using wood glue and nails. Secure one nail on the underside and one on the top side of each triangle for extra stability. Don’t be intimidated by the angles – they’re easier to achieve than they sound!
 fullsizeoutput_169b5.jpeg
 fullsizeoutput_169b6.jpeg
 fullsizeoutput_169b8.jpeg
 -
Final Assembly:
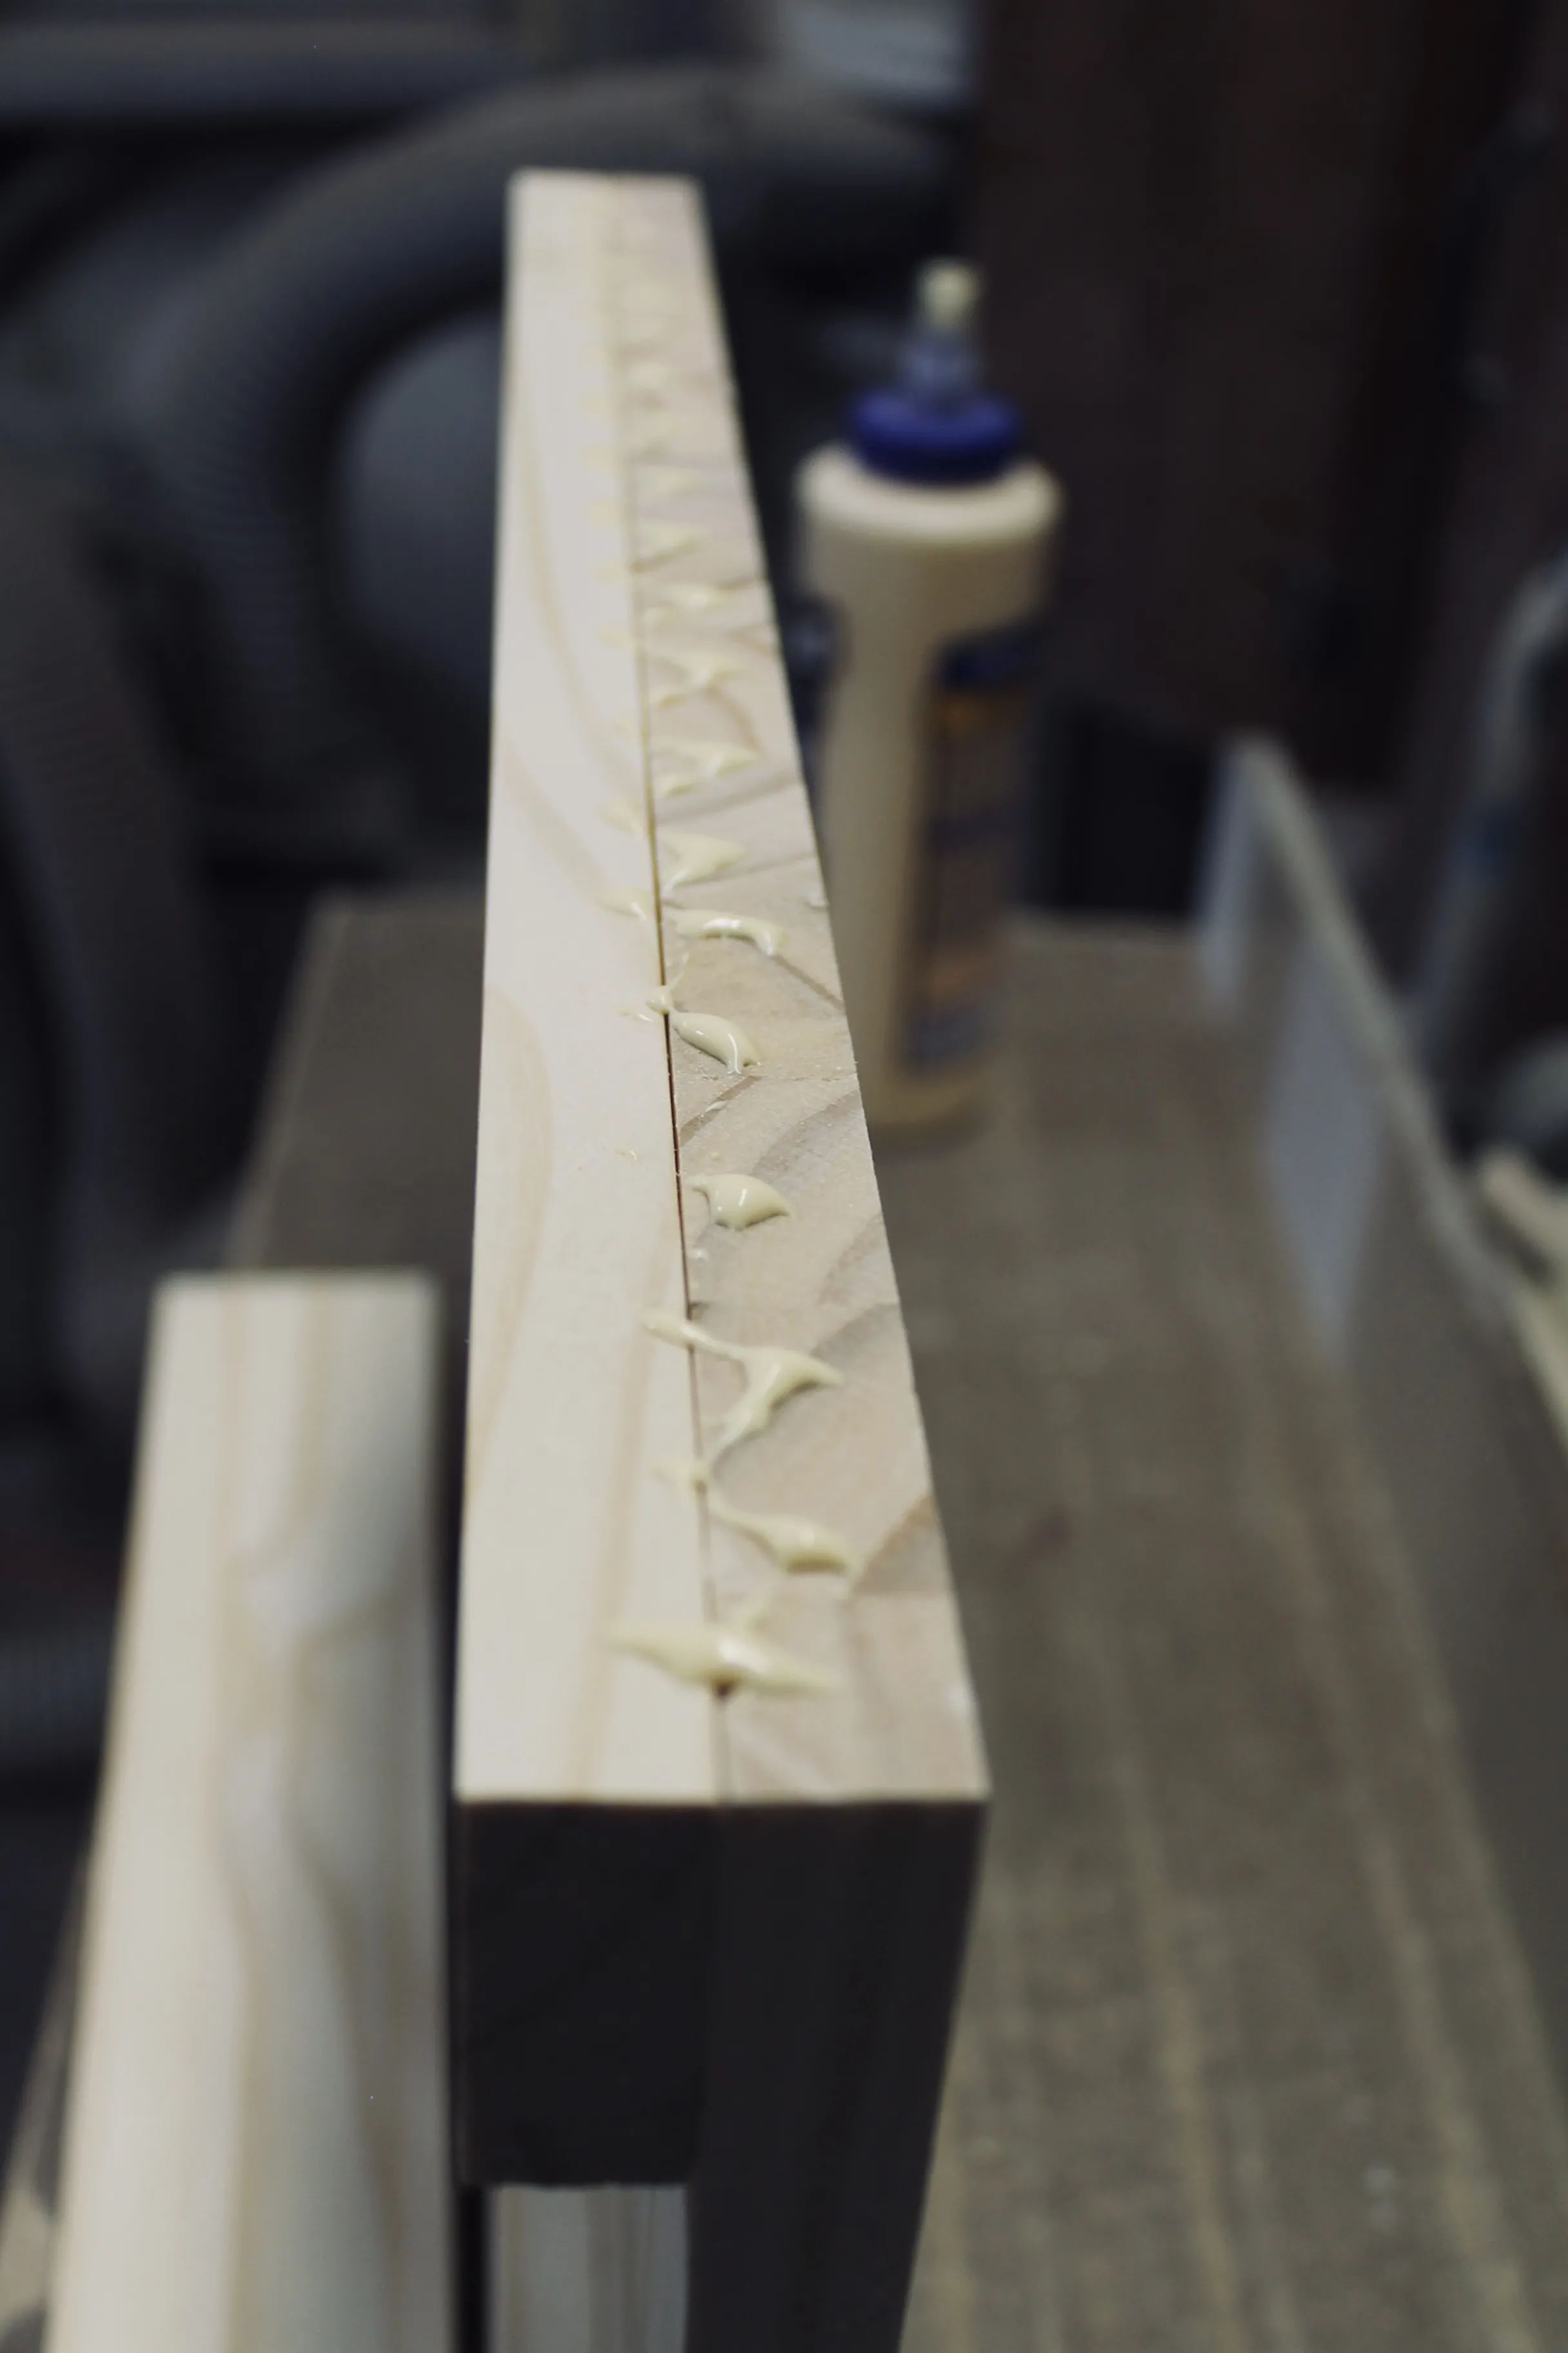
- Apply wood glue to the top edge of the back panel.
- Position the 2.5″ strip flush with the top edge of the panel and secure it with nails.
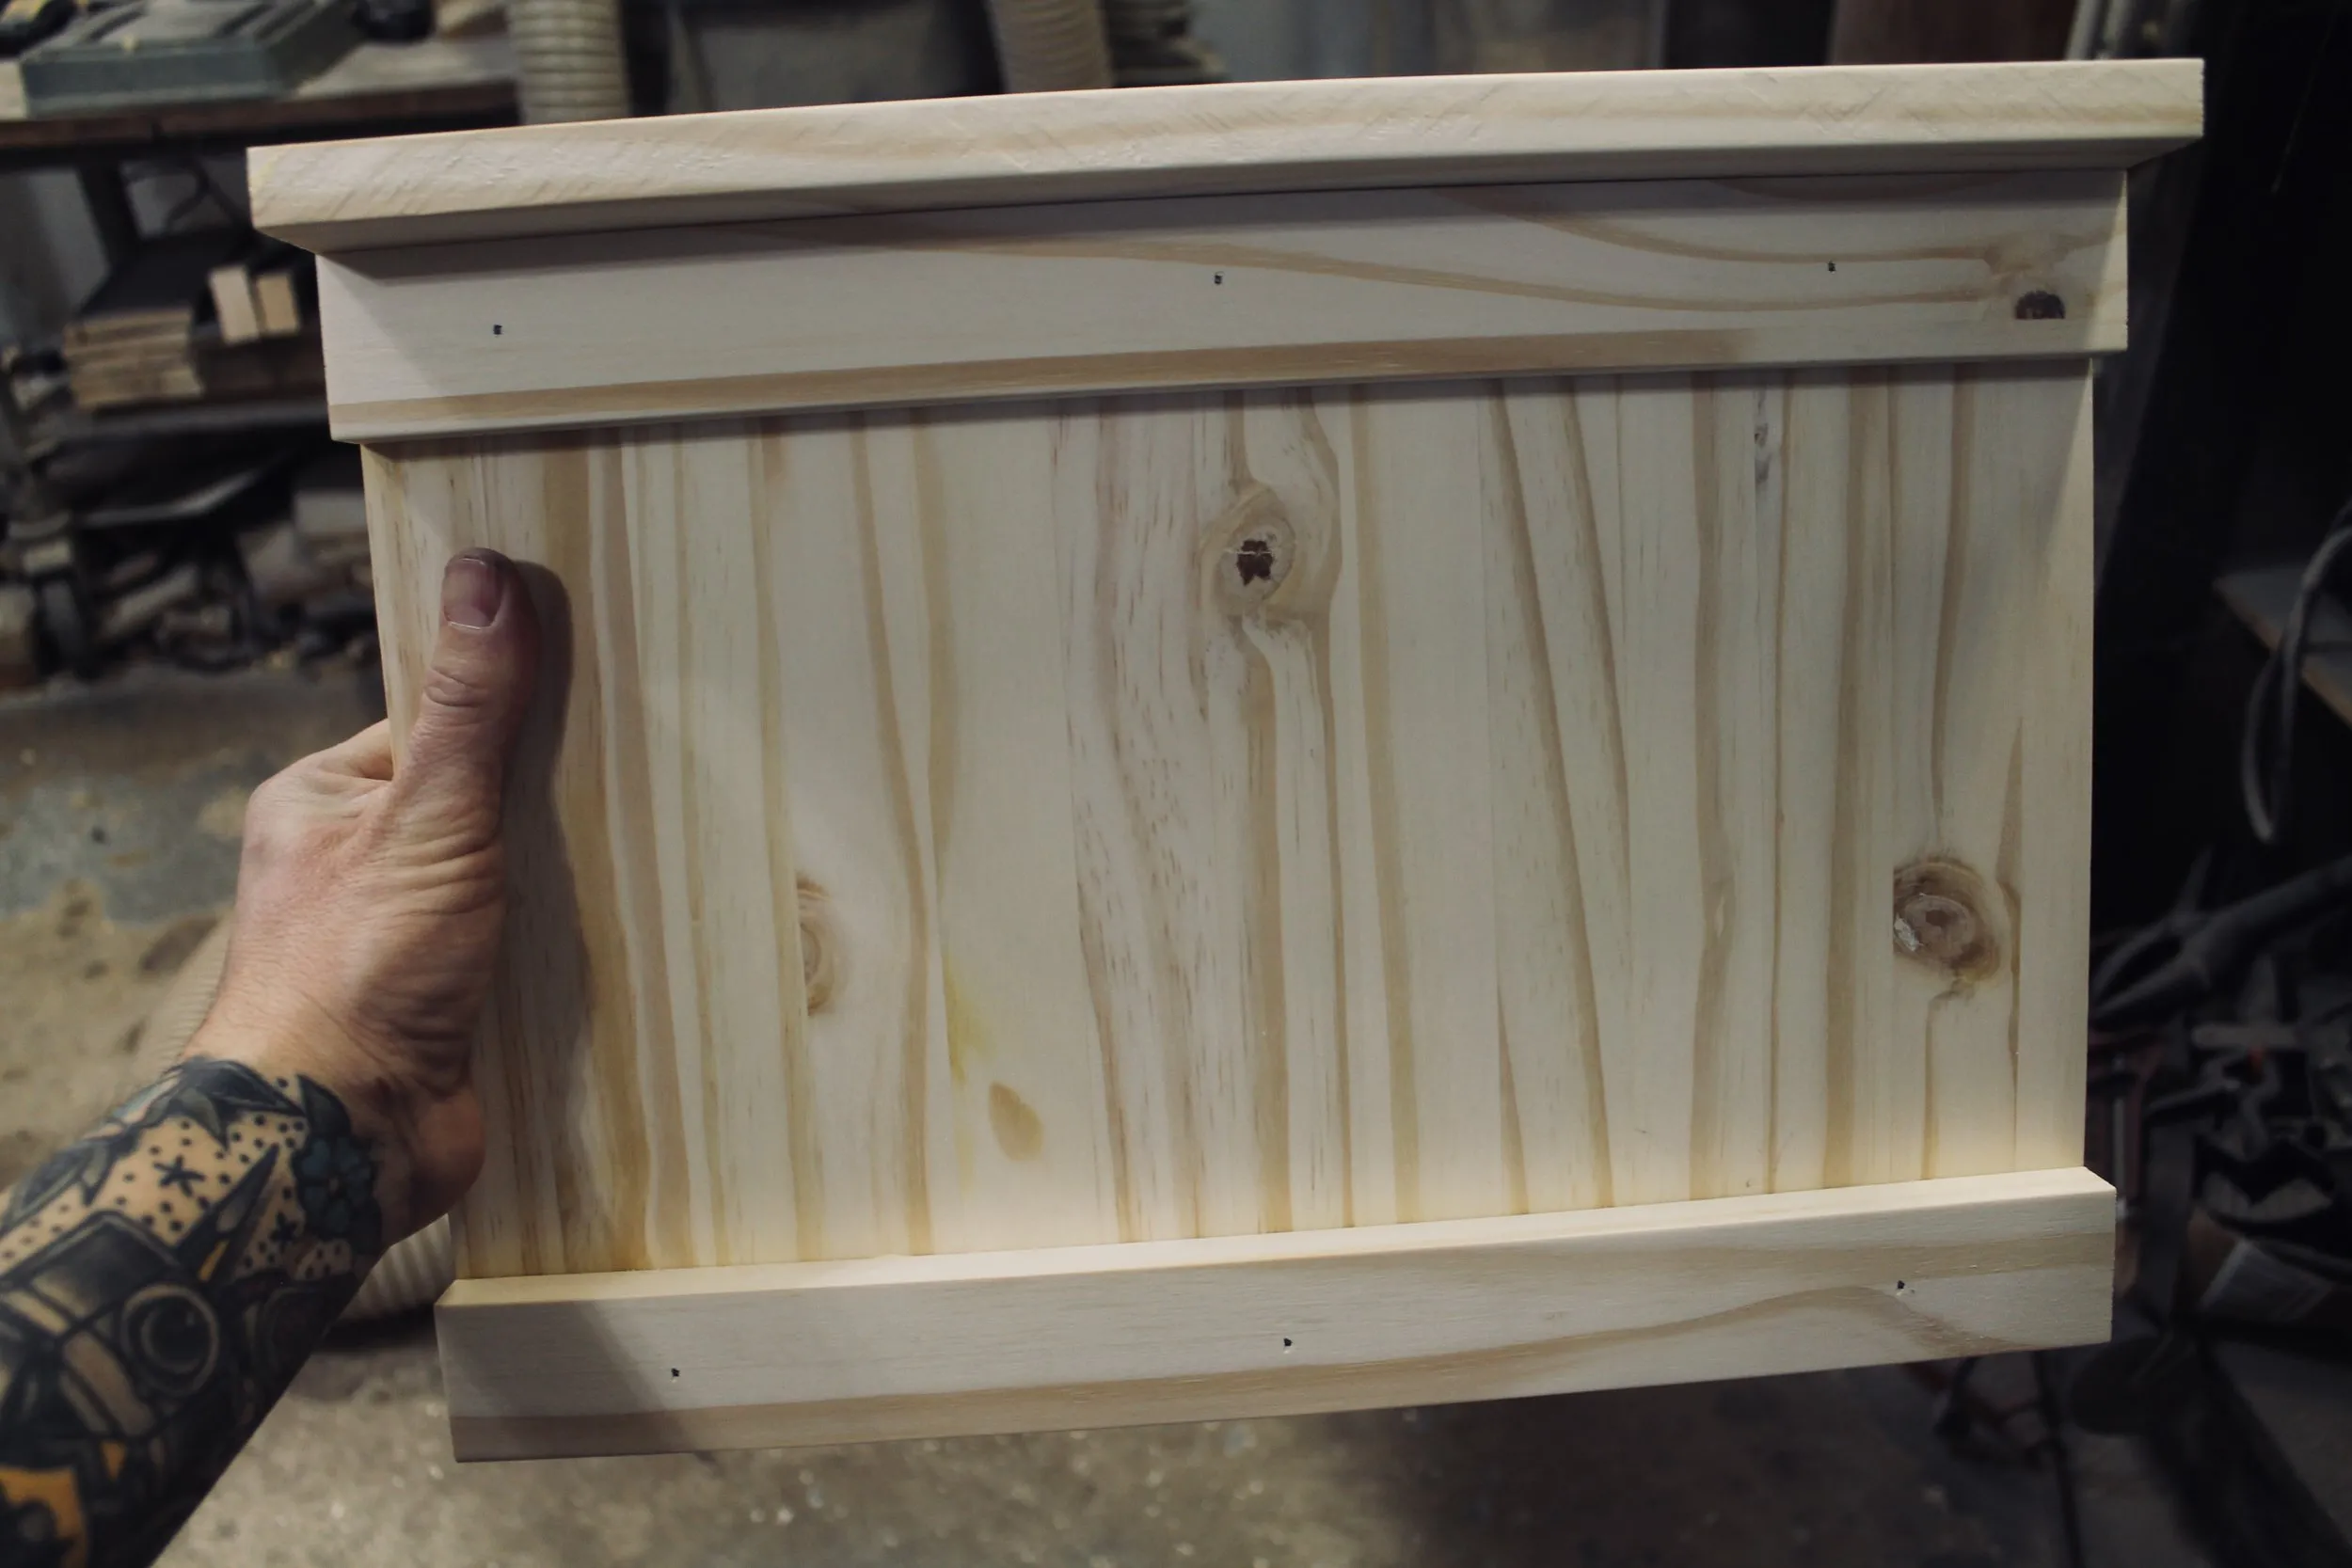
- Repeat the process with the two 1.25″ strips, attaching them to the sides of the panel.
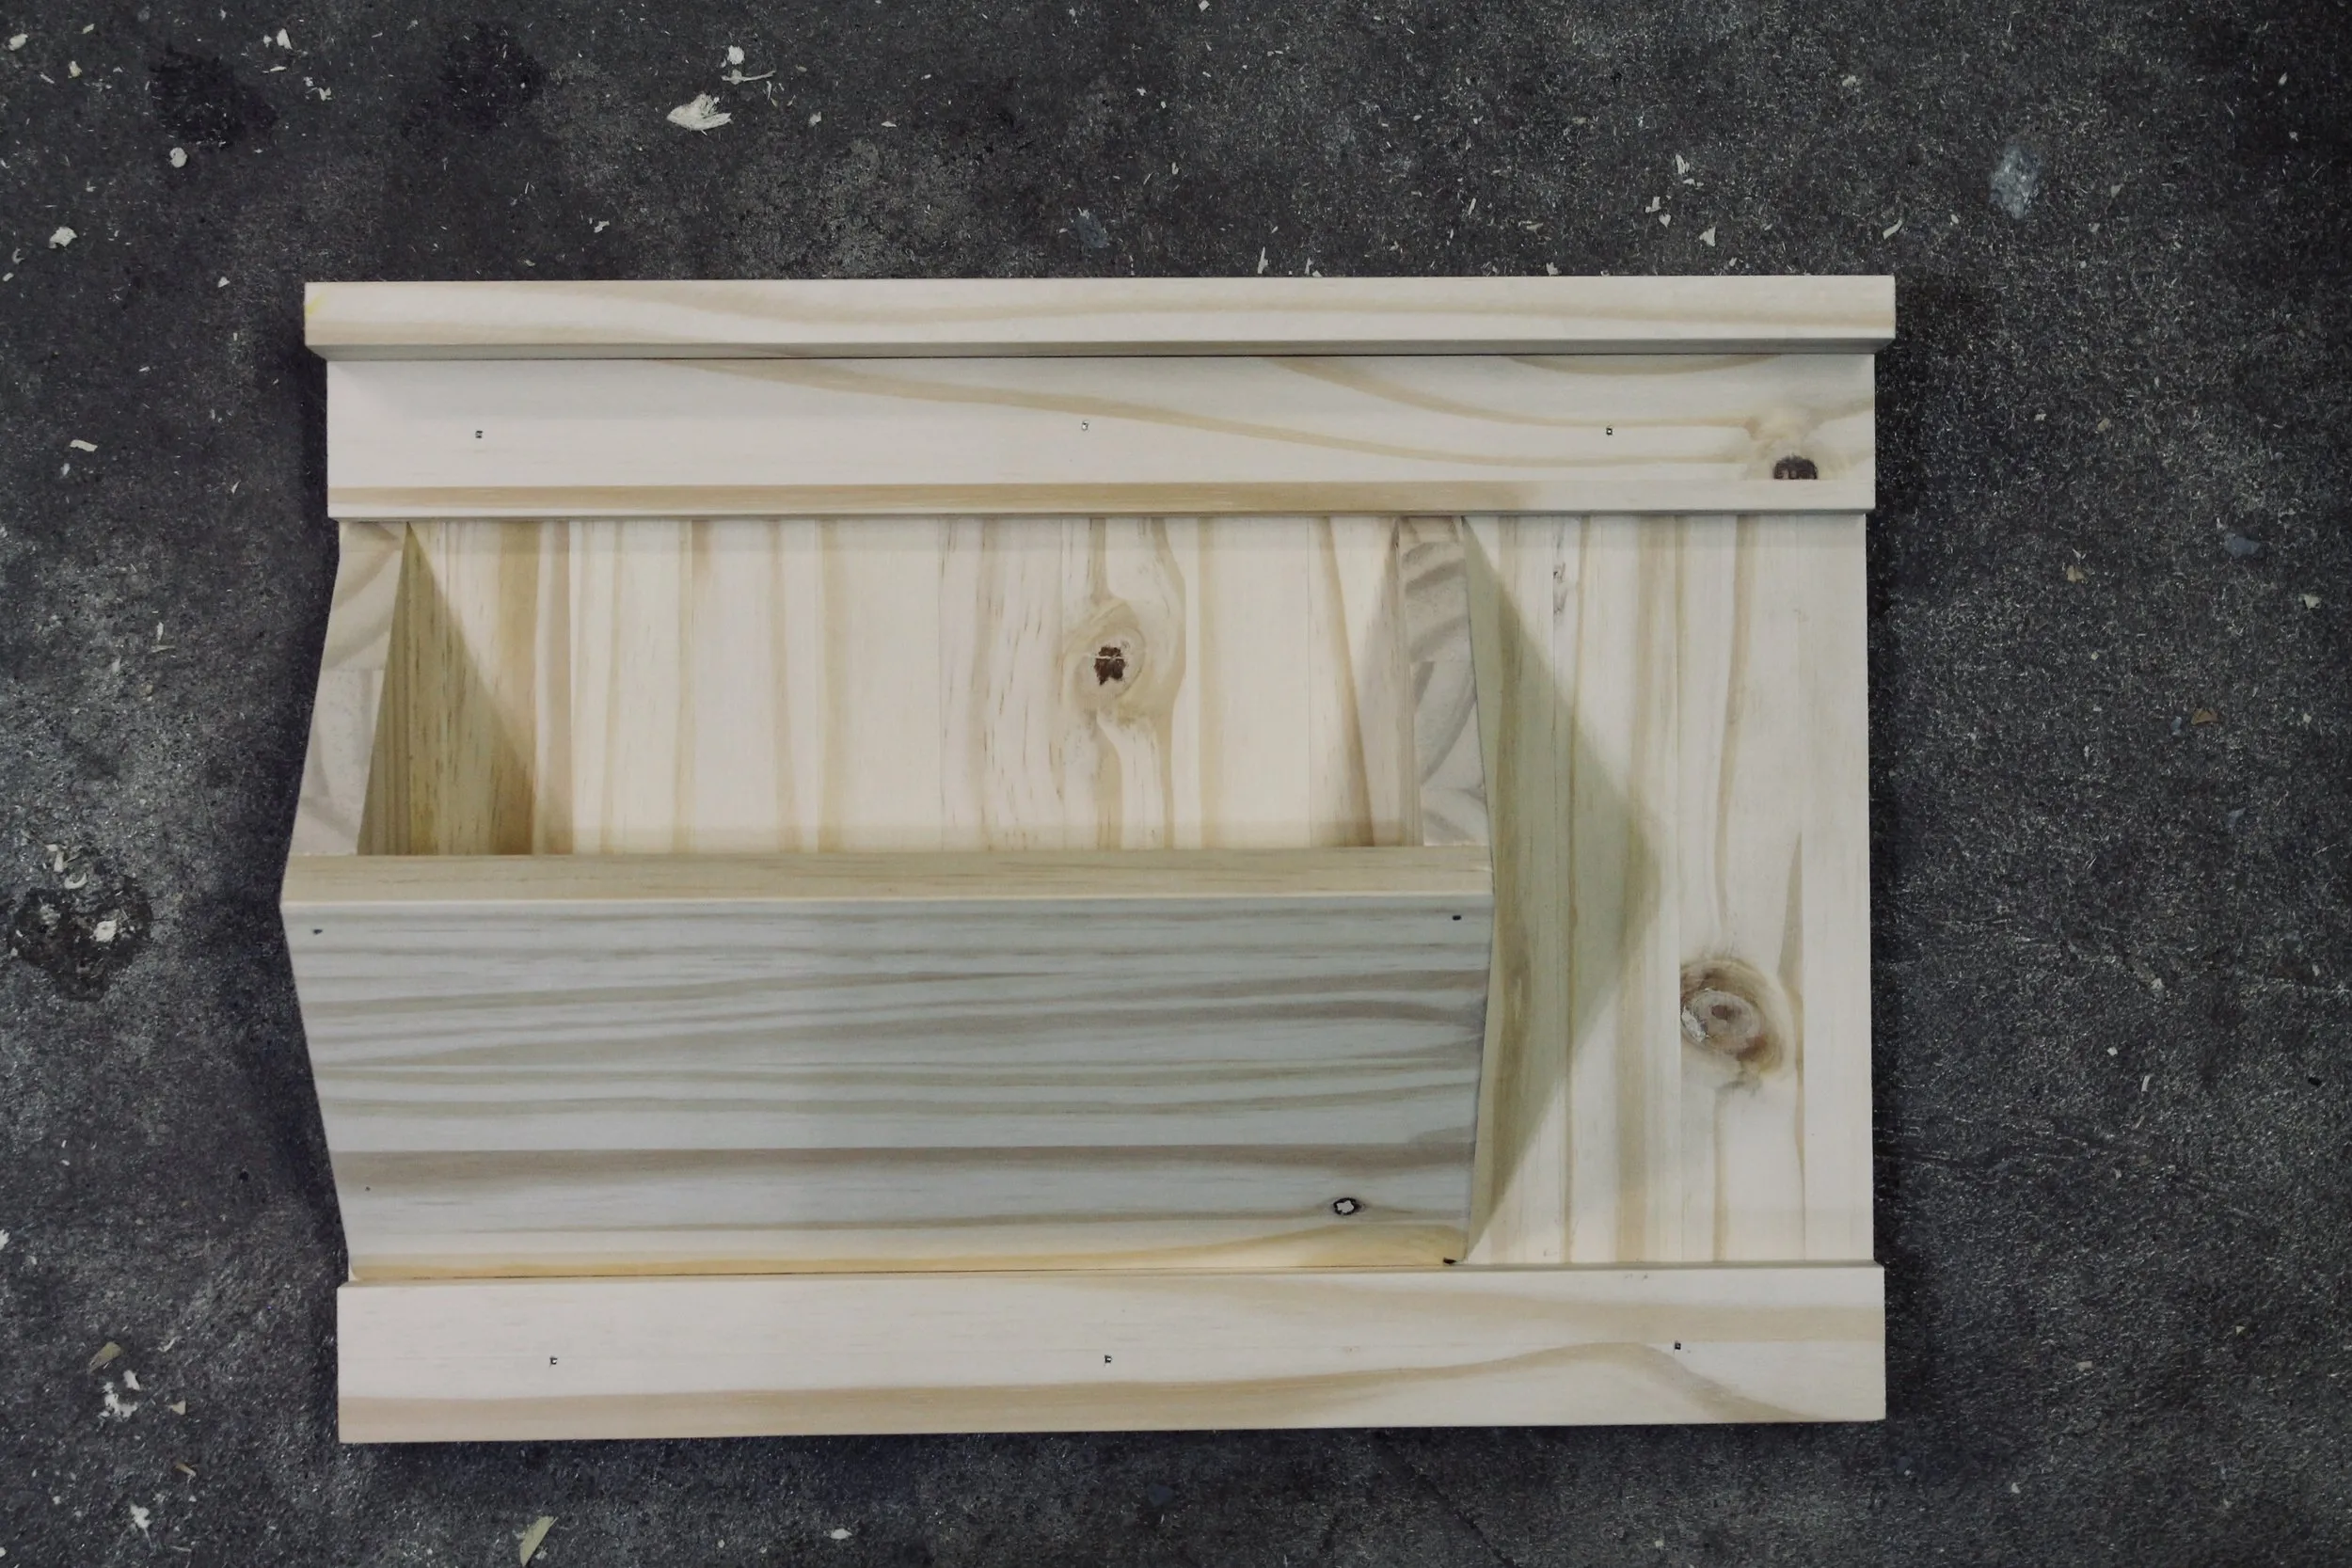
- Finally, attach the assembled mail holder to the base, ensuring it’s centered and level.
 fullsizeoutput_169b9.jpeg
 -
Drying Time: Once everything is assembled, allow ample time for the glue to dry completely.
Adding a Personal Touch: Staining and Finishing
Now comes the fun part – bringing your organizer to life with stain and hardware!
-
Sanding: Before staining, lightly sand all the edges and surfaces for a smooth and polished finish.
-
Staining: Apply your chosen wood stain according to the manufacturer’s instructions. I highly recommend Minwax Classic Gray for a modern, sophisticated look on pine, but feel free to experiment with different shades to match your personal style.
 fully assembled
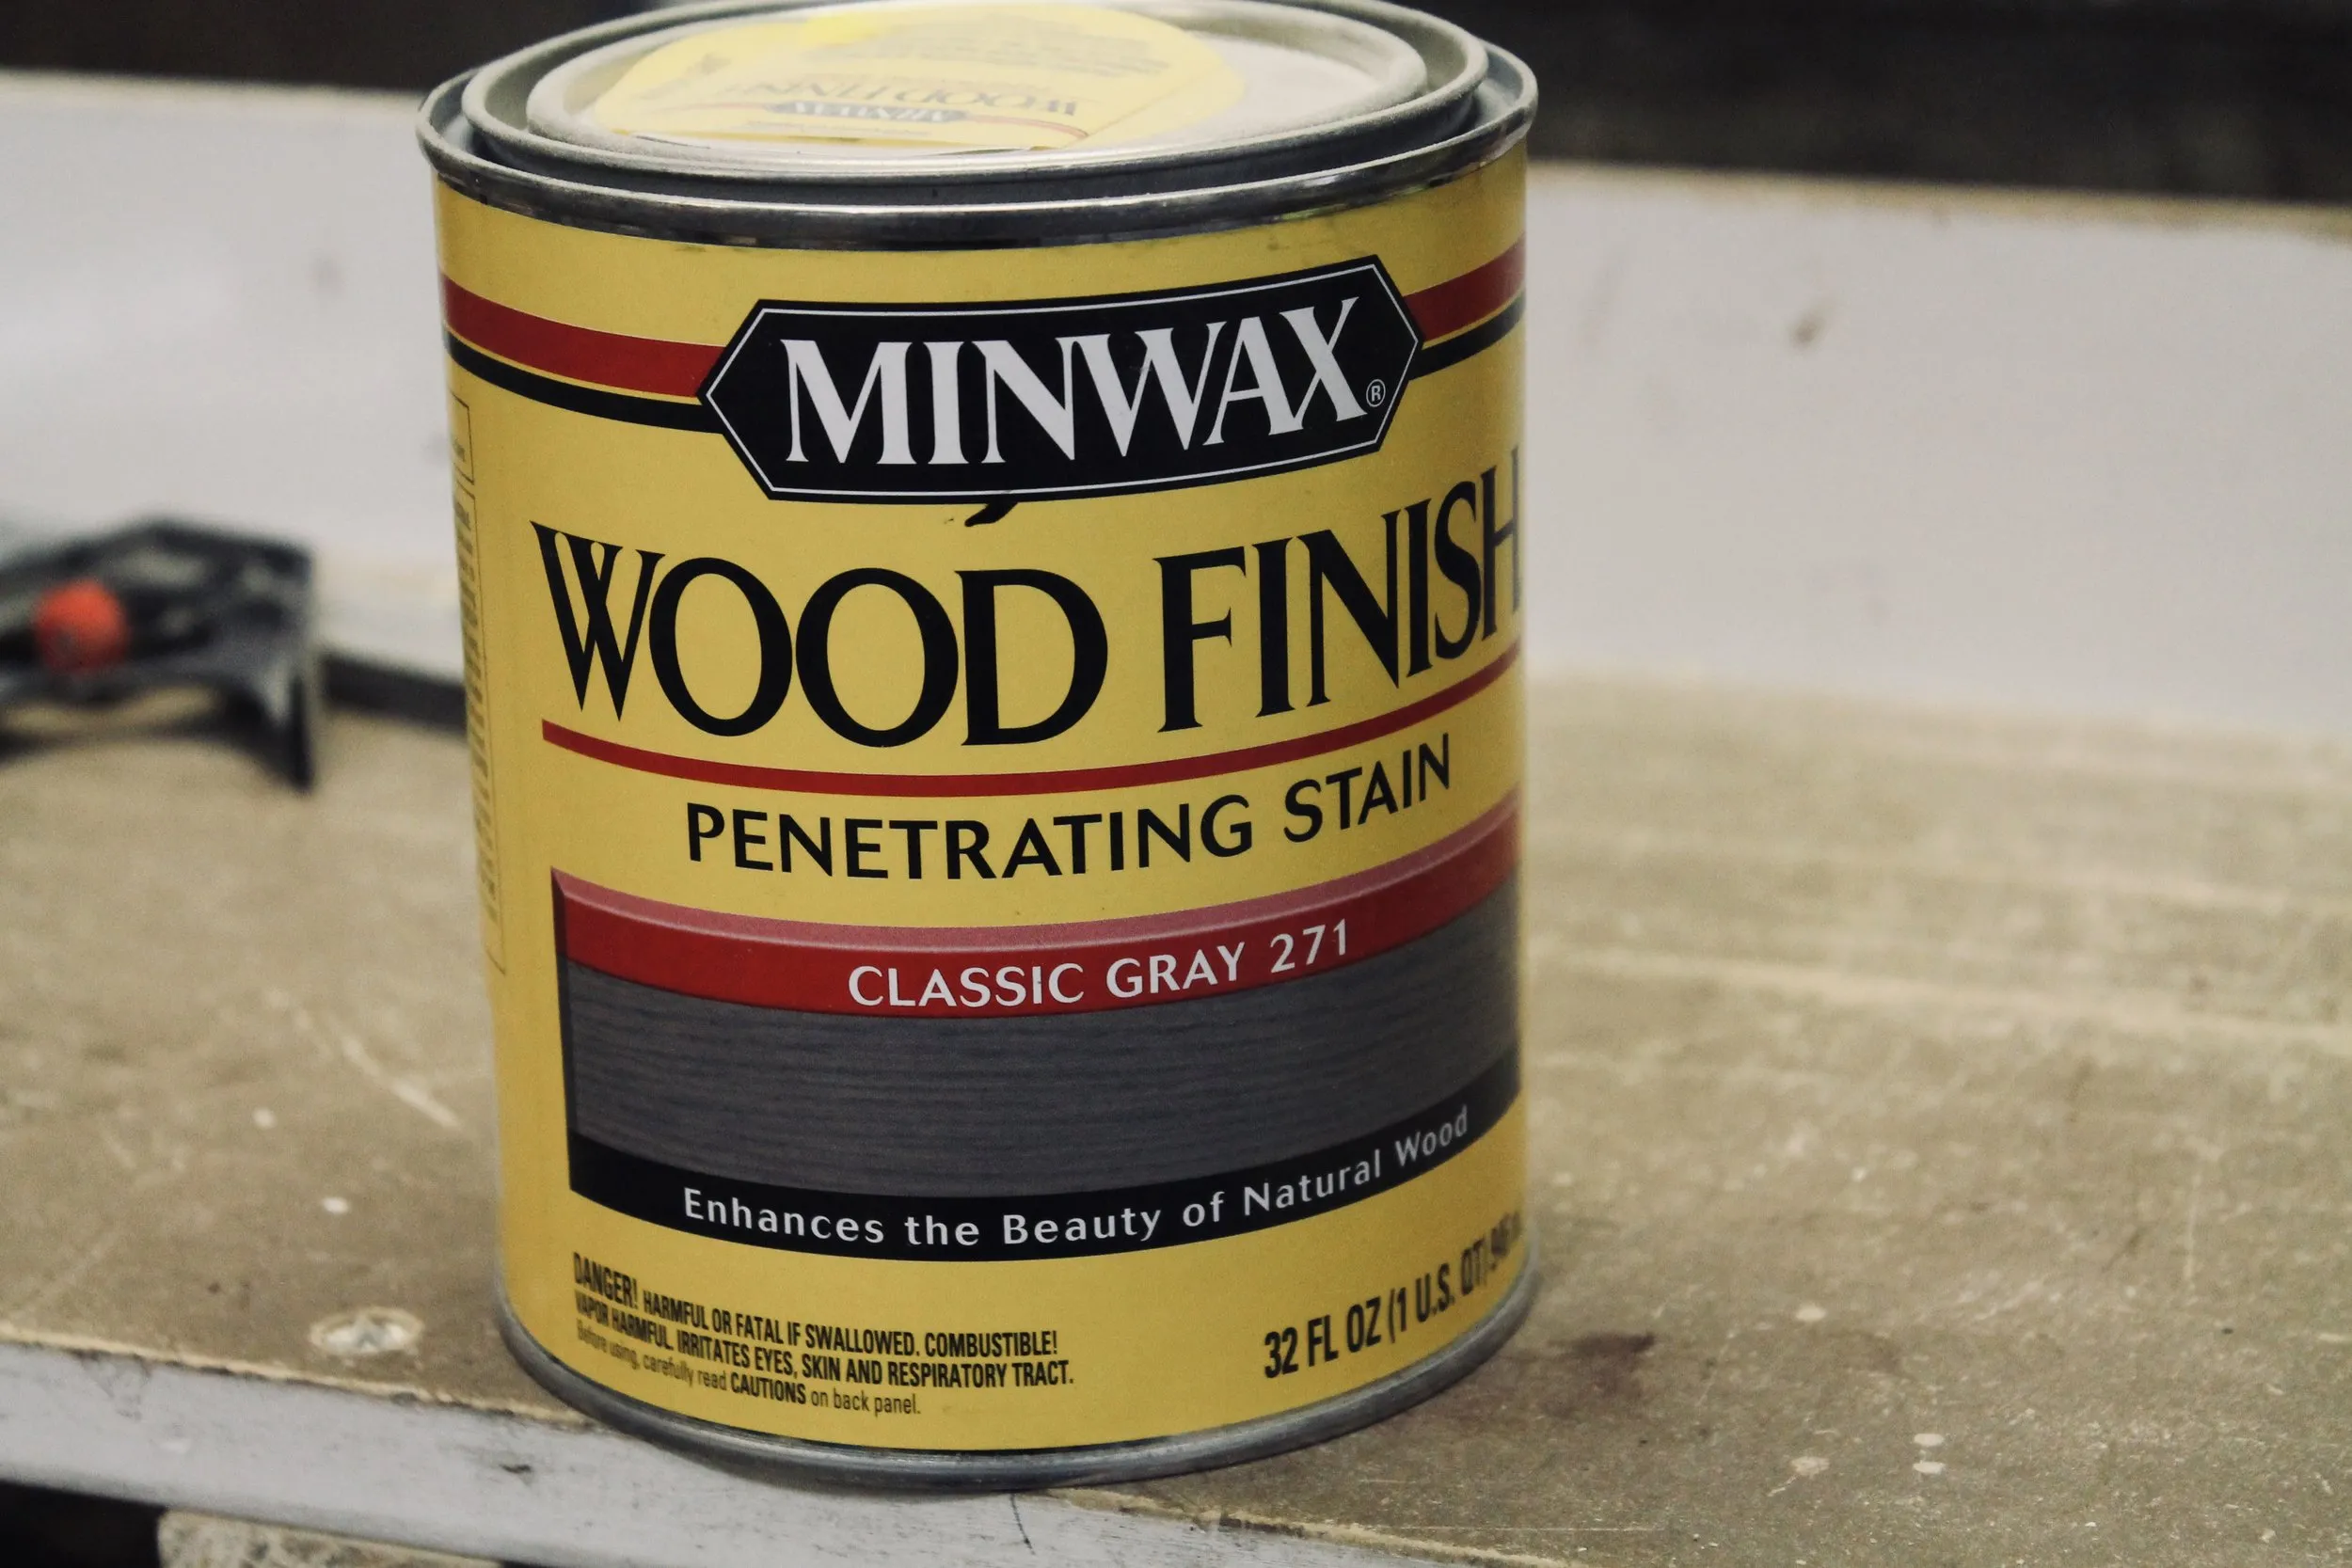 I really love the look of this Minwax Classic Gray on pine wood.
 -
Drying: Let the stain dry completely overnight.
-
Mounting Hardware: Attach two D-ring picture hangers to the top corners and two clear rubber feet to the bottom corners. This will ensure your organizer hangs securely and prevents scratching your walls.
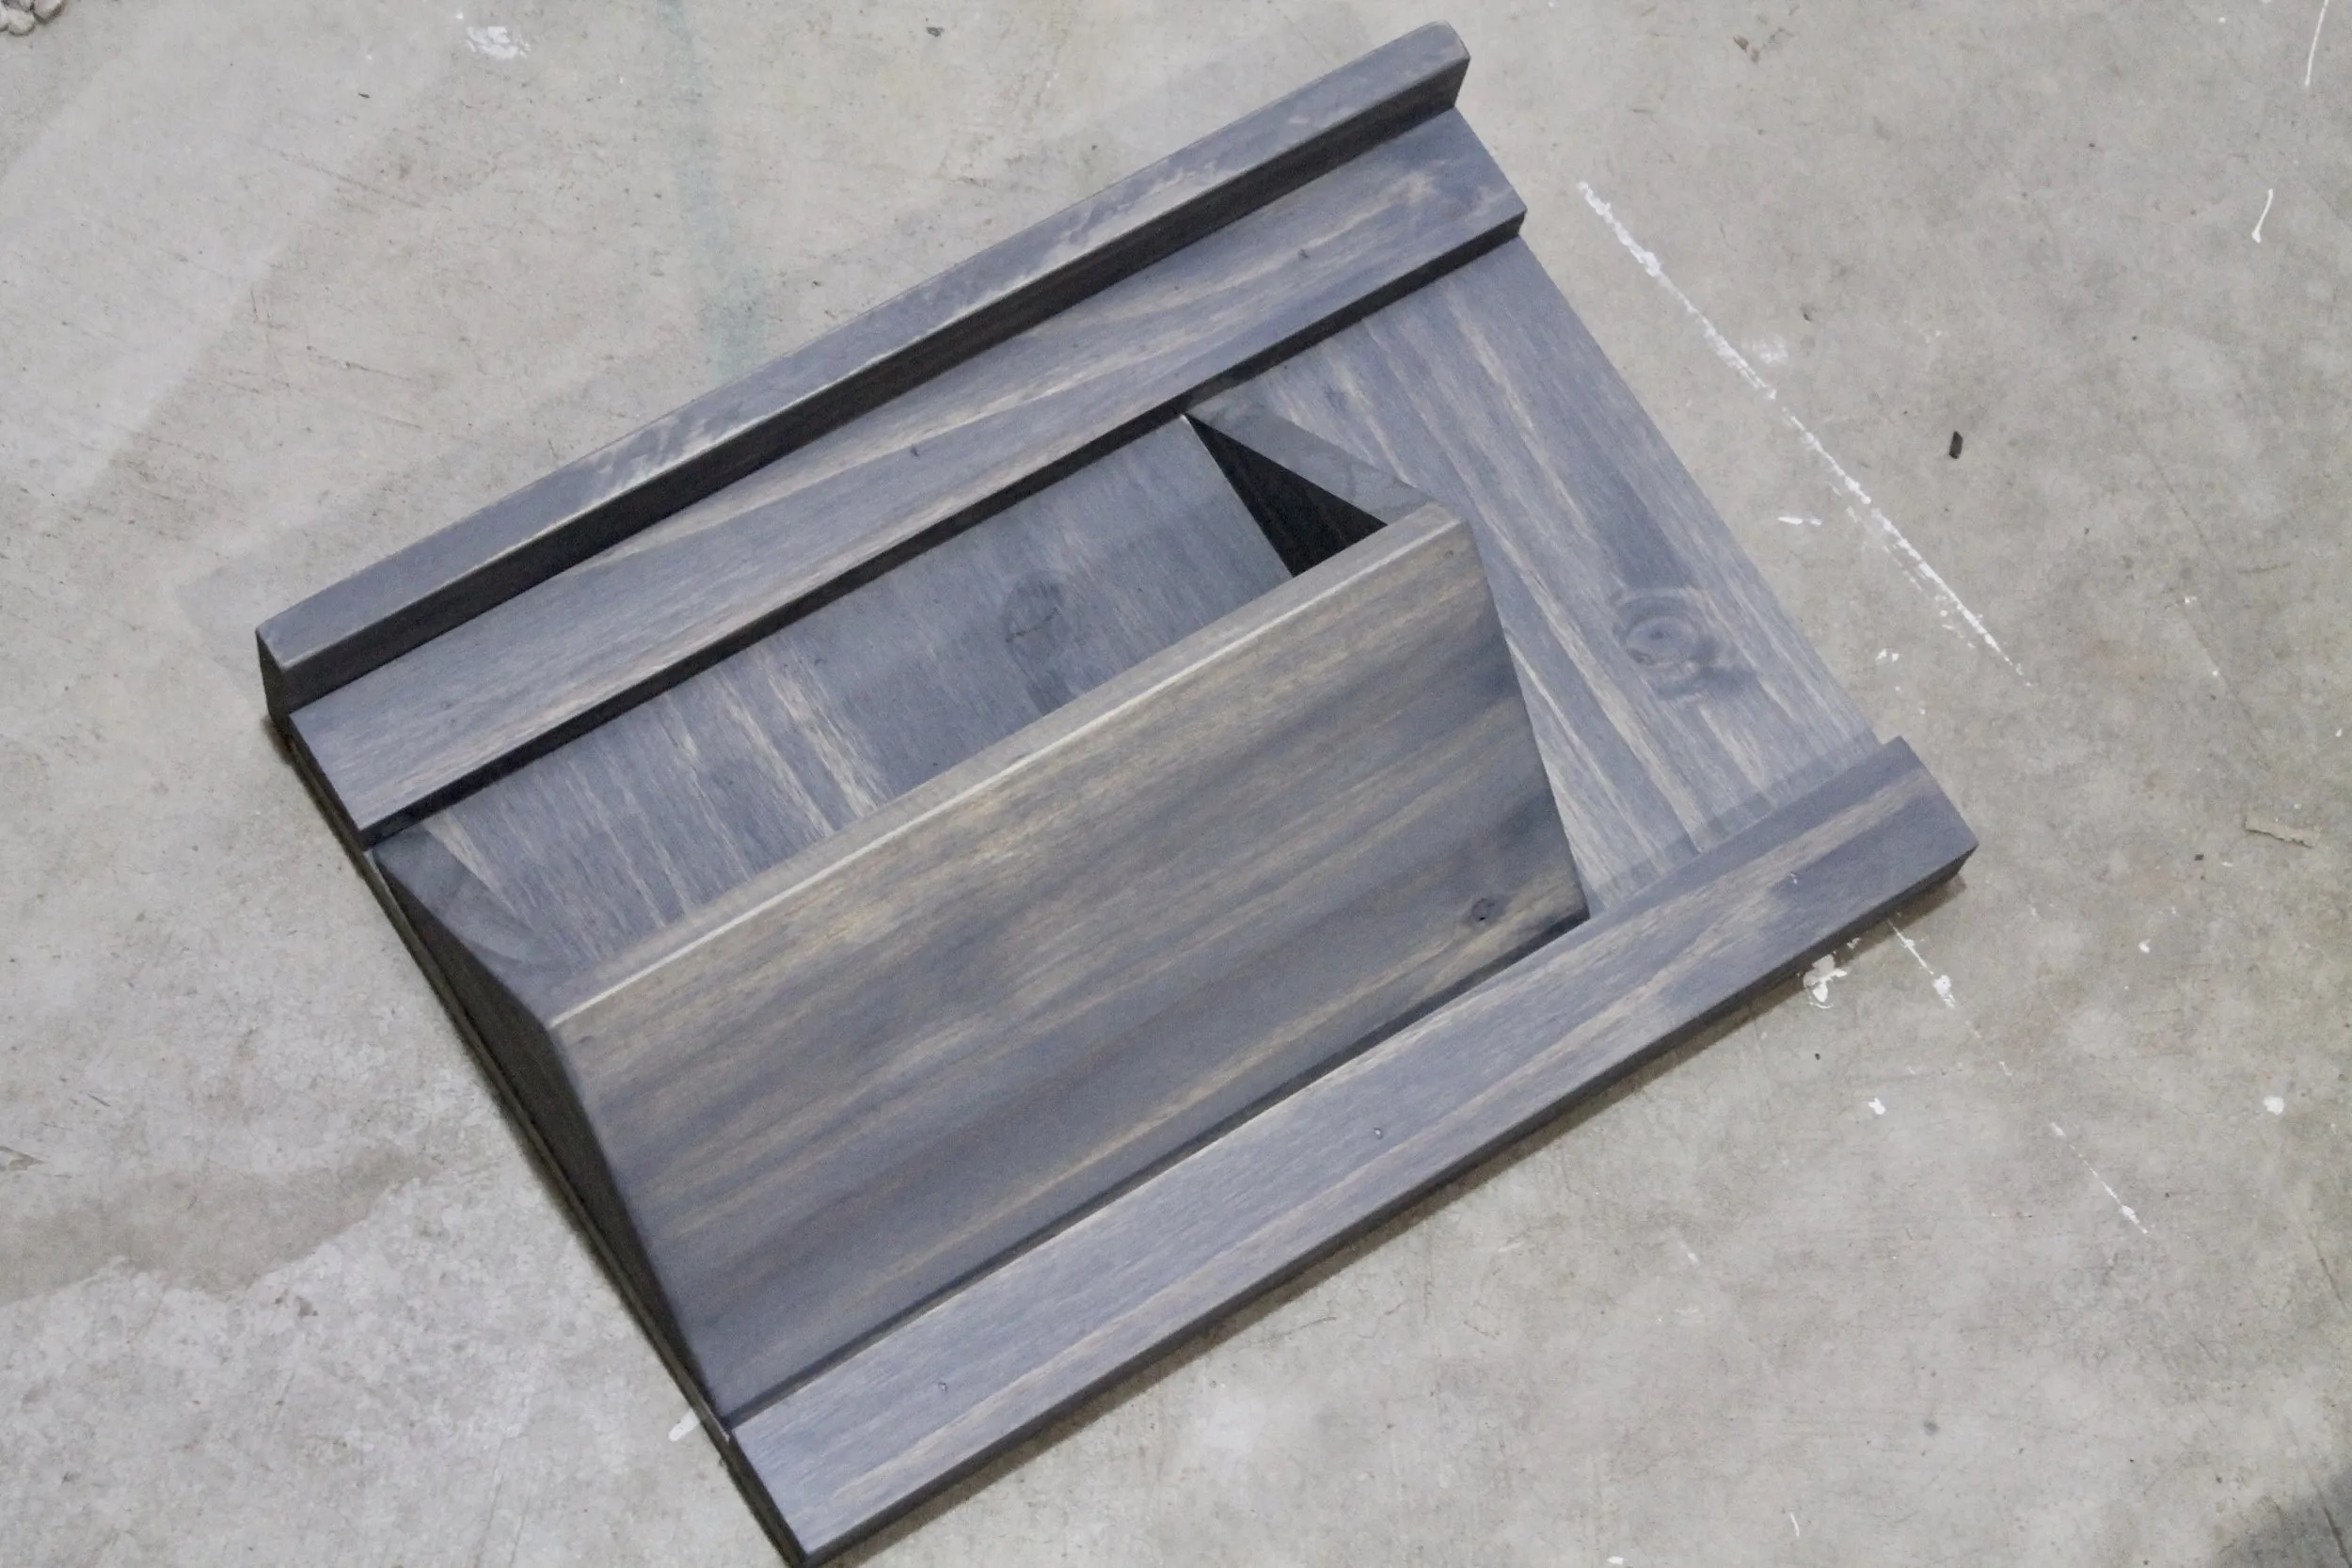 After applying the stain, I’ll let it dry overnight before finishing up with the hardware.
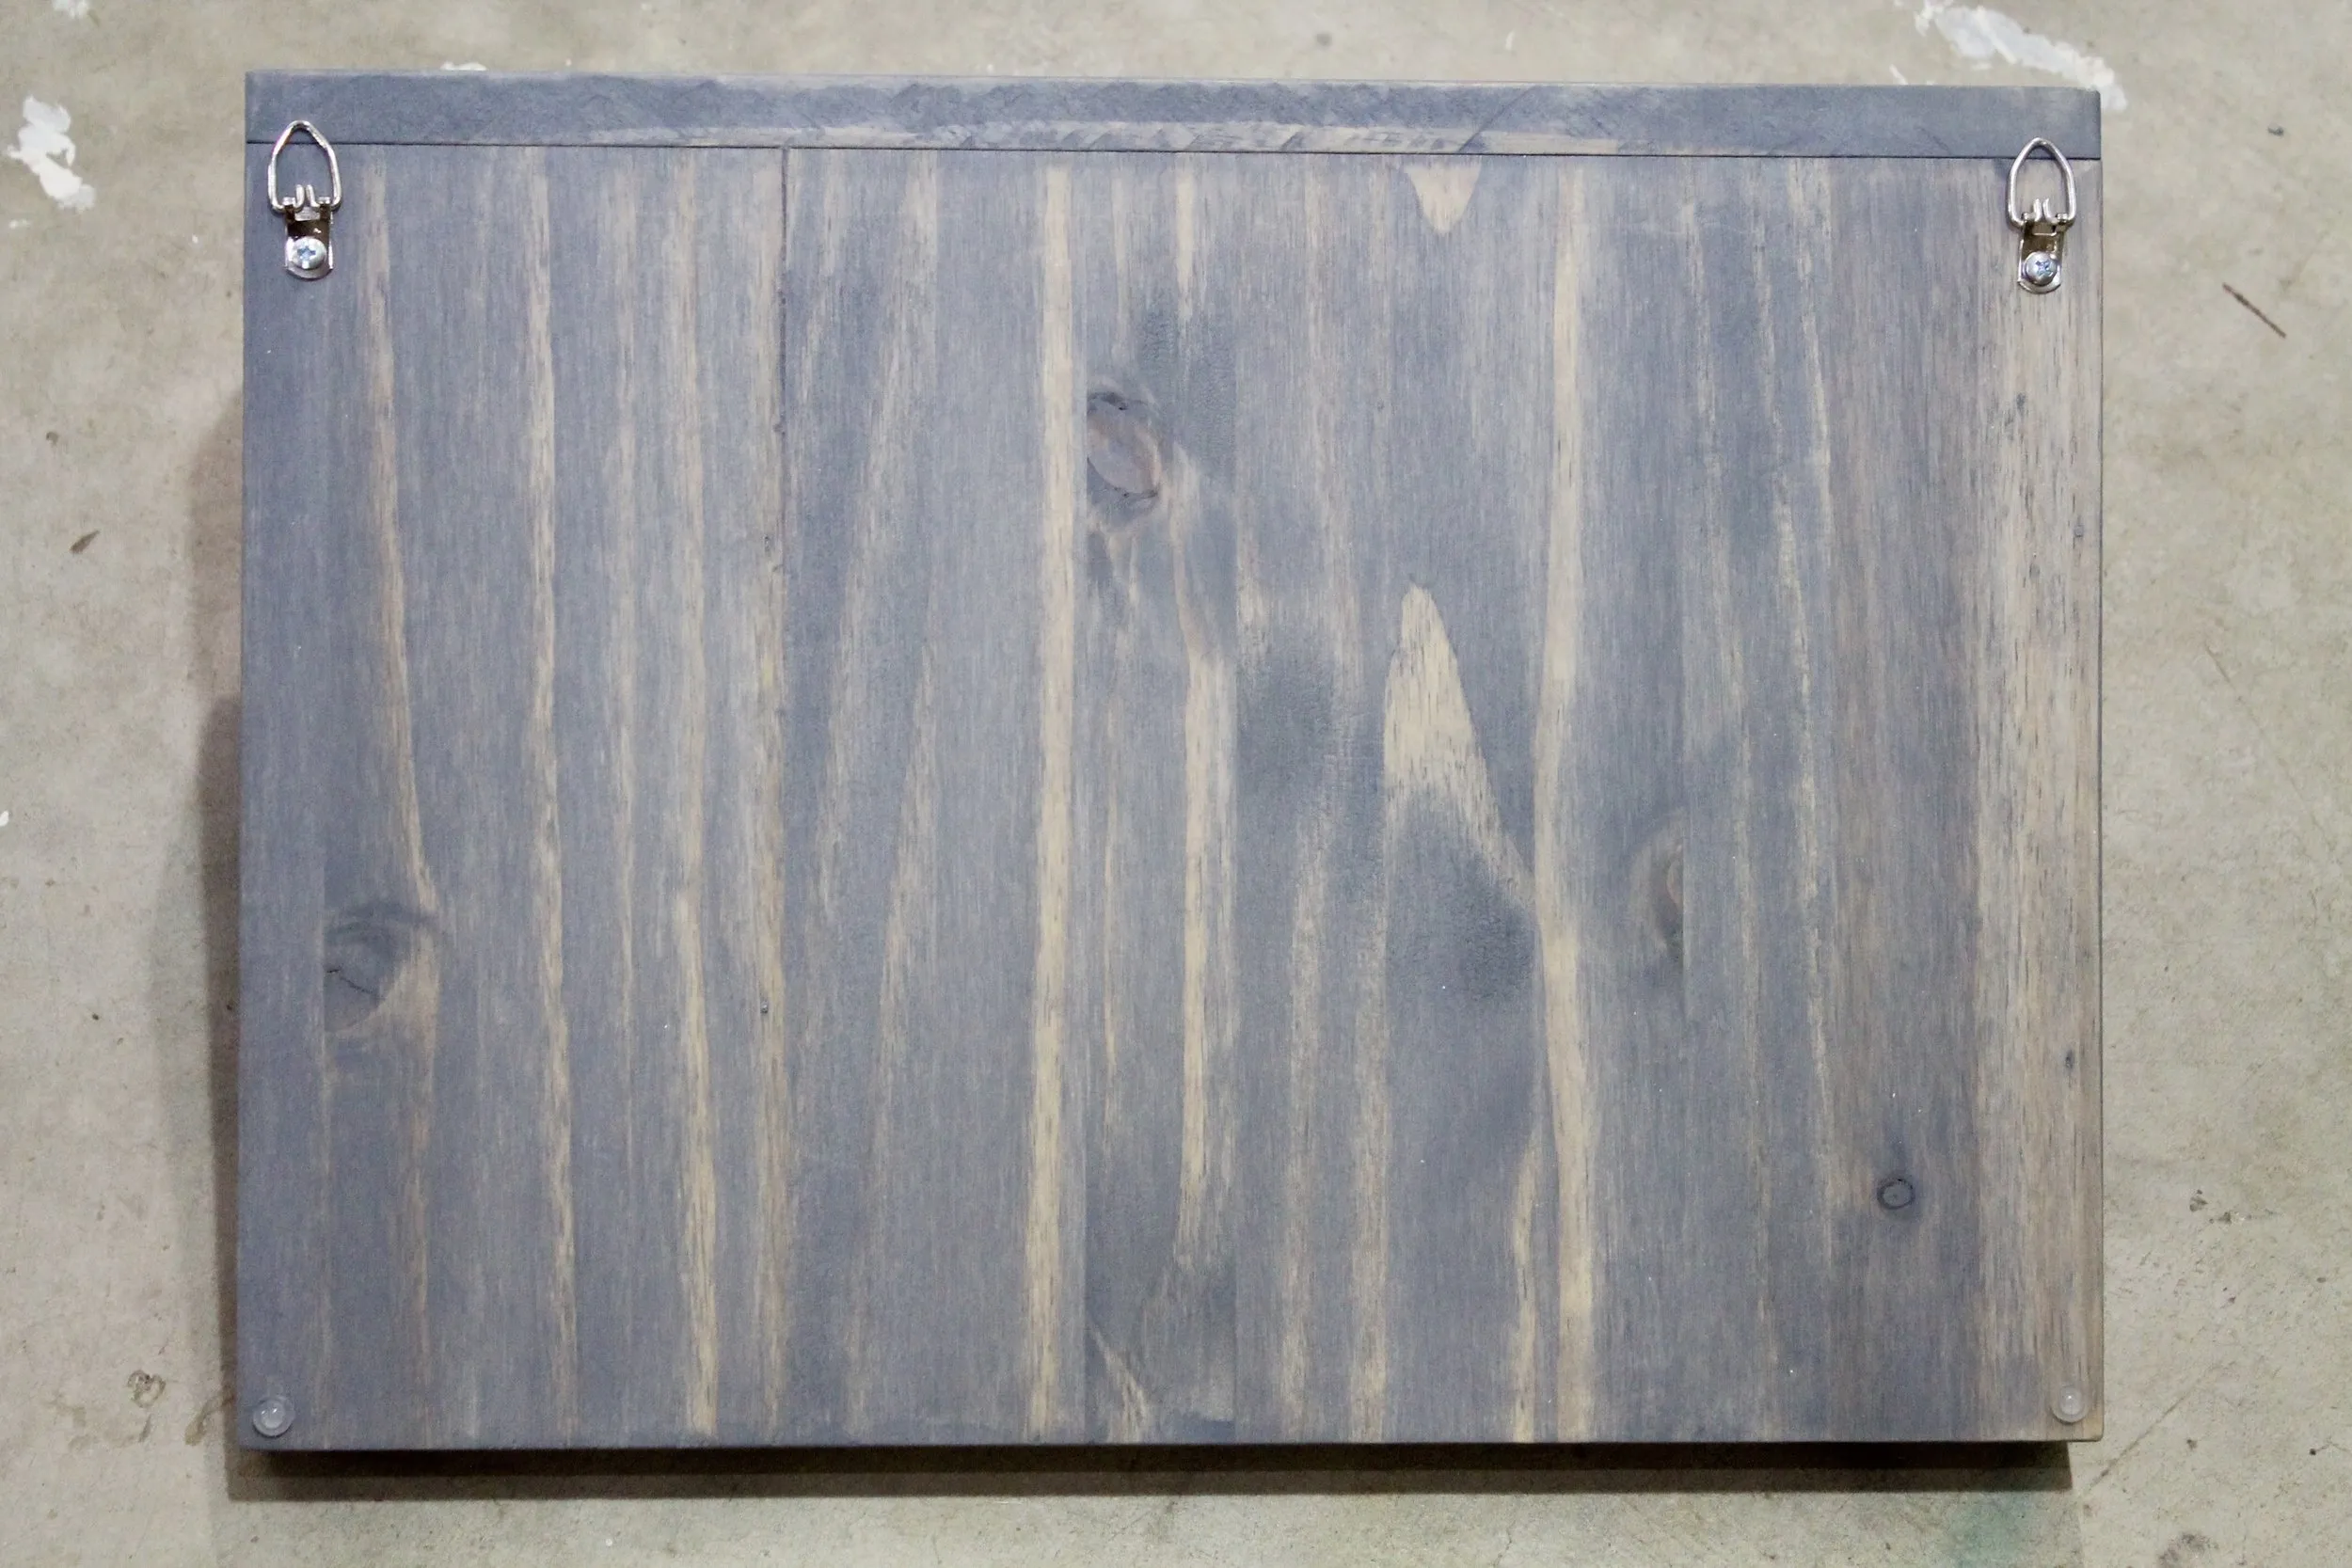 backside
 -
Sunglasses Hanger: Install two screw eye rings on the underside of the organizer, approximately 2-3 inches apart. Thread a length of braided steel wire through the rings to create a stylish sunglasses hanger.
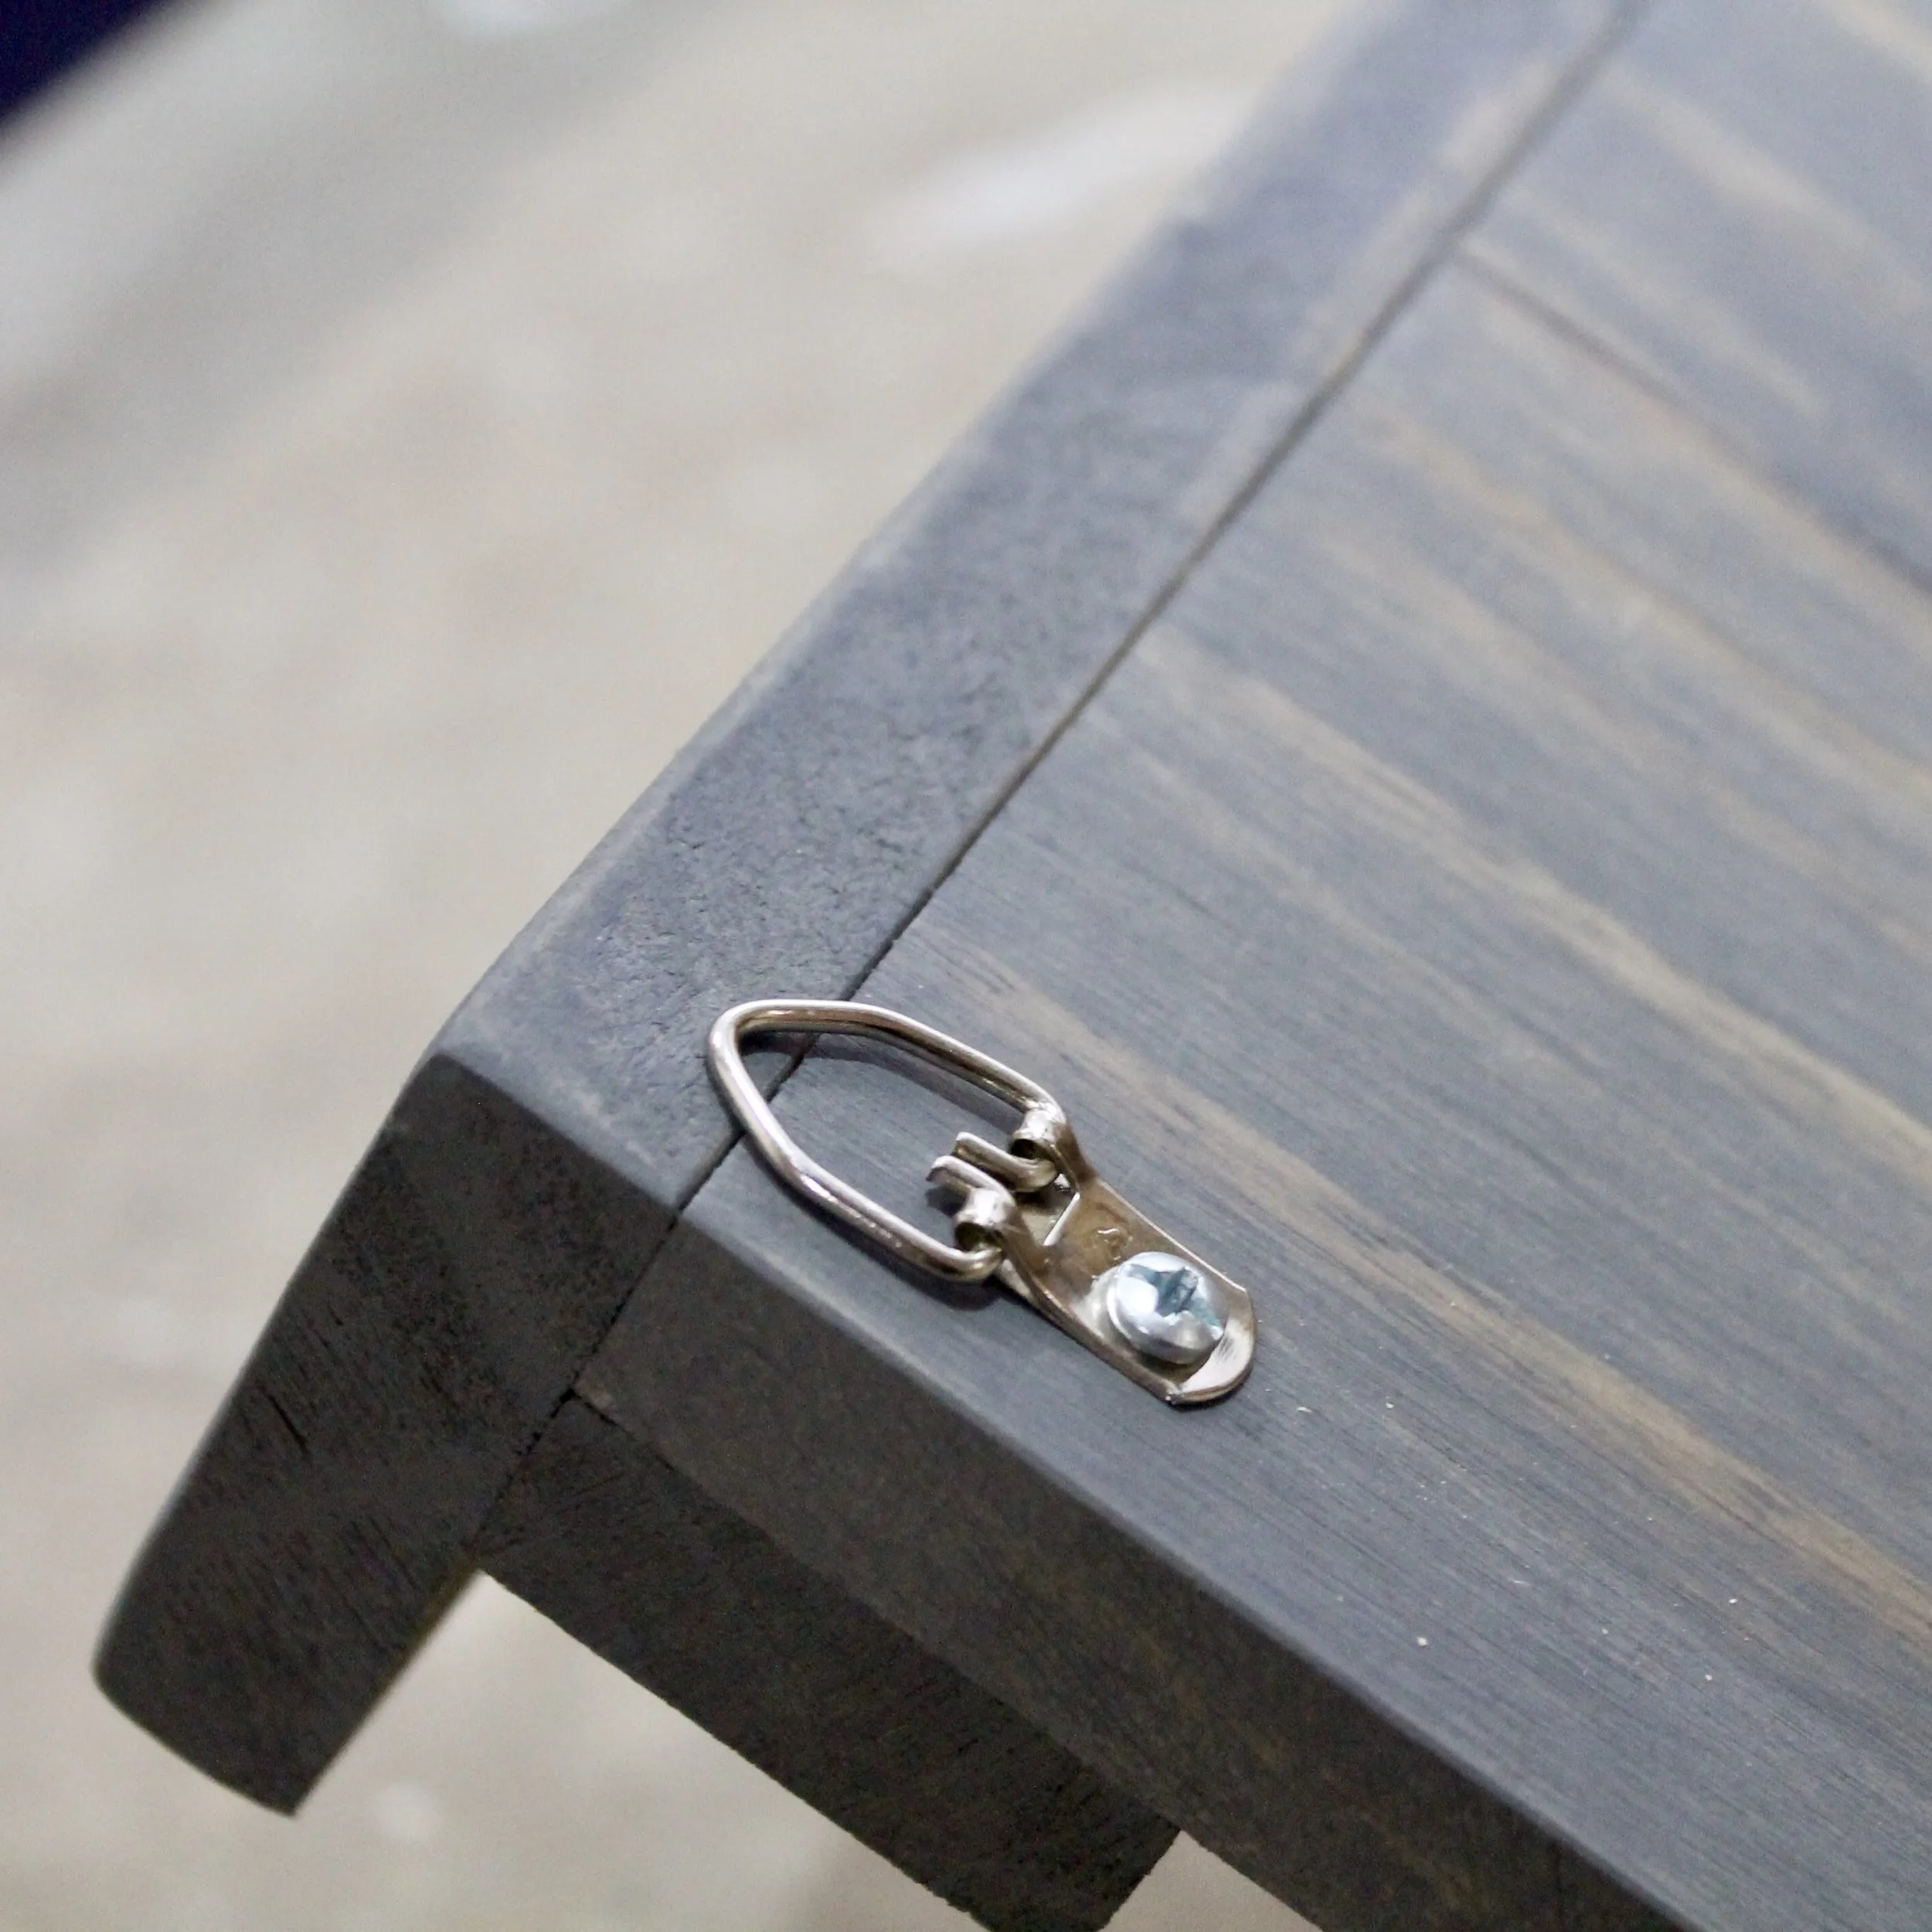 d ring
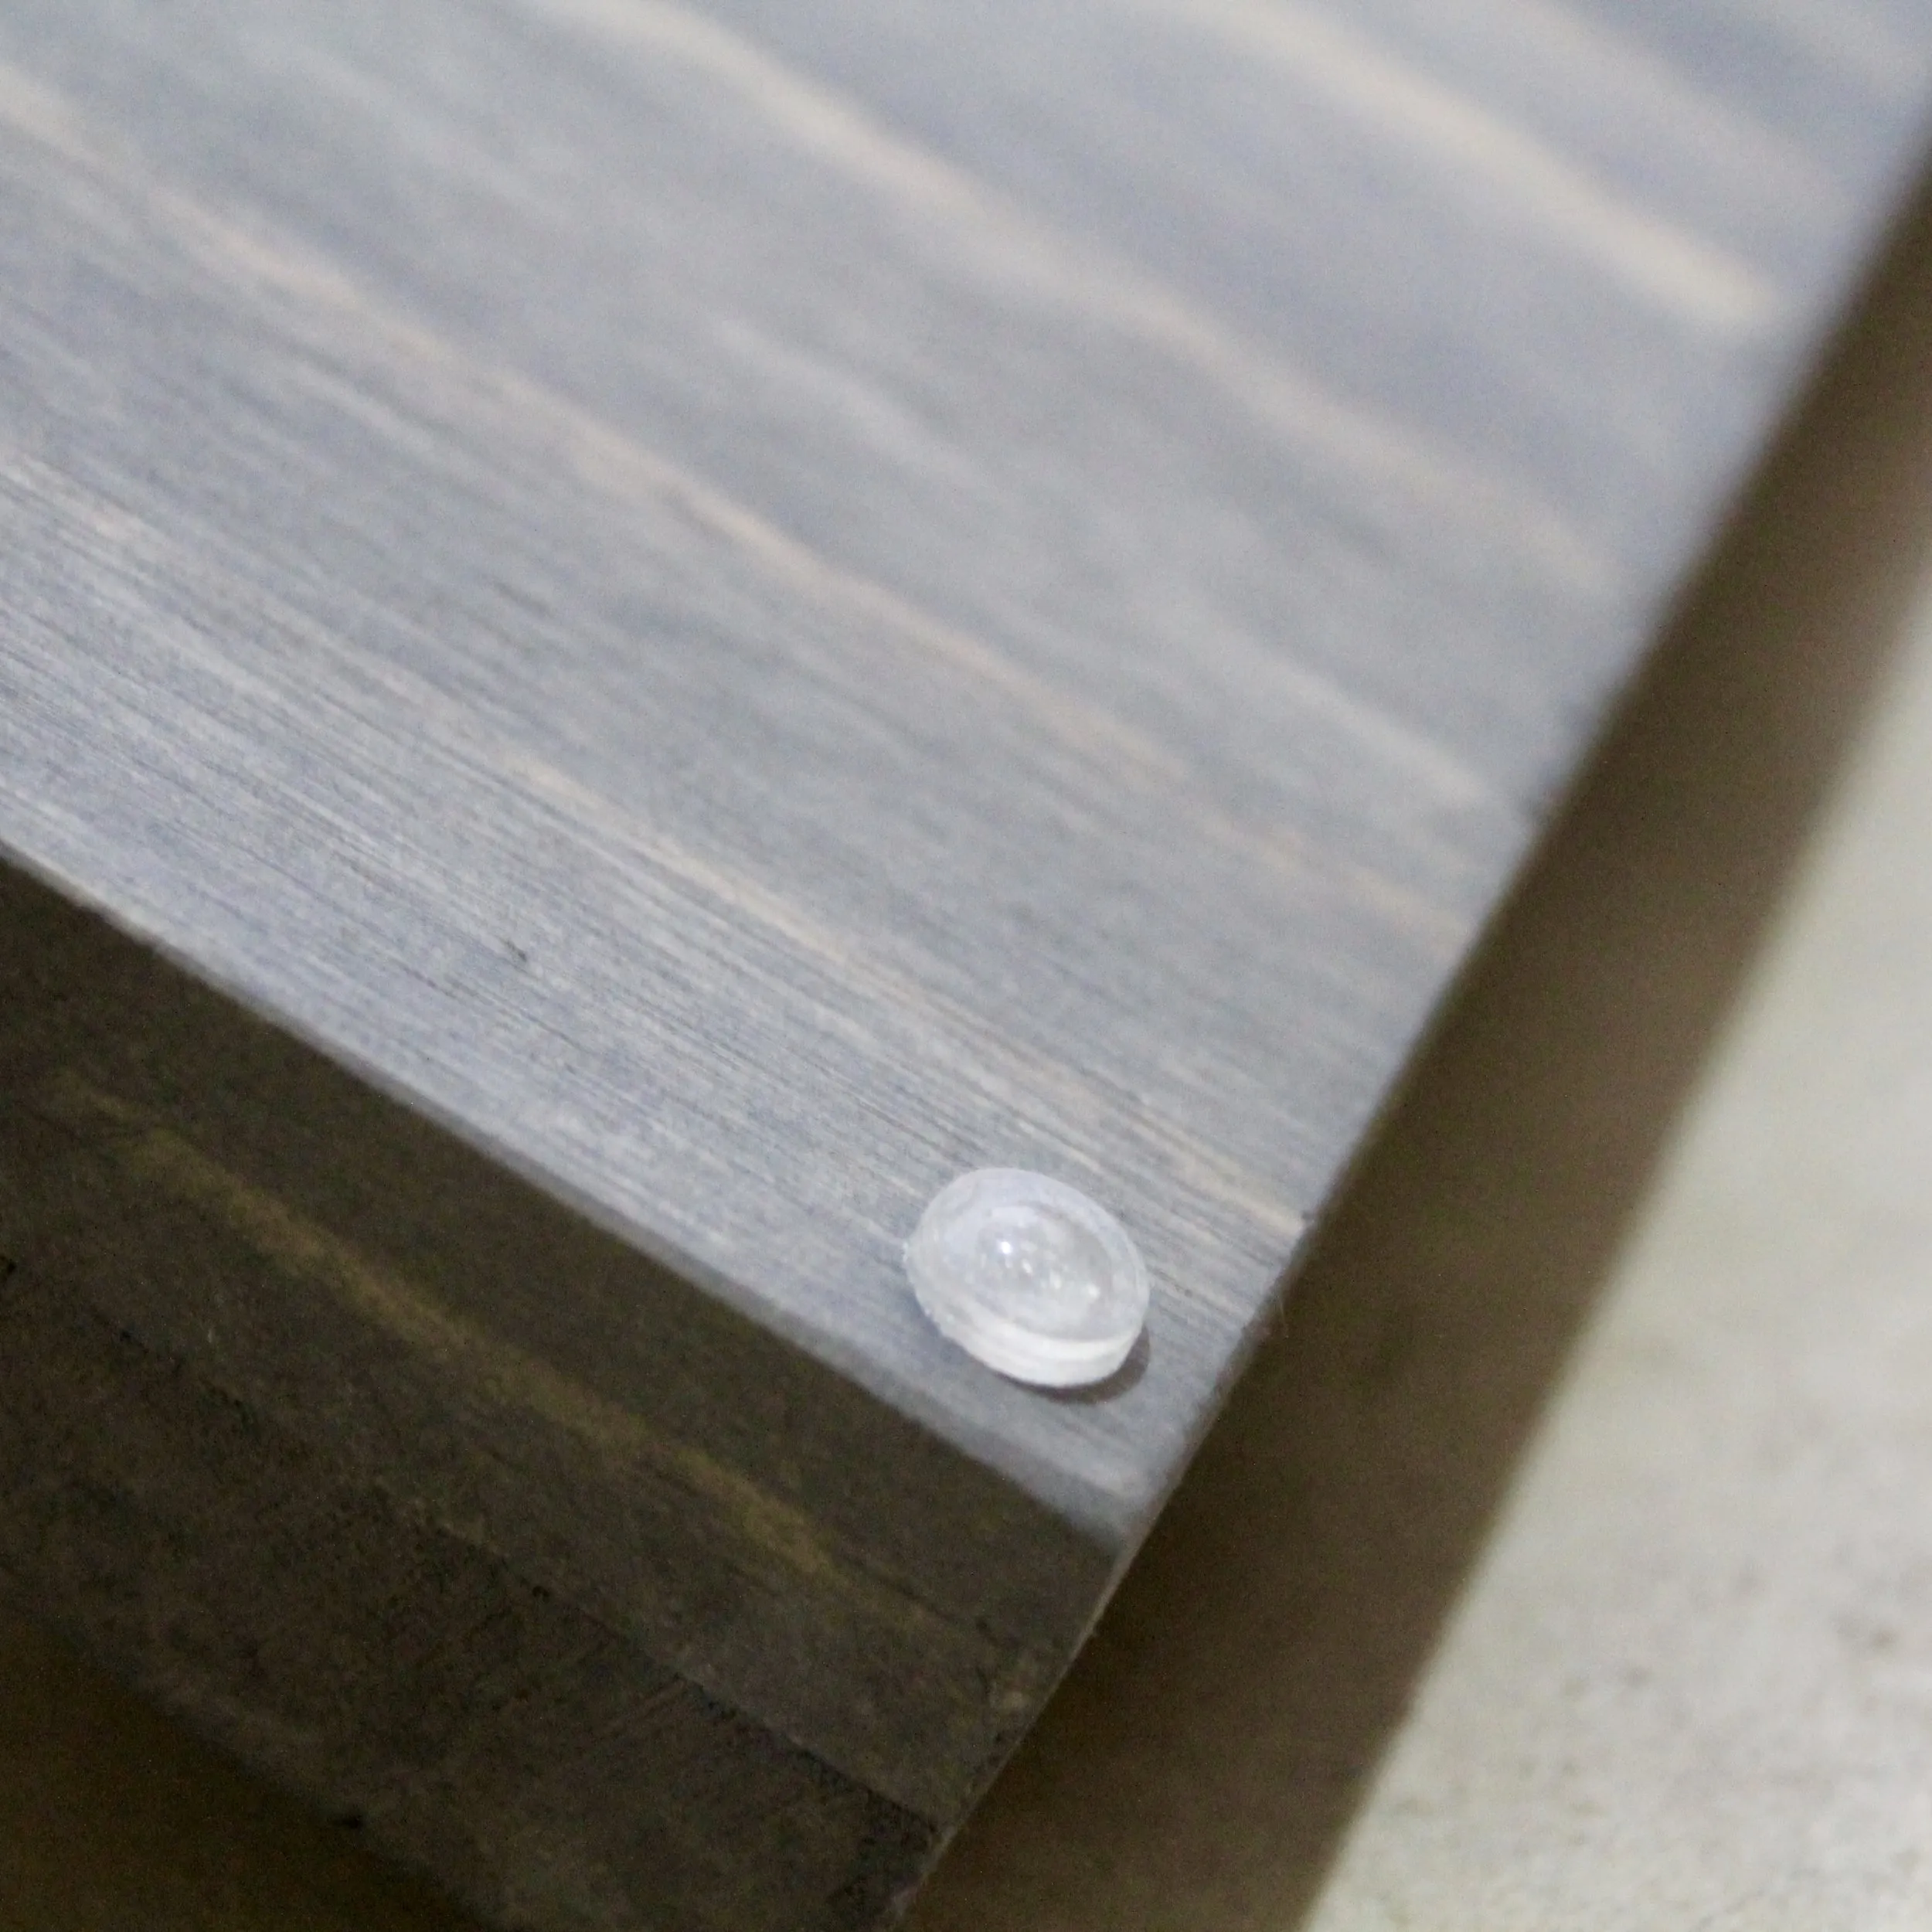 bumper
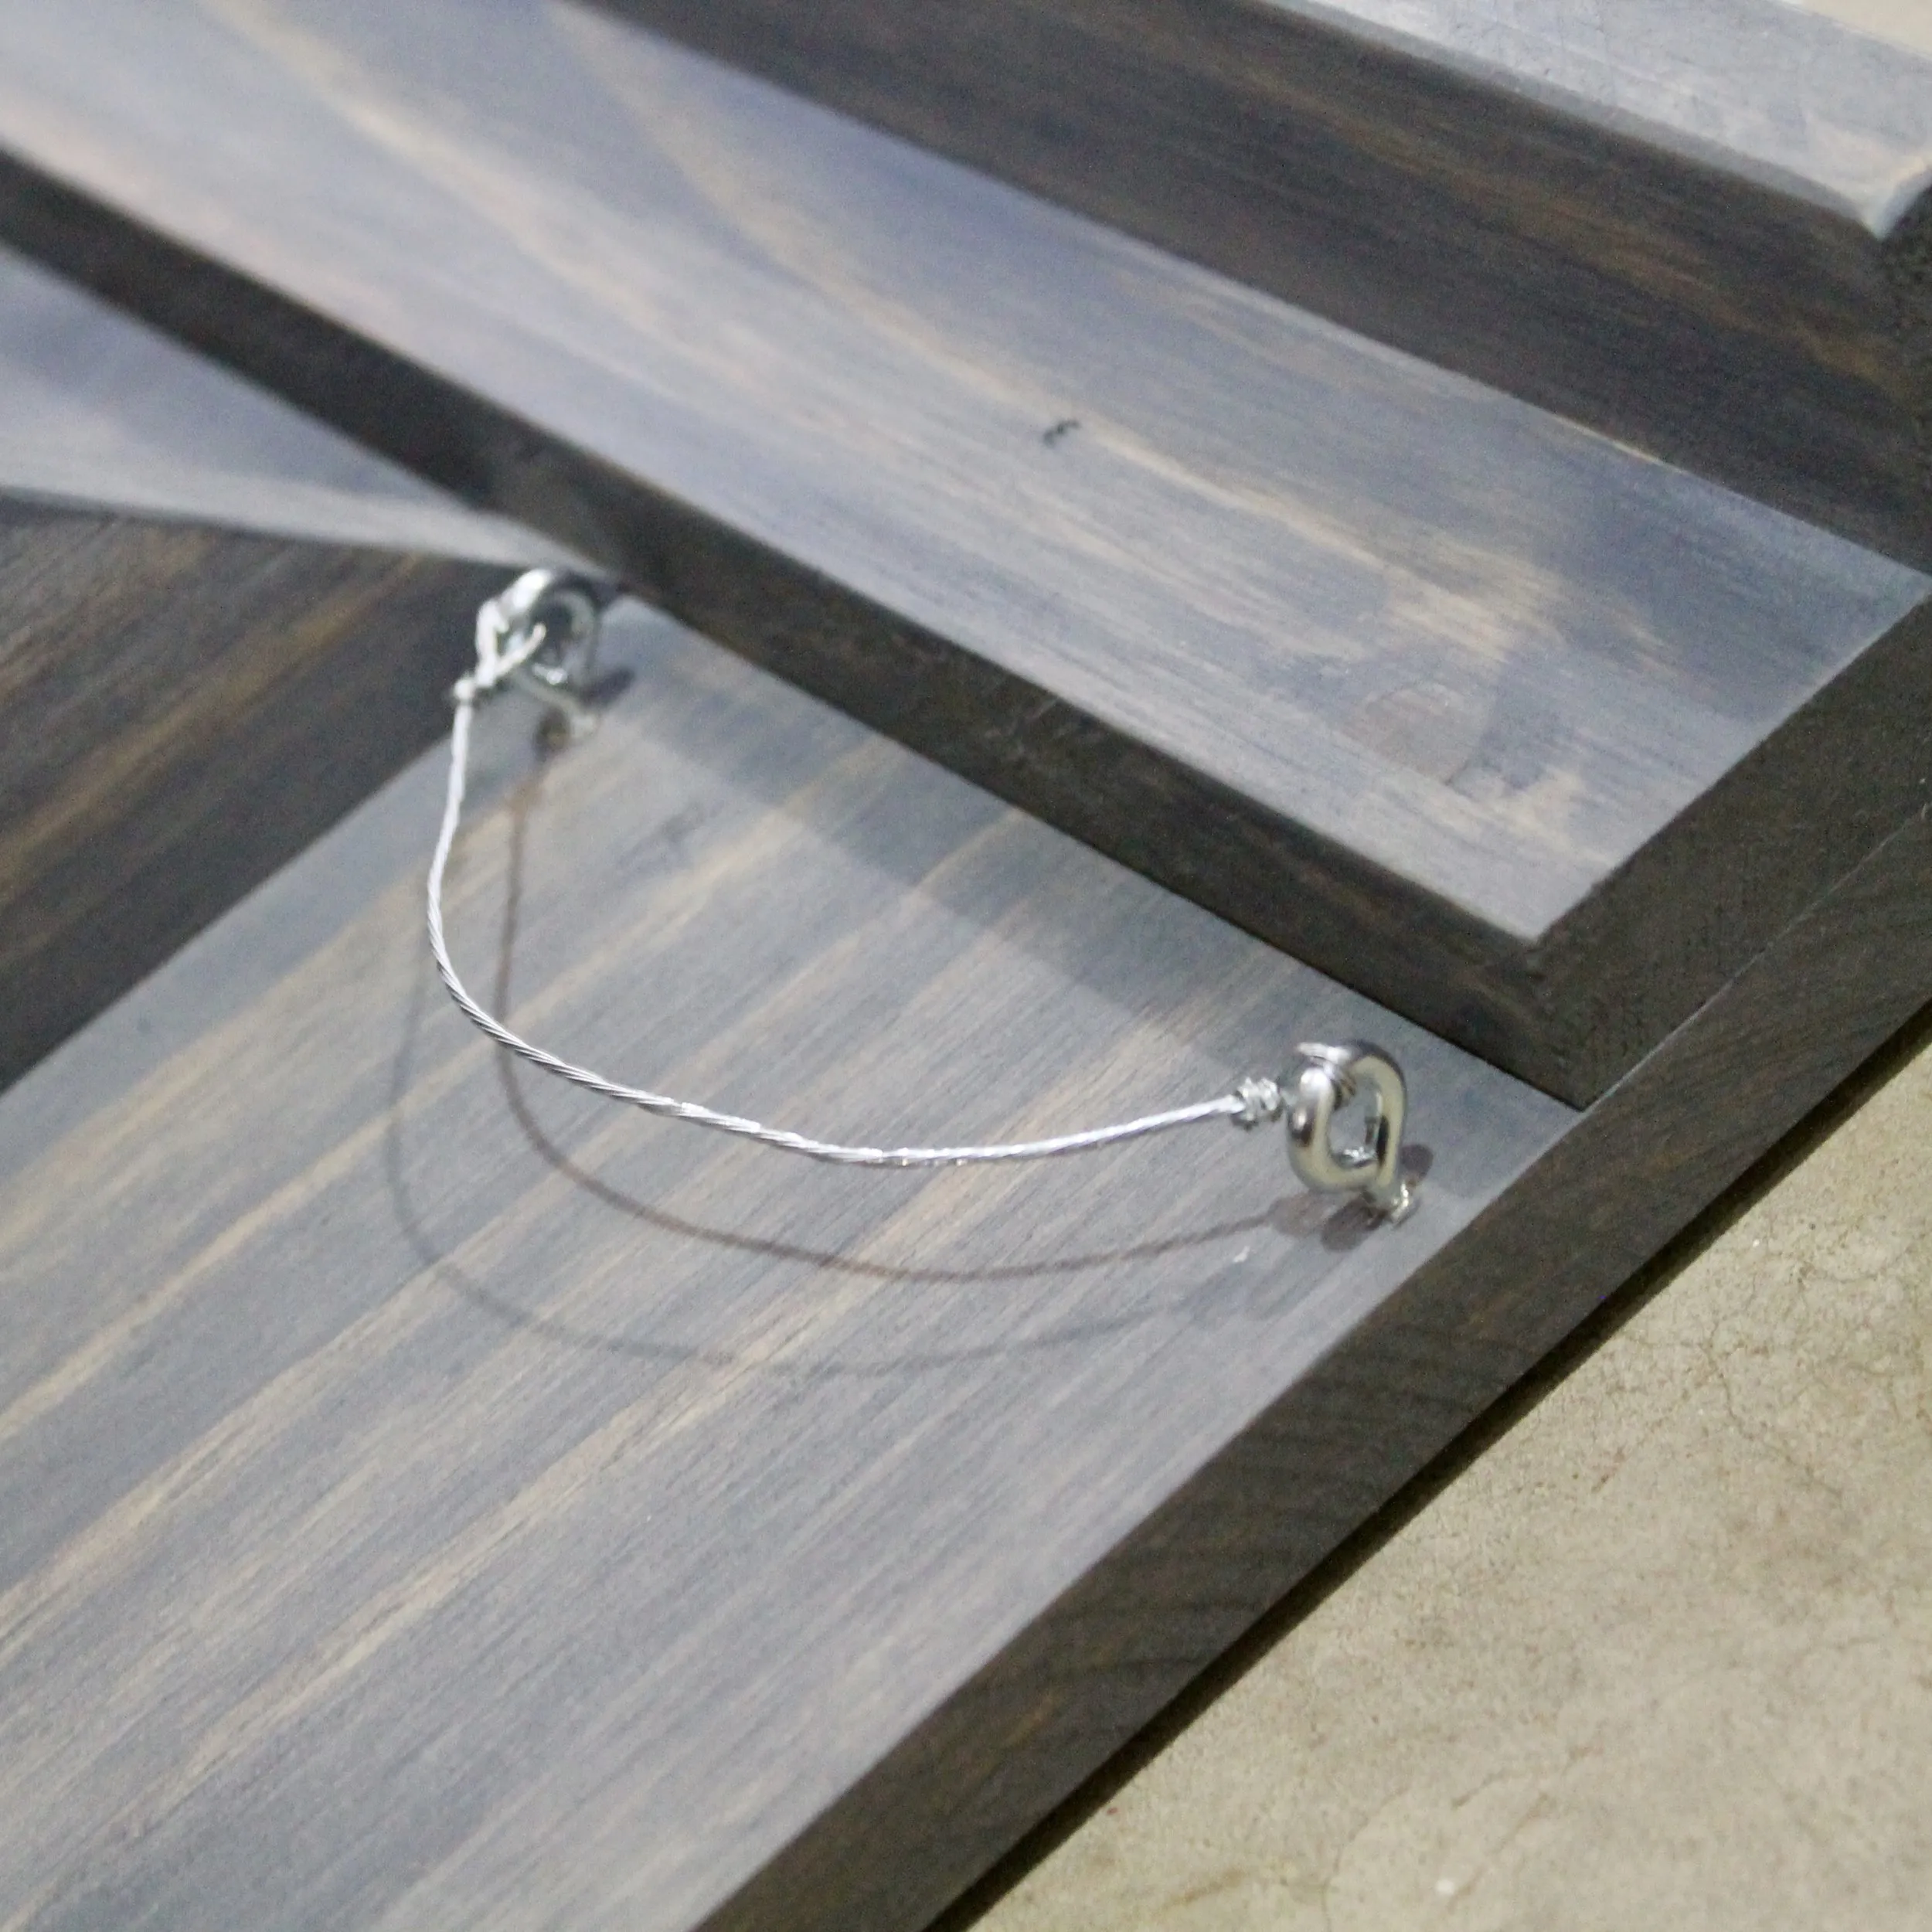 I always make sure to pre-drill the holes before putting the screws in, it makes the process a whole lot easier.
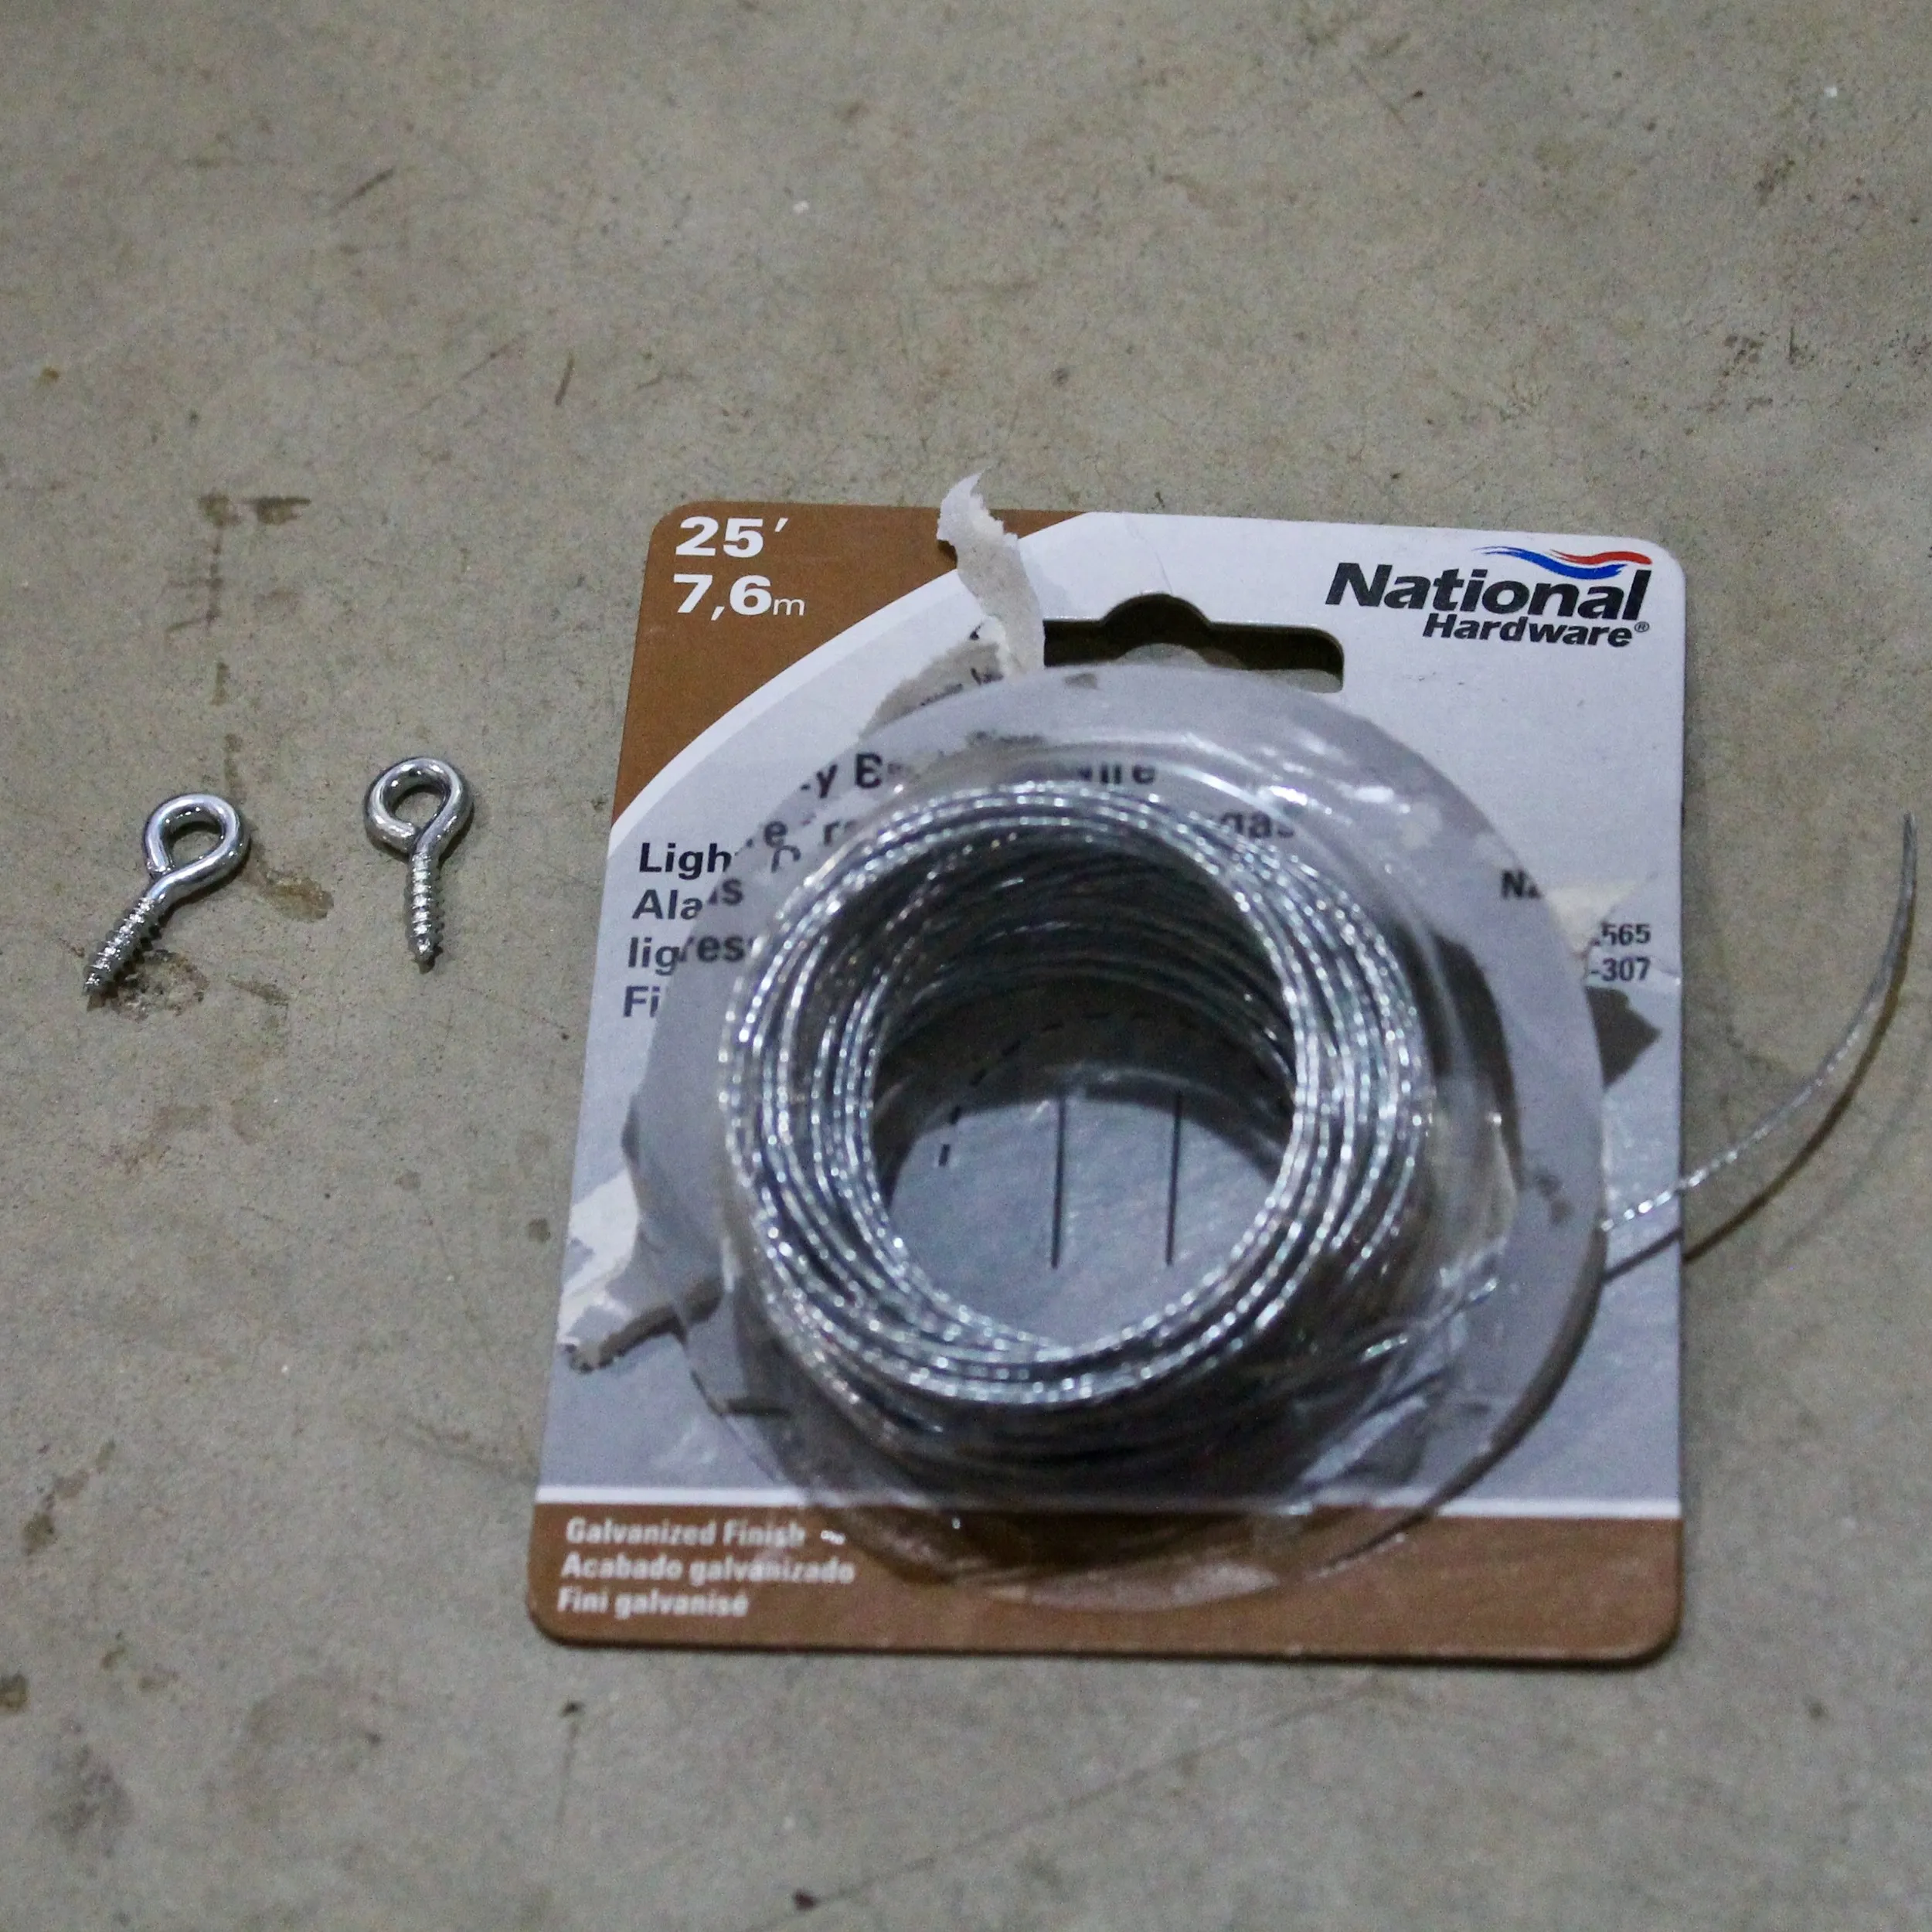 I use screw eye rings and braided steel wire for the sunglasses hanger.
 -
Key Hooks: Attach your chosen utility hooks to the underside of the organizer. I prefer dual-prong hooks for their versatility, but cup hooks offer a classic alternative.
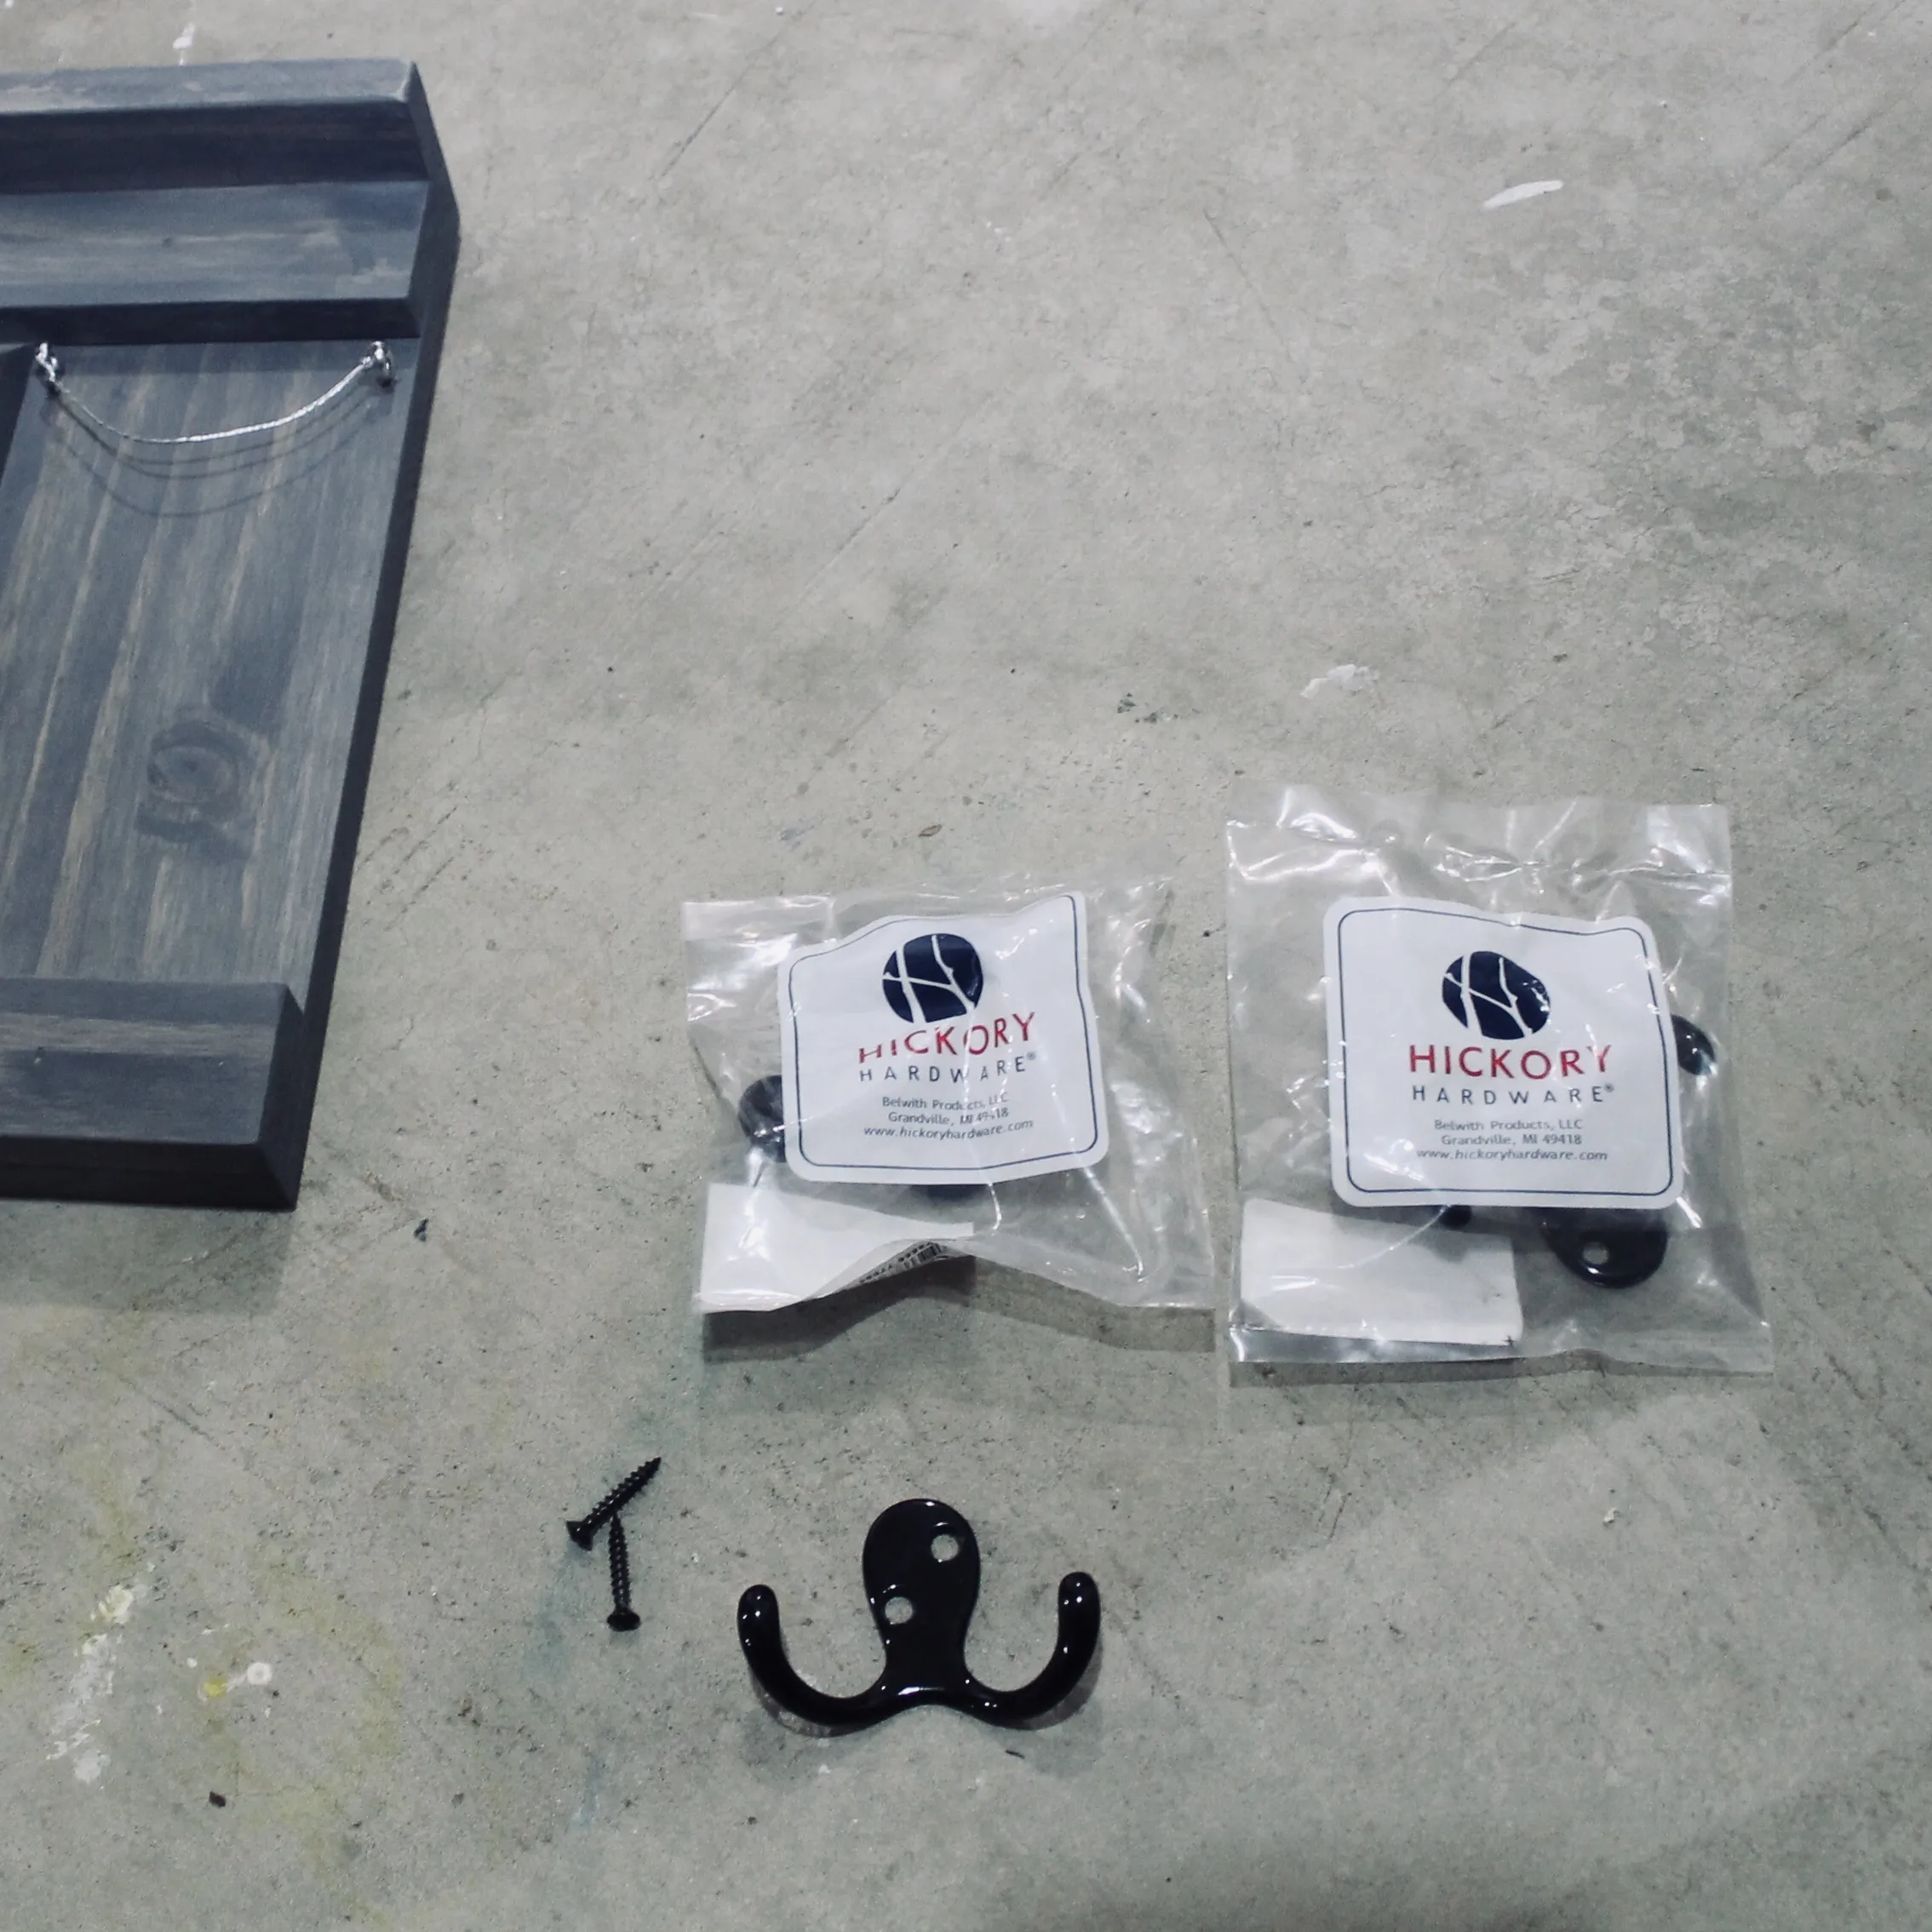 These are called dual prong utility hooks. You can also use cup hooks if you prefer the look of those.
A Functional and Stylish Entryway Awaits
Congratulations! Your custom entryway organizer is now complete. Not only have you created a practical storage solution, but you’ve also added a touch of handcrafted charm to your home.
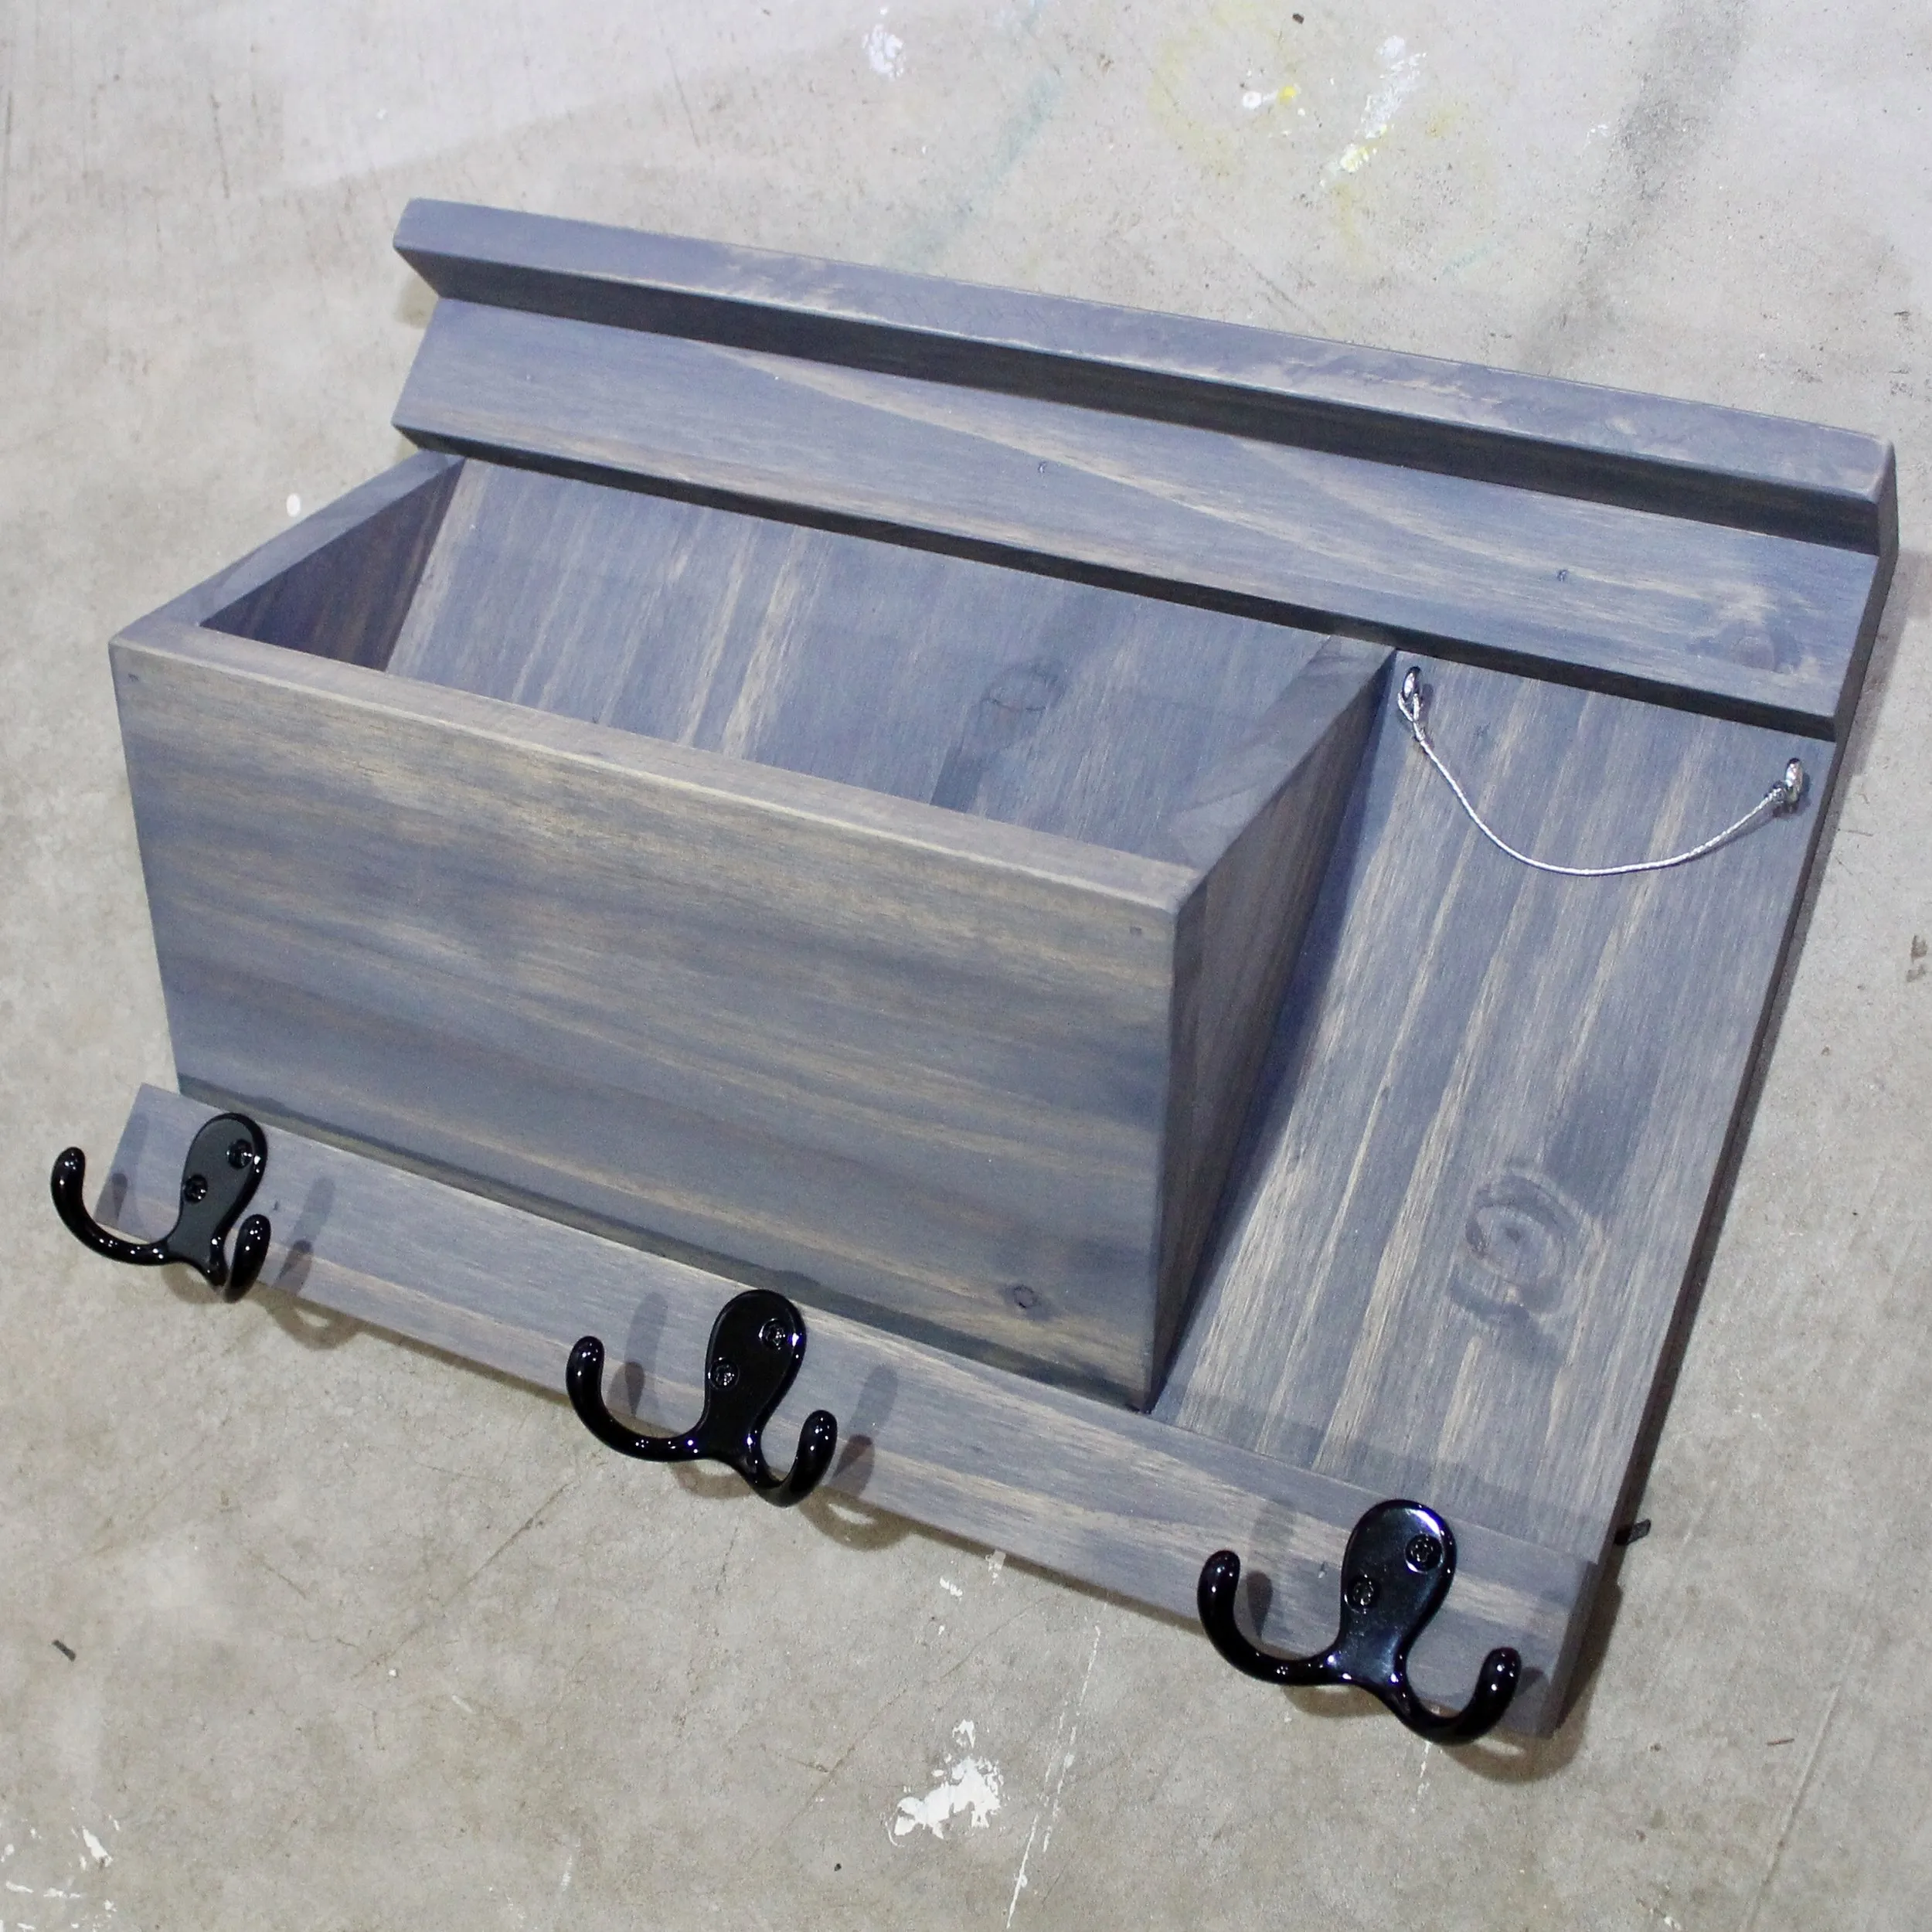 finished organizer
Exploring Different Styles and Materials
This design is incredibly versatile, and I encourage you to experiment with different wood types, stains, and hardware to achieve unique looks. Here are a few examples from my workshop:
-
Rustic Charm: Embrace the beauty of reclaimed wood. Pallet wood, with its weathered texture and character, adds a rustic charm. For a natural finish, consider Minwax Early American stain. Stenciling or hand-painting words like “Mail” or your family name adds a personalized touch.
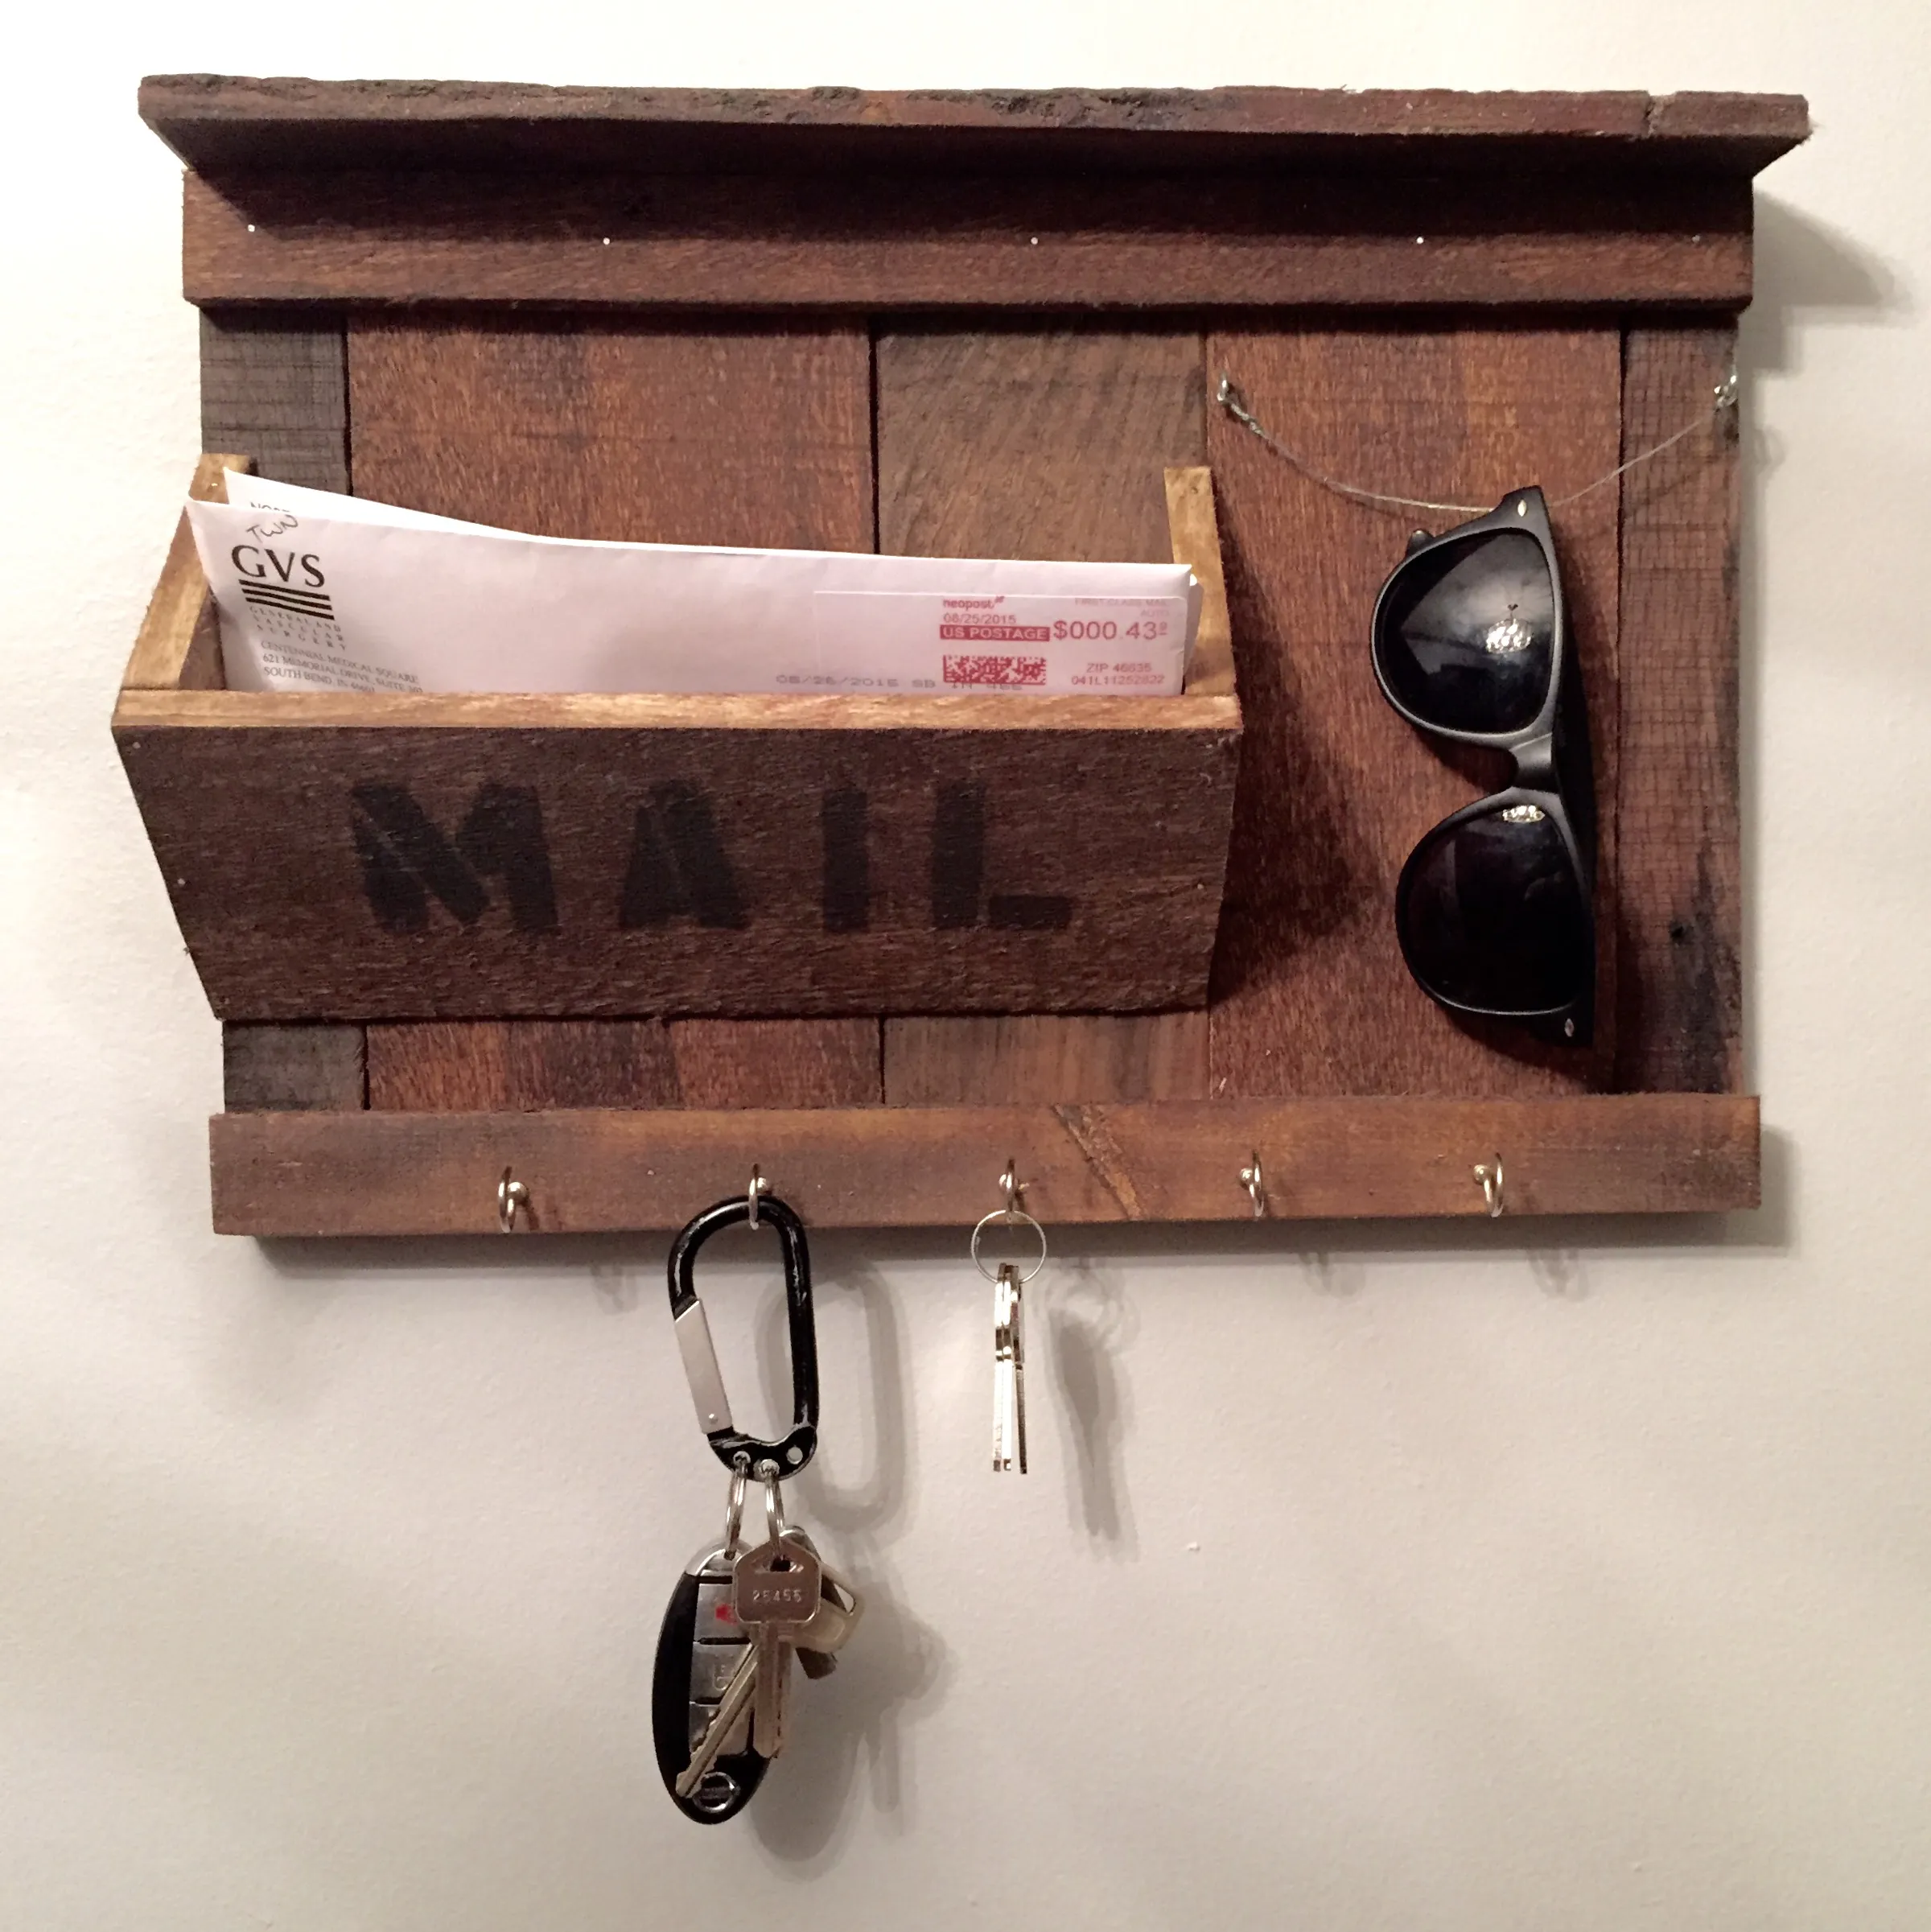 This was the first entryway organizer I ever made. It was a semi-original idea heavily inspired by designs I found on Pinterest. This is made entirely of pallet wood, it was not sanded, and colored using Minwax Early American. The word mail was spra…
 -
Modern Elegance: For a sleek and contemporary feel, opt for reclaimed oak or pine. Minwax Espresso stain imparts a rich, warm hue, complementing the wood’s natural beauty.
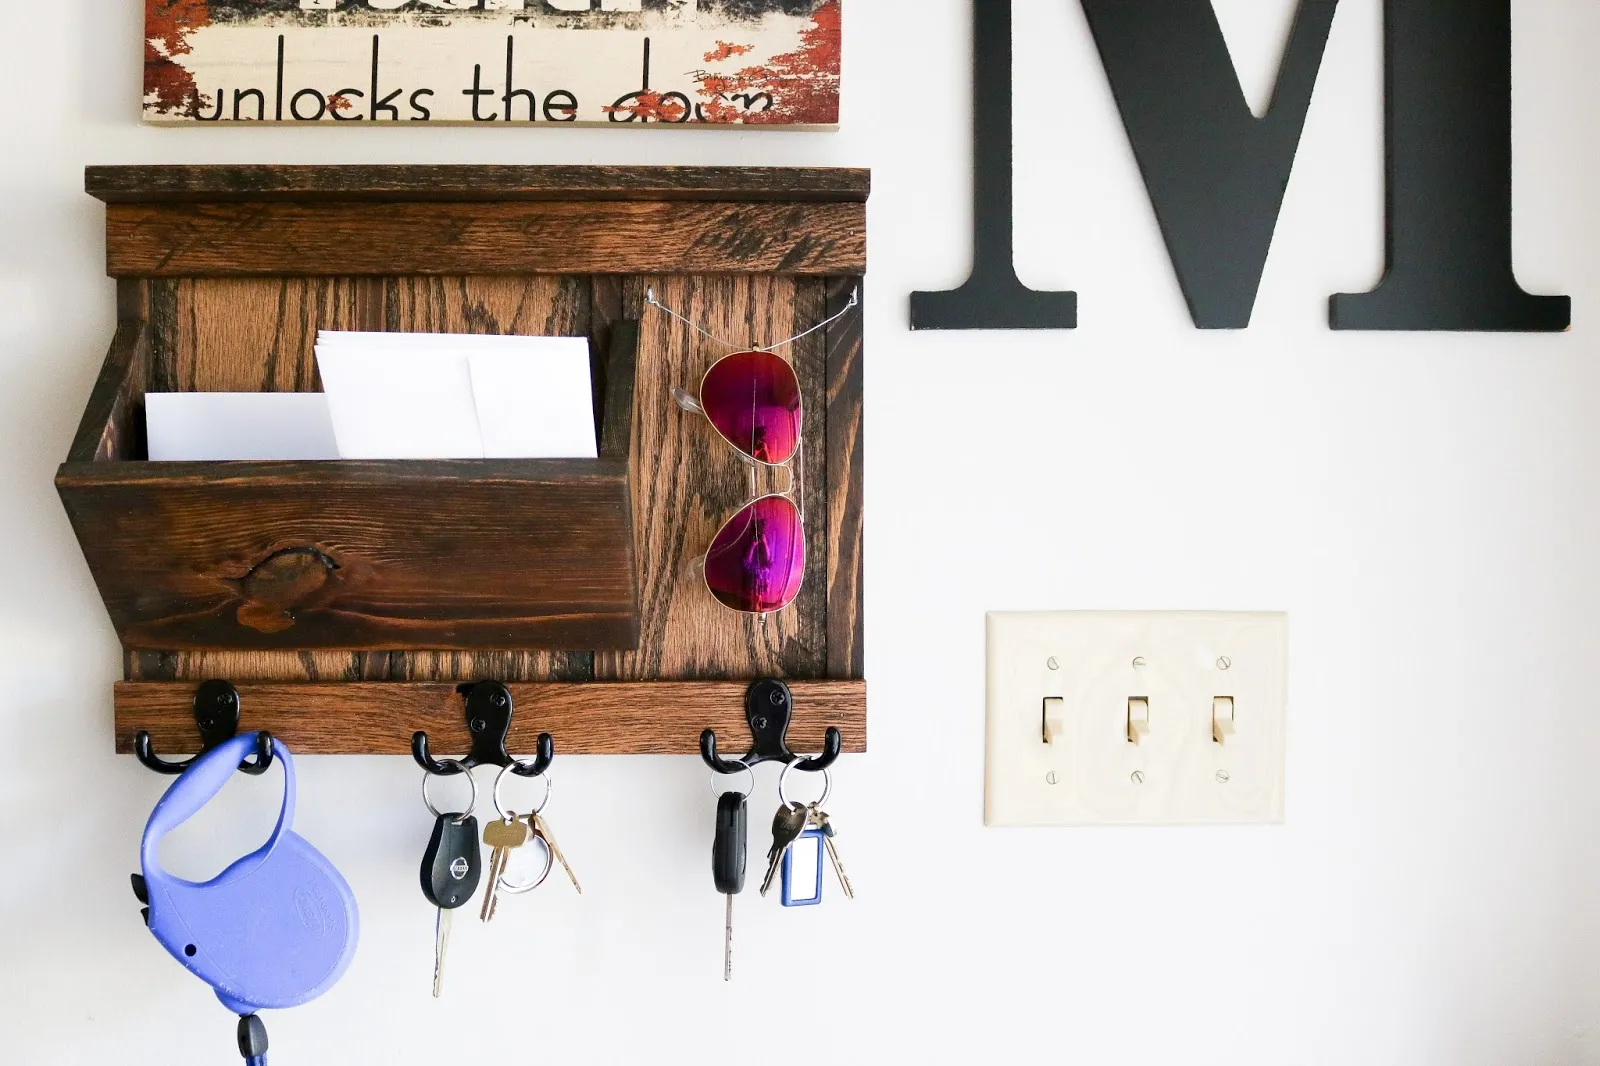 This organizer was made from reclaimed oak and pine, and stained using Minwax Espresso
 -
Coastal Vibes: To capture a breezy, coastal aesthetic, use a light-colored wood like pine and sand it thoroughly for a smooth finish. A coat of white spray paint followed by light sanding creates a beautiful weathered look.
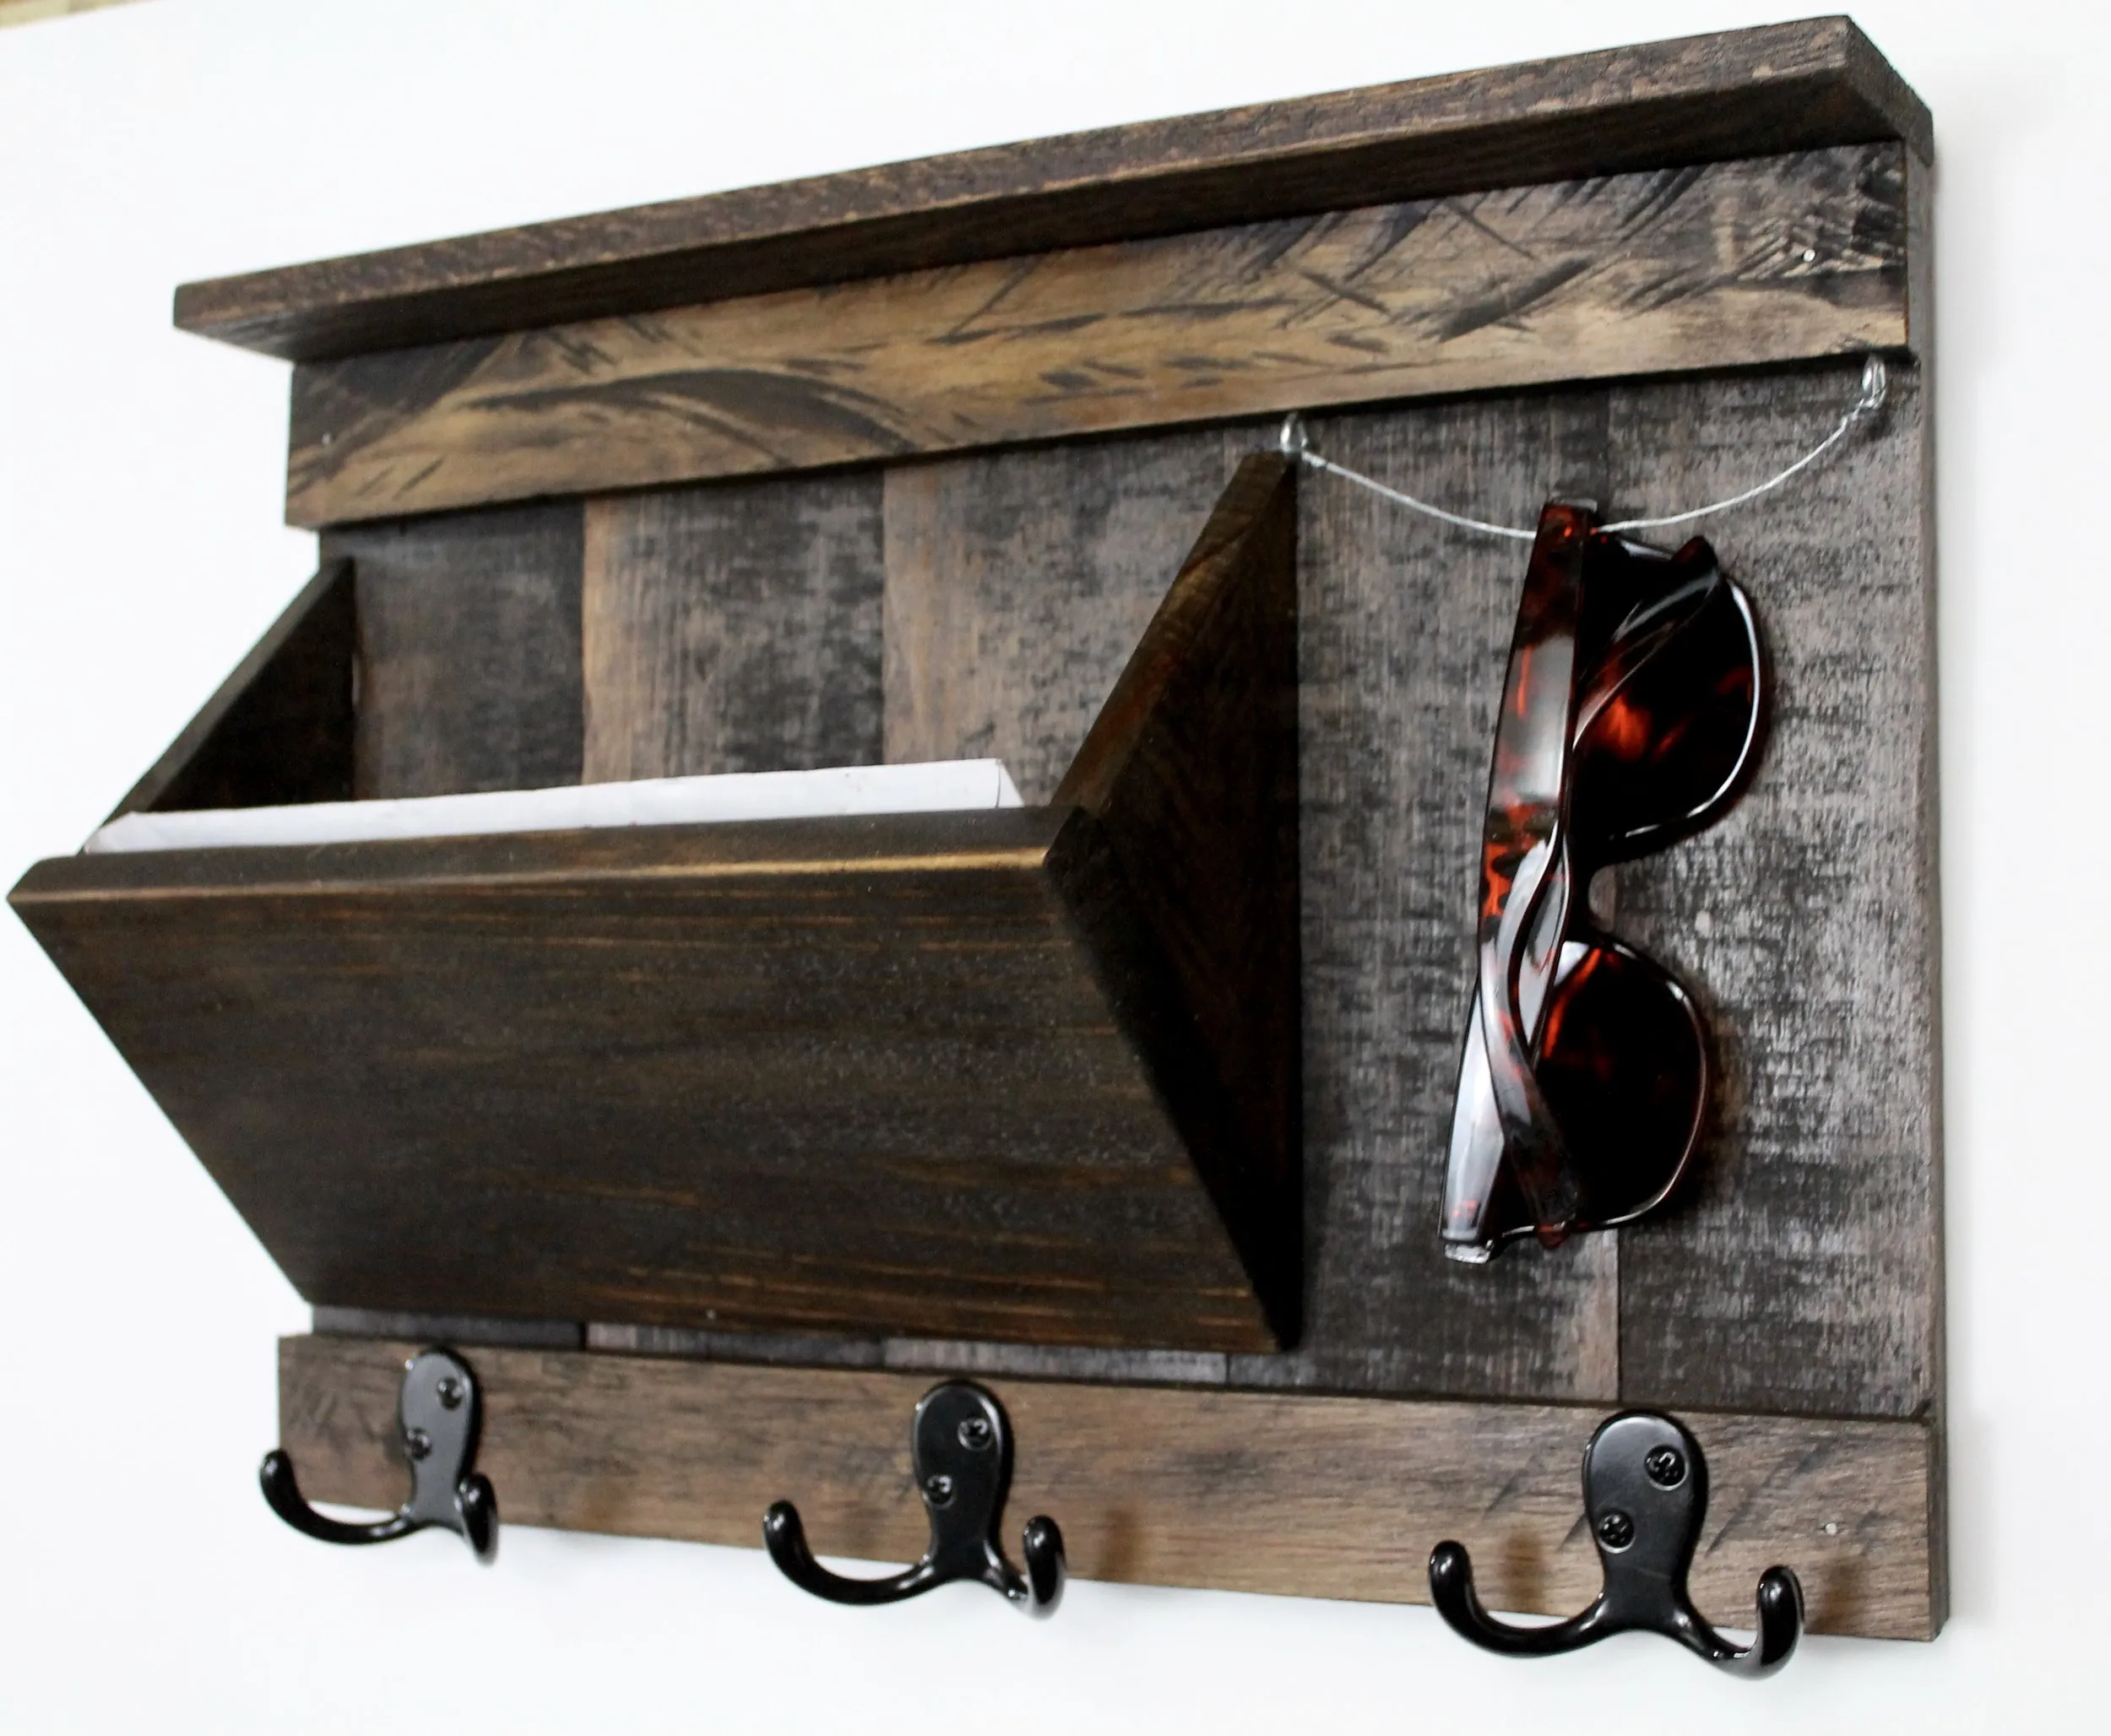 This is made from pallet wood, sanded and stained with Minwax Espresso.
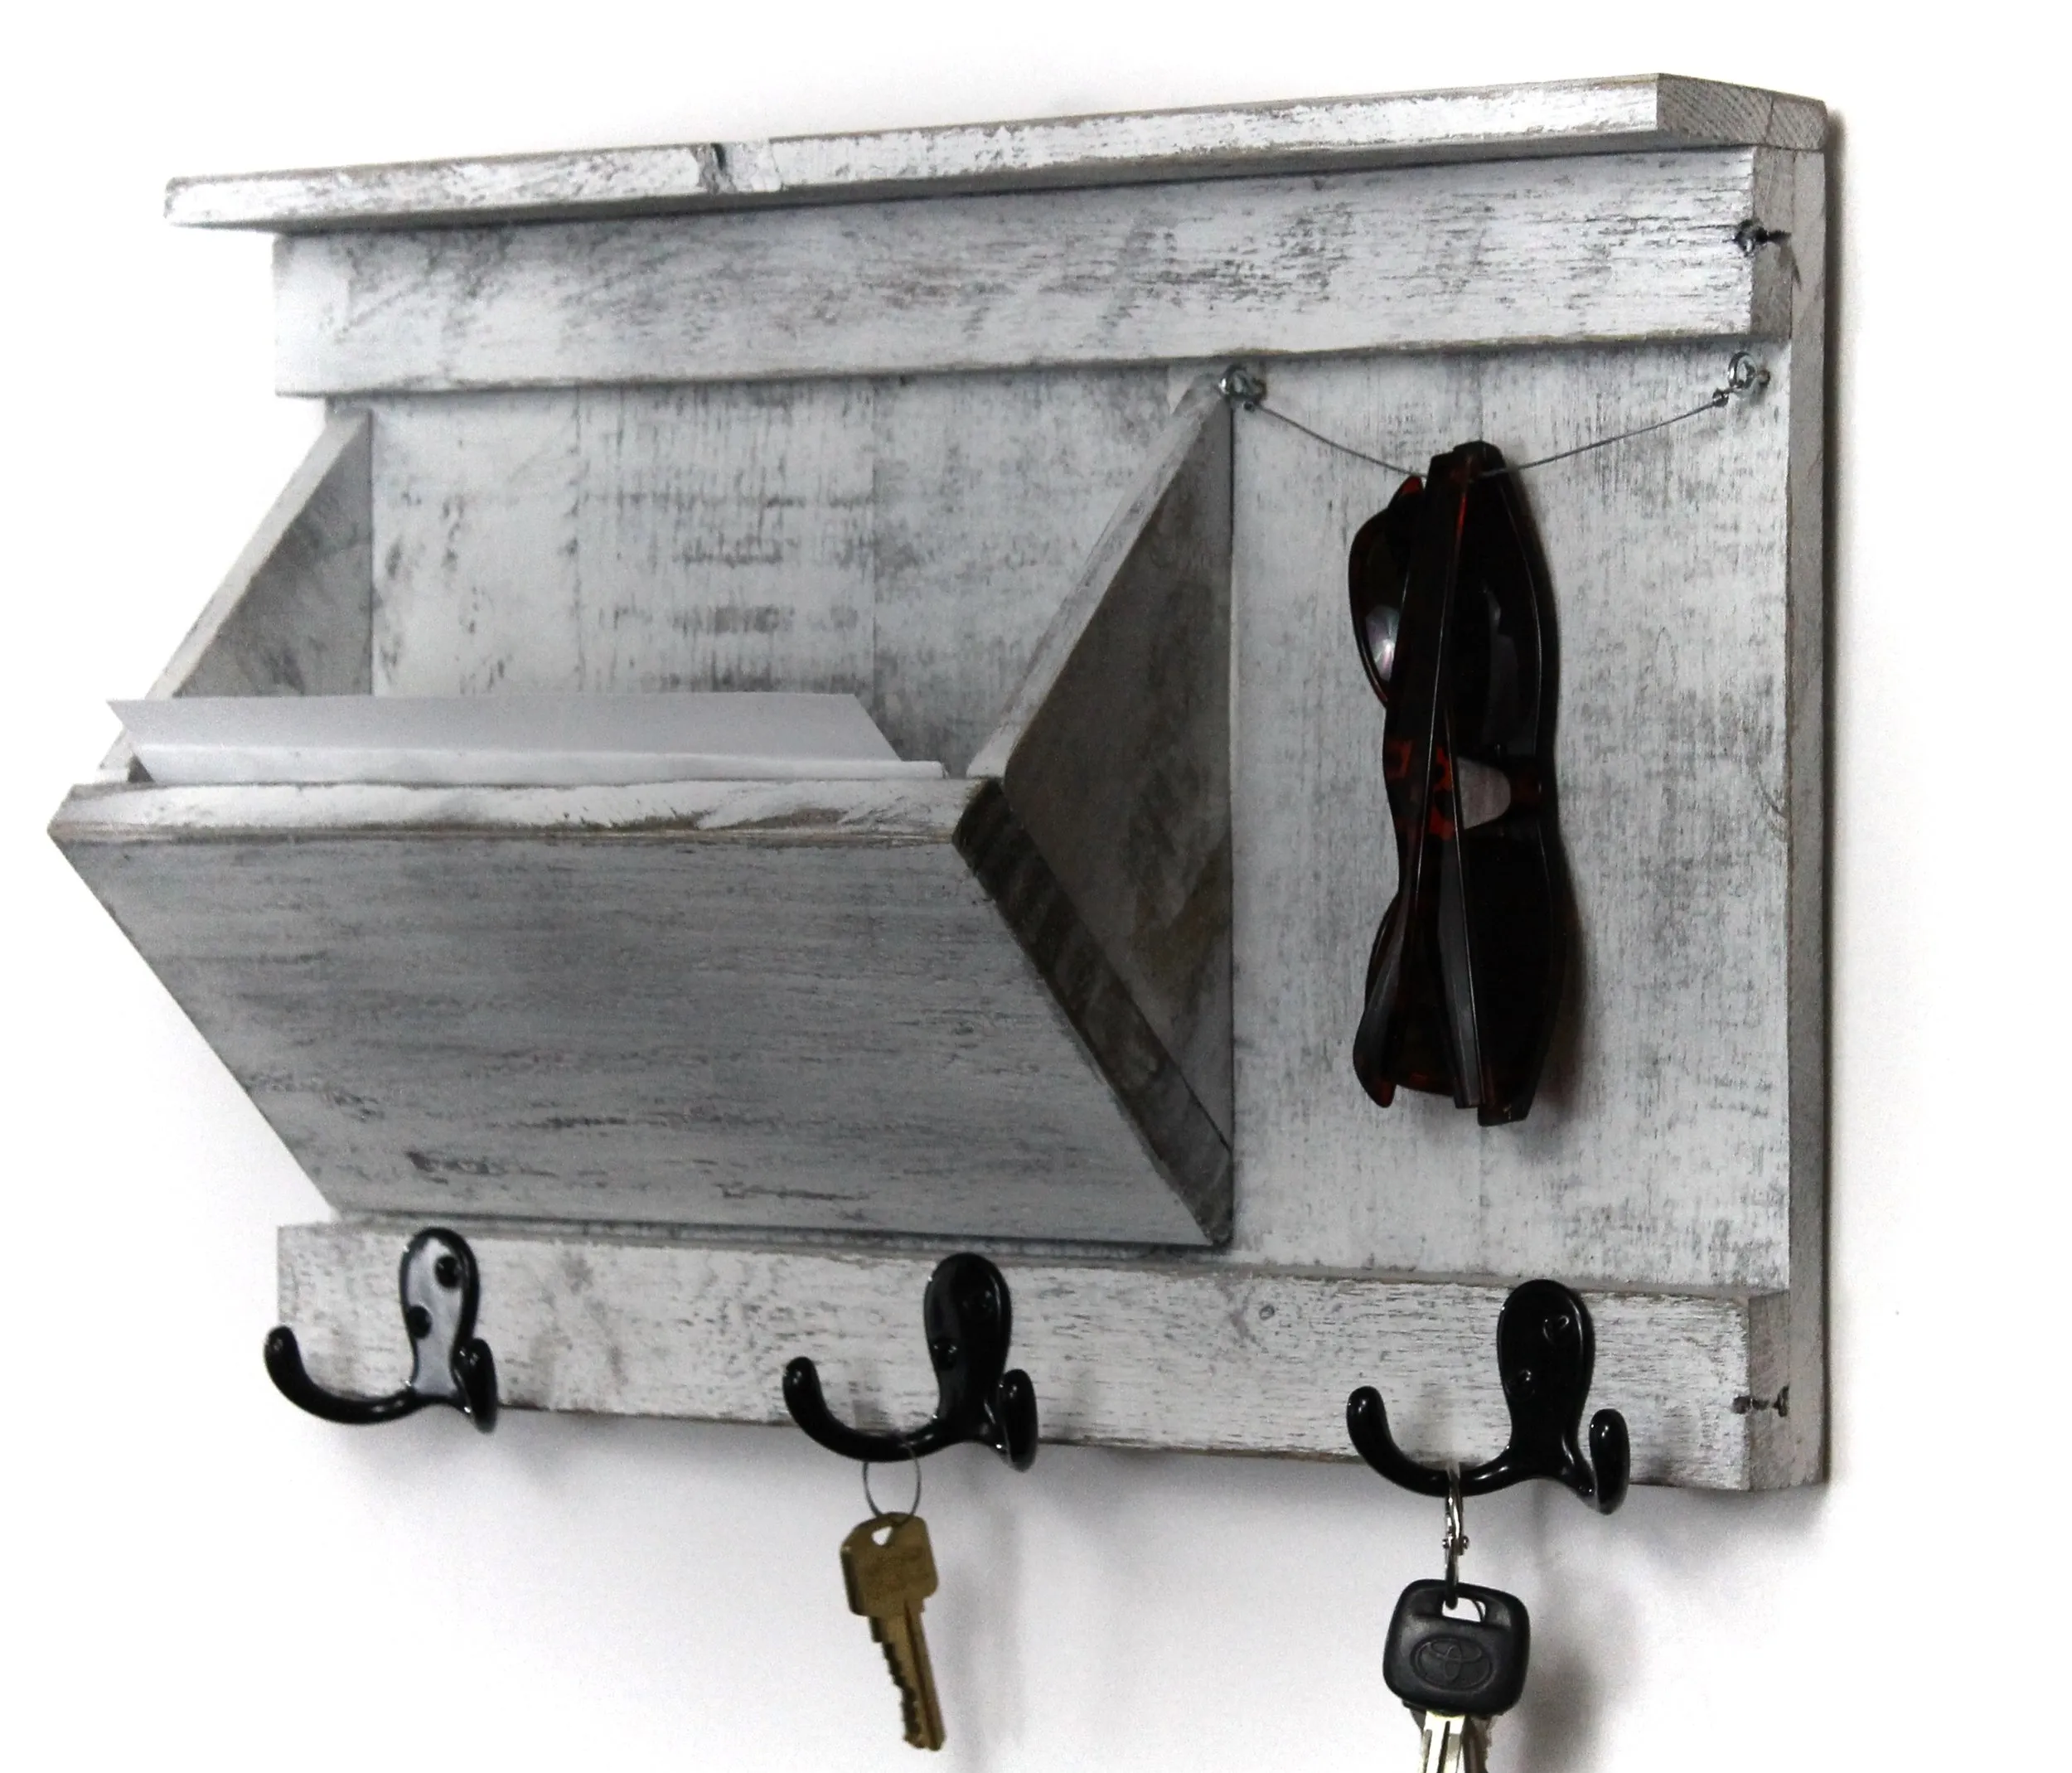 To achieve this look, after assembling the unit, I stained it with a dark color, let that dry overnight, and then gave it a coat of white spray paint. After the paint dried, I sanded the entire organizer with a palm sander. This is a great way to ac…
 -
Classic and Timeless: New pine wood is a readily available and affordable option. Minwax Early American stain provides a warm, classic look, while larger cup hooks add a touch of vintage charm.
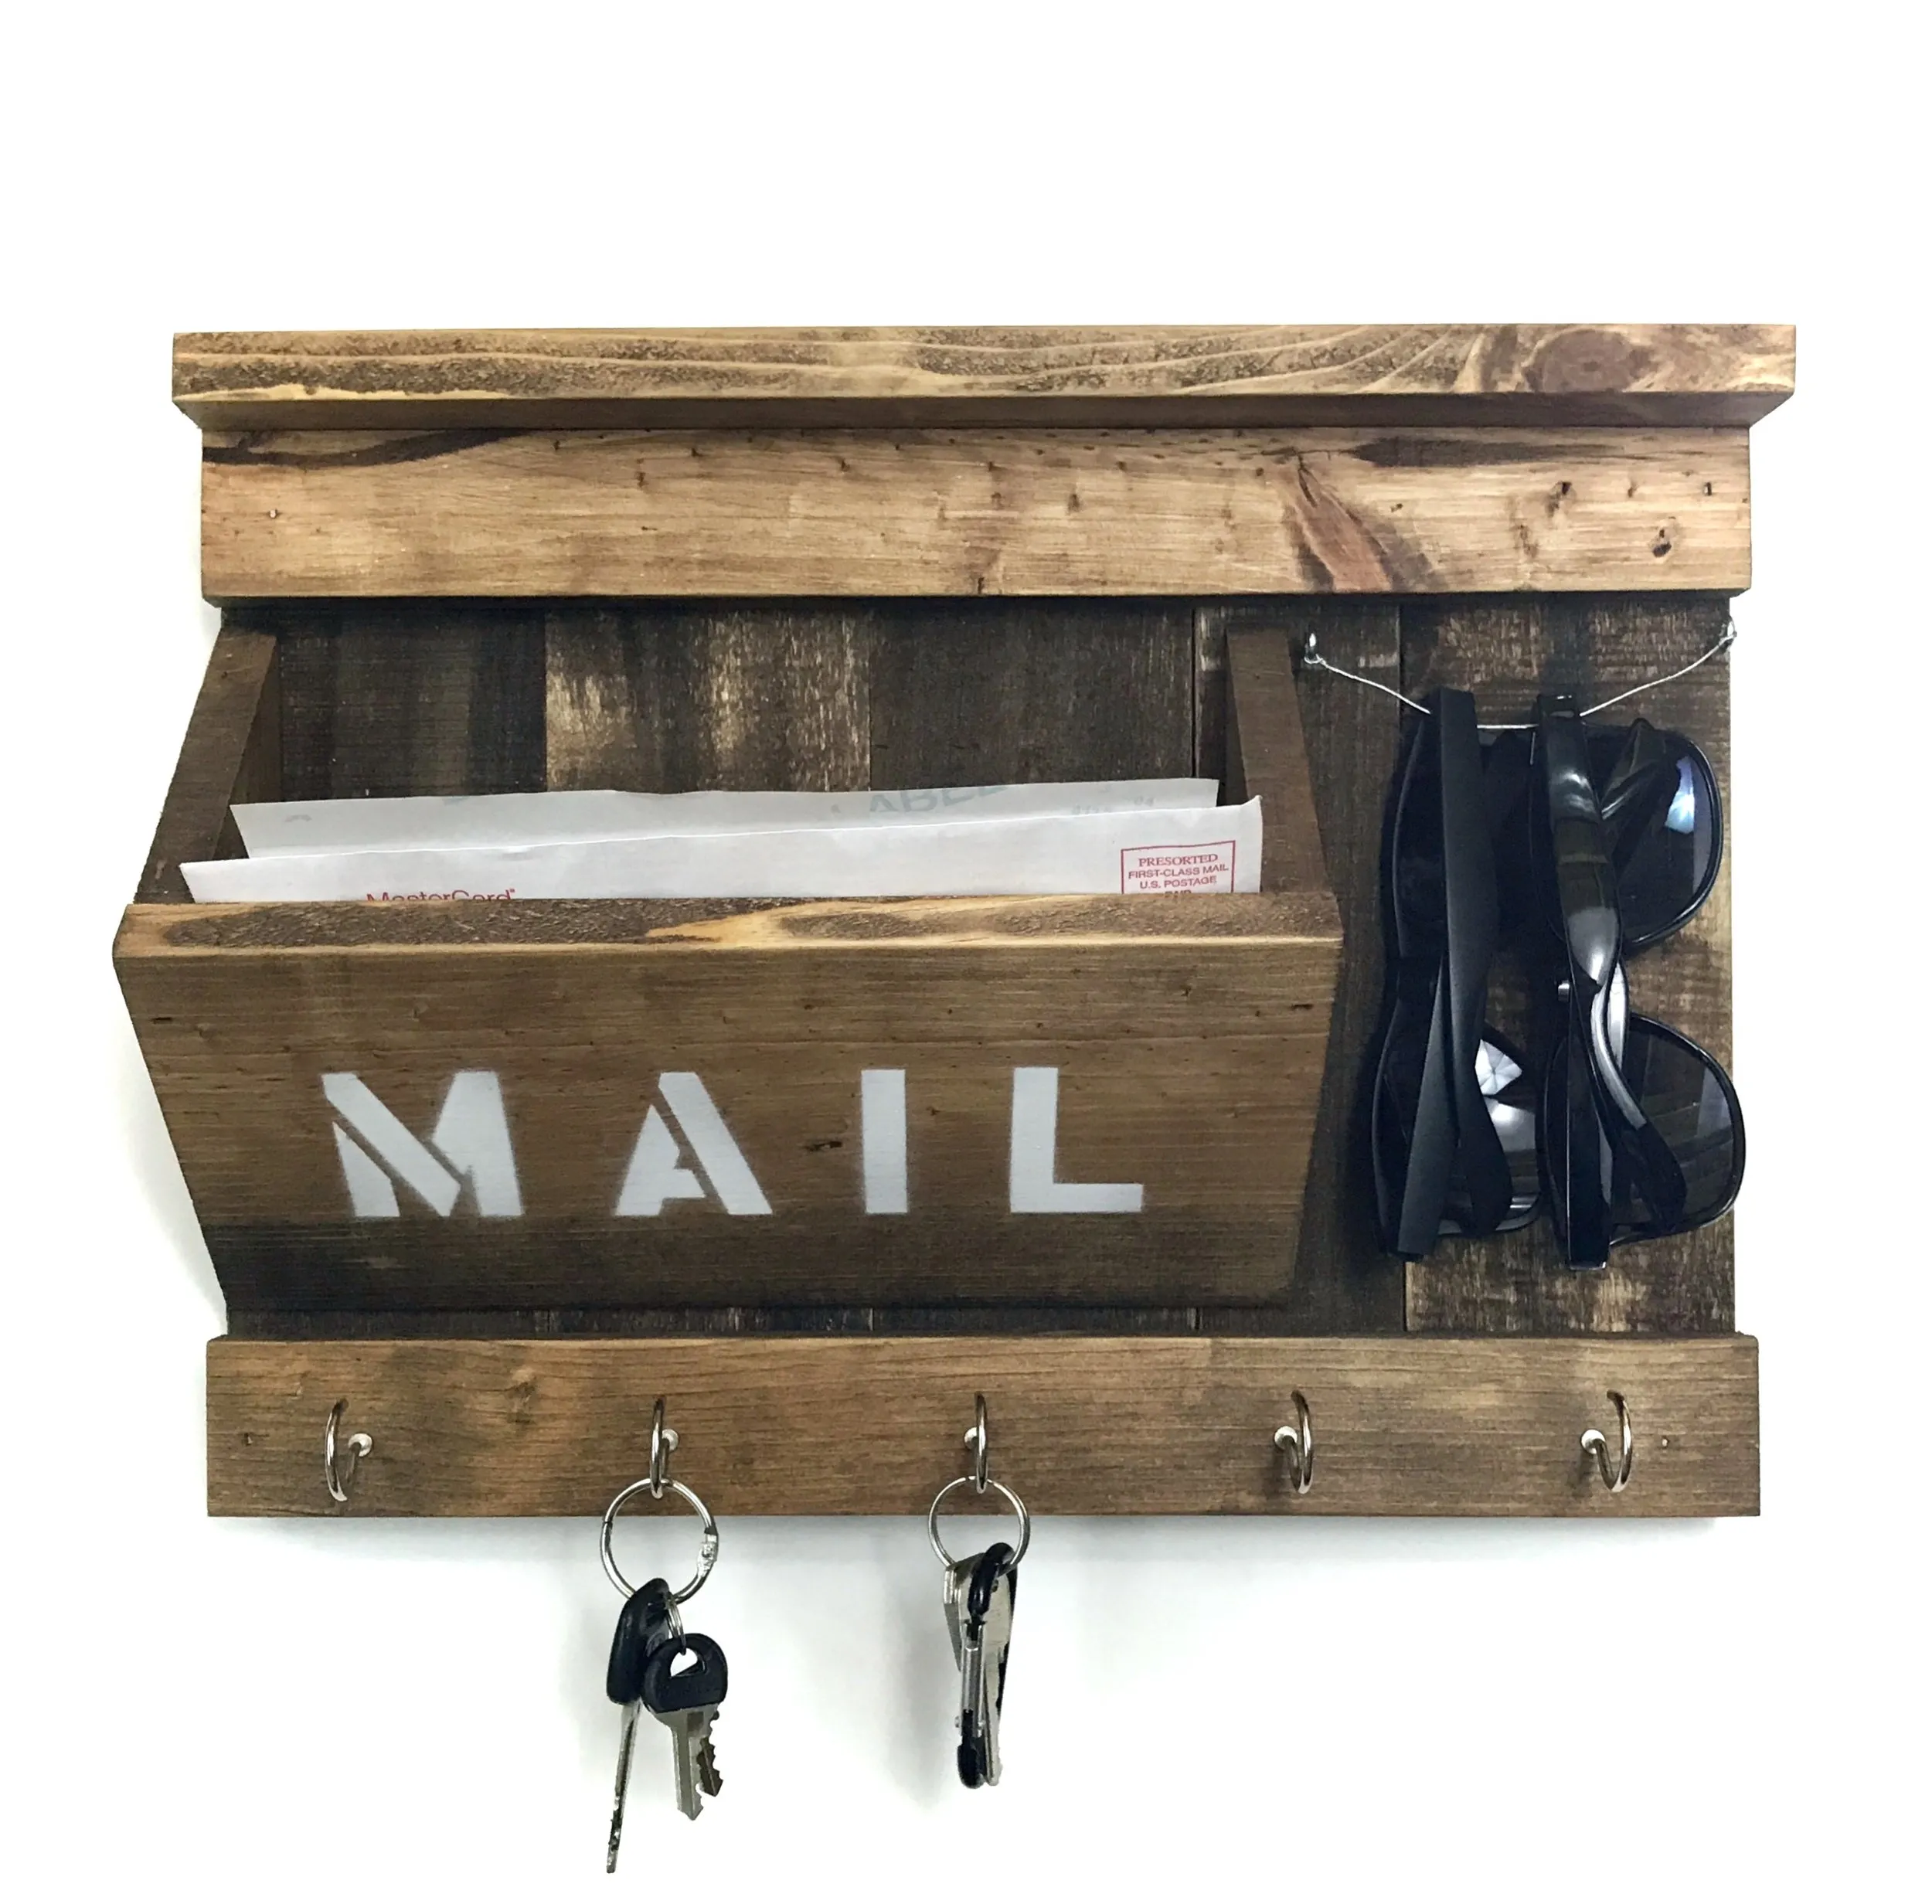 This one was an ode to the early design, utilizing new pine wood instead of reclaimed wood. I used large cup hooks for the key holders and spray painted the word mail using stencils, I colored the wood using Minwax Early American.
 -
Bold and Modern: Make a statement with new pine wood and a rich, dark stain like Minwax Espresso. The contrast between the wood and stain creates a bold and modern aesthetic.
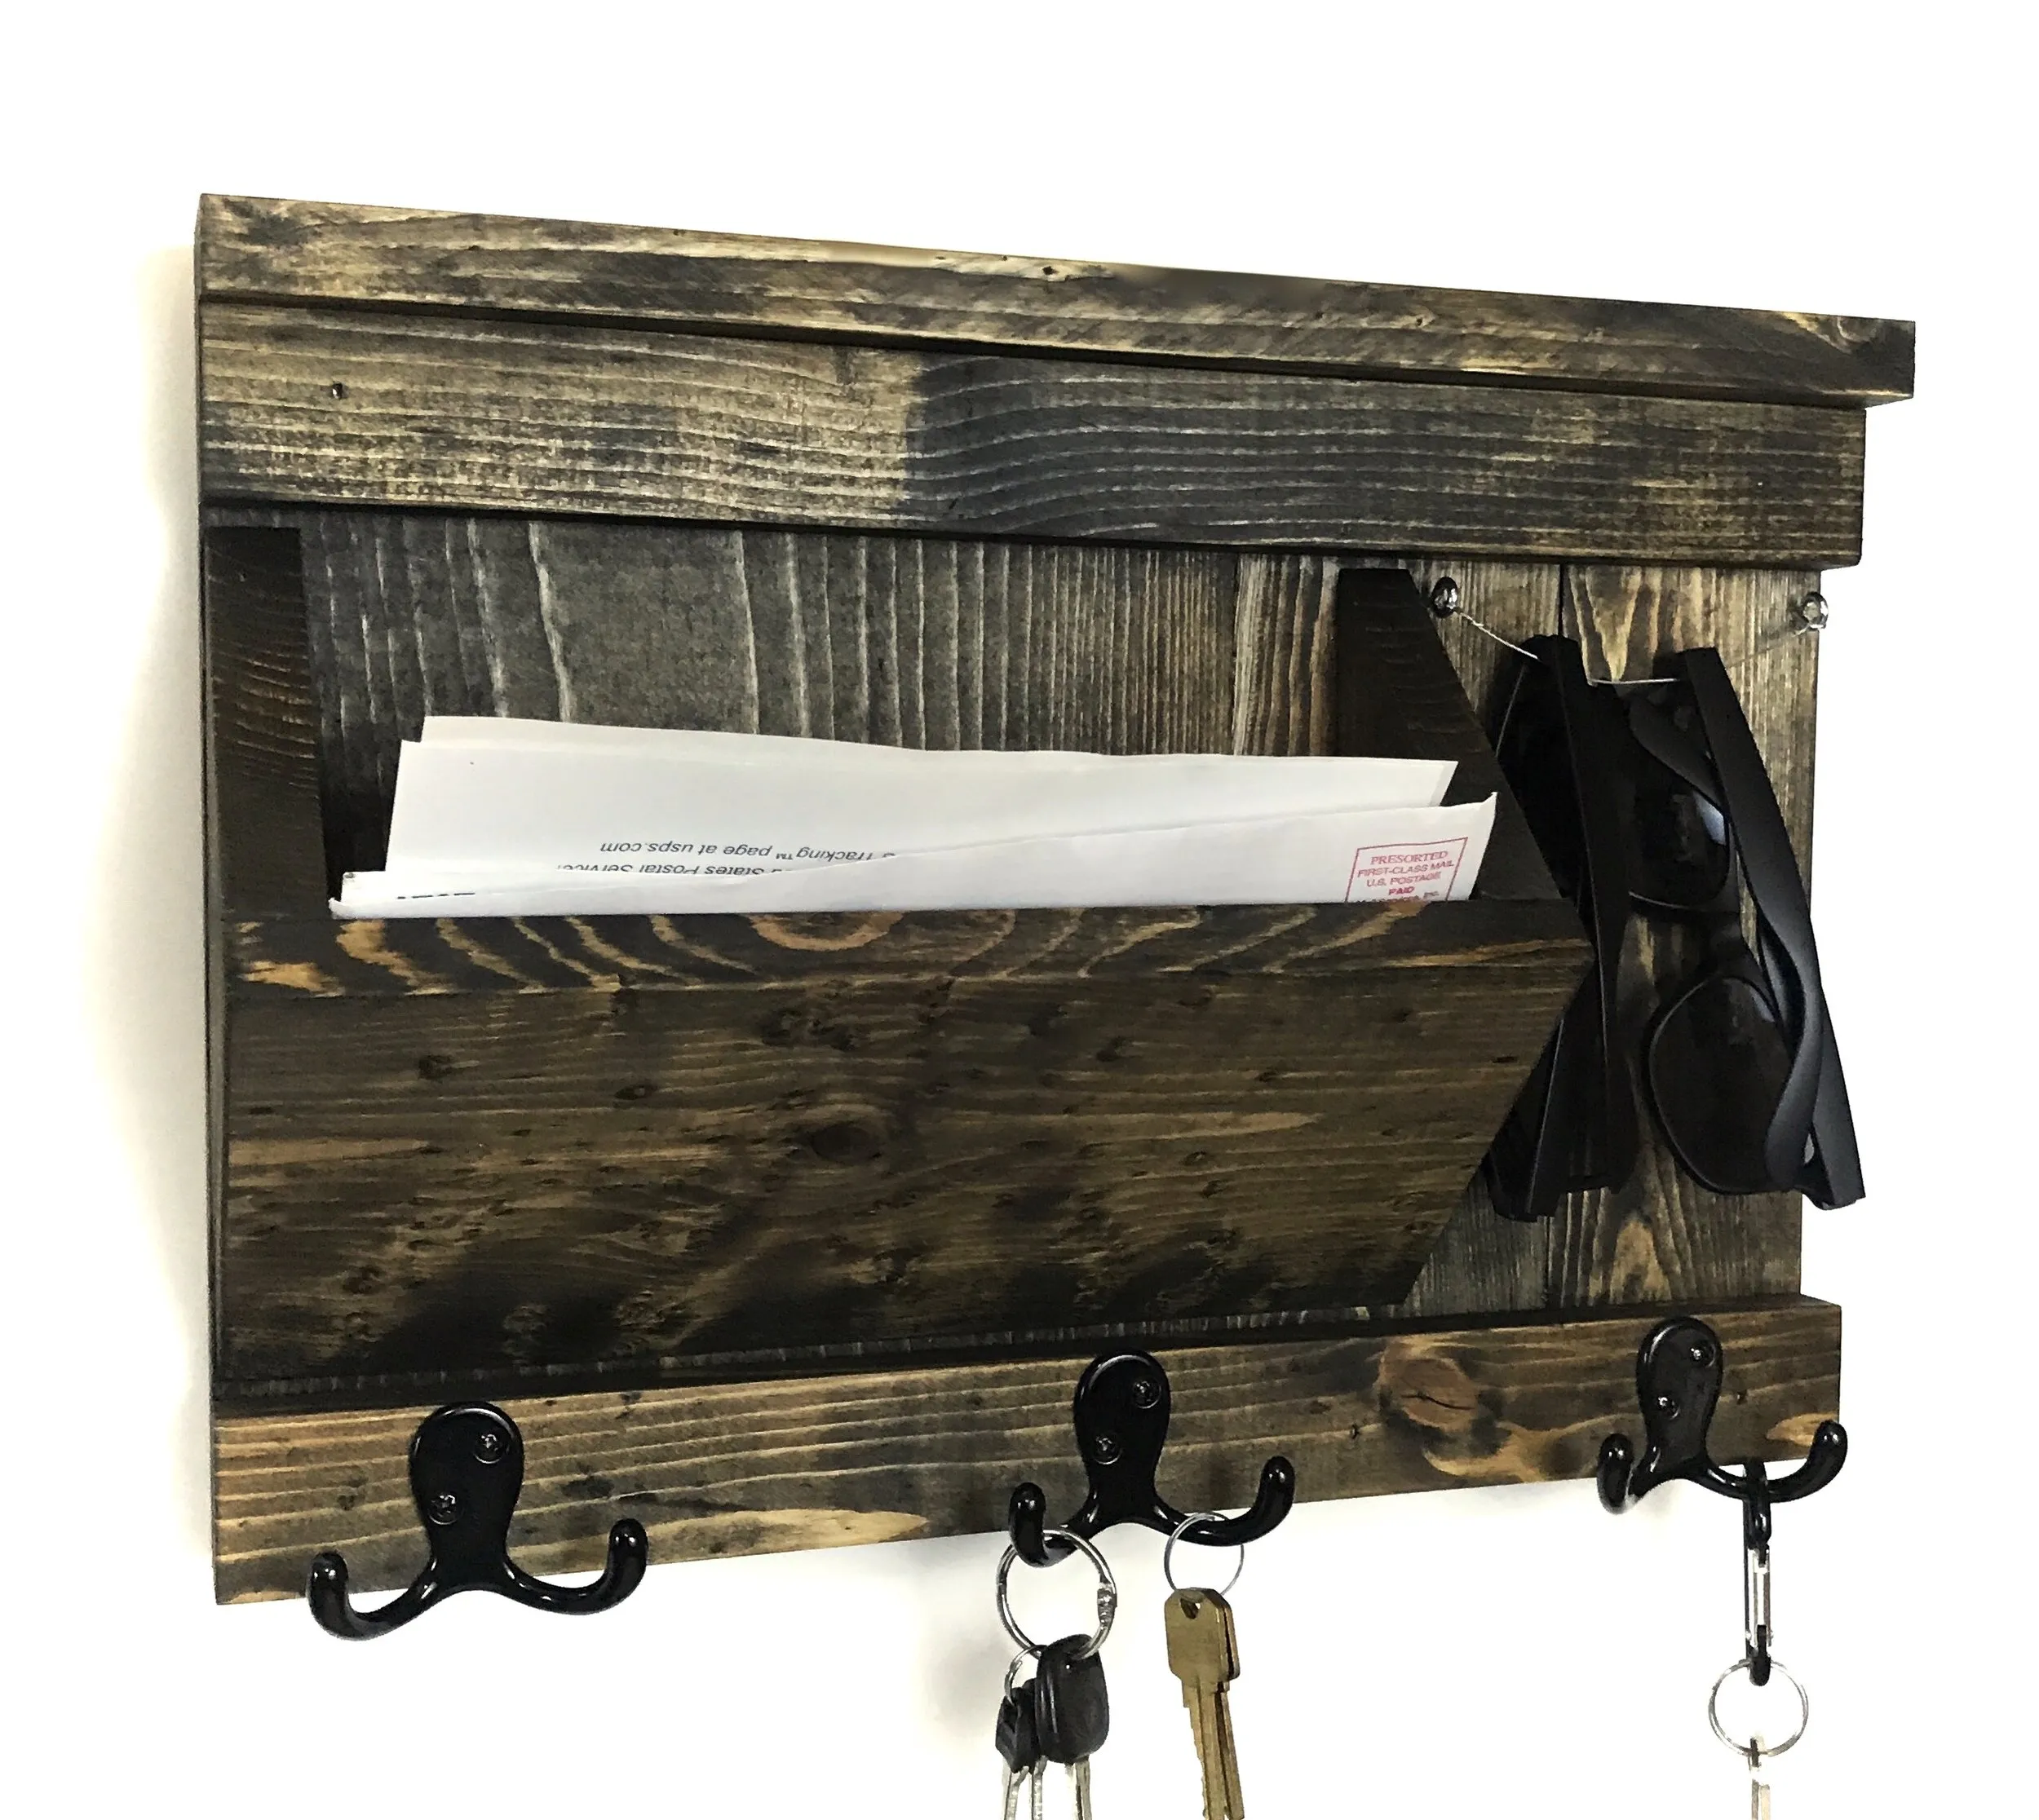 This one was made using new pine wood and the coloring was done with Minwax Espresso.
Share Your Creations!
I’d love to see the unique entryway organizers you create. Feel free to share your projects and any questions you have in the comments below. Happy crafting!
