Blog
DIY Wood Photo Ornaments: Crafting Memories with a Personal Touch
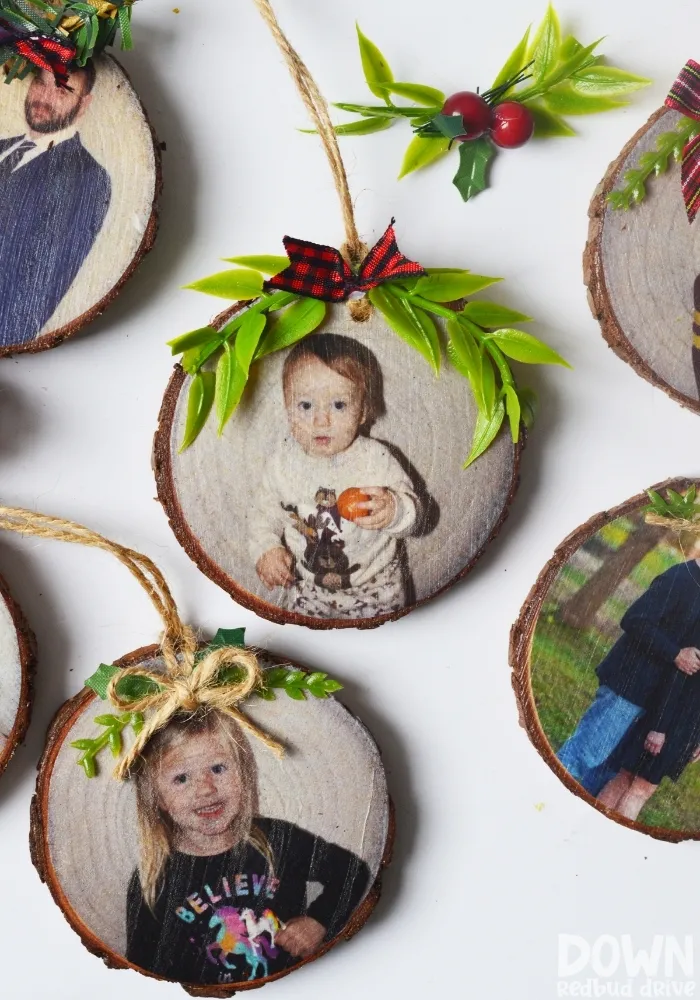
Hey there, fellow craft enthusiasts! Robert Kline here, and today, we’re diving into the heartwarming world of personalized ornaments. Forget generic baubles; this year, let’s adorn our Christmas trees with cherished memories transformed into beautiful DIY Wood Photo Ornaments. Trust me, these handcrafted gems are easier to create than you might think, and the results are simply stunning.
Gathering Your Crafting Arsenal
Every masterpiece begins with the right tools. Here’s what we’ll need to embark on our ornament-making adventure:
- Wood Slice Ornaments: These provide the rustic canvas for our photos.
- Cardstock: Sturdy paper to support our delicate tissue paper.
- White Tissue Paper: The magic ingredient for transferring photos.
- Template for Printing Pictures: A 2.75″ circle template (easily found online) ensures the perfect fit for our wood slices.
- Tape: Secures the tissue paper for printing.
- Mod Podge: Our trusty adhesive and sealant for a polished finish.
- Foam Paint Brush: Ensures smooth Mod Podge application.
- Scissors: For precise photo cutting.
- Toothpick: Creates a perfect hanging hole in our ornaments.
- Hot Glue Gun (Optional): For adding decorative embellishments.
- Greenery and Ribbon (Optional): To add a festive touch.
From Digital to DIY: Preparing the Photos
The key to vibrant DIY Wood Photo Ornaments lies in transferring images onto tissue paper. Follow these steps:
- Formatting Photos: Using a design software like Canva, create a template with 2.75″ circles. Upload your photos, position them within the circles, and save the document as a PDF for printing.
- Printing on Tissue Paper: Tape a sheet of white tissue paper to cardstock, ensuring the tissue paper is completely smooth. Print the formatted photos onto the tissue paper side.
- Pro Tip: Tape all sides of the tissue paper to prevent the printer from grabbing it.
Assembling Our Photo Masterpieces: Step-by-Step Guide
- Cutting Out Photos: Carefully cut out the printed photos from the tissue paper, leaving a small border around the edges.
- Applying Mod Podge to Wood Slices: Using the foam brush, apply an even layer of Mod Podge to the surface of the wood slice ornament.
- Placing the Photo: Gently position the tissue paper photo onto the Mod Podge-covered wood slice, ensuring the top of the photo aligns with the ornament hole. Smooth out any wrinkles or air bubbles with your fingers.
- Sealing with Mod Podge: Apply another even layer of Mod Podge over the photo, covering the entire surface of the wood slice. Use a toothpick to gently press into the existing ornament hole, ensuring it remains clear.
- Pro Tip: Remove any excess photo overlapping the edges by gently pressing with your thumb for a seamless look.
- Drying Time: Allow the ornaments to dry completely for about an hour.
Adding Finishing Touches: Hangers and Decorations
- Attaching the Hanger: Thread a piece of twine or ribbon through the ornament hole and tie a secure knot to create the hanger.
- Optional Embellishments: Get creative! Use a hot glue gun to attach small greenery sprigs, ribbons, or festive embellishments to the top of each ornament for added flair.
Conclusion: Sharing the Joy of Handcrafted Gifts
And there you have it – beautiful, personalized DIY Wood Photo Ornaments ready to adorn your Christmas tree or bring smiles to loved ones’ faces. These handcrafted treasures are a testament to the joy of creativity and the lasting power of memories.
Don’t forget to share your creations with me! Tag #RobertKlineArt on your social media posts. For more inspiring DIY projects and unique handmade gifts, explore the world of Robert Kline Art.
Happy crafting!
Image Placement:
 Tall overhead shot of the finished DIY Wood Photo Ornaments.
Image Alt: DIY Wood Photo Ornaments hanging on a Christmas Tree.
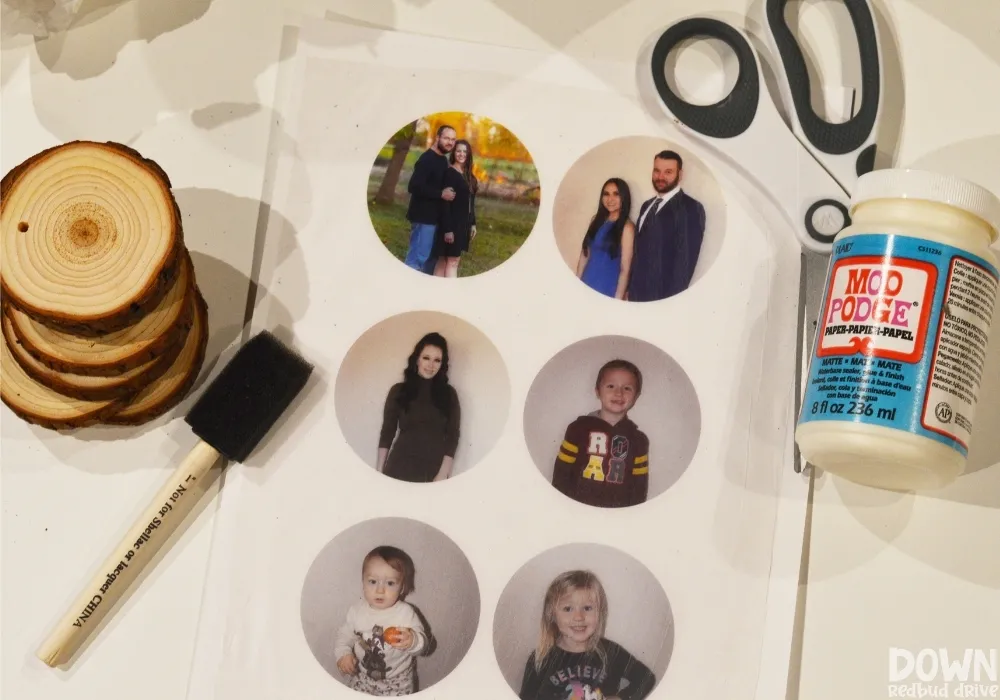 Overhead shot of the supplies for the DIY Wood Photo Ornaments.
Image Alt: Materials laid out for creating DIY Photo Ornaments.
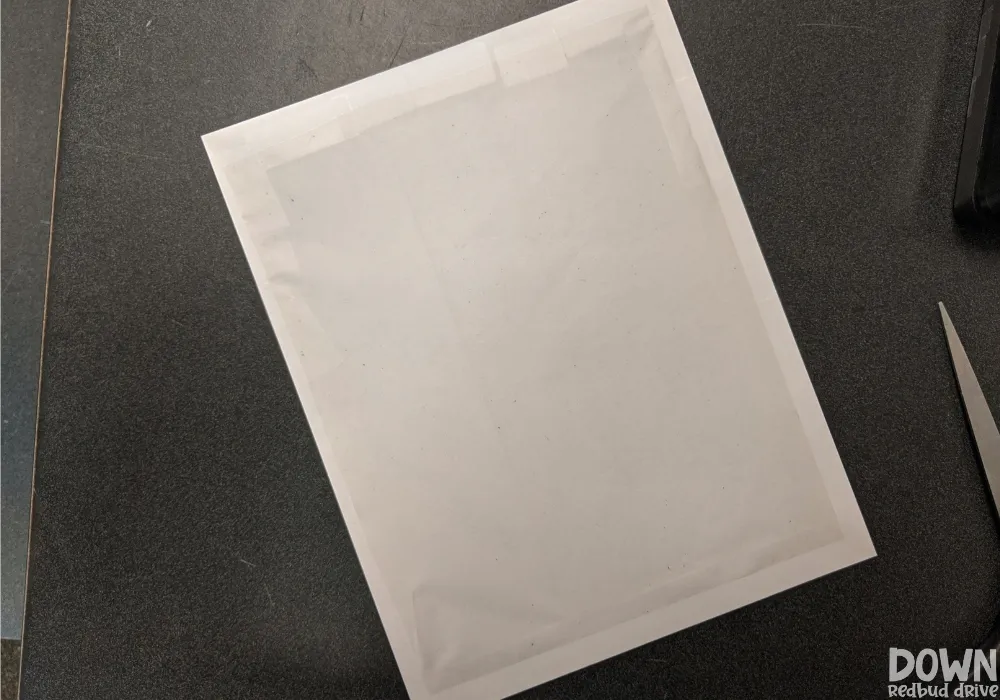 Tissue paper taped wo cardstock paper.
Image Alt: Tissue paper secured to cardstock for printing photos.
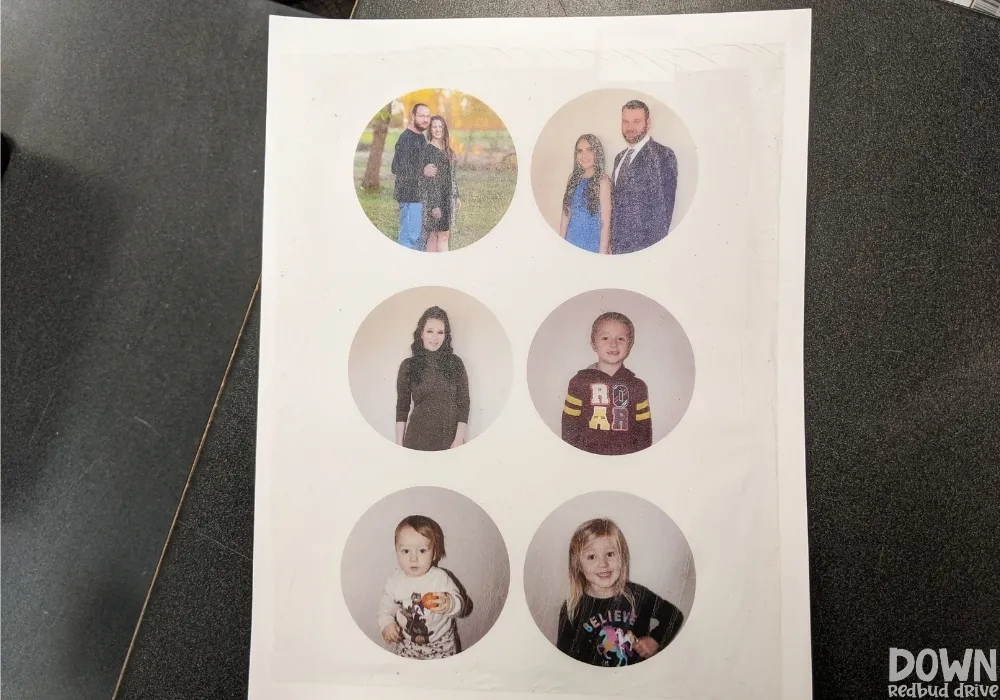 Photos printed onto tissue paper for making ornaments.
Image Alt: Family photos printed on tissue paper.
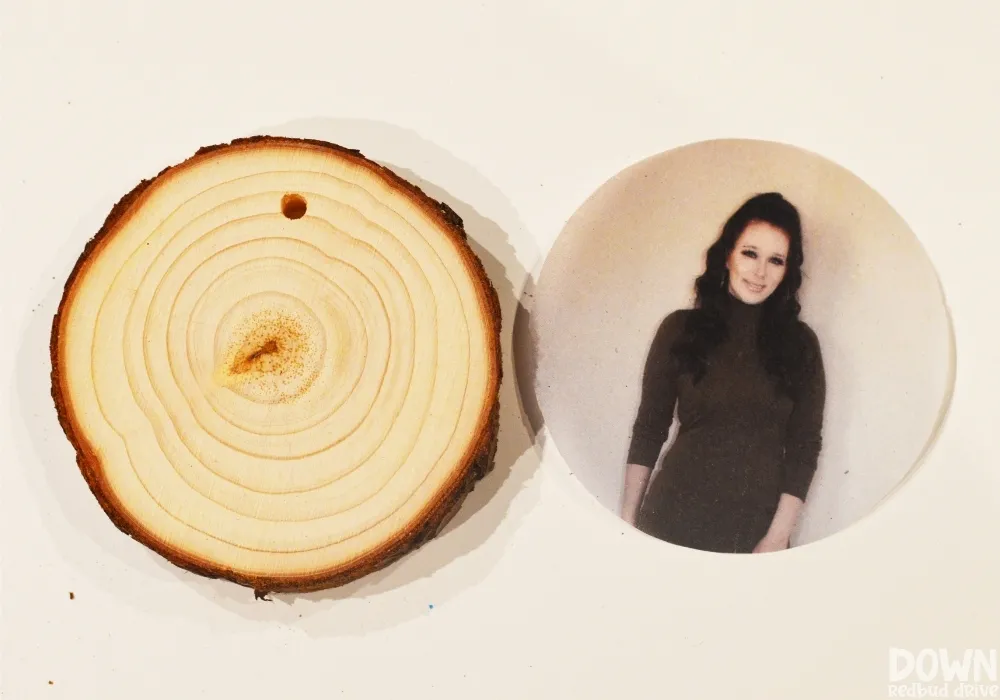 A blank wood slice ornament with a picture cut into a circle for the photo transfer.
Image Alt: A wood slice ornament and a circular photo ready for transferring.
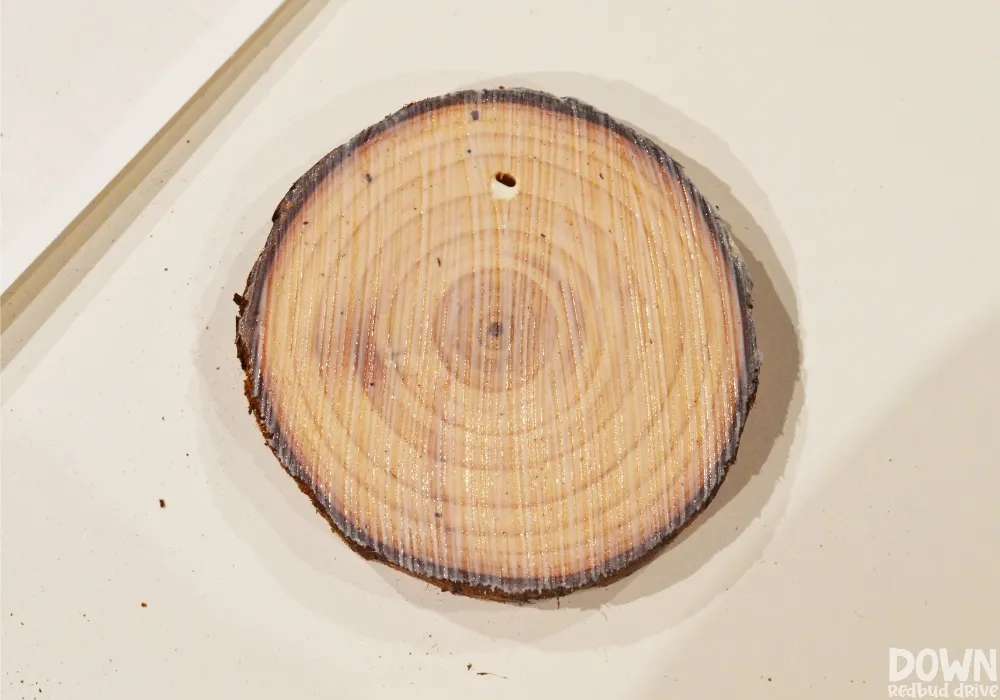 Modge Podge spread on a blank wood slice ornament.
Image Alt: Mod Podge applied to a wood slice ornament.
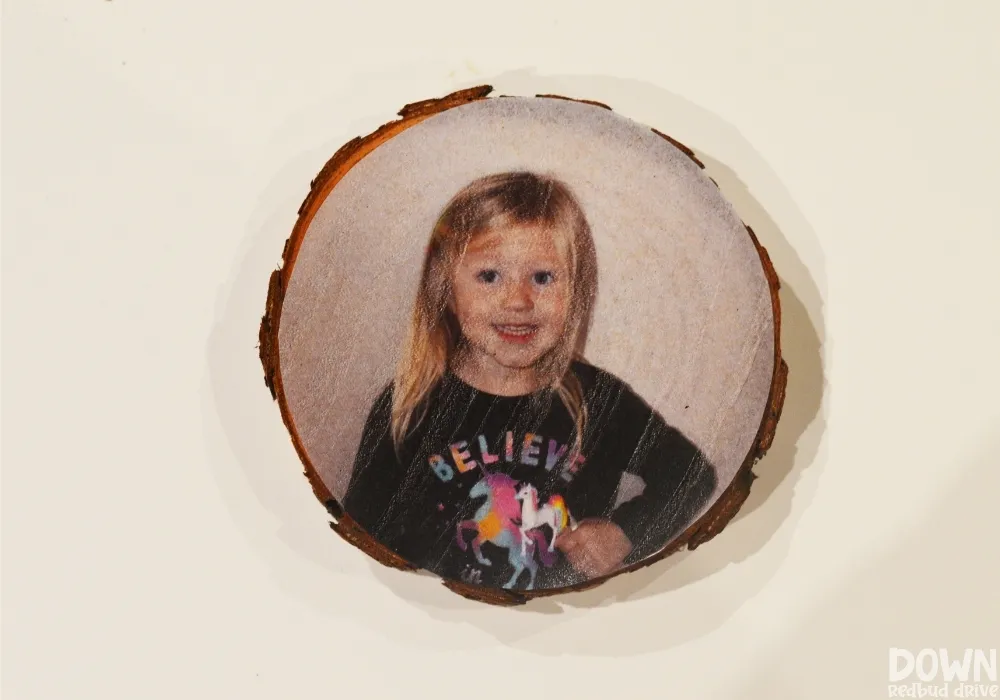 A tissue paper picture applied to a wood slice ornament using Modge Podge.
Image Alt: A photo being adhered to a wood slice using Mod Podge.
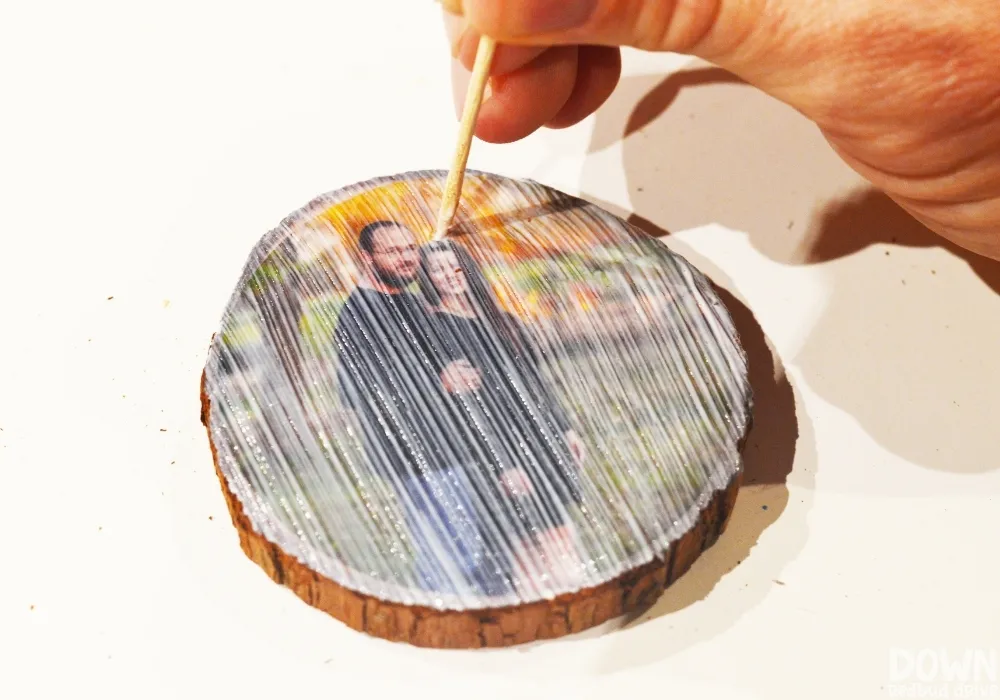 A hand using a toothpick to punch the whole in the picture in order to hang the ornament.
Image Alt: Creating a hanging hole in a DIY photo ornament.
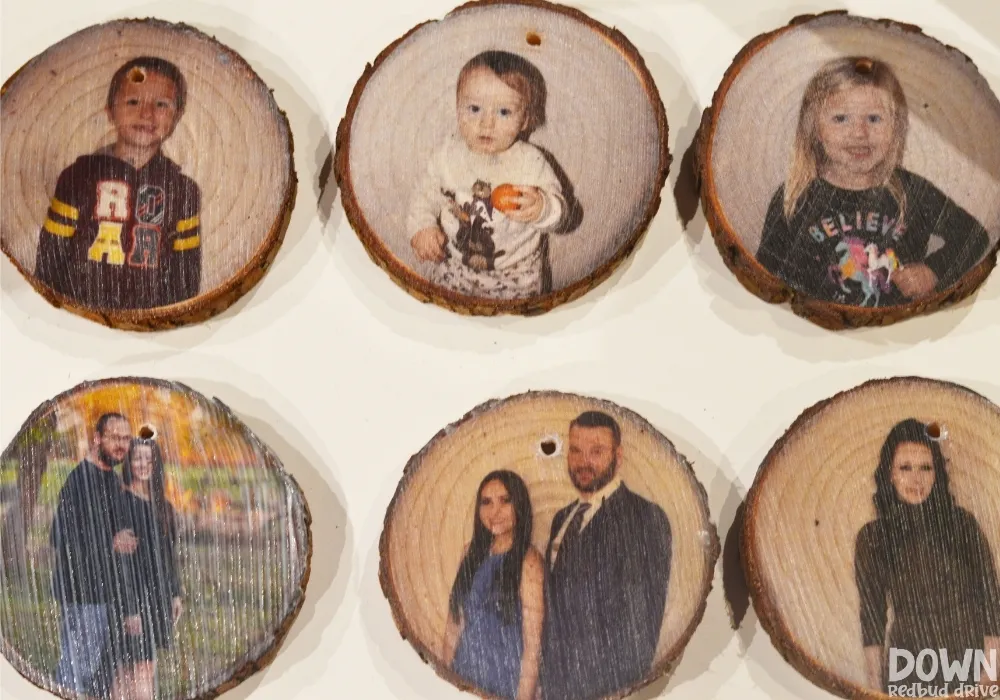 The DIY Wood Photo Ornaments drying after having the pictures applied to them.
Image Alt: Completed DIY photo ornaments left to dry.
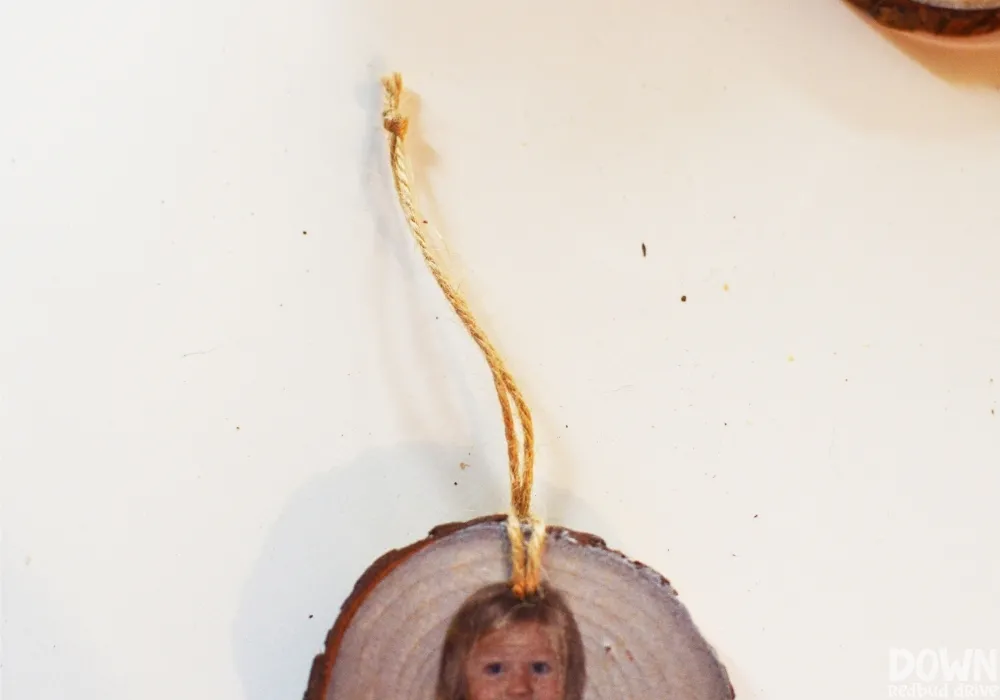 A piece of twine tied through the hole of the DIY Wood Photo Ornament in order to hang it.
Image Alt: Attaching a twine hanger to a DIY Wood Photo Ornament.
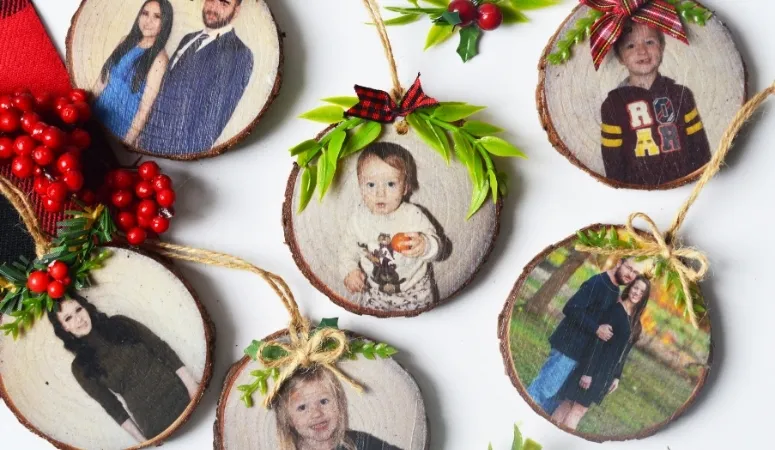 Overhead shot of the finished DIY Wood Photo Ornaments.
Image Alt: Rustic DIY Photo Ornaments arranged on a wooden surface.
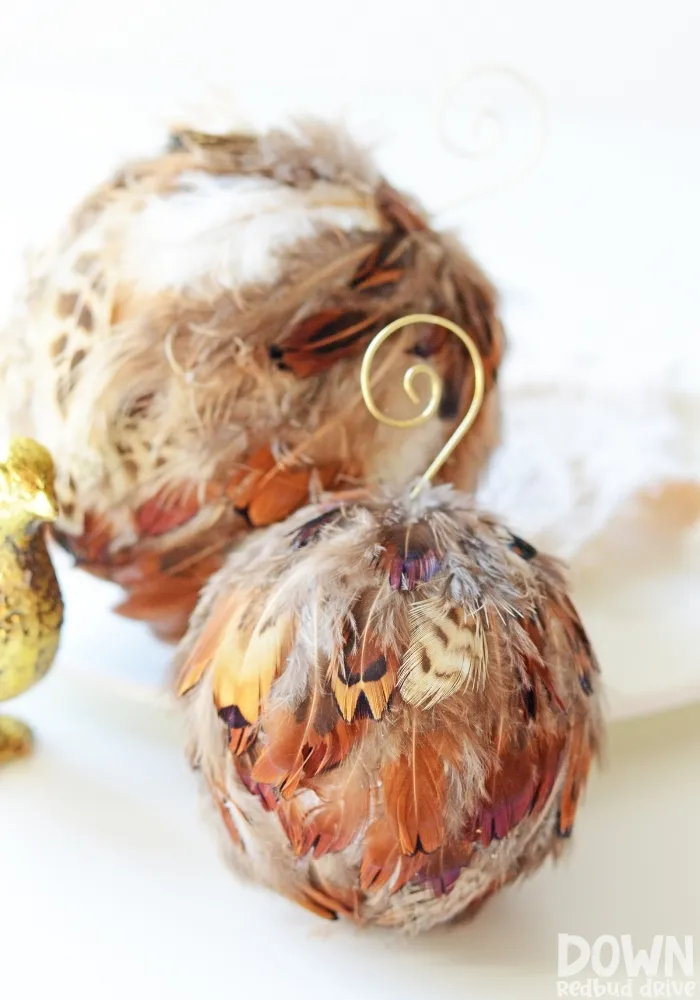 Feather Ornament DIY tall image.
Image Alt: Elegant Feather Ornaments hanging on a Christmas tree.
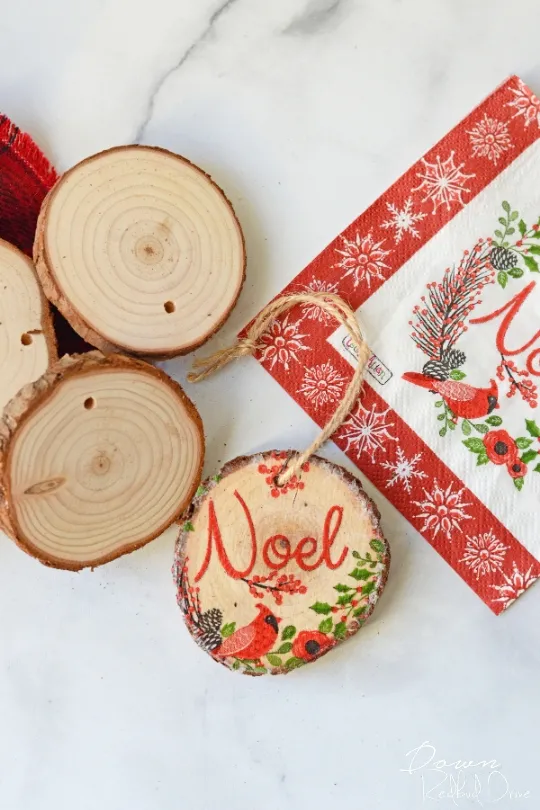 napkin ornament
Image Alt: A Christmas ornament crafted using napkins.
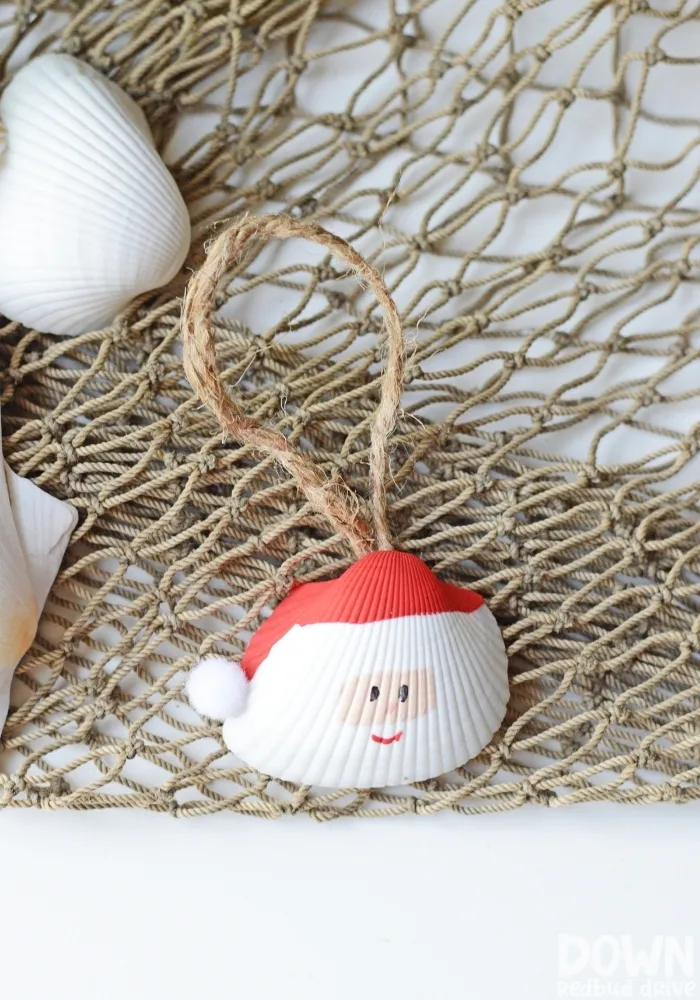 " class=
Image Alt: Whimsical Santa Claus ornaments made from seashells.
