Blog
The Ultimate Guide to Crafting a Custom Leather Camera Harness

Hey there, fellow photography enthusiasts! Have you ever wished your camera had a touch of personality, something beyond the standard strap? Let me introduce you to the world of custom leather camera harnesses – a stylish and practical way to elevate your photography game.
Whether you’re drawn to the rustic charm of a neck strap or the sleek convenience of a wrist strap, crafting your own leather camera harness is easier than you might think. With a few simple materials and this step-by-step guide, you’ll be turning heads and sparking conversations about your unique camera accessory in no time!
 Skillshare DIY Scarf Camera Strap Class by Diana Southern
Why Choose a Custom Leather Camera Harness?
Before we dive into the how-to, let’s talk about why you’d want to create a custom leather camera harness in the first place:
- Uniqueness: Stand out from the crowd with a strap as individual as your photography style.
- Quality: Handpick high-quality leather and hardware for a luxurious, durable accessory.
- Personalization: Choose colors, textures, and designs that reflect your personality.
- Comfort: Say goodbye to those generic, often uncomfortable straps!
- Handmade Pride: Experience the satisfaction of creating something beautiful and functional.
Materials You’ll Need for Your Leather Camera Harness
Here’s a list to gather before you begin:
- Leather: Choose a type and color that speaks to you. A sturdy leather like cowhide is a great choice for beginners.
- Lining Material: Optional, but adds comfort and a polished look (consider suede, soft fabric).
- Hardware: D-rings, swivel clasps, and adjustable slides are essential for functionality.
- Cutting Tools: Sharp scissors or a rotary cutter for precise cutting.
- Sewing Supplies: Heavy-duty thread, sewing needles, and a thimble.
- Leather Glue: For securing edges and reinforcing seams.
- Edge Beveling Tool: Optional, for a professional-looking, rounded edge.
- Leather Finish: Optional, to protect and enhance the leather’s appearance.
Step-by-Step Guide to Crafting Your Harness
Now, let’s transform these materials into your very own masterpiece:
1. Design and Measure:
- Choose Your Style: Neck strap, wrist strap, or even a crossbody sling? Sketch out your desired design.
- Take Measurements: Measure around your neck or wrist, adding extra length for comfort and camera weight.
2. Cut the Leather:
- Create a Pattern: Using your measurements, create a paper pattern for your strap pieces.
- Trace and Cut: Carefully trace the pattern onto the leather and lining material (if using). Cut out the pieces.
3. Assemble and Sew:
- Attach Lining: If using a lining, adhere it to the back of the leather strap using leather glue.
- Sew the Edges: Using a strong saddle stitch or a sewing machine equipped for leather, sew along the edges of the strap, securing the lining (if applicable).
4. Add Hardware:
- Attach D-Rings or Swivel Clasps: Securely attach D-rings or swivel clasps to the ends of the strap using rivets or strong stitching.
- Add Adjustable Elements: If desired, incorporate adjustable slides for a customizable fit.
5. Finish with Flair:
- Burnish the Edges: Use an edge beveler to round off the edges of the leather for a polished look.
- Apply Leather Finish: (Optional) Apply a leather conditioner or sealant to protect and enhance the leather.
Tips from Robert Kline Art:
- Practice Makes Perfect: Start with a simple design and gradually experiment with more intricate patterns.
- Quality Hardware is Key: Invest in sturdy hardware that can withstand the weight of your camera.
- Embrace Imperfections: Handmade items often have slight imperfections that add to their charm.
Conclusion:
Congratulations! You’ve just created a one-of-a-kind leather camera harness that’s both stylish and functional.
I encourage you to share your creations and experiences with our community in the comments below. For those seeking truly unique handmade gifts, browse the exquisite collection of handcrafted items available on the Robert Kline Art website. Happy crafting!
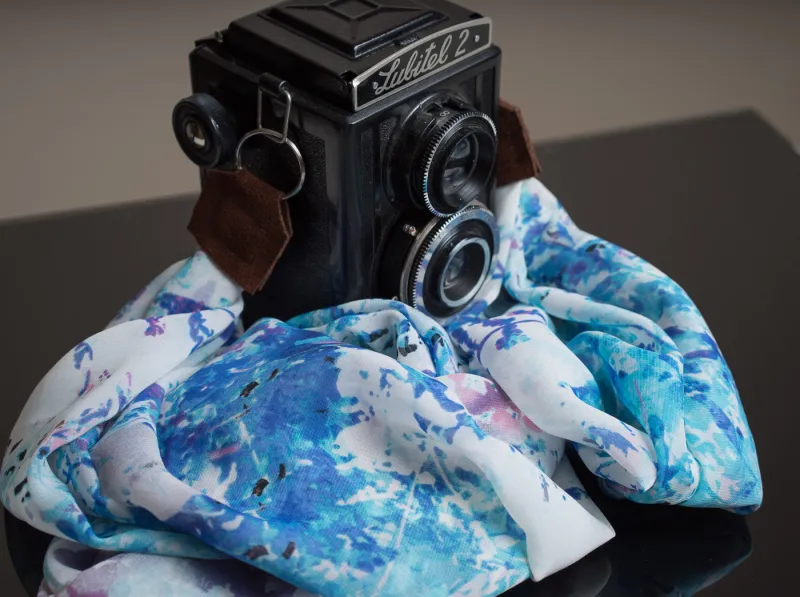
 DIY silk scarf neck camera strap
