Blog
DIY Leaf Stepping Stones: A Creative Touch to Your Garden Path
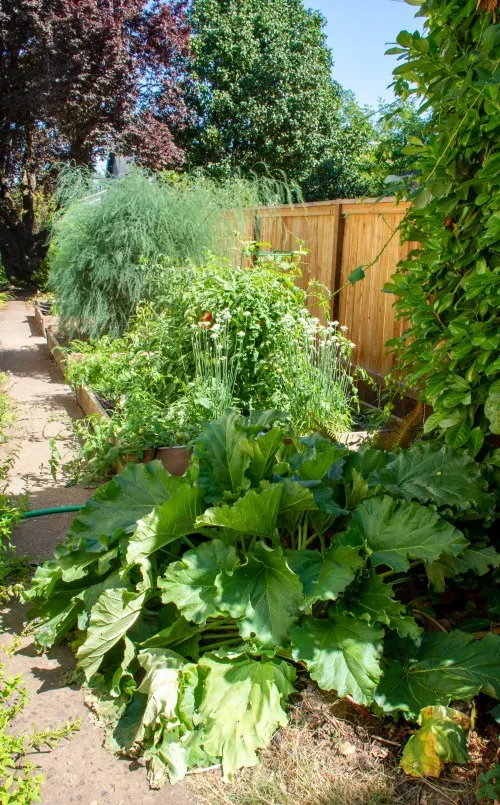
Have you ever embarked on a simple home improvement project, only to find yourself swept away by a full-blown makeover? That’s precisely what happened with my DIY leaf stepping stones and side garden transformation! (It seems to be a recurring theme in my life.)
This garden makeover saga began with the collapse of my neighbor’s fence. Our property came with chain-link fences on two sides, and the house on the sunny south side had its own wooden fence pressed right up against ours. The worst part? A monstrous, invasive vine called wild clematis thrived between the fences, impossible to cut down or dig up.
This nuisance limited my gardening options. The sunny side yard, initially just grass, felt wasted. So, about nine years ago, I built three 4×8-foot raised garden beds. Unfortunately, I didn’t capture proper “before” photos. Imagine, if you will, these beds constantly under siege by encroaching grass and weeds, particularly the dreaded lemon balm!
 Raised garden beds
My original raised garden beds were constantly battling weeds and encroaching grass.
The Garden Makeover Begins
Fast forward to the present day, when my neighbor decided to replace her dilapidated fence. This prompted us to question the necessity of our own chain-link barrier. We promptly removed it, leaving it for scrap metal collectors. Our rainy spring made the task of removing the metal posts surprisingly easy. Why we hadn’t done this years ago remains a mystery!
Next on the agenda was the formidable wild clematis. After removing as much as I could manually, I resorted to a cut-stump and vine killer for the stubborn, woody trunks that refused to yield. While I strive to maintain a chemical-free yard, this invasive enemy warranted an exception.
With the fence and vines vanquished, I expanded the garden beds to 6×8 feet, eliminating the gap between them and the concrete walkway. This left me pondering a solution for the paths between and behind the beds. My goal: a weed-and-grass-free haven.
 A rhubarb leaf for making DIY leaf stepping stones
Inspiration struck when I realized the proximity of my rhubarb plant to the newly cleared pathways.
The Inspiration for DIY Leaf Stepping Stones
The hard clay soil surrounding the beds, while challenging to dig, inspired me to create something unique. For the paths between the beds, I opted for cement stepping stones. For the back path, DIY leaf stepping stones seemed like the perfect way to add a touch of whimsy and character.
Creating the Leaf Stepping Stones
Inspired by various Pinterest projects, I found Made By Barb’s instructions particularly helpful. While I made adjustments along the way, her guidance provided a solid foundation.
Materials Needed
- Large Leaves: Choose leaves with prominent veins, such as rhubarb or hosta leaves.
- Concrete Mix: Opt for a crack-resistant variety for durability.
- Gloves: Protect your hands from chemical burns and messy concrete.
- Mask and Goggles: Ensure safety while mixing and pouring concrete.
- Mixing Bucket or Bin: A sturdy container for mixing the concrete.
- Mixing Stick or Shovel: For thorough mixing.
- Water: Add gradually to achieve the desired consistency.
- Plastic Bags: To cover the curing stones.
- Piece of Cardboard or Plywood: A flat surface for preparing the leaves.
- Masking Tape (optional): Useful for patching small holes in leaves.
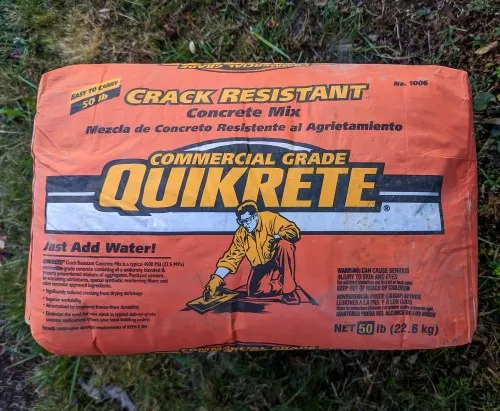 Concrete mix for making DIY leaf stepping stones
Gathering the necessary materials for creating DIY leaf stepping stones.
Step-by-Step Guide
-
Prepare the Leaves: Place each leaf vein-side-up on your work surface. Patch any small holes with masking tape applied to the top side of the leaf.
-
Mix the Concrete: Follow the instructions on your concrete mix bag, adjusting the water ratio as needed. Aim for a consistency that holds its shape but isn’t overly wet.
-
Pour and Shape: Place a generous mound of concrete mix onto the underside of the prepared leaf. Press it down firmly with gloved hands, working from the center outward. Continue adding concrete and shaping it to create a thickness of 1-2 inches.
-
Cure the Stones: Cover the molded leaves with plastic bags and allow them to cure for at least 24 hours.
-
Remove the Leaves: After 24 hours, carefully flip over the stones and peel away the leaves. Allow any remaining leaf debris to dry completely before removing it.
-
Continue Curing: Let the stones cure for an additional 2-3 days, misting them with water occasionally to promote strength.
-
Place Your Stepping Stones: Once cured, position the stones in your desired location. Dig out the area beneath each stone to ensure a level and stable placement.
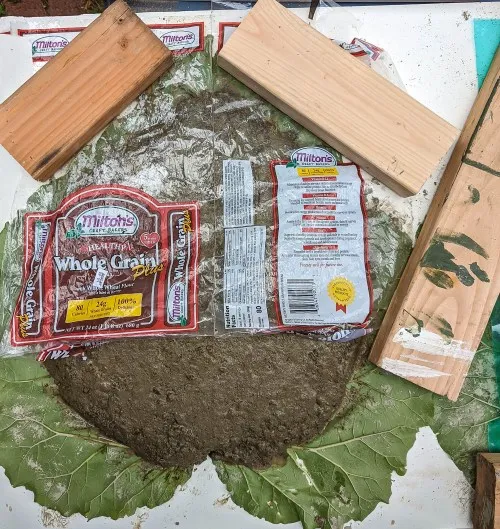 How to make DIY leaf stepping stones
Pressing the concrete mix onto the rhubarb leaves to create the stepping stones.
The Transformed Garden Path
The transformation of my side garden path was remarkable. The DIY leaf stepping stones, nestled amongst the emerging groundcover, added a touch of enchantment.
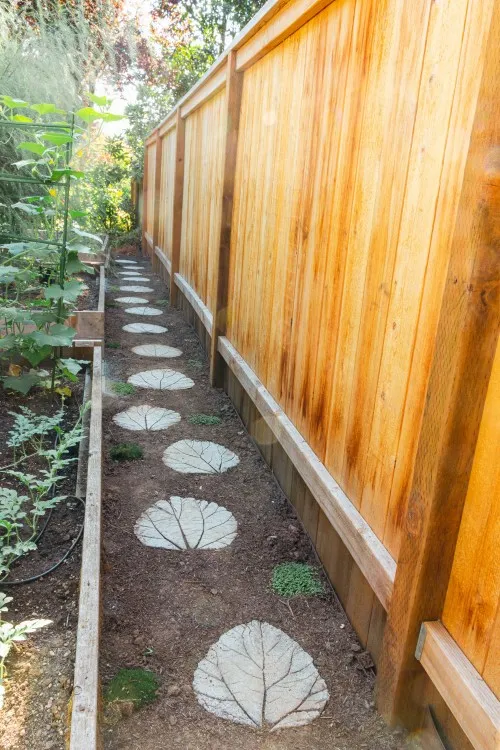 A path of DIY leaf stepping stones made from rhubarb leaves and concrete.
The finished DIY leaf stepping stones add a unique and charming touch to the garden path.
This project taught me that sometimes, the most rewarding endeavors stem from unexpected beginnings. The collapse of a neighbor’s fence set in motion a chain of events that led to a revitalized garden space, complete with handcrafted stepping stones that bring me joy with every step.
What do you think? Would you consider adding DIY leaf stepping stones to your garden? Share your thoughts in the comments below! And be sure to explore Robert Kline Art for more creative inspiration and unique handmade treasures.
