Blog
Creating a Stunning Vertical Succulent Garden in a Picture Frame
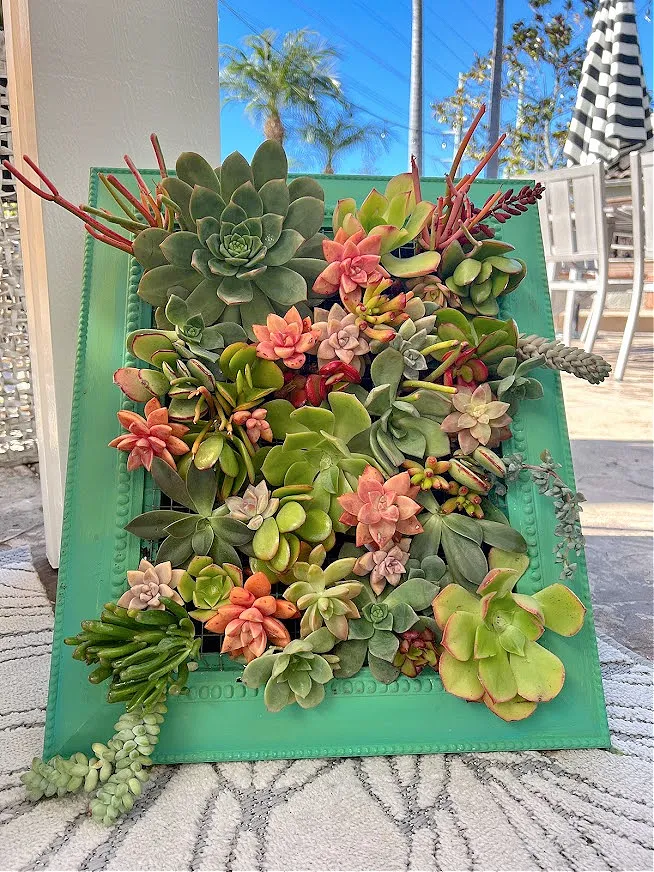
Hey there, fellow art and craft enthusiasts! Robert Kline here, and I’m thrilled to share a project that blends my love for nature and upcycling: a stunning vertical succulent garden using a repurposed picture frame. This DIY masterpiece is surprisingly simple, perfect for adding a touch of green to your home, whether you’re a seasoned gardener or just starting.
Let’s transform an old picture frame into a vibrant living art piece, breathing life into your space while embracing the beauty of succulents.
Gathering Your Supplies: A Treasure Hunt for Creativity
First things first, let’s gather our tools and materials. This project is perfect for utilizing materials you might already have lying around, making it budget-friendly and sustainable.
For the Shadow Box:
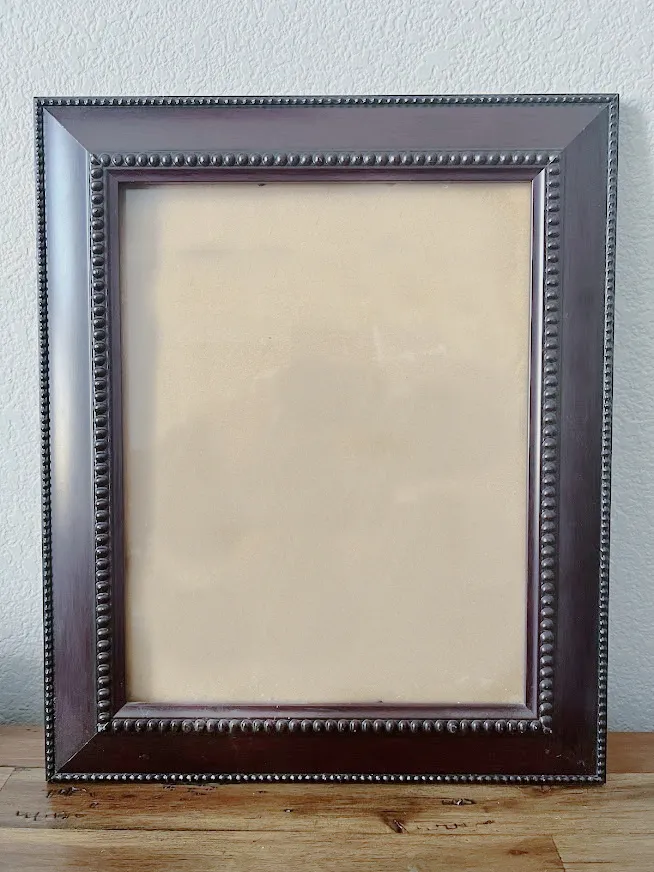
- Picture Frame: Choose a sturdy frame; an 8×10 works well.
- Wood: Scrap wood pieces for the shadow box frame.
- Measuring Tape: Precision is key!
- Saw: A miter saw for clean cuts, but a hand saw works too.
- Staple Gun & Staples: For securing the chicken wire.
- Screwdriver & Screws (optional): For extra reinforcement.
- Nails & Hammer/Nail Gun (optional): For a more secure build.
- Wood Glue: Gorilla Glue is my top recommendation.
For the Planting:
- Paint: Opt for outdoor paint for weather resistance.
- Chicken Wire: 1/2-inch grid is ideal for holding soil and stems.
- Sphagnum Moss (optional): For added moisture retention.
- Succulent Soil Mix: Choose a well-draining mix.
- Succulent Cuttings: A variety of shapes and sizes adds visual interest.
- Wire Cutters: For trimming chicken wire.
- Chopstick or Pencil: To help with planting the succulents.
Building the Foundation: Crafting Your Shadow Box
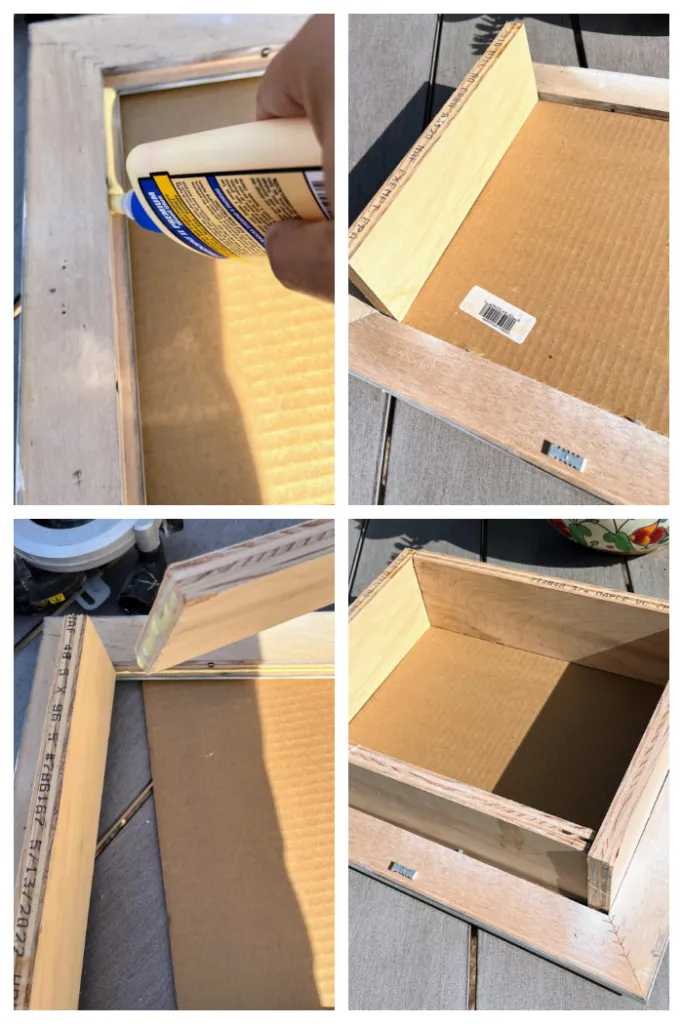
 "DIY shadowbox for a succulent frame" width=
- Measure and Cut: Measure the dimensions of your picture frame and cut four pieces of wood to create a frame that will fit within it. This will form the base of your shadow box.
- Assemble the Frame: Apply wood glue to the ends of each wood piece and connect them to form a square or rectangle, depending on your frame shape.
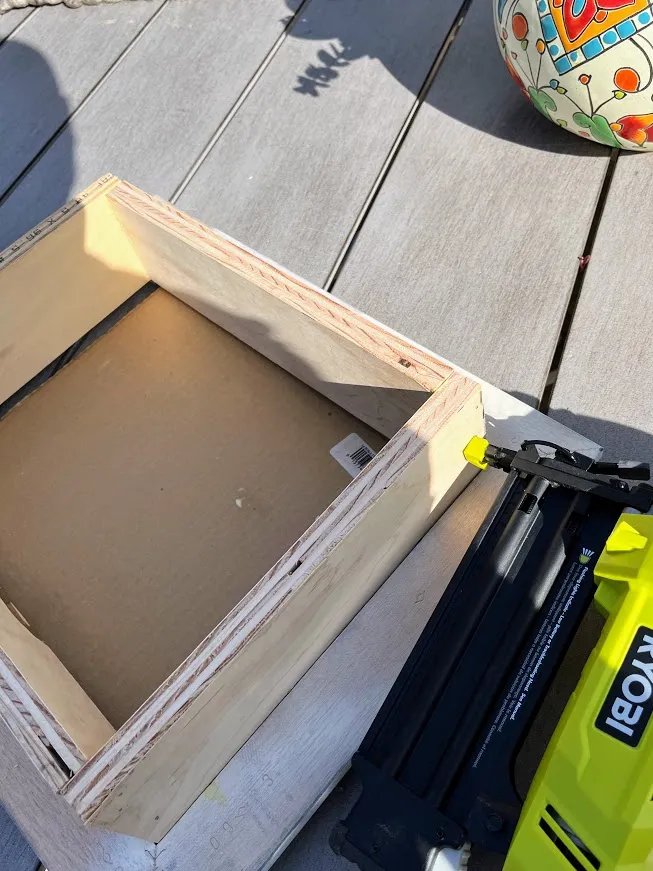
- Secure the Frame: Reinforce the corners with nails or staples for added stability. Let the glue dry completely before moving on.
- Attach to the Picture Frame: Apply a generous amount of wood glue to the back of the shadow box frame and carefully center it onto the back of the picture frame. Use clamps or weights to hold it in place while the glue dries completely.
Creating Drainage and Depth
 "Attaching chicken wire to the frame" width=
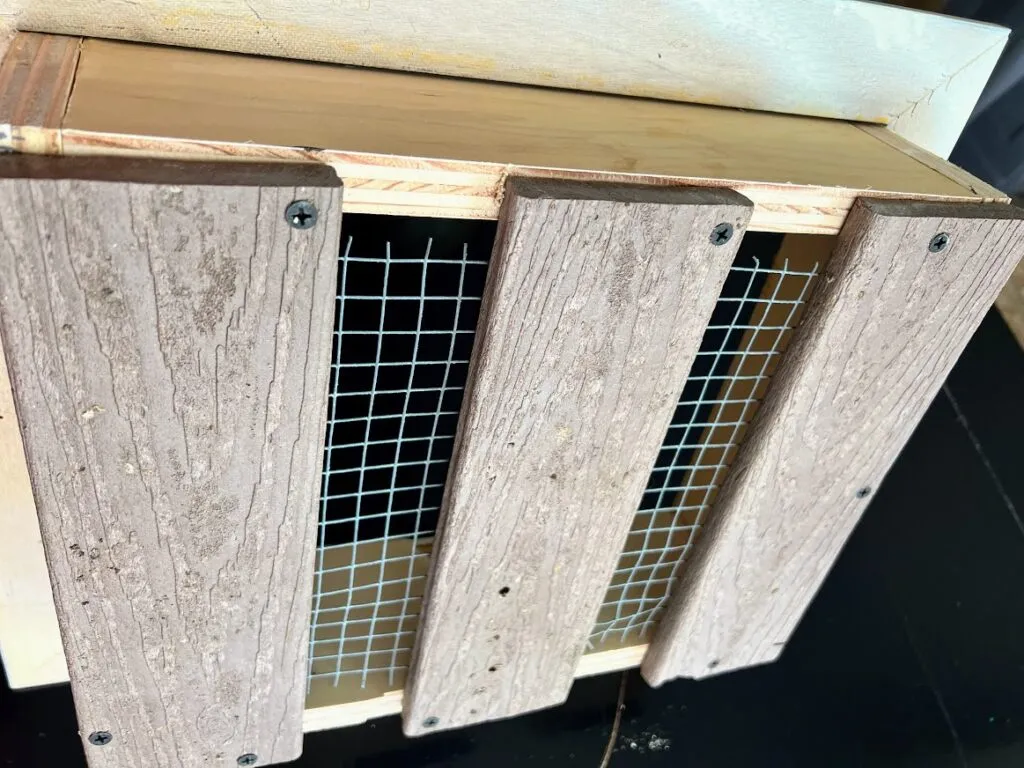
- Cut and Attach Support Boards: Cut three pieces of wood slightly shorter than the width of the shadow box. These will provide support and drainage. Attach these boards to the inside back of the shadow box, spacing them evenly.
- Secure the Chicken Wire: Cut a piece of chicken wire slightly larger than the shadow box opening. Staple the chicken wire securely to the support boards, ensuring it’s taut. This will act as the base for your succulents.
Adding a Pop of Color and Protection
 "Painting the frame" width=
- Prepare for Painting: Protect your work surface with newspaper or a drop cloth.
- Apply Paint: Apply a coat of outdoor paint to the picture frame and shadow box. Outdoor paint provides better protection against moisture. If you’re using regular paint, apply a sealant afterward. Get creative with color! I love using a blend of blue and green for a unique touch.
Planting Your Succulent Masterpiece
 "Adding soil to the picture frame" width=
- Add the Soil: Fill the shadow box with succulent potting mix, leaving about an inch of space from the top.
- Prepare Your Succulents: Gently remove succulents from their pots, loosening the roots slightly.
- Plant the Succulents: Use a chopstick or pencil to create small holes in the soil. Insert the succulent cuttings into the holes, ensuring the roots are covered.
- Arrange and Secure: Get creative with the placement of your succulents. Once you’re happy with the arrangement, gently press the soil around the base of each succulent to secure them.
Caring for Your Vertical Garden
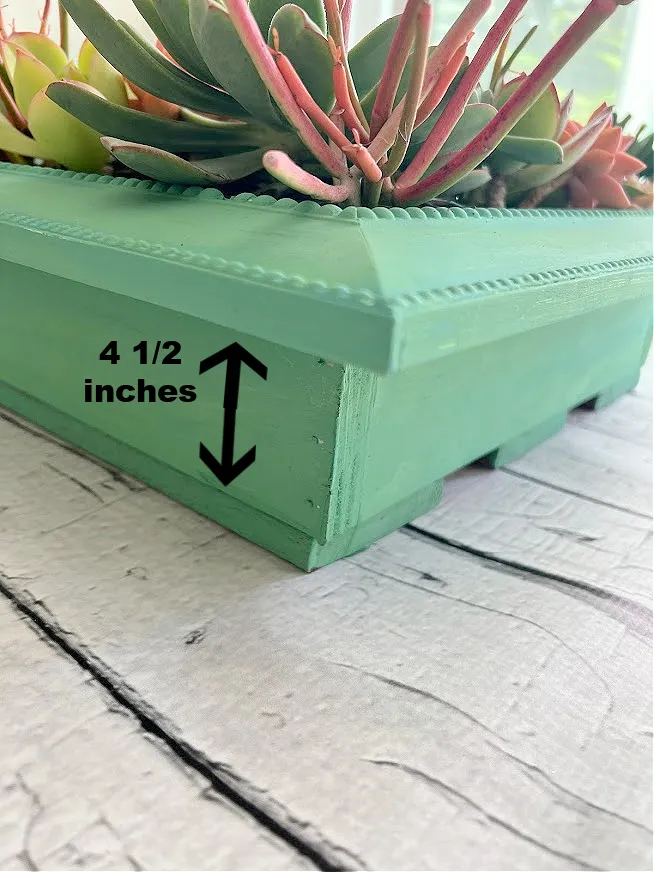 "Watering the succulents in the frame" width=
- Light: Place your succulent frame in a bright location with plenty of indirect sunlight.
- Watering: Allow the soil to dry out completely between waterings. Water deeply but infrequently, avoiding overwatering.
- Maintenance: Prune any overgrowing succulents to maintain the shape and health of your vertical garden.
Sharing Your Green Thumb Achievement
 "Finished succulent frame hanging on a fence" width=
Congratulations! You’ve transformed an ordinary picture frame into a stunning piece of living art. Share your creation and inspire others to embrace the beauty of DIY and the joy of succulents!
Head over to Robert Kline Art for more creative DIY projects and artistic inspiration. Let’s connect and share our love for all things handmade!
