DIY Wall-Mounted Shoe Rack: Taming Shoe Chaos with Style
Let’s be honest, we’ve all been there – staring at a mountain of shoes, wondering how such a small space can hold so much chaos. For years, shoe storage was my nemesis, especially since my garage, like many, doubles as a makeshift shoe repository. But then, inspiration struck, and I took matters into my own hands, building DIY vertical shoe racks that transformed my shoe situation (and my life!). These space-saving wonders not only restored order but also safeguard my shoes from damage.
If you’re tired of the shoe struggle, I’m here to guide you step-by-step through creating your very own DIY wall-mounted shoe rack. It’s easier than you think, incredibly satisfying, and will leave your entryway, mudroom, or (let’s be real) garage looking effortlessly organized.
Why Vertical Shoe Racks are a Game-Changer
Before we dive into the build, let’s talk about why vertical shoe racks are a stroke of organizational genius, especially for smaller spaces.
- Maximize Vertical Space: They turn unused wall space into a storage haven, freeing up precious floor area.
- Easy Access: No more digging through piles. Your shoes are neatly displayed and readily accessible.
- Improved Visibility: Easily see all your shoe options at a glance, making those rushed mornings a bit smoother.
- Customizable: Tailor the size and design to perfectly accommodate your shoe collection and space requirements.
Building Your DIY Shoe Rack: Tools and Materials
Gathering the right tools and materials is the first step to a successful DIY project. Here’s what you’ll need for this project:
Tools:
- Compound saw
- Crown staple gun
- Cordless drill
- Speed square
- Measuring tape
- Putty knife
- Small paintbrush
- Tack cloth
- Sander (optional, but recommended)
Materials:
- Wood glue
- 1-inch staples or 1.25-inch trim screws or finish nails (choose your preferred fastener)
- Polycrylic finish
- 120 grit sandpaper
- Wood filler
- 2.5-inch screws (for mounting to the wall)
- Lumber (quantities are based on a single shoe rack, adjust as needed for multiples):
- (3) 1”x4”x8’ pine boards (for the front and back)
- (1) 1”x3”x8’ pine board
- (2) 1”x3”x12” pine boards (for the ends)
- (1) 1”x1.5”x8’ pine board (for the upper front)
Expert Tip: Don’t be afraid to get creative with your lumber choices! Reclaimed wood or even pallet wood can add a unique, rustic touch to your shoe rack.
Planning Your Build: Measure Twice, Cut Once
Before you fire up the saw, take some time to plan your shoe rack dimensions:
- Shoe Capacity: Determine how many pairs of shoes you want each rack to hold.
- End Board Height: Customize the end boards to your shoe sizes:
- For shoe size 9 and up, make the ends 12 inches tall.
- For shoe size 8 and below, make the ends 10 inches tall.
- Front and Back Board Length: The length of these boards will determine how many pairs of shoes your rack can store. I recommend starting with a length of 48 inches and adjusting based on your needs.
Assembling Your DIY Shoe Rack: Let’s Get Building!
Now for the fun part! Follow these step-by-step instructions to assemble your shoe rack:
-
Cut Your Wood: Using your measurements and the cut list above, cut all your wood pieces to size.
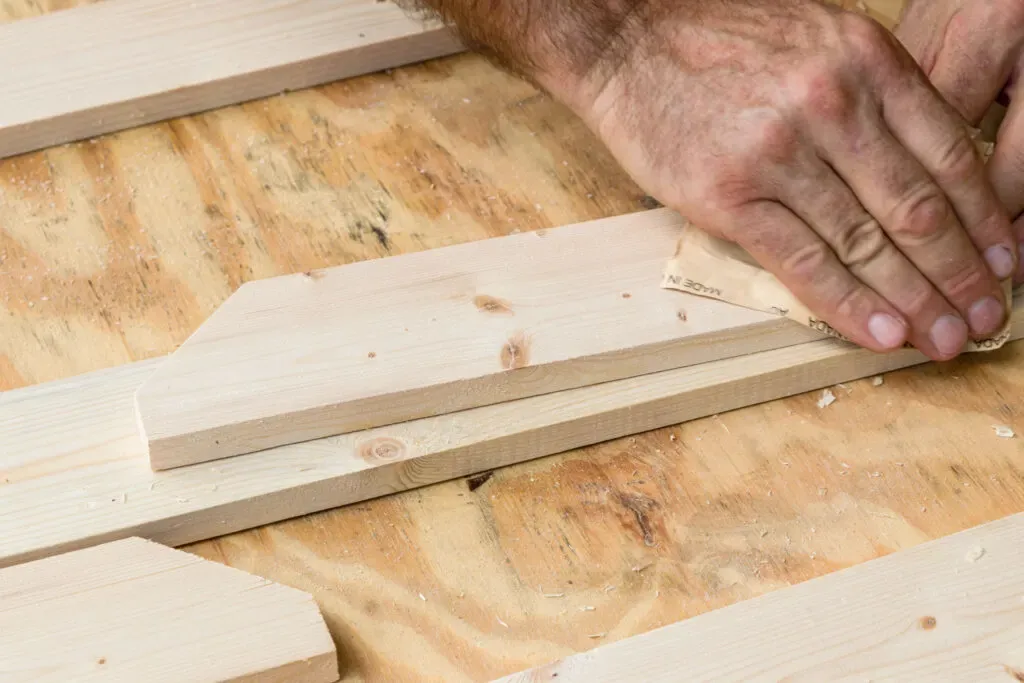
 Sanding all the cut wood pieces with 120 sandpaper
Alt text: Sanding all wood pieces for a DIY shoe rack -
Sand for Smoothness: Sand all your cut wood pieces using 120-grit sandpaper. This creates a smooth surface for finishing later.
-
Assemble the Base:
-
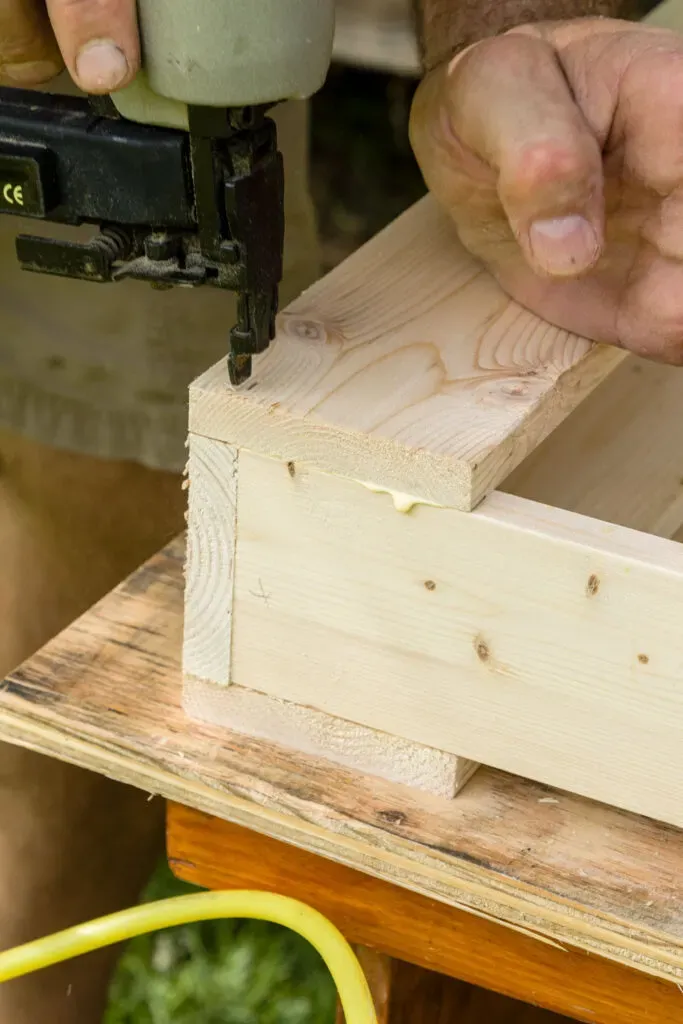
Attach the bottom board to the end boards using wood glue and two fasteners at each attachment point.
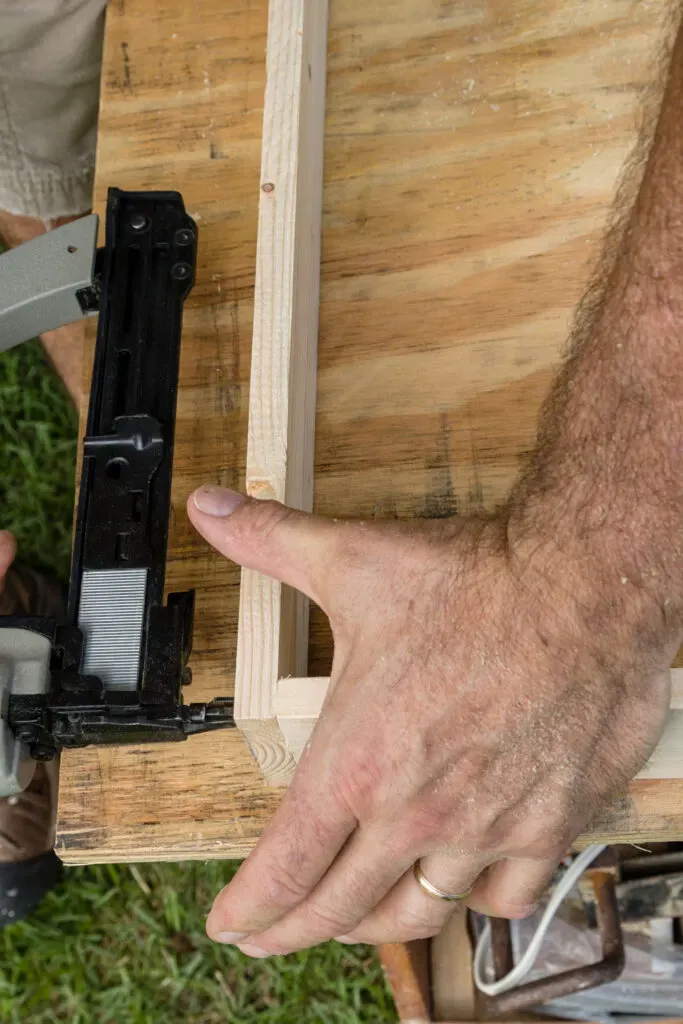 Attaching the bottom to the end pieces with a stapler
Alt text: Attaching the bottom piece to the sides of a DIY shoe rack -
Attach the bottom front board flush with the bottom front edge using wood glue and two fasteners at each attachment point.
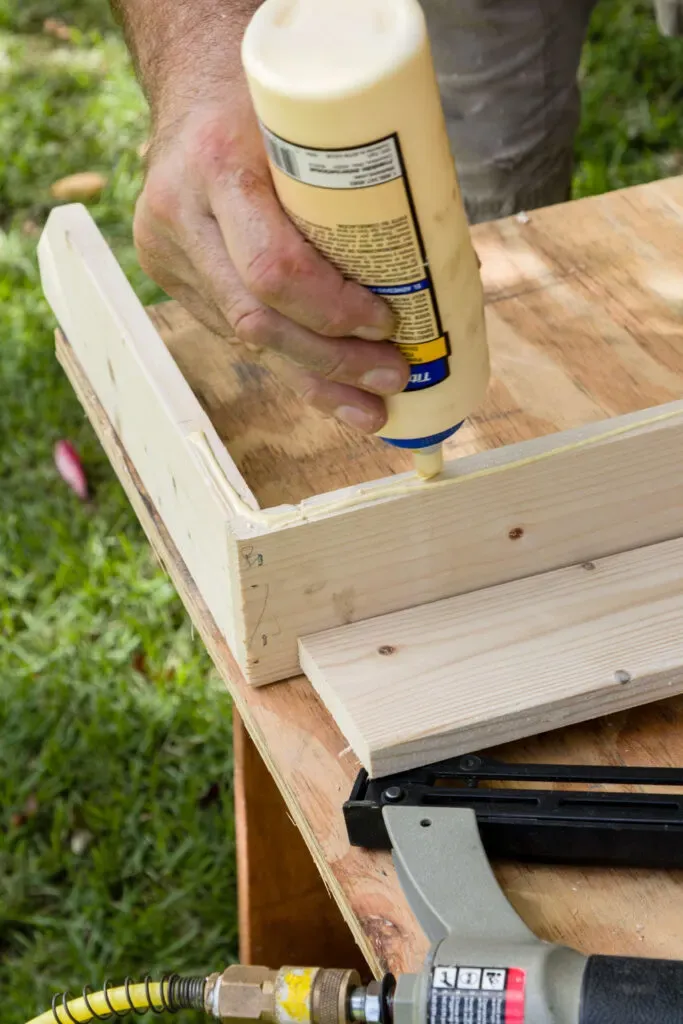 Applying wood glue to the face of the shoe rack
Alt text: Applying wood glue to the front of a DIY shoe rack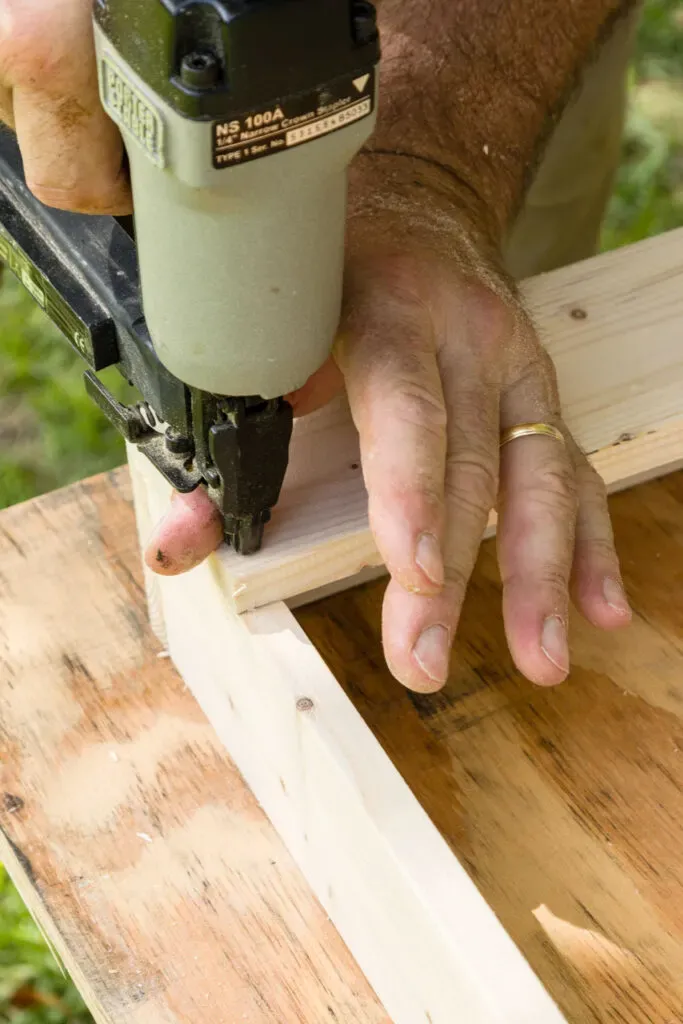 Stapling the front face board with a crown stapler
Alt text: Stapling the front board of a DIY shoe rack
-
-
Attach the Backboard: Attach the top and bottom of the backboard to the ends using wood glue and fasteners. Make sure the backboard is flush with the top and bottom edges. Use two fasteners at each attachment point for sturdiness.
 Attaching the back board in the same manner as the front board
Alt text: Attaching the backboard to a DIY shoe rack frame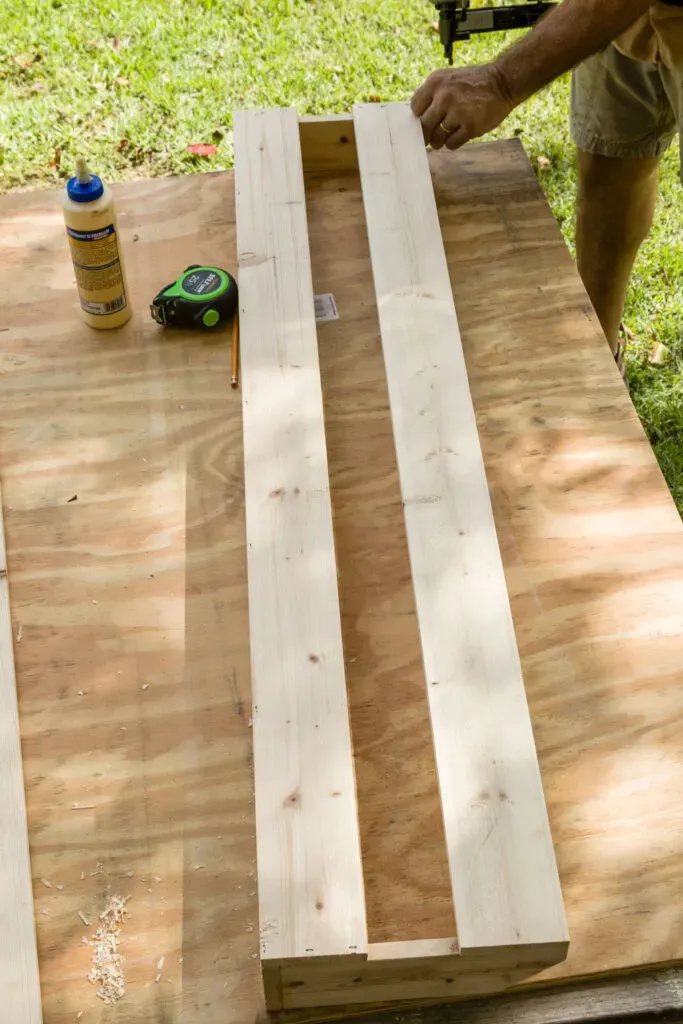 Back view of rack assembly
Alt text: Back view of a DIY shoe rack -
Secure the Top Backboard: Align the top backboard to the top of the end pieces and attach it using fasteners.
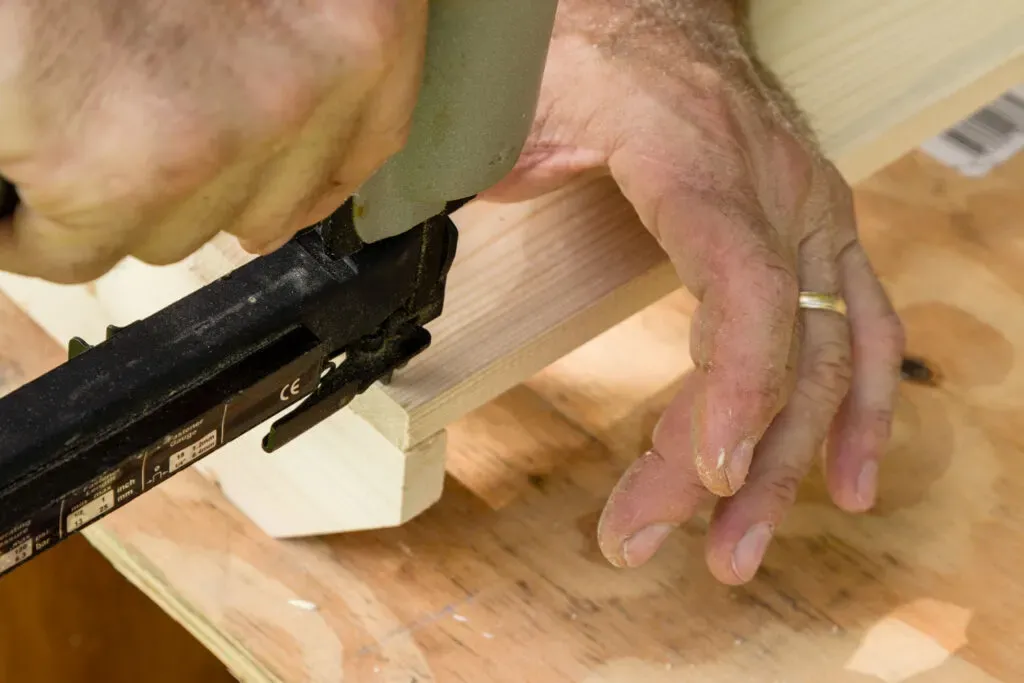 Adding the top back board to the shoe rack using a stapler
Alt text: Attaching the top back piece of a DIY shoe rack -
Add the Shoe Support Board: Attach the 1.5-inch front board 6 inches up from the bottom using wood glue and two fasteners at each attachment point. If you opted for a shorter rack, attach this board directly above the front bottom board.
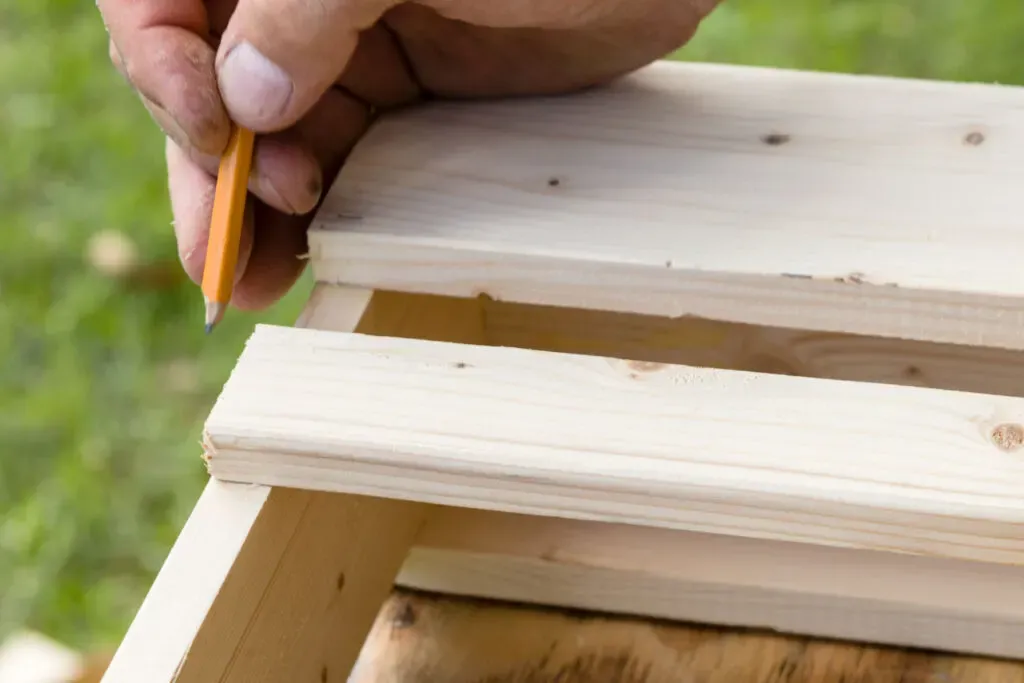 Marking the upper front board location with a pencil on the shoe rack
Alt text: Marking the placement of the shoe support board on a DIY shoe rack -
Fill and Sand: Using a putty knife, fill all the fastener holes with wood filler. Once the filler is dry, sand the surface smooth.
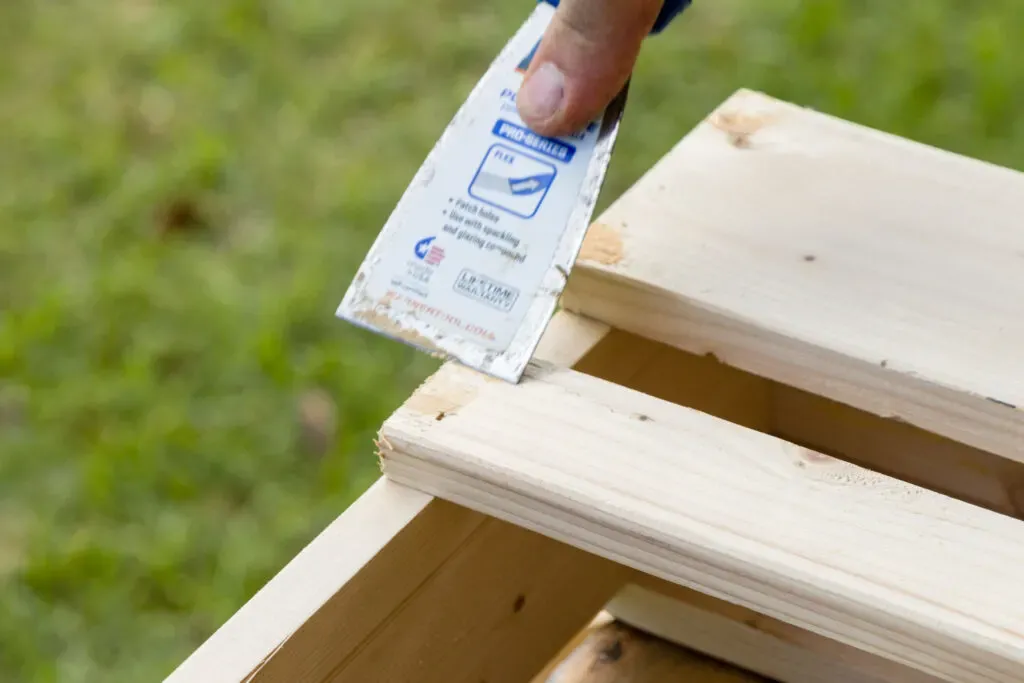 Filling the staple hole with wood filler
Alt text: Applying wood filler to the holes of a DIY shoe rack -
Prepare for Finishing: Wipe down your entire shoe rack with a tack cloth to remove all sanding dust.
-
Apply the Finish: Apply your chosen finish according to the manufacturer’s instructions. I prefer a clear polycrylic for a clean, modern look, but feel free to stain or paint your rack to match your style!
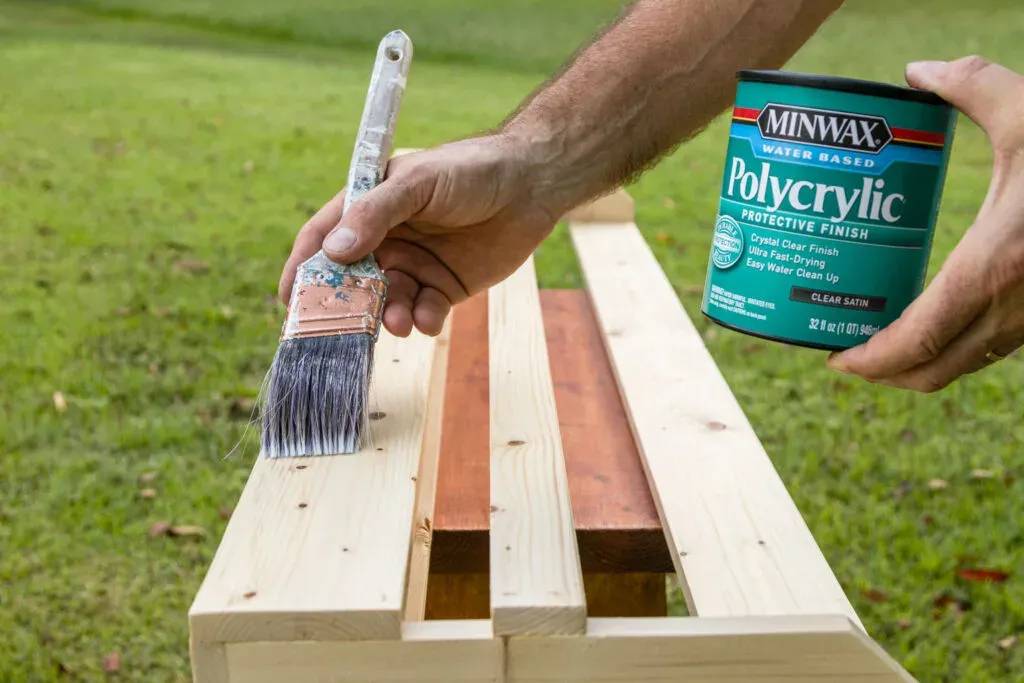 Brushing on polycrylic on the sanded wood racks
Alt text: Applying a finish to DIY shoe racks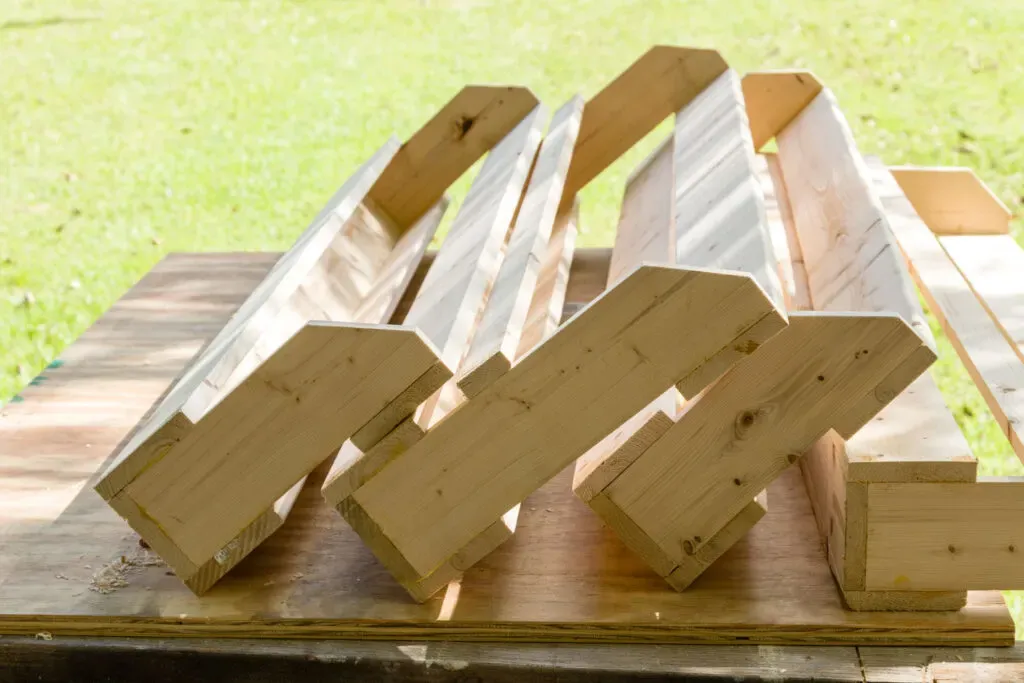 four finished shoe racks sitting on the board table before adding the a finish adding
Alt text: Four DIY shoe racks ready for finishing
Mounting Your Shoe Rack: Claiming Victory Over Shoe Clutter
With your shoe rack built and beautifully finished, it’s time to mount it to the wall:
-
Locate Studs: Use a stud finder to locate wall studs. This ensures a secure and stable installation.
-
Mark Placement: Hold your shoe rack against the wall at your desired height and use a level to mark the stud locations on the wall.
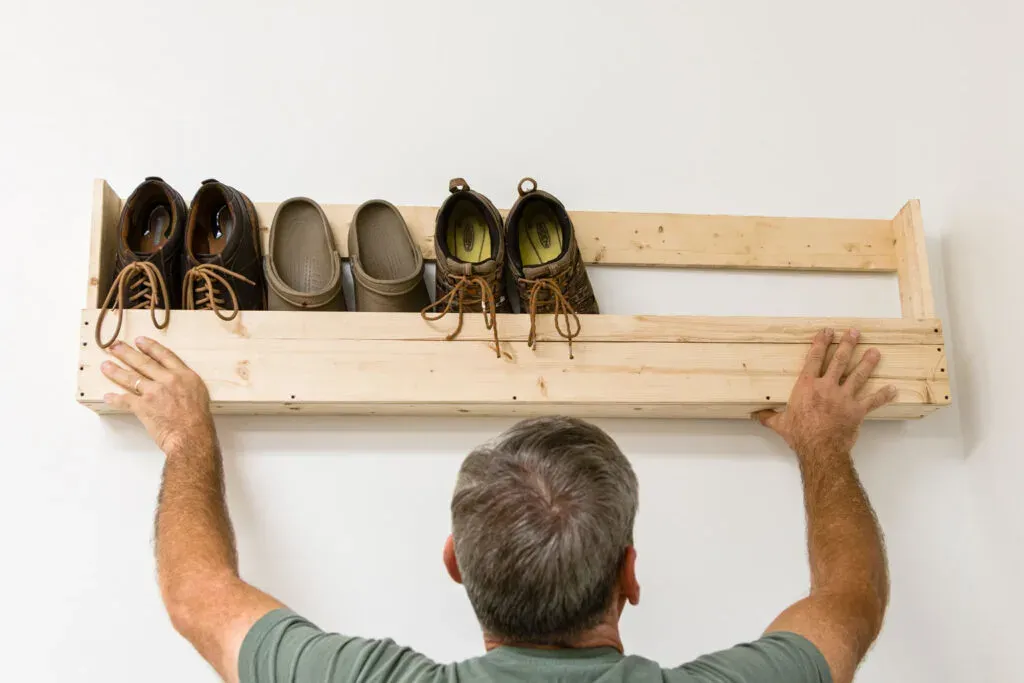 holding up a finished shoe rack to decide placement
Alt text: Holding a DIY shoe rack to decide on wall placement -
Pre-Drill Holes: Pre-drill holes through your shoe rack backboard at the marked stud locations.
-
Mount to the Wall: Align your pre-drilled holes with the marks on the wall and screw the shoe rack securely into the wall studs using 2.5-inch screws.
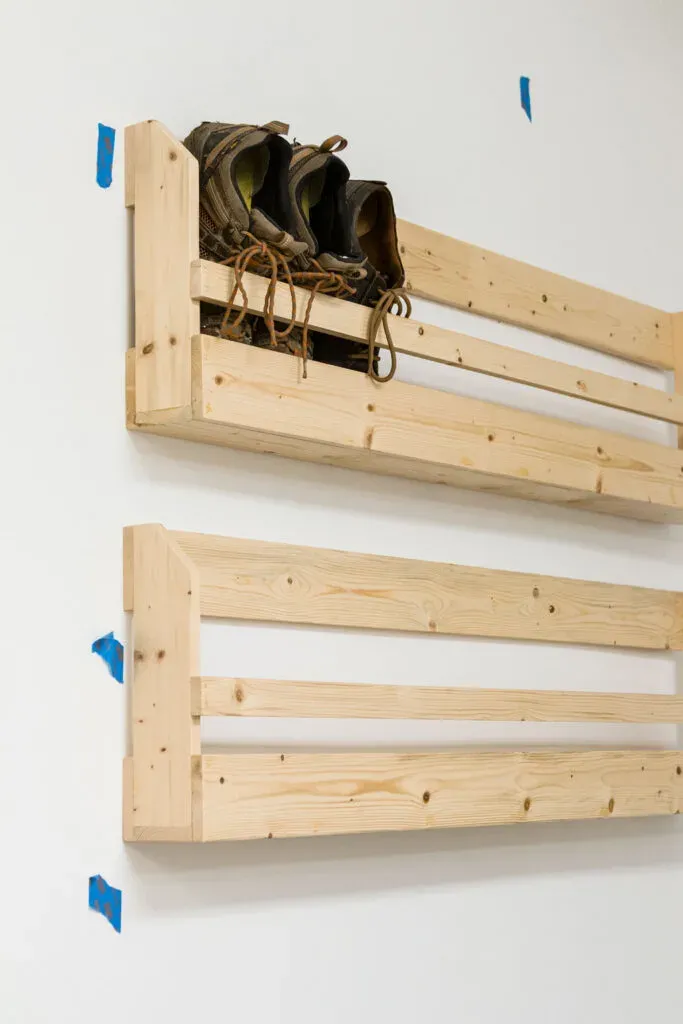 Installing the wall mounted shoe storage racks with screws into the studs
Alt text: Installing DIY shoe racks to the wall
Congratulations, You’ve Conquered the Shoe Mountain!
You did it! You’ve transformed your space and gained control over shoe chaos with your very own DIY wall-mounted shoe rack. Now, step back, admire your handiwork, and enjoy a newfound sense of organization.
Beyond Shoe Racks: Explore More DIY Inspiration
Inspired to tackle more DIY projects? At Robert Kline Art, we believe in the power of handmade creativity. Check out these other fun and easy projects:
-
Brighten Up Your Outdoor Space: Craft enchanting DIY Wooden Lanterns from scrap wood.
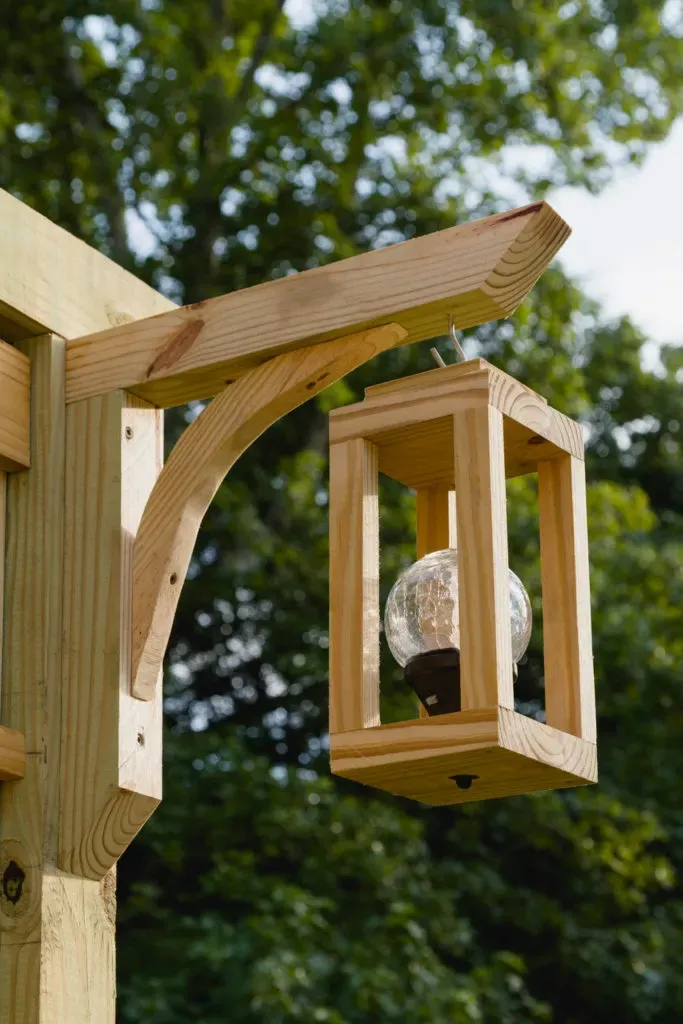 Hanging from a bracket my DIYwood Solar Lantern
 -
Embrace the Fall Spirit: Add rustic charm to your home with adorable DIY Wooden Pumpkins made from pallet wood.
 Orange, yellow and teal rustic pallet pumpkins standing in the grass
Share your DIY journey with us! We’d love to see photos of your finished shoe rack creations. And don’t forget to explore the Robert Kline Art website for more unique, handcrafted gifts and DIY inspiration.
