DIY Wall-Mounted Desk Organizer: Add a Pop of Personality to Your Workspace
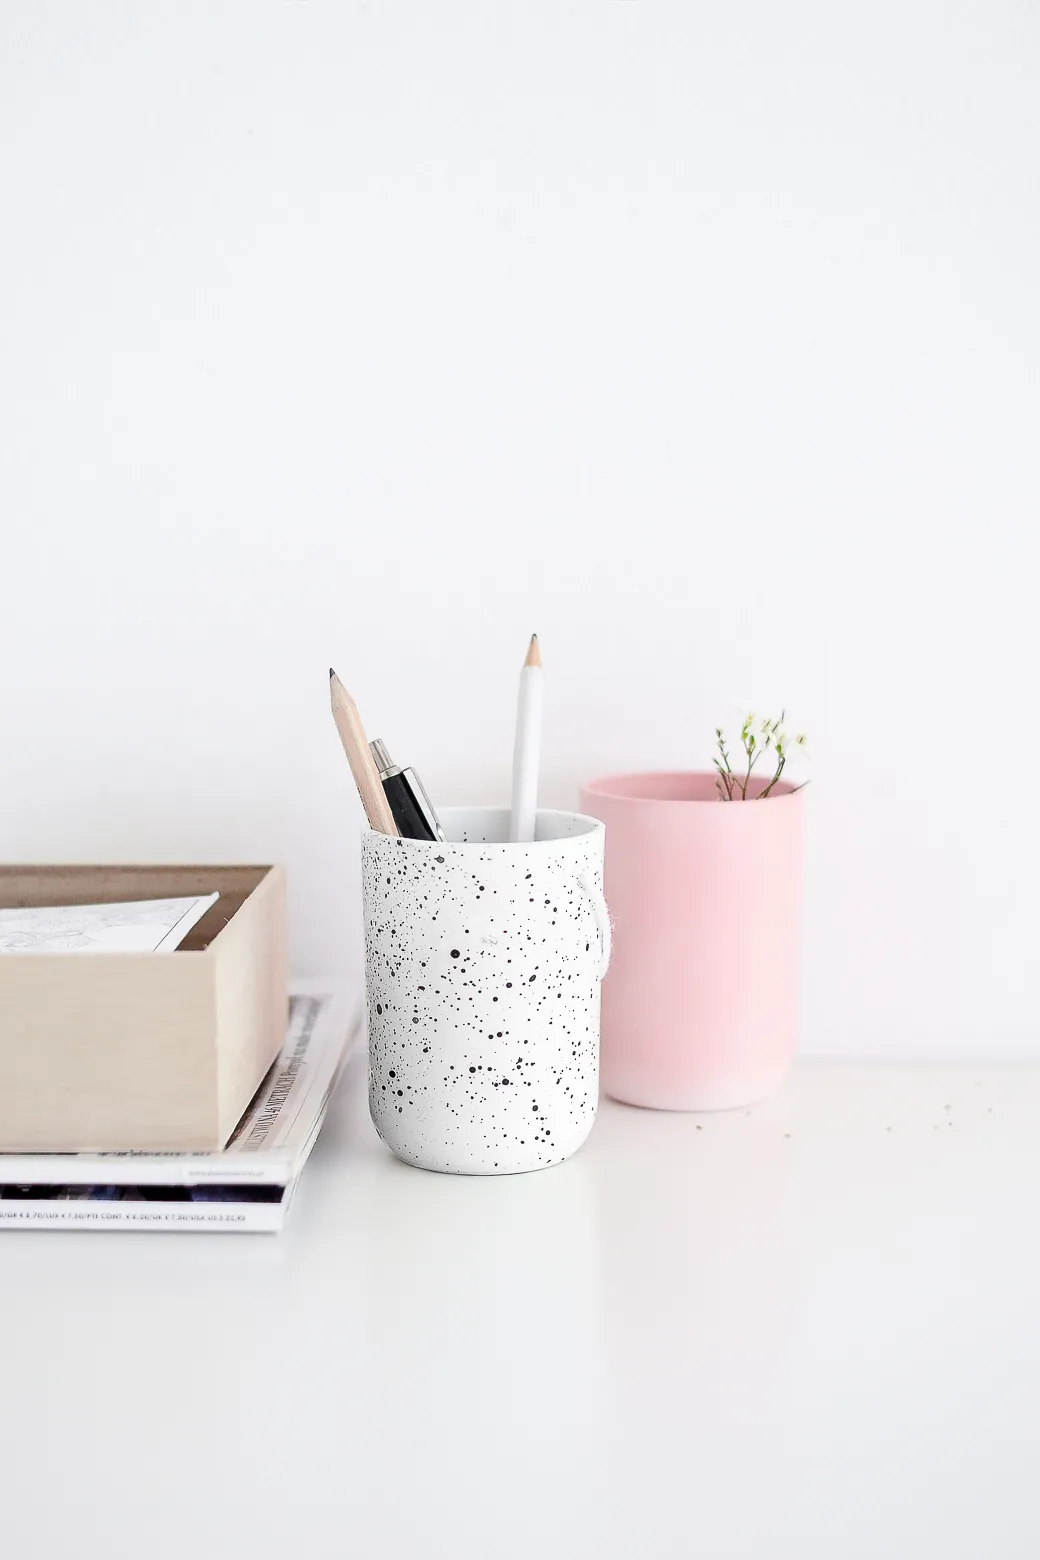
Hey there, art enthusiasts and organization aficionados! Are you tired of a cluttered workspace cramping your creative flow? Let’s dive into a fun and easy DIY project that will not only tidy up your desk but also add a touch of your unique style: a wall-mounted desk organizer made from upcycled cups!
This project is all about transforming ordinary items into extraordinary decor, proving that functionality and personality can go hand in hand. As an advocate for infusing joy into every corner of your home, I believe even the humblest objects can spark creativity.
Gathering Your Supplies
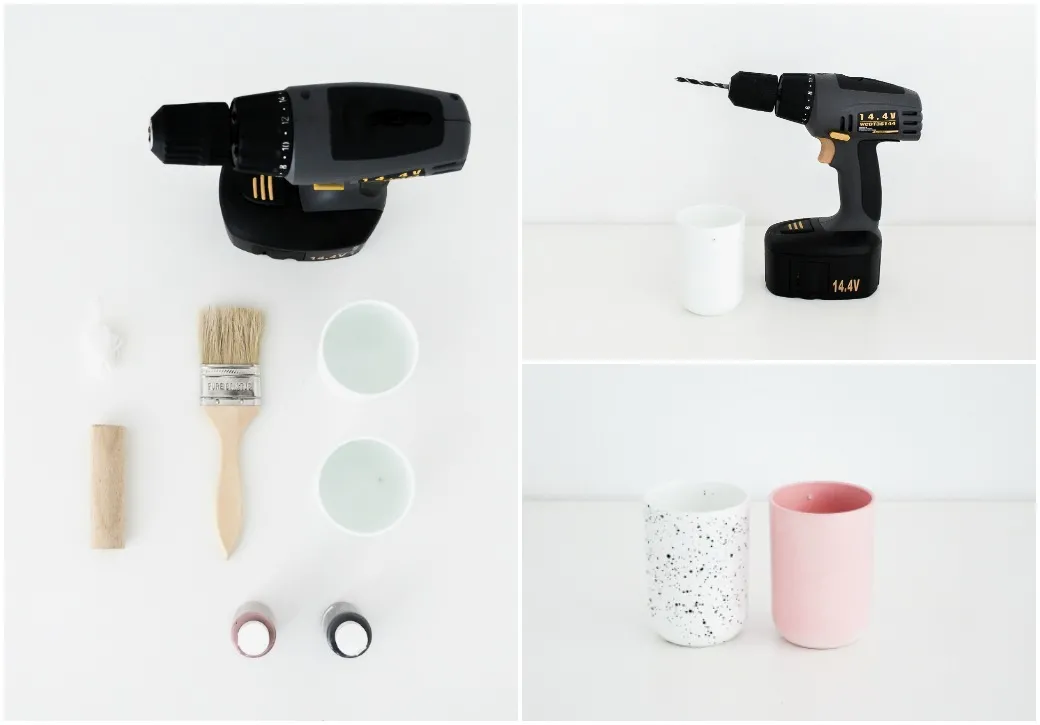
Before we embark on this crafty adventure, let’s gather our tools and materials. Here’s what you’ll need:
- Two simple plastic cups: Don’t be afraid to get thrifty and upcycle those leftover party cups!
- Drill: This is our trusty sidekick for creating the hanging points.
- String: Choose a sturdy string that complements your color scheme.
- Round wooden stick: This will add a touch of rustic charm and conceal the nail.
- Spray paint: Opt for vibrant hues that reflect your personality. I recommend using paint specifically designed for plastic surfaces for optimal adhesion.
- Paintbrush: This will be our artistic tool for adding personalized patterns and designs.
- Nail and hammer: These are essential for mounting your masterpiece onto the wall.
Step-by-Step Guide: From Cups to Chic Organizers
-
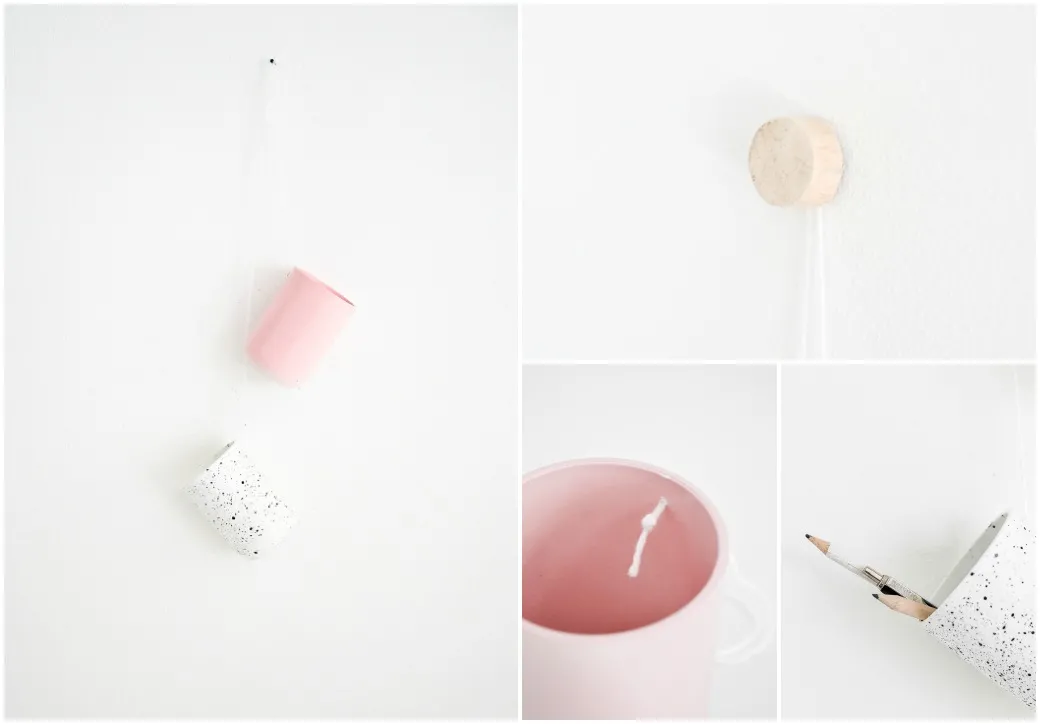
Drilling the Hanging Points: Start by drilling small holes about 1.5 cm from the top of each cup. If you prefer a straight hanging position, drill two holes on opposite sides of each cup for added stability.
 Drilling holes in plastic cups
Image: Drilling holes for the hanging points. -
Prepping the Cups: Give your cups a good wash to remove any dust or residue, ensuring the paint adheres perfectly. Allow them to dry completely before moving on to the next step.
 Clean and dry plastic cups
Image: Clean and dry cups are essential for a smooth paint application. -
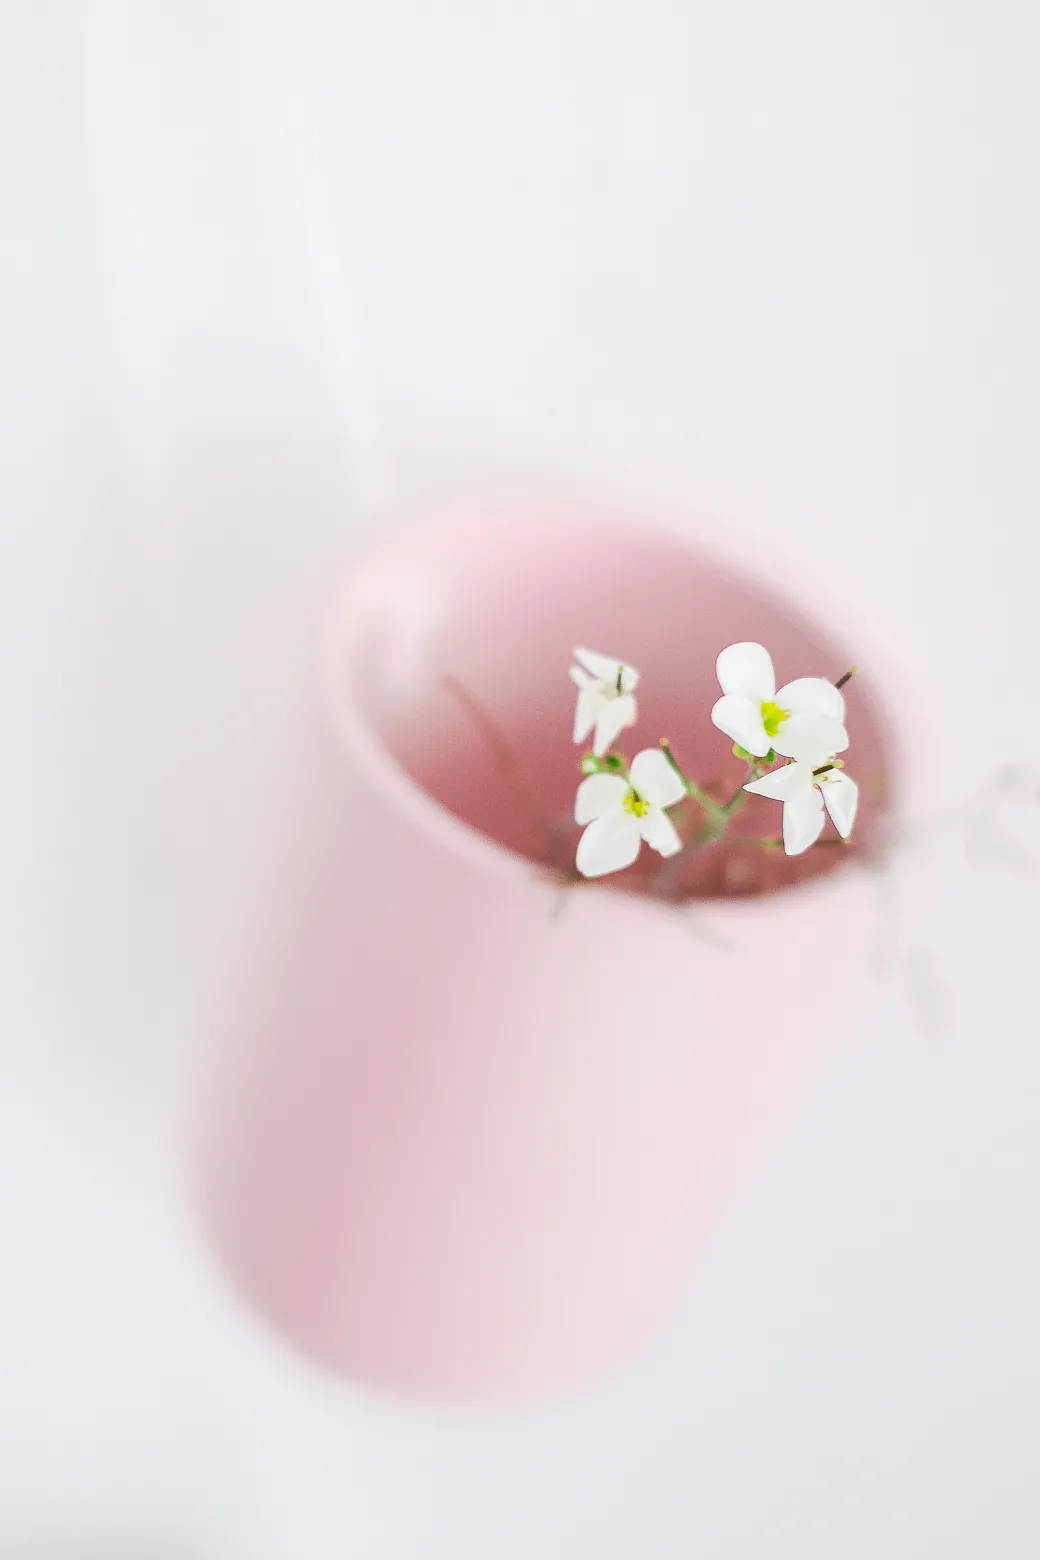
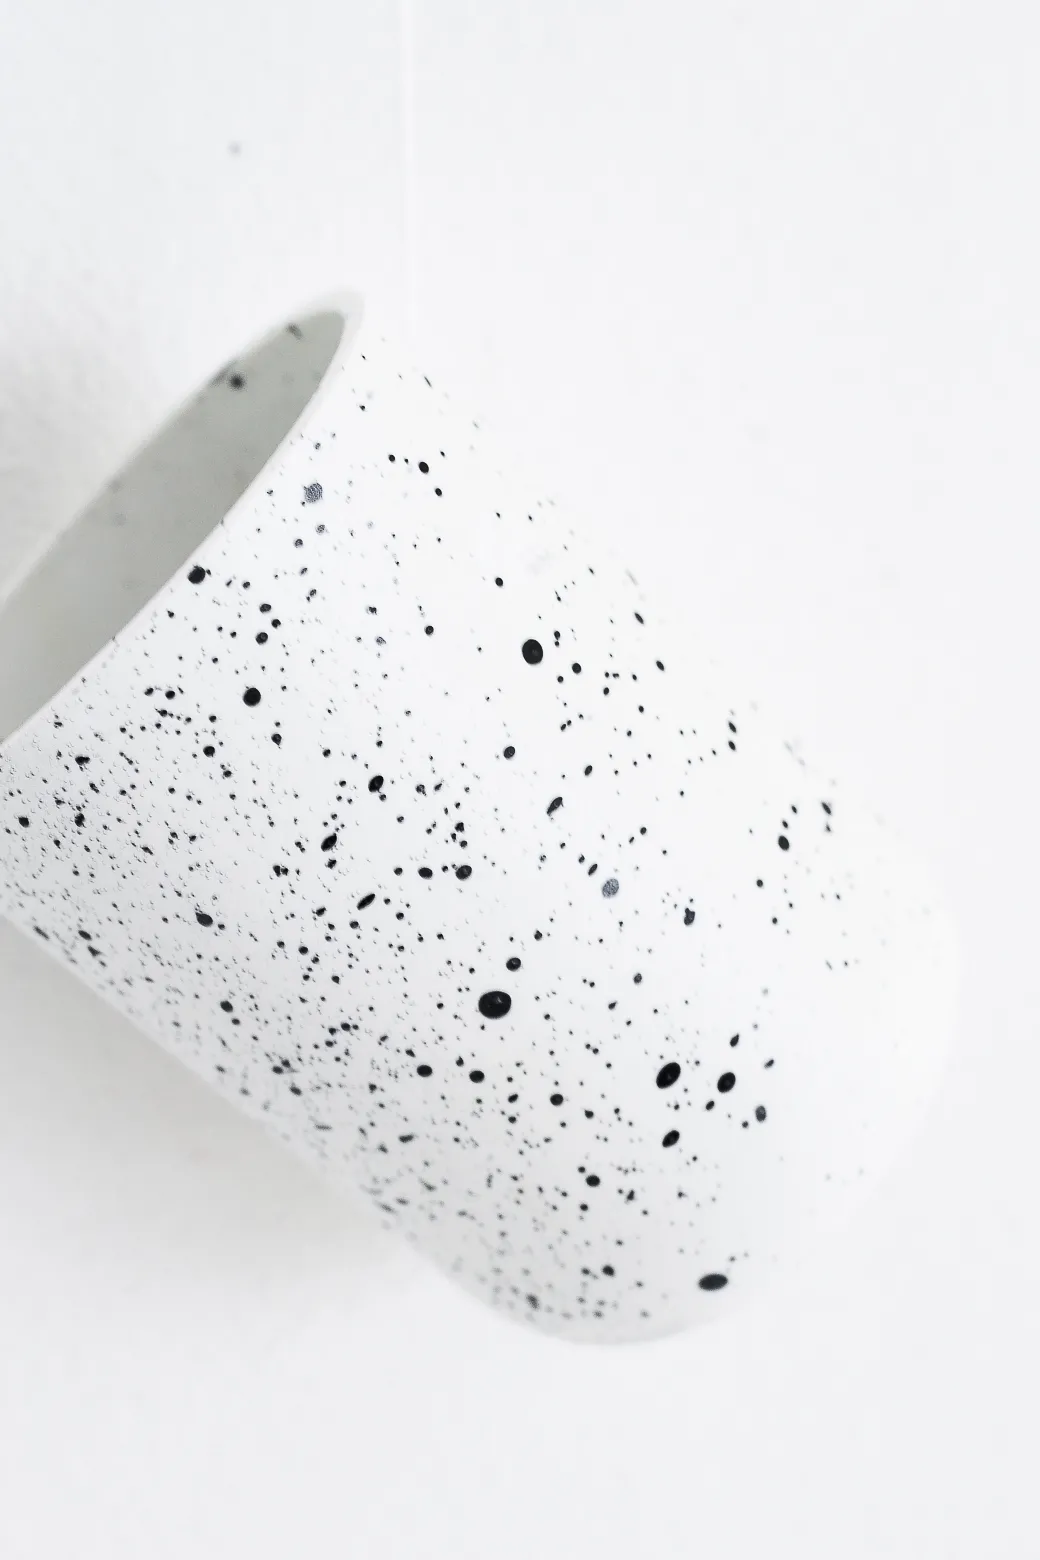
Unleashing Your Inner Artist: Now comes the fun part – adding a splash of color and personality! Spray paint one cup with your chosen base color. For the second cup, let your creativity run wild! Create a trendy splatter pattern using a contrasting paint color and your paintbrush. Allow the paint to dry thoroughly before proceeding.
 Painted plastic cup
Image: A vibrant pink base sets the stage for a playful splatter design. -
Preparing the Wooden Accent: While the paint dries, let’s focus on the wooden stick. Cut it to your desired length, ensuring it complements the size of your cups. Drill a hole large enough to accommodate the nail comfortably.
 Preparing the wooden stick for hanging
Image: The wooden stick adds a touch of rustic charm and conceals the mounting nail. -
Assembling Your Masterpiece: Thread the string through the holes of your painted cups and secure it with a sturdy knot. Now, hammer the nail into your desired location on the wall, ensuring it’s strong enough to support the weight of your organizers. Hang the cups onto the nail.
 Hanging the finished desk organizers
Image: Your upcycled cups are now transformed into stylish wall-mounted organizers. -
Adding the Finishing Touch: Finally, slide the wooden stick over the nail head, concealing it for a polished and professional look.
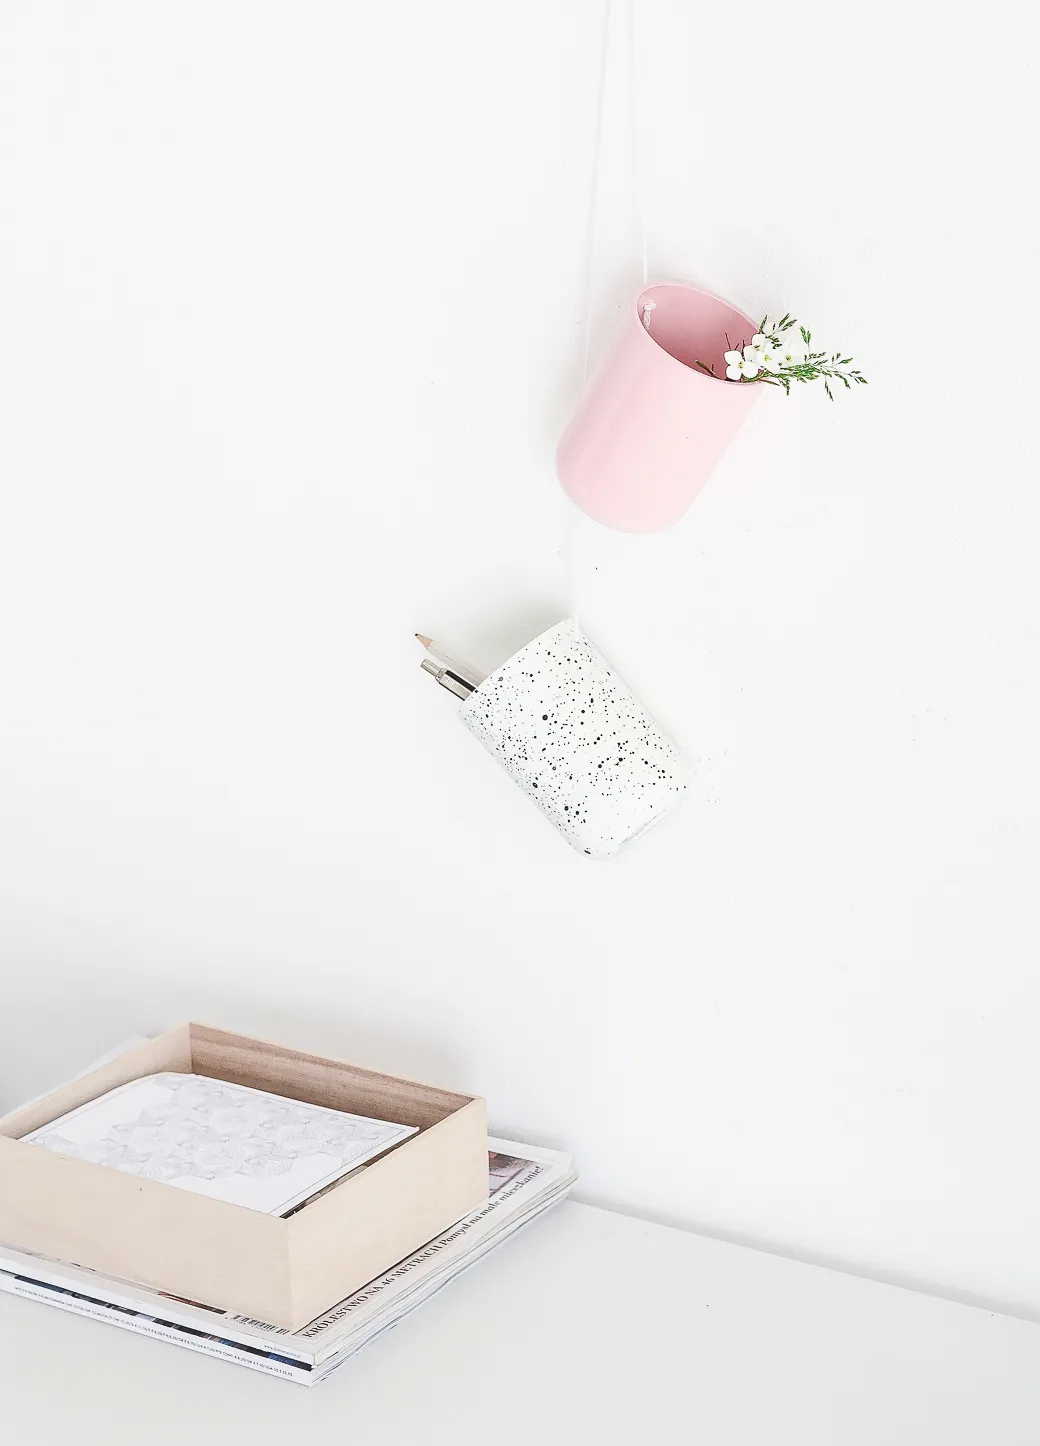 The completed DIY wall-mounted desk organizer
Image: Your completed DIY wall-mounted desk organizer is ready to add a pop of personality to your workspace.
Conclusion: Embrace Creativity and Organization!
Congratulations, you’ve successfully transformed ordinary cups into unique and functional desk organizers! This project is a testament to the power of upcycling and infusing your personality into everyday objects. “DIY projects like this are a fantastic way to unleash creativity and personalize your workspace,” says renowned interior designer, Sarah Jones. “Don’t be afraid to experiment with different colors, patterns, and materials to create a truly unique piece that reflects your style.”
Now it’s your turn! Grab your supplies and embark on this fun and rewarding DIY journey. Don’t forget to share your creations and inspire fellow craft enthusiasts in the comments below! And if you’re looking for more unique handmade gifts and decor, be sure to explore the curated collection on Robert Kline Art.
