Blog
How to Build a DIY Wall Mounted Coat Rack for Your Home

Looking for a stylish and practical solution to keep your entryway organized? Look no further than a DIY wall-mounted coat rack! This simple project is perfect for beginners and can be customized to fit any space. As an experienced craftsman, I’m happy to share my tips and tricks to help you build a sturdy and attractive coat rack that you’ll be proud to display in your home.
Gathering Your Materials
Before you start, gather your materials. Here’s what you’ll need for this project:
Lumber:
- One piece of 2×10 lumber (length determined by your desired coat rack size)
- One piece of 1×6 lumber (same length as the 2×10)
- One piece of 3″ crown molding (same length as the 2×10)
- One small piece of trim (length determined by your desired look)
Tools and Hardware:
- Measuring tape
- Pencil
- Saw (circular saw or miter saw recommended)
- Wood glue
- Nail gun (or hammer and finishing nails)
- Sandpaper (medium and fine grit)
- Caulking gun and paintable caulk
- Primer
- Paint (your desired color and finish)
- Paintbrush or roller
- Screws and wall anchors (if needed)
- Drill
- Level
Optional Items:
- Gilder’s Paste Wax (for matching hardware)
- Hooks or hangers
Building Your DIY Coat Rack
Step 1: Cutting the Lumber
Using your measuring tape and pencil, mark the desired length of your coat rack on the 2×10 and 1×6 lumber pieces. Use your saw to make the cuts.
Step 2: Assembling the Coat Rack Base
Apply wood glue to the top of the 2×10 board. Align the 1×6 board on top, ensuring there’s an overhang on each side to accommodate the crown molding. Secure the boards together using your nail gun or hammer and finishing nails.
Step 3: Adding the Crown Molding
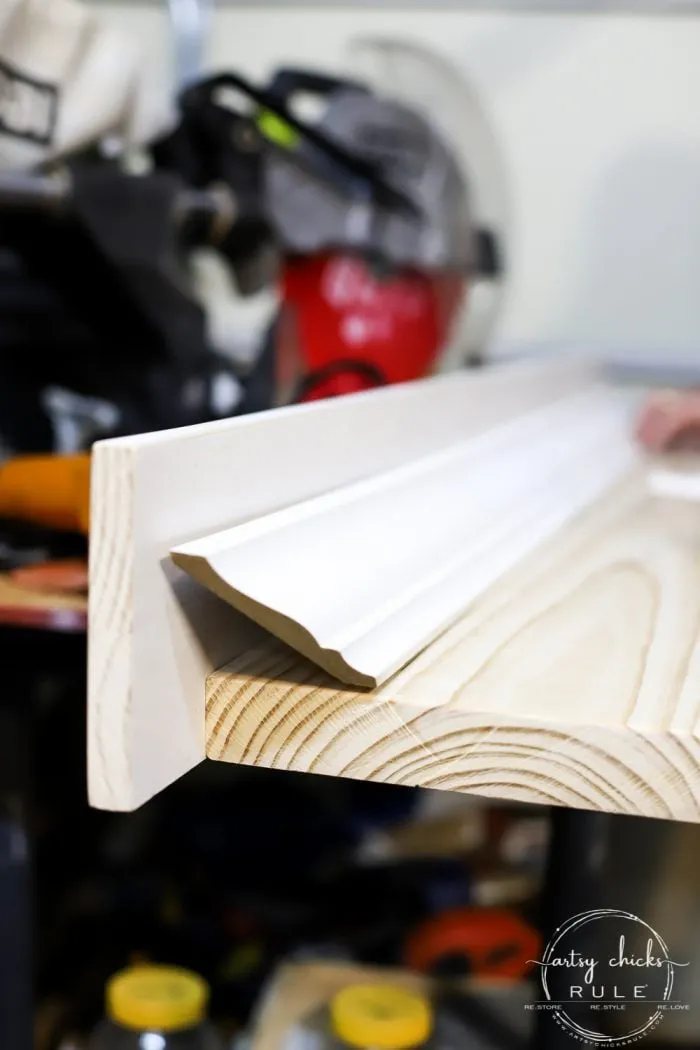
Apply wood glue to the underside of the crown molding. Position it directly beneath the 1×6 board, ensuring it’s flush with the overhang on both sides. Secure the crown molding in place using your nail gun or hammer and finishing nails.
 DIY coat rack assembly with crown molding. Robert Kline Art #diycoatrack #wallrack #wallmountedcoatrack
Step 4: Attaching the Trim (Optional)
For a polished look, consider adding a small piece of trim along the bottom edge of the 2×10 board. This will create a cohesive design that complements the crown molding. Apply wood glue and secure the trim using your nail gun or hammer and finishing nails.
Step 5: Sanding and Caulking
Once the glue has dried, sand all the edges and surfaces of your coat rack until smooth. Pay close attention to the areas where the boards meet, ensuring a seamless finish. Next, apply a thin bead of paintable caulk along all the seams to seal any gaps and create a professional look. Allow the caulk to dry completely.
 DIY coat rack assembly with crown molding and trim. Robert Kline Art #diycoatrack #wallrack #wallmountedcoatrack
Step 6: Priming and Painting
Apply a coat of primer to your coat rack, ensuring you cover all surfaces evenly. Allow the primer to dry completely before applying two coats of your chosen paint color. I recommend using a durable, scrubbable finish for easy cleaning.
Step 7: Installing the Hooks or Hangers
Once the paint is dry, determine the placement of your hooks or hangers. I recommend spacing them evenly along the 1×6 board. Mark the desired locations with a pencil, and then pre-drill holes for the screws. If you’re not installing the coat rack into studs, use wall anchors for added stability.
Step 8: Mounting the Coat Rack
Hold the coat rack against the wall in your desired location. Use a level to ensure it’s straight, then mark the screw hole locations on the wall. Drill pilot holes at the marked locations, then screw the coat rack securely to the wall.
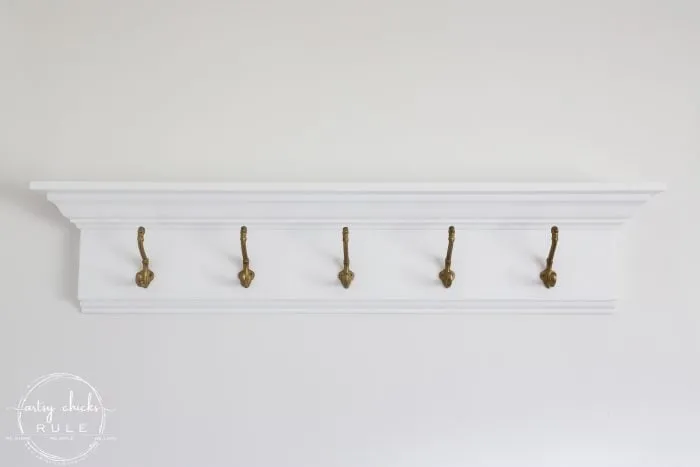
 White DIY coat rack with hooks, styled with bench and baskets. Robert Kline Art #diycoatrack #wallrack #wallmountedcoatrack
Styling Your New Coat Rack
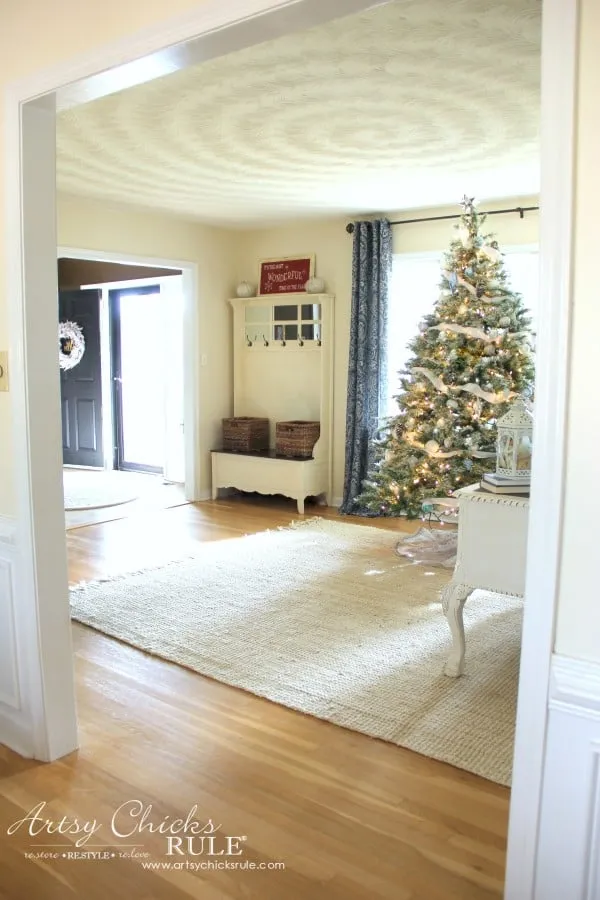
Now comes the fun part – styling your new DIY coat rack! Consider adding a personal touch with decorative hooks or hangers. A small bench or basket underneath provides a convenient spot for shoes, bags, or other belongings.
“Adding a few simple décor elements can transform your coat rack area into a welcoming and stylish focal point,” suggests interior designer Sarah Jones. “Think a small vase of fresh flowers, a framed piece of art, or a decorative bowl for keys and mail.”
 White DIY coat rack with hooks, styled with bench and baskets. Robert Kline Art #diycoatrack #wallrack #wallmountedcoatrack
Conclusion
Building a DIY wall-mounted coat rack is a rewarding project that can instantly upgrade your home’s functionality and style. With a few basic tools, quality materials, and a dash of creativity, you can create a personalized piece that reflects your unique taste. Now that you’re equipped with this detailed guide, I encourage you to gather your supplies and embark on your DIY coat rack adventure!
Don’t forget to share your finished creations with me – I’m always excited to see the amazing work of my fellow DIY enthusiasts. And be sure to explore the Robert Kline Art website for more inspiring handmade crafts and DIY projects to enhance your home décor.
