Craft the Perfect DIY Photo Ledge: A Step-by-Step Guide

Have you ever stared at a blank wall, longing to infuse it with personality and warmth? Photos have a magical way of achieving just that, and displaying them on DIY photo ledges adds a touch of handcrafted charm. Don’t be intimidated by the thought of woodworking – this project is surprisingly simple, even for beginners! As an experienced crafter here at Robert Kline Art, I’m excited to guide you through each step, empowering you to create a stunning photo ledge that reflects your unique style.
Gathering Your Tools and Materials
Before we embark on our crafting journey, let’s gather everything we need. Think of it as preparing your artist’s palette!
For this project, you’ll need:
-
Wood:
- One 8-foot long, 1 inch x 2 inch piece (for the front lip)
- One 8-foot long, 1 inch x 3 inch piece (for the base)
- One 8-foot long, 1 inch x 4 inch piece (for the back)
Pro Tip: Opt for a sturdy hardwood like poplar for a durable and long-lasting ledge.
-
Tools:
- Miter box saw (for precise cuts)
- Nail gun (or hammer and nails)
- Wood screws
- Wood glue
- Hand sander
- Sandpaper
- Paint and brushes (or stain)
- Painter’s caulk
- Measuring tape
- Pencil
- Level
- Stud finder
Safety First: Always wear appropriate safety gear, including eye protection and gloves, when working with tools and materials.
Crafting Your DIY Photo Ledge
Now that our creative workshop is set up, let’s bring our photo ledge to life!
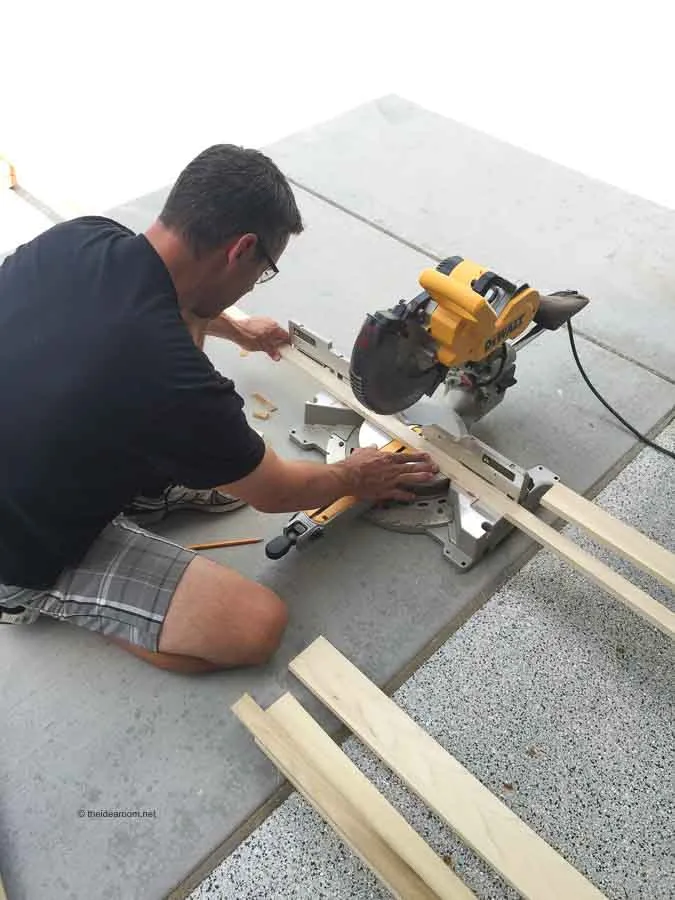
Step 1: Measure and Cut
- Decide on the length you desire for your photo ledge.
- Using your measuring tape and pencil, carefully mark the desired length on each of your wood pieces.
- Employ your trusty miter box saw to make precise cuts along the marked lines.
Step 2: Assemble the Ledge
- Apply a thin, even line of wood glue along the bottom edge of the 4-inch wide piece of wood (the back of the ledge).
- Align this glued edge with the top edge of the 3-inch wide piece (the base) and firmly press them together.
- Secure the bond by driving several nails or wood screws along the backside of the 4-inch piece, ensuring they sink flush with the wood surface.
Step 3: Attach the Front Lip
- Apply wood glue to the top edge of the 3-inch piece (the base), this time along the side that’s facing up.
- Carefully align the 2-inch wide piece (the front lip) with the glued edge and secure it in place using nails or screws, just as you did in step 2.
Step 4: Sand and Smooth
- Once the glue is dry, gently sand all the edges and surfaces of your photo ledge using your hand sander and sandpaper. This creates a smooth and polished finish.
- Wipe away any dust with a slightly damp cloth.
Step 5: Caulk and Paint
- Fill any small gaps or cracks with painter’s caulk, smoothing it out with your finger for a seamless look.
- Allow the caulk to dry completely.
- Now for the fun part! Unleash your creativity and paint your photo ledge in a color that complements your decor. You can also opt for a classic stained finish for a natural look.
 DIY Photo Ledge in progress
Pro Tip: Apply multiple thin coats of paint or stain, allowing each coat to dry thoroughly for a professional finish.
Hanging Your Masterpiece
With your DIY photo ledge complete, it’s time to find it the perfect home on your wall.
Locating Studs
- Use a stud finder to locate the studs in your wall. These are the structural supports behind your drywall and offer the most secure anchor points.
Marking and Pre-drilling
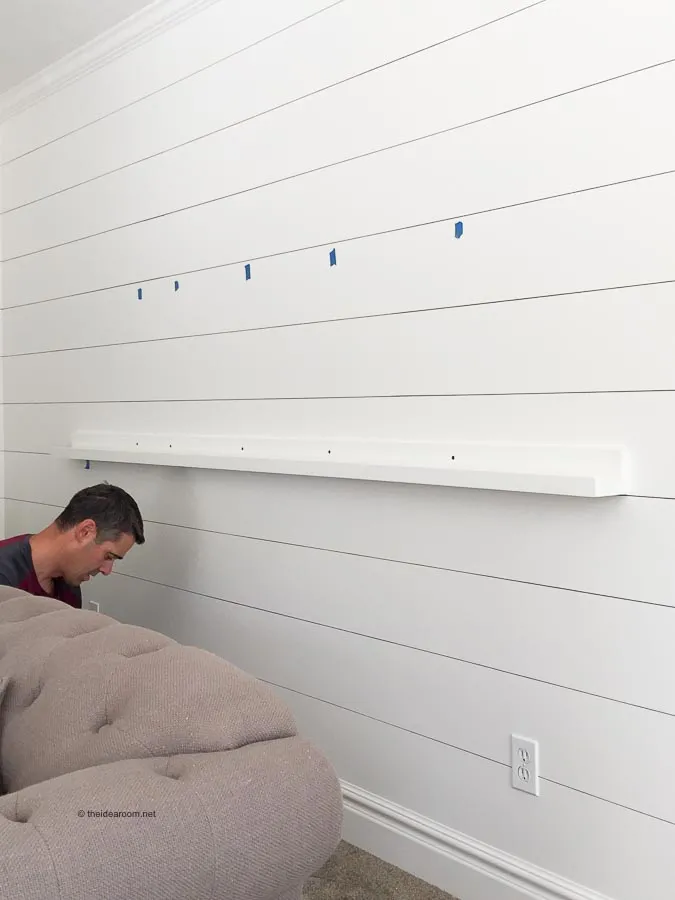
- Hold your photo ledge against the wall at your desired height and use a level to ensure it’s perfectly straight.
- Mark the stud locations on the wall with a pencil.
- For added stability, pre-drill pilot holes through the back of the photo ledge at the marked stud locations. These holes should be slightly smaller than the diameter of your screws.
Securely Mounting
- With a helper steadying the ledge, align the pre-drilled holes with the marked stud locations on the wall.
- Drive screws through the pre-drilled holes and into the studs, ensuring the photo ledge is held firmly in place.
 Hanging the DIY Photo Ledge
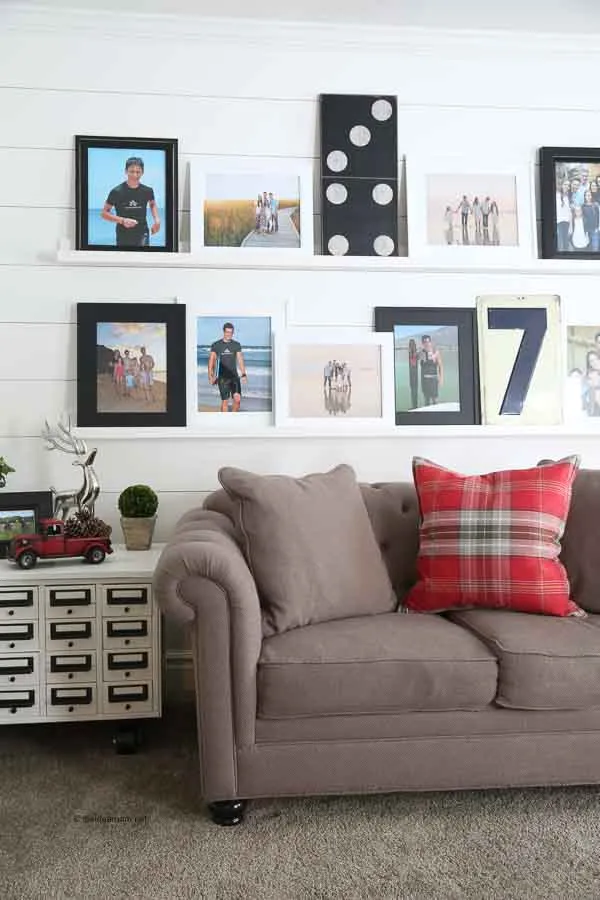
Styling Your Photo Ledge
Your DIY photo ledge is now ready to showcase your treasured memories! Here are a few styling tips:
- Mix and Match: Create visual interest by displaying photos of varying sizes and orientations.
- Layer with Art: Intersperse framed photos with small art prints or decorative objects for a personalized gallery wall.
- Incorporate Greenery: Add a touch of life and freshness with small potted plants or sprigs of greenery.
 Styled DIY Photo Ledge with Photos
Conclusion
Creating your own DIY photo ledge is a rewarding way to personalize your space with a touch of handcrafted charm. It’s a testament to the fact that beautiful and functional home decor doesn’t have to be complicated or expensive. Embrace the joy of crafting, let your creativity shine through, and enjoy the process of transforming a simple wall into a captivating focal point!
Now that you’ve crafted your own photo ledge, we’d love to see your creation! Share your photos and experiences with us in the comments below. And for more handcrafted inspiration and unique gift ideas, explore the world of handmade treasures on the Robert Kline Art website.
