Blog
Creating a Stunning DIY Vertical Succulent Garden: A Step-by-Step Guide
Want to add a touch of living art to your outdoor space? Imagine a lush, vibrant tapestry of succulents cascading down a rustic frame – that’s the magic of a vertical succulent garden! And the best part? You can easily create this stunning focal point yourself.
In this guide, we’ll walk you through the process of crafting a DIY outdoor vertical succulent garden using an inexpensive wood frame, a simple box, and the magic of sphagnum moss. Let’s bring a breath of fresh air to your backyard!
Understanding Vertical Gardens: A Quick Overview
Before we dive into the how-to, let’s unravel the concept of a vertical garden, often called a living wall. It’s essentially a collection of plants, in this case, our beloved succulents, mounted on a structure that stands upright.
Think of it as a living picture frame brimming with nature’s artistry! Not only does it add visual interest, but it’s also a fantastic solution for small spaces.
My Inspiration: From Hotel Lobby to Backyard Oasis
My fascination with living walls began at a local Westin hotel. A grand, three-dimensional spectacle of plants in a myriad of colors and textures, all elegantly framed by simple wood, adorned the lobby wall. It was love at first sight!
Inspired, I embarked on my own DIY journey, envisioning a smaller, simpler version for my backyard.
Why This Design Stole My Heart
Out of the countless vertical garden designs out there, I opted for this particular one for its:
Simplicity at its Finest
This design is as straightforward as it gets – a box, a frame, chicken wire, the growing medium, and our star succulents.
Effortless Watering
No need for complicated setups here! Simply mist your succulents with a hose, and they’ll be happy campers.
Drainage and Air Circulation: The Dynamic Duo
The box design ensures optimal drainage and airflow, preventing your succulents from getting waterlogged.
Succulent Power
Succulents are incredibly low-maintenance and forgiving, making them the perfect choice for beginner gardeners.
Sphagnum Moss Magic
Instead of traditional potting soil, this design utilizes sphagnum moss, making the planter lighter and less messy.
Two DIY Approaches: Easy vs. Intermediate
To cater to different skill levels, I’ve created two versions of this project:
- Easy Planter: Perfect for beginners, requiring minimal tools and store-bought components.
- Intermediate Planter: For those who enjoy a bit more of a challenge, this involves building the box and frame from scratch.
We’ll focus on the easy version in this guide.
Let’s Get Crafty: Building Your Easy Vertical Succulent Garden
Here’s Your Toolkit
Materials:
- Wooden box
- Picture frame (slightly larger than the box)
- Chicken wire or wire mesh
- Staples (for an electric stapler)
- 4 small screws
- Aleene’s Original Clear Gel Tacky Glue
- Long-Fibered Sphagnum Moss
- Assorted succulent cuttings
- Optional: Thompson’s WaterSeal Waterproofing Wood Protector Clear Aerosol
Tools:
- Wire cutters
- Staple gun
- Drill with a spade or large-diameter drill bit
- Gloves
- Safety glasses
- Dust mask
Step-by-Step Guide
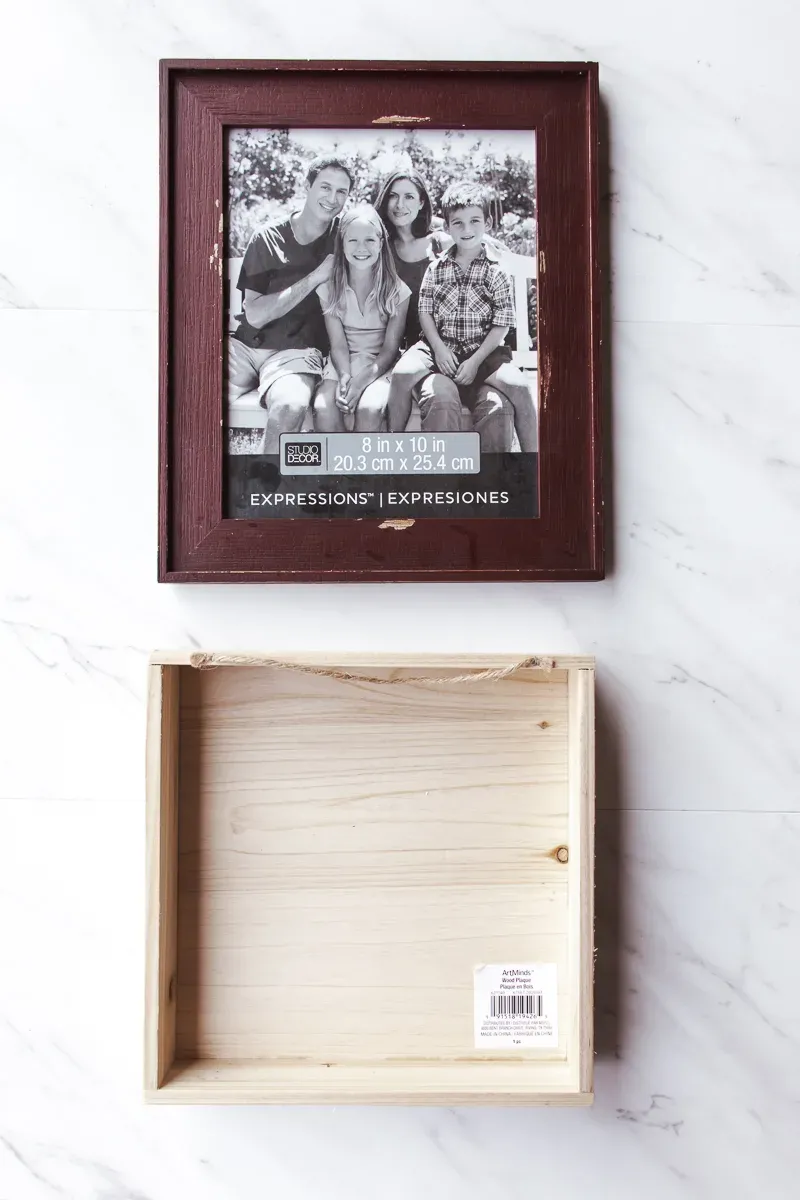
- Source Your Box and Frame: Head to your local craft store and grab an inexpensive wooden box and a picture frame that covers it completely.
 Picture of a rustic picture frame and basic wood box, which are used to make the living wall.
 - Prep the Frame: Remove the glass and backing from the frame – you can always repurpose them for future projects!
- Chicken Wire Time: Cut a piece of chicken wire slightly larger than the frame opening. Wearing gloves and safety glasses, carefully staple the mesh to the inside of the frame and trim any excess.
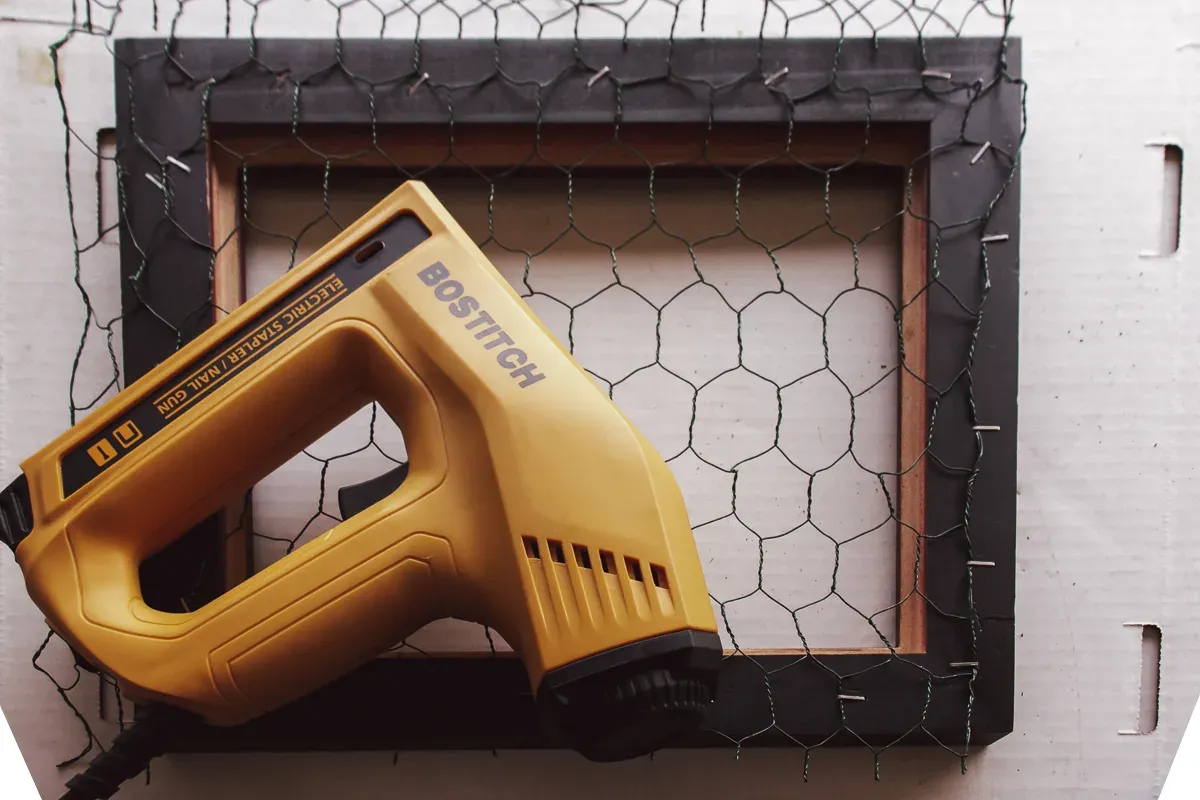 Electric stapler/nail gun sitting on chicken wire stapled to the back side of a picture frame.
 - Drainage is Key: Drill several holes in the bottom of the box for drainage and air circulation. A spade drill bit works wonders here, but a large-sized drill bit will do the trick too. Remember your dust mask and safety glasses!
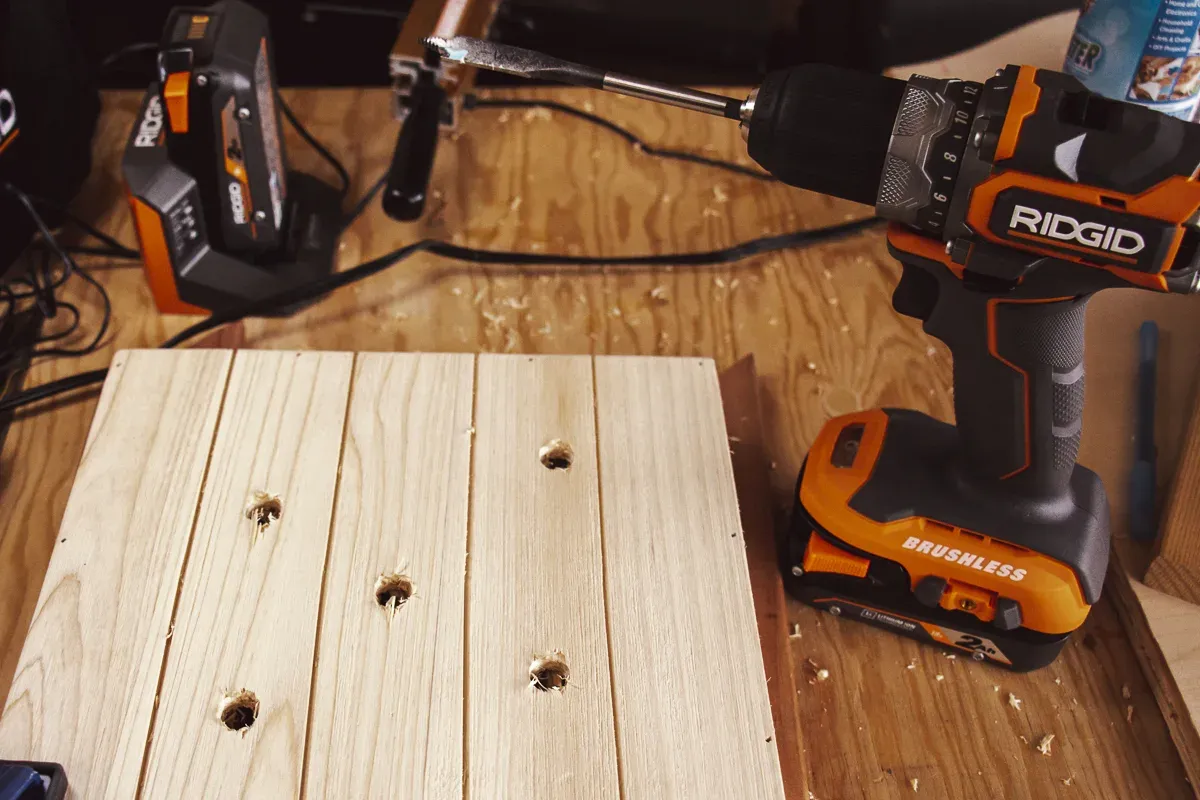 Series of large holes drilled into the back of a wood box with a spade drill bit to allow for water drainage
 - Optional: Waterproofing: While optional, applying a waterproofing sealant like Thompson’s WaterSeal can protect your planter from water damage in the long run.
- Frame + Box = Match Made in DIY Heaven: Secure the frame to the box by inserting small screws through the sides of the box and into the back of the frame.
- Sphagnum Moss Time to Shine: Generously fill the box with long-fibered sphagnum moss, ensuring it’s evenly distributed.
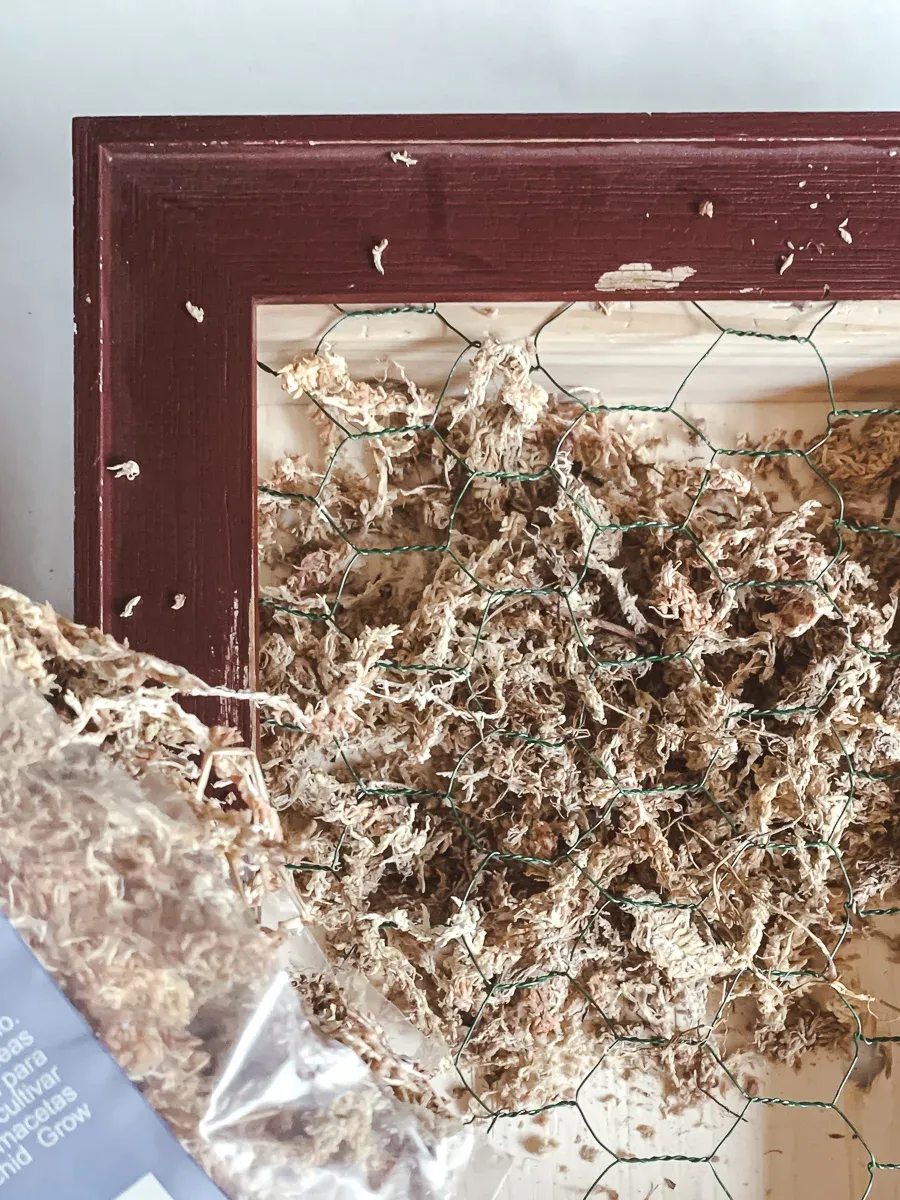 Long-fibered sphagnum moss sitting in a planter made of a picture frame, wood box and chicken wire.
 - Succulent Selection: Choose a variety of small succulents in different colors, shapes, and textures for a visually appealing display.
- Planting Your Succulent Masterpieces: Apply a dab of Aleene’s clear tacky glue to each succulent cutting and gently insert them into the moss through the chicken wire openings. Get creative with your arrangement!
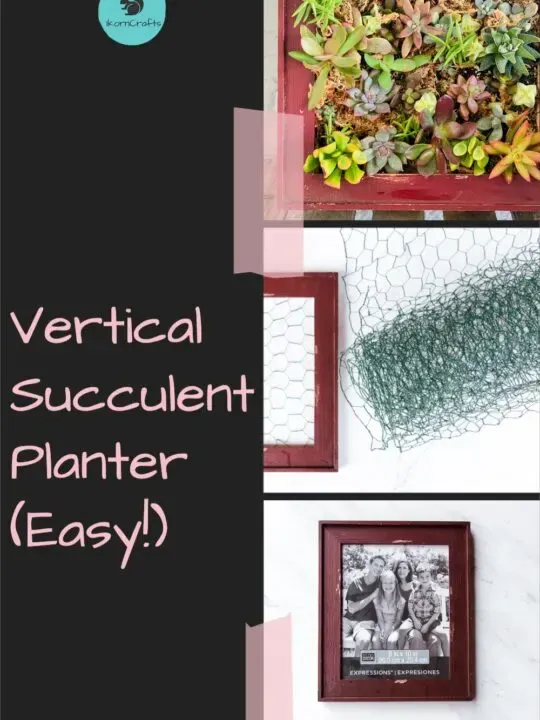 Series of 3 images. The first shows succulents in a picture frame forming a living wall. The second shows an in-process photo of the chicken wire and frame. The third shows the base materials (a picture frame and a wood box).
 - Behold Your Handiwork! Once your succulent arrangement is complete, display your stunning living wall on your porch, patio, or hang it on a wall or fence.
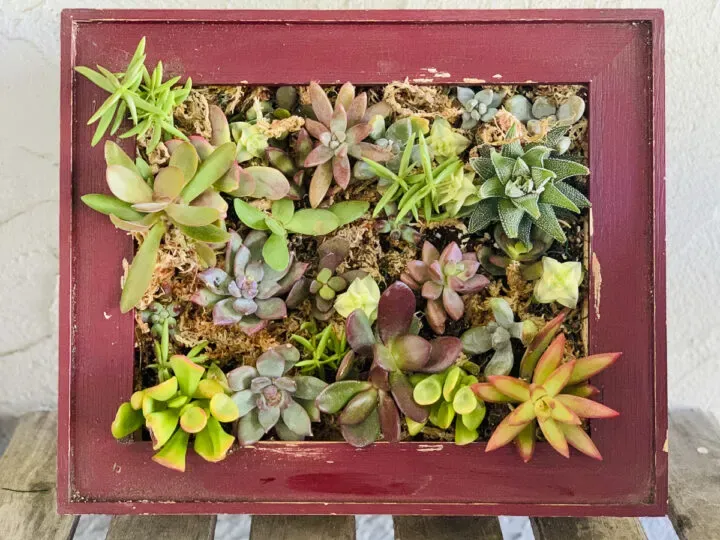 Living wall made from a rustic wood frame surrounding a bed of small succulents in sphagnum moss
Visual Guide: Adding Moss and Succulents
For a closer look at the moss-filling and succulent-planting process, be sure to check out the video below!
[Insert Video Here]
Unleash Your Inner Artist
Congratulations on creating your own slice of vertical garden paradise! Remember, this is just a starting point – feel free to experiment with different succulent varieties, arrangements, and even add decorative elements to personalize your creation.
Share Your Green Thumb Triumphs
We’d love to see your DIY vertical succulent gardens! Share pictures of your creations in the comments below and inspire fellow plant enthusiasts.
Explore More Handmade Wonders
Looking for more creative DIY projects and unique handmade gifts? Head over to the Robert Kline Art website and discover a world of handcrafted treasures! From charming home decor to thoughtful gifts, we’ve got something special for everyone.
Happy crafting!
