Creating a Vibrant DIY Vertical Garden from Gutters
Are you looking for a creative and budget-friendly way to add a touch of greenery to your outdoor space? Look no further than a DIY vertical garden made from recycled gutters! This unique and surprisingly easy project is a fantastic way to transform a dull fence or wall into a vibrant, eye-catching focal point. In this article, I’ll guide you through the process of creating your own DIY gutter garden, step-by-step, using simple materials and tools.
From Dull Fence to Artistic Delight: My Gutter Garden Journey
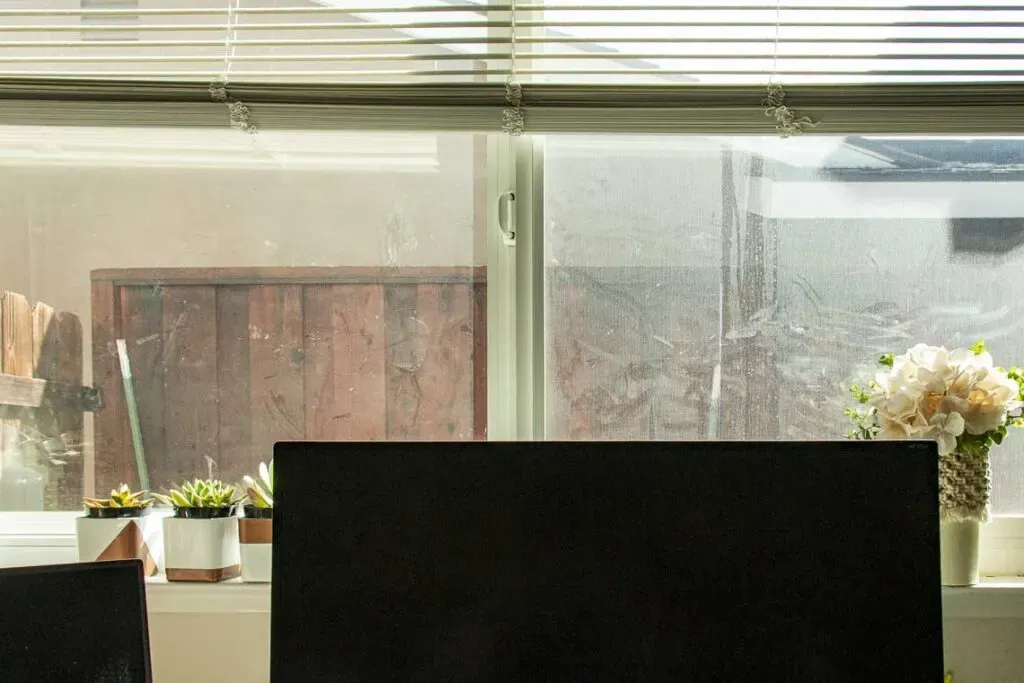
Like many of you, I spent countless hours gazing out my home office window at a rather uninspiring fence. Determined to infuse my view with life and color, I decided to embark on a vertical garden project. Limited on ground space, I knew I had to get creative. That’s when the idea of a rain gutter garden struck!
This project was the perfect weekend endeavor, and the transformation was astounding. Come Monday morning, I was greeted by a view that was both refreshing and uplifting. This was my first foray into the world of gutter gardens, and let me tell you, it was a resounding success!
 View of a dull, empty fence through dirty windows.
My view before starting this project
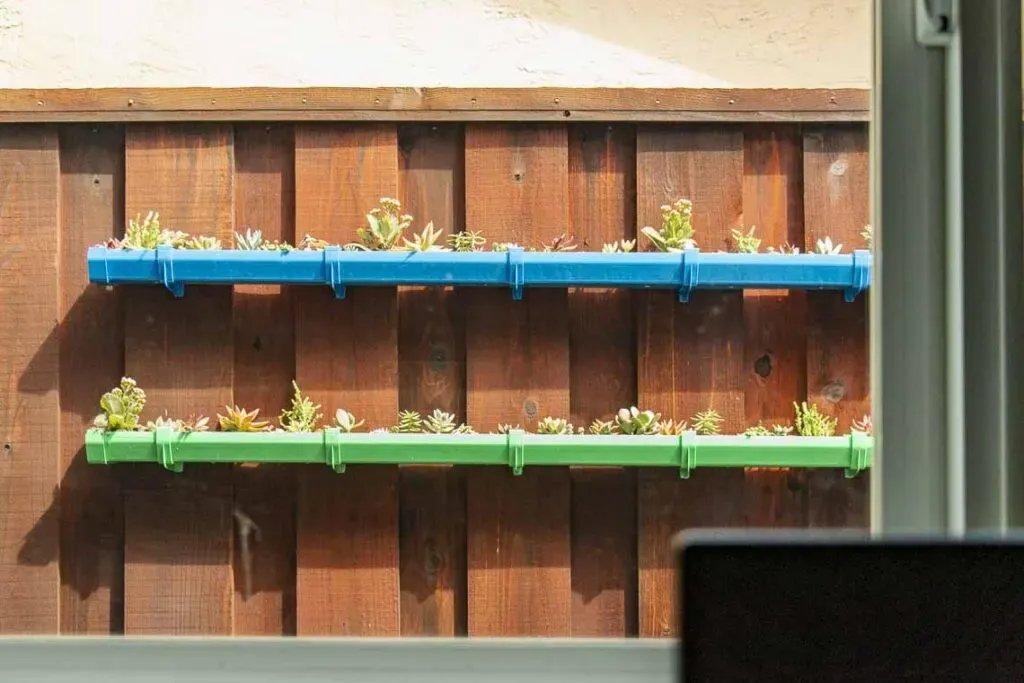 View out a window showing the rain gutter garden. Two gutter pieces painted blue and green and filled with succulents are installed on a fence.
A vibrant transformation: My DIY gutter garden
While the gutters themselves lie horizontally, the beauty of this project is that the entire structure thrives vertically, making the most of your wall or fence space.
Bringing Your Gutter Garden to Life: A Project Overview
The essence of a rain gutter garden lies in its simplicity: a rain gutter and plants! Repurposing old gutters adds a touch of sustainability, but if you’re starting fresh, your local home improvement store has got you covered.
The process is beautifully straightforward:
- Cut the gutter into manageable sections.
- Add a splash of color and drill drainage holes.
- Mount your planters to the fence.
- Introduce your chosen plants.
- Sit back, relax, and watch your vertical garden flourish!
Crafting Your DIY Rain Gutter Garden: A Step-by-Step Guide
Materials You’ll Need:
- Gutter: I used a 4 in. x 10 ft. White U-Style Vinyl Gutter.
- End Caps: Ensure they match your gutter style (I used 4 in. White Vinyl End Caps).
- Hanging Brackets: Choose brackets compatible with your gutter (I used Contemporary Vinyl Gutter Brackets).
- Glue (optional, for securing end caps).
- Screws: For attaching the gutter to the fence.
- Painter’s Tape: For marking and protecting surfaces.
- Soil: Opt for a well-draining mix.
- Shallow Root Plants: Succulents are a great low-maintenance option.
Tools for the Trade:
- Measuring Tape: Precision is key!
- Saw: A fine-tooth hacksaw is ideal for clean cuts.
- Fine Grit Sandpaper: For prepping the gutter surface (if needed).
- Garden Hose: For cleaning and watering.
- Safety Gear: Respirator and safety glasses are a must.
- Tarp: Protect your work area from paint splatters.
- Drill: With various sized bits for drainage and mounting.
- Level: For a perfectly aligned installation.
Project Steps:
1. Gathering Your Supplies:
Head to your local home improvement store and gather your gutter, end caps, and hanging brackets. Ensure compatibility between these components for a smooth installation. I opted for a vinyl U-style gutter and purchased end caps and exterior hooks specifically designed for this type.
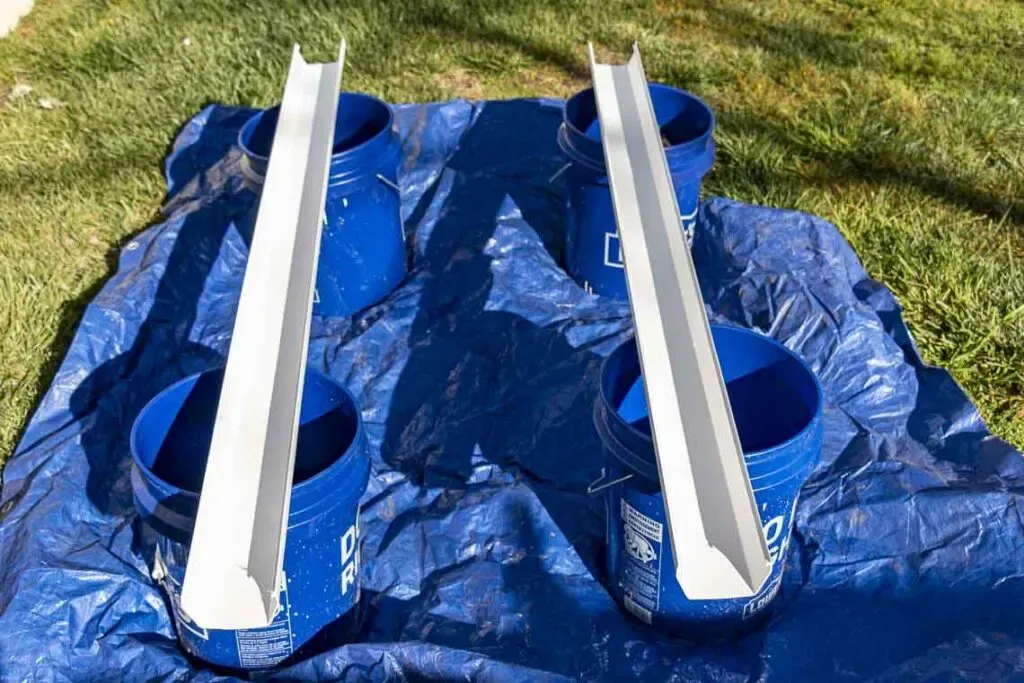 10 foot length of vinyl gutter material cut into two shorter segments.
Essential supplies for your DIY gutter garden
2. Sizing Up and Cutting Your Gutter:
If you need to cut your gutter to size, utilize the store’s cutting station or a fine-tooth hacksaw at home. Remember to measure and mark the center point for precise cutting.
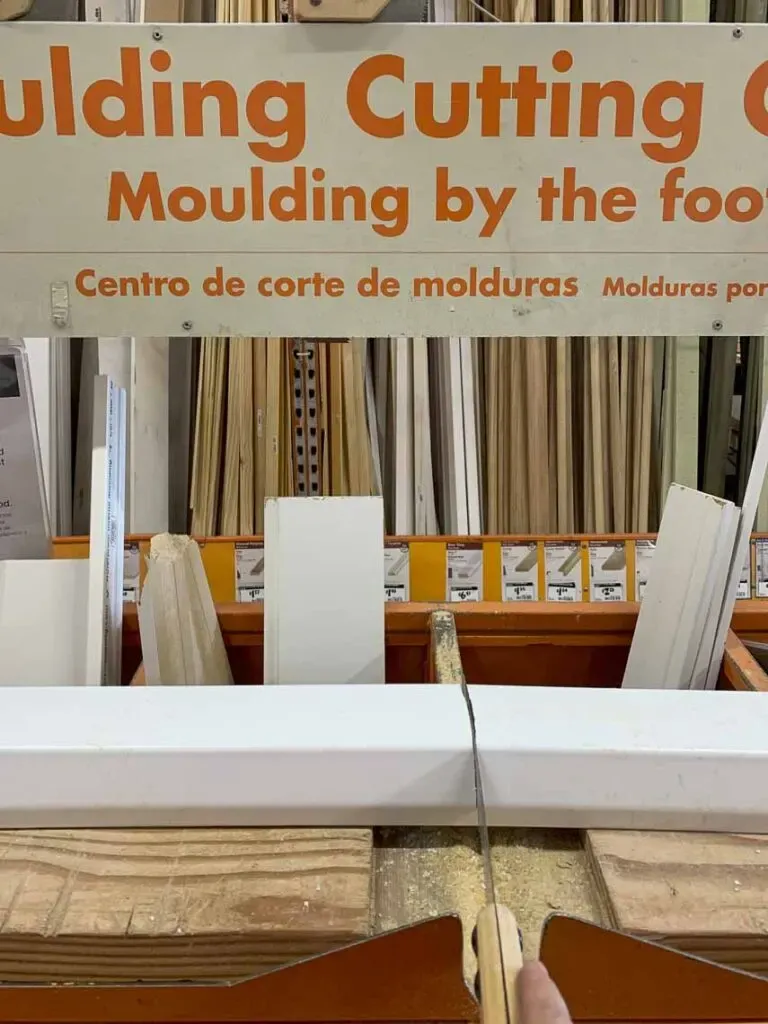 Using a hand saw to cut the 10 foot piece of gutter in half at the moulding cutting station in Home Depot.
Cutting the gutter to size at the store
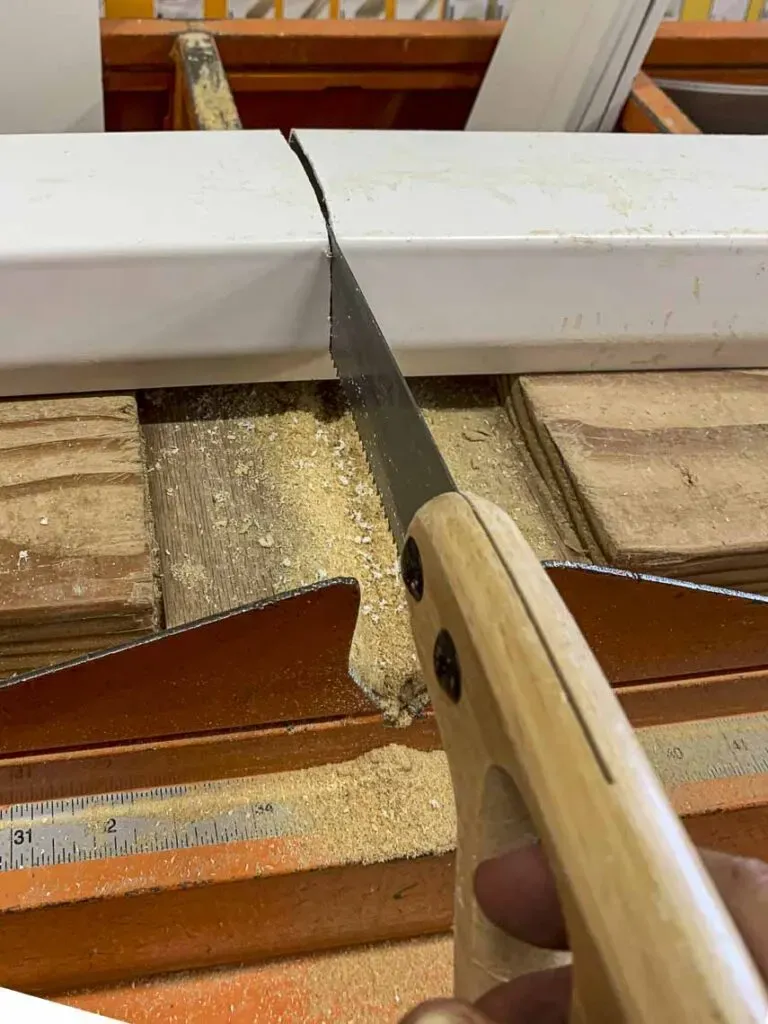 Using a hand saw at the Home Depot to cut the 10 foot piece of gutter in half at the store.
Using the store’s cutting station for convenience
3. A Clean Slate for Painting:
Before painting, give your gutter a good cleaning with a hose. If you’re working with older gutters, ensure they’re free of debris. Allow ample drying time before moving on to the next step.
4. Adding a Splash of Personality:
Now for the fun part – painting! Remember to wear your respirator and work in a well-ventilated area. I went with vibrant blue and green shades for a cheerful touch. Apply multiple thin coats of spray paint, allowing for proper drying time between each coat.
Pro Tip: Lightly sanding the gutter surface with fine-grit sandpaper can enhance paint adhesion.
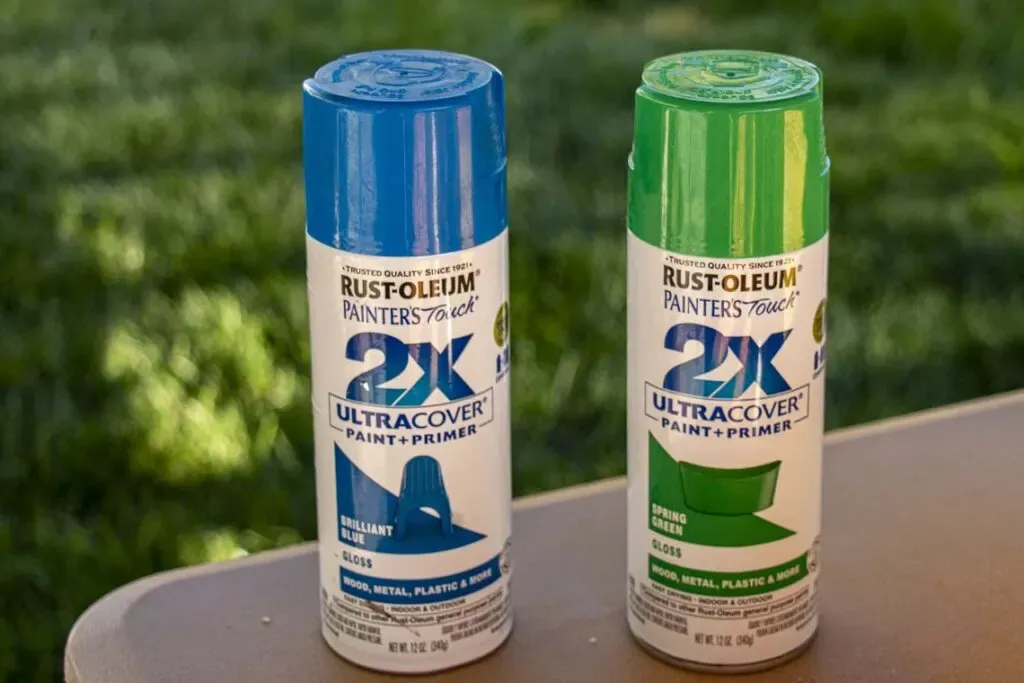 Two cans of Rust-Oleum Painter's Touch 2X UltraCover Paint + Primer in Brilliant Blue (Gloss) and Spring Green (Gloss). These colors were used for the gutter garden.
Vibrant colors for an eye-catching garden
 Gutter end caps and hanging brackets spray painted blue.
Don’t forget to paint the end caps and brackets
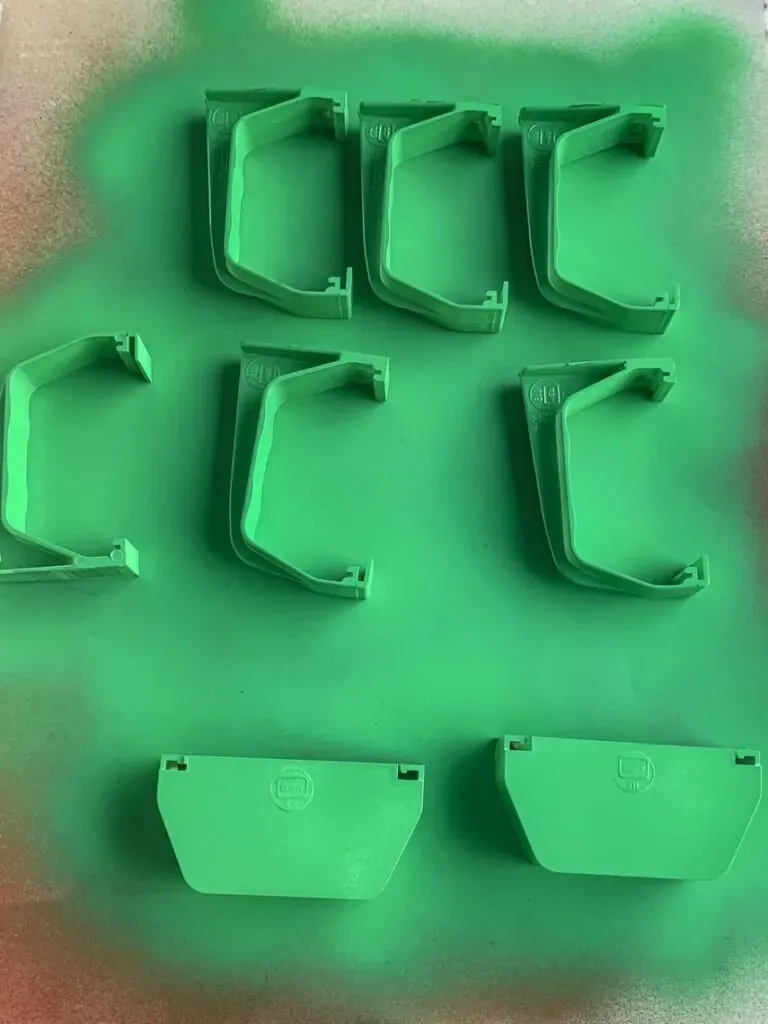 Gutter end caps and hanging brackets spray painted green.
Consistent color across all components
5. Securing the End Caps:
Once the paint dries, attach the end caps to your gutter sections. If they feel a bit loose, a dab of glue will keep them firmly in place.
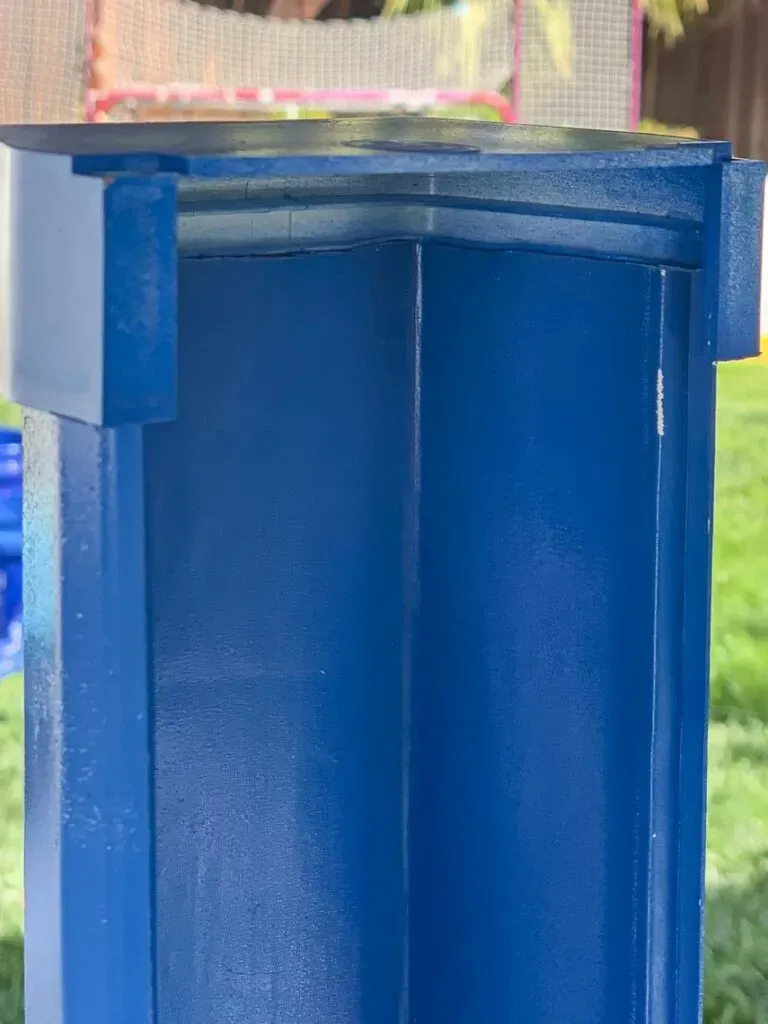 Painted end cap on the end of the painted vinyl gutter.
End caps neatly in place
6. Creating Drainage Holes:
To prevent waterlogging, drill evenly spaced drainage holes along the bottom of your gutter. A larger drill bit works best for this step.
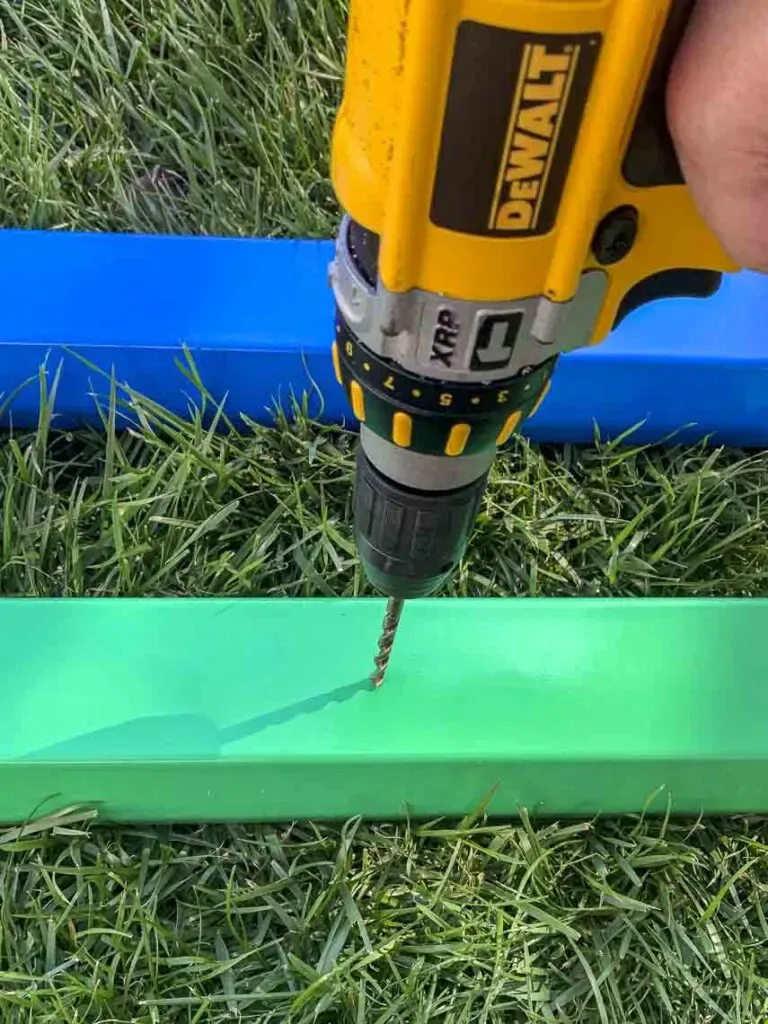 Drilling holes into the bottom of the vinyl gutter with a larger bit to provide drainage for the plants.
Essential drainage for healthy plant growth
7. Mounting Your Planters:
Decide on the placement of your gutter garden and mark the bracket positions on the fence using a level and measuring tape. Drill pilot holes for the screws, ensuring they don’t go all the way through the fence.
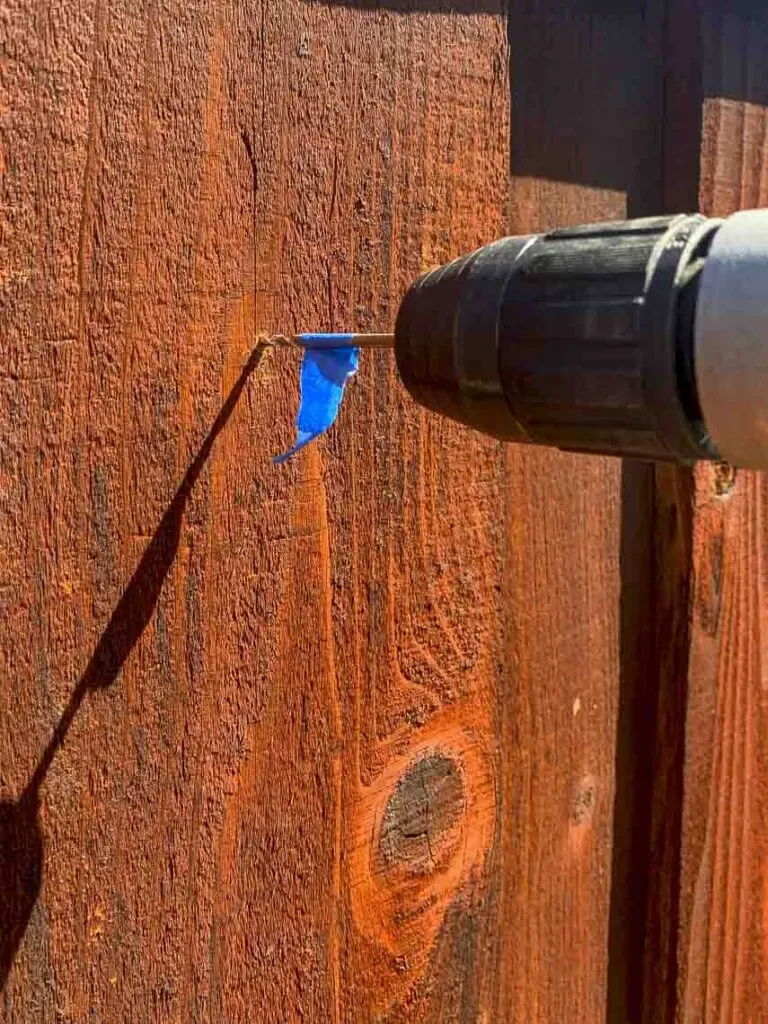 Drilling a hole in the fence for the gutter garden installation. Drill bit has a piece of painters tape to indicate when to stop drilling.
Precise marking and drilling for secure mounting
8. Securing the Gutters:
Carefully attach the brackets to the fence, ensuring they’re level. Once secure, snap your painted gutters onto the brackets.
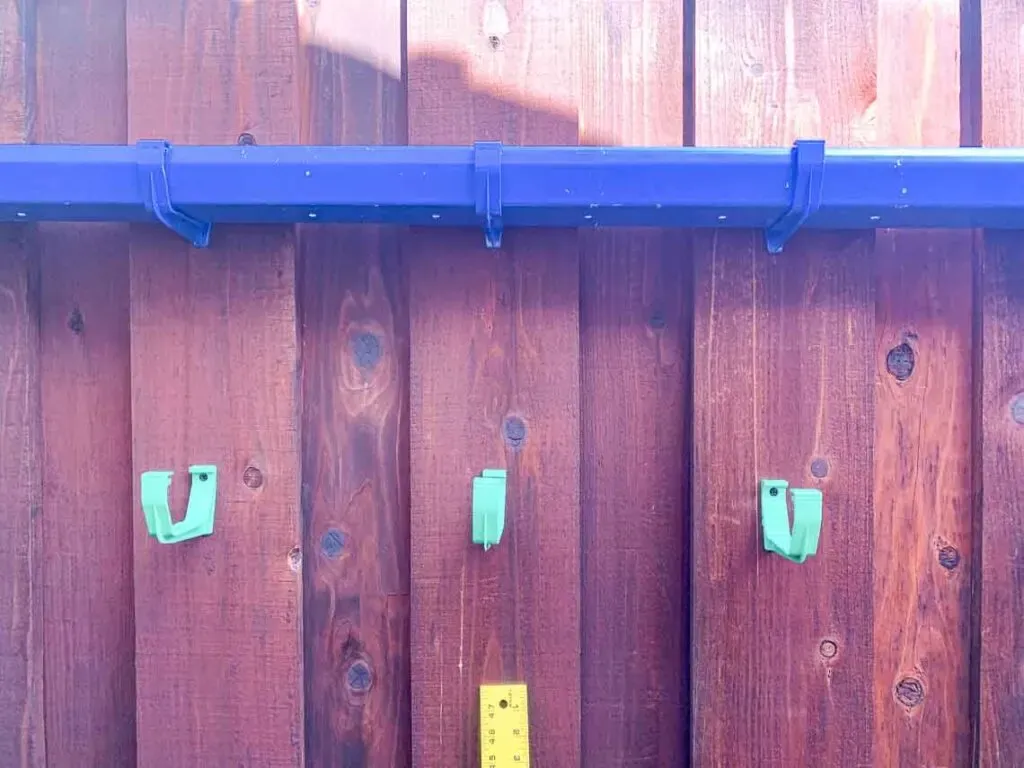 One gutter garden mounted on a fence and a series of hanging brackets screwed into the fence awaiting addition of the second planter.
Brackets securely in place, ready for the gutters
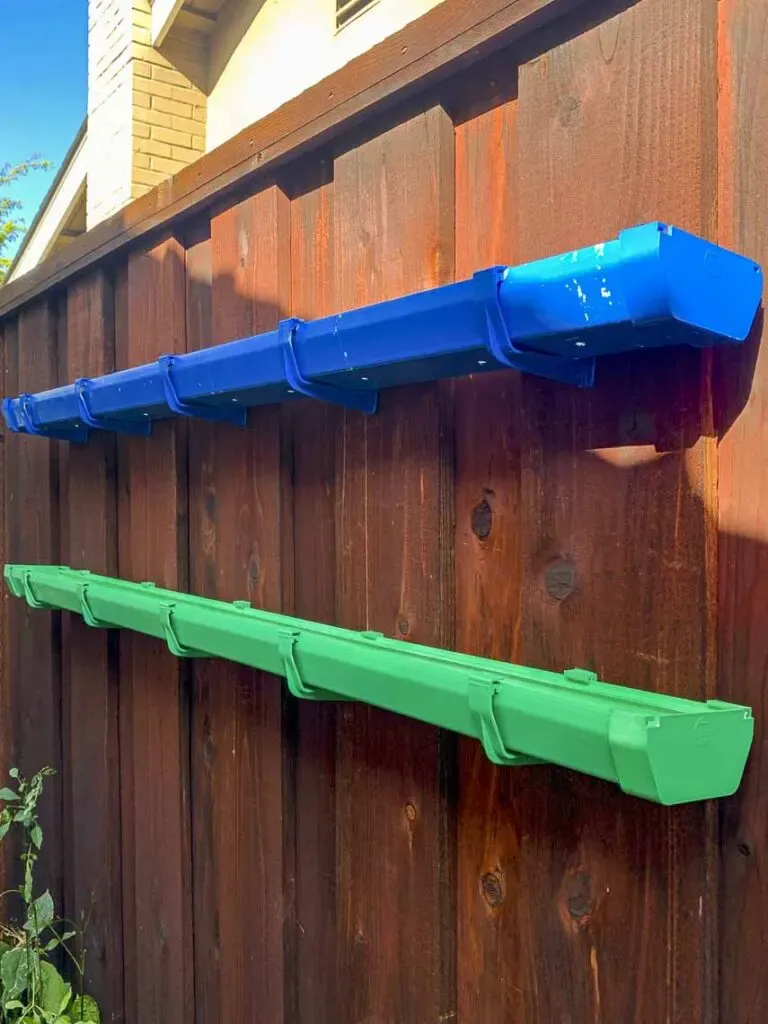 Two empty gutter planters mounted on the fence prior to adding the plants. Image also shows the scratches in the paint from applying the mounting hooks.
Gutter planters mounted and ready for planting!
9. Planting Time:
Fill your gutters with well-draining soil, leaving some space at the top. Gently add your chosen plants, making sure to space them out evenly. Succulents are an excellent option for their low-maintenance nature and striking visual appeal.
 Two empty gutter planters mounted on the fence prior to adding the plants. Image also shows the scratches in the paint from applying the mounting hooks.
Adding the finishing touch
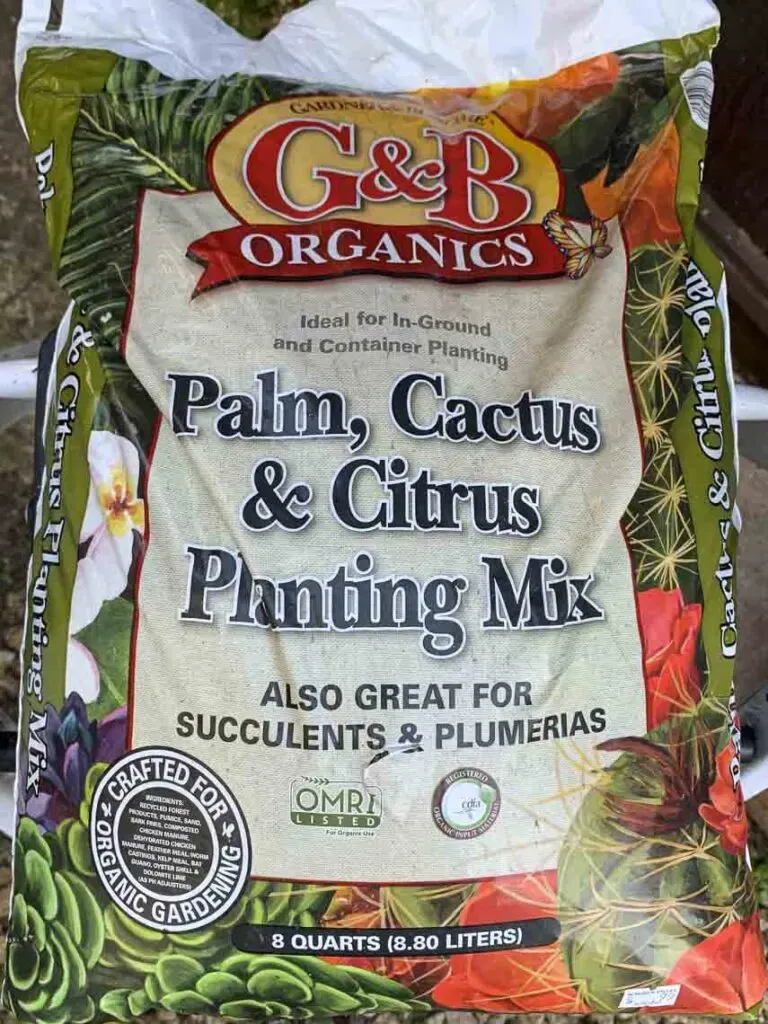 A bag of G&B Organics Palm, Cactus, & Citrus Planting Mix which is also great for succulents.
Choosing the right soil for your succulents
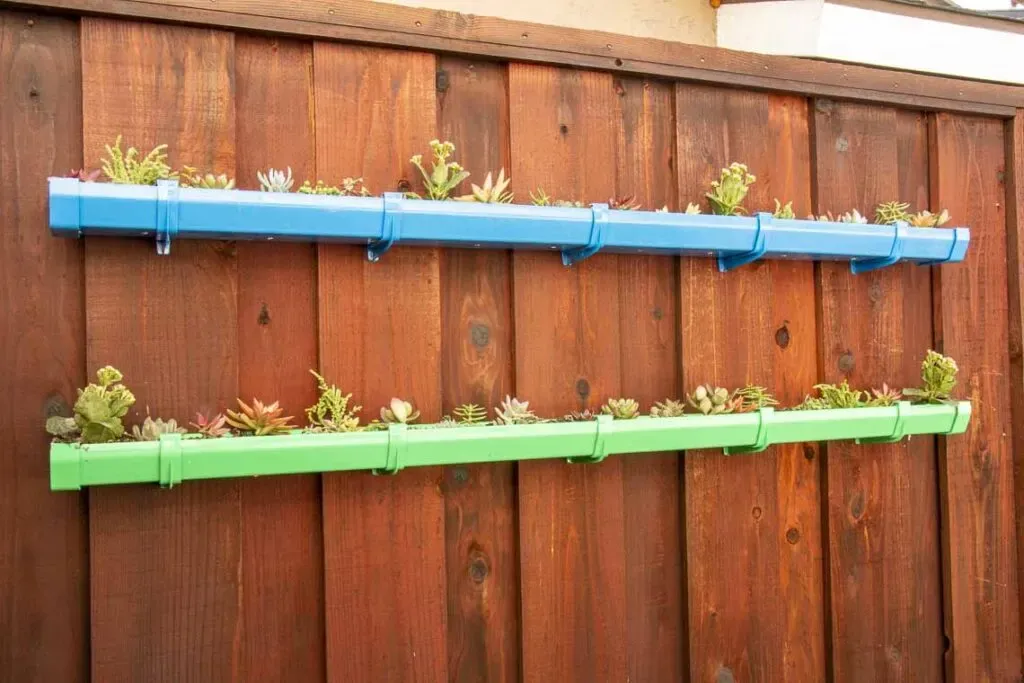 Two level rain gutter garden, painted green and blue, filled with a variety of small succulents mounted on a fence.
The final result! A stunning vertical garden
Exploring the Versatility of Gutter Gardens
Beyond fence installations, gutter gardens offer endless creative possibilities:
- Porch and Deck Railings: Add a touch of charm to your outdoor seating areas.
- Hanging Gutter Gardens: Create a cascading effect with suspended planters.
- Privacy Screens and Space Dividers: Construct unique and stylish partitions.
Get Creative and Share Your Green Thumb Triumphs!
This DIY gutter garden is a testament to the transformative power of creativity and resourcefulness. It’s a project that’s kind to your wallet, environmentally conscious, and most importantly, incredibly rewarding. I’m so happy with how mine turned out, and I hope this inspires you to embark on your own gutter gardening adventure.
Have you ever considered incorporating recycled materials into your gardening endeavors? What other creative planter ideas have you experimented with? Share your thoughts and experiences in the comments below – I’d love to hear from you!
For more inspiring DIY projects and unique handmade gift ideas, be sure to explore the rest of the Robert Kline Art website. Let’s unleash our creativity together!
