Blog
Creating a DIY Pebble Mosaic Masterpiece for Your Outdoor Space
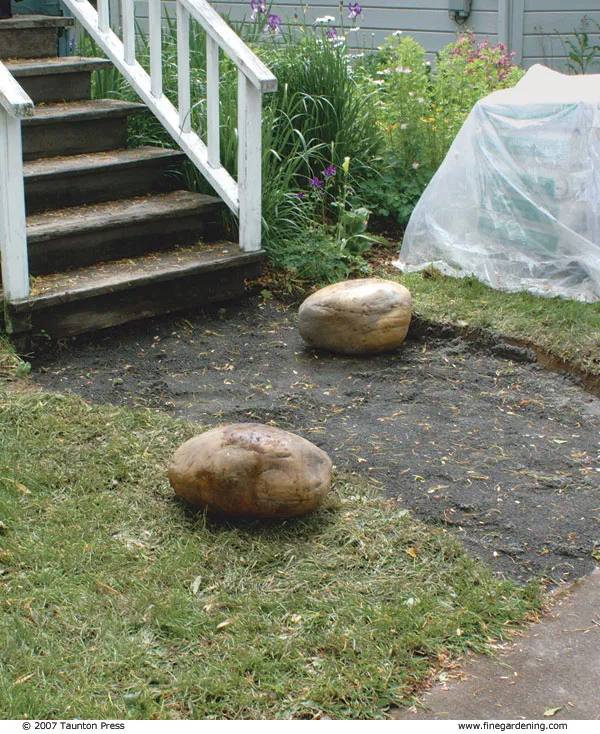
Hey there, fellow art enthusiasts! Robert Kline here, and I’m thrilled to share my long-standing passion for pebble mosaics. Ever since inheriting a love for stones from my geologist grandparents, I’ve been captivated by the idea of transforming simple pebbles into breathtaking works of art. After witnessing the stunning pebble pavements in Spain and Portugal, I knew I had to bring this craft home to my Portland garden.
Unearthing the Beauty: The Allure of Pebble Mosaics
What fascinates me most about pebble mosaics is their versatility. From crafting eye-catching stepping stones and winding pathways to embellishing patios, walls, and even ponds, the possibilities are truly endless. The best part? The materials are budget-friendly, and the results are nothing short of spectacular.
From Vision to Reality: Designing Your Pebble Mosaic
Every mosaic I create begins with a design. Whether it’s a simple pattern or a complex mandala, sketching it out on paper and then recreating it on-site helps me visualize the final product.
Pro Tip: If you’re new to pebble mosaics, start small with a stepping stone or an edging strip to get the hang of the technique.
Gathering Your Artistic Arsenal: Tools and Materials
Before embarking on your pebble mosaic journey, gather the following:
Tools:
- Contractor’s wheelbarrow
- Garden hoe
- Garden hose and spray nozzle
- Garden or concrete trowel
- Short stool
- Sturdy rubber gloves
- Dust mask
- Contractor’s-grade 1/2-inch thick plywood (3-foot by 3-foot sheet)
- Rags
- Respirator (optional)
Materials:
- Material for forms (2×6 lumber and stakes, sturdy plastic edging, or bender board)
- Crushed gravel (for the base)
- Premixed dry mortar in 60- or 80-pound bags
- Sorted drain-rock pebbles
- Muriatic acid (optional)
A Word on Pebbles: Drain rock is an inexpensive source for pebbles. Sort them by color and size after wetting them (wetting brings out their true colors). You can also find pre-sorted pebbles, but they’re pricier.
Laying the Foundation: Prepping Your Site
-
Excavate and Level: Dig out the area for your mosaic to a depth of 5 inches below the desired finished level. Ensure the base is smooth and level.
-
Add a Gravel Base: Spread a 2-inch layer of crushed gravel and compact it firmly. This base is crucial for drainage and preventing cracks caused by frost heave.
-
Build Forms (If Needed): For straight-edged designs, install forms before adding the gravel. Use sturdy materials like lumber or bender board for curved designs.
 Dig a level base, then add well-tamped crushed gravel. The depth of the base depends on the climate
Bringing Your Mosaic to Life: The Installation Process
-
Mix the Mortar: Work in small batches, mixing one bag of mortar at a time with water in a wheelbarrow until it reaches a thick pudding consistency. Remember to wear gloves and a dust mask during mixing.
-
Pour and Spread: Pour the mortar onto the compacted gravel, starting from one edge of the form. Maintain a depth of about 1/2 inch below the finished grade.
-
Place the Pebbles: Start embedding your pebbles into the mortar. Set smaller pebbles on their sides for better stability.
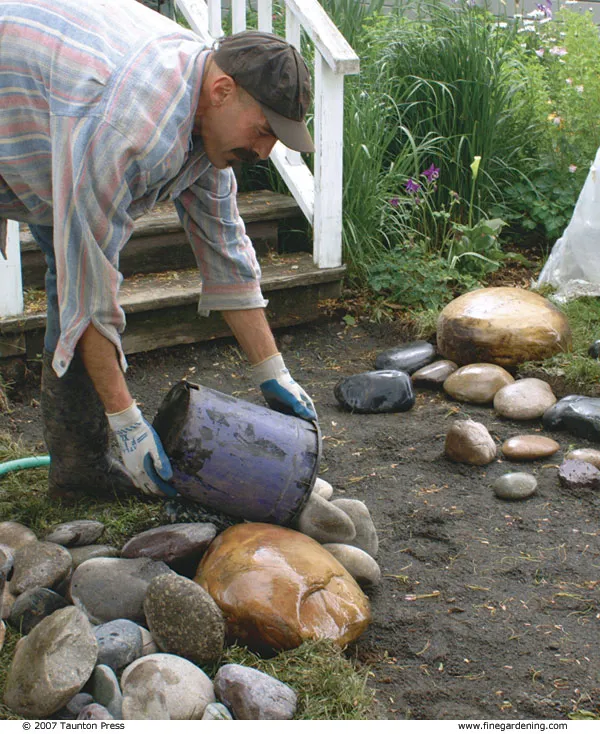 Author pouring stones onto walkway to begin layout.
**Pro Tip:** Wetting the pebbles beforehand enhances mortar adhesion.- Leveling and Compacting: Once a section is complete, lay plywood over it and step on it to level the pebbles with the form.
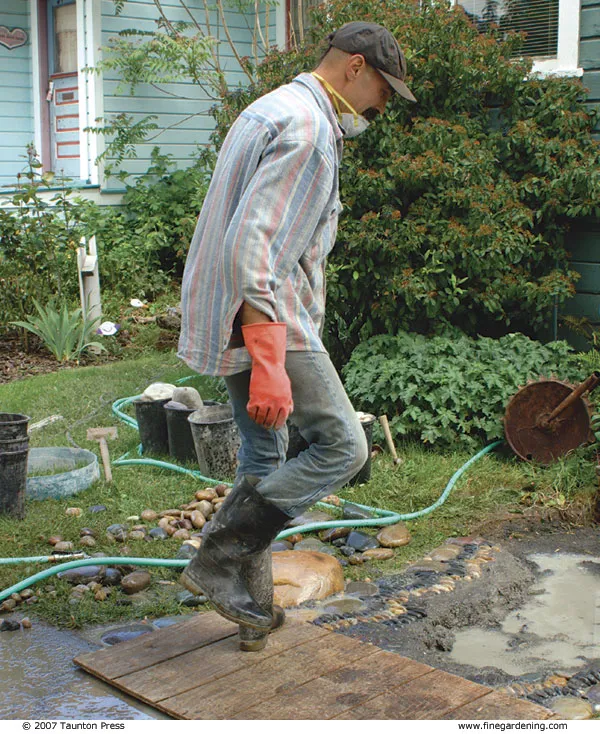 Author stepping on board to press stones into mortar on walkway.
- Cleaning and Curing: Gently spray away excess mortar and trim any leftover mortar along the edges. Allow the mortar to cure completely, wetting the surface frequently to prevent cracking.
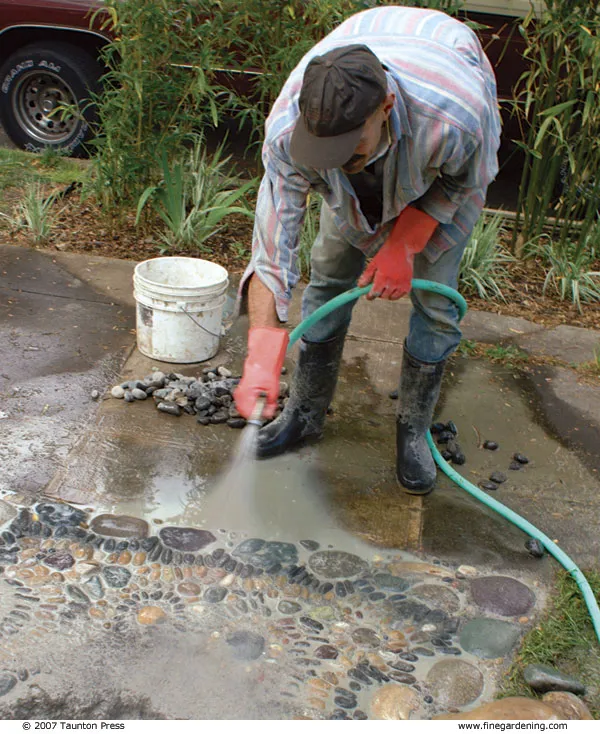 Author spraying mosaic with hose to clean off any displaced mortar.
The Finishing Touch: Adding Polish and Character
-
Muriatic Acid Treatment (Optional): Remove any mortar film on the pebbles with muriatic acid. Always wear protective gear and rinse thoroughly with water afterward.
-
Repairing Loose Pebbles: Reattach any loose pebbles using a polymer-based adhesive like Thinset, applying it sparingly.
The Art of Storytelling Through Stone
For me, each pebble mosaic tells a story. It’s a testament to the beauty found in natural elements and the transformative power of craft. Imagine guests marveling at a mosaic pathway leading to your garden or a whimsical sunburst design gracing your patio wall.
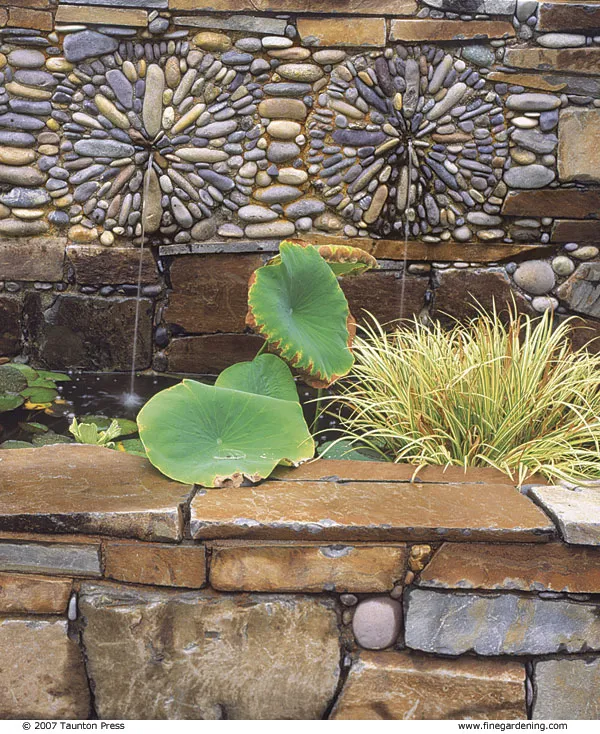 These sunburst mosaics frame the water spouts in a wall above a pool.
Ready to Create Your Own Pebble Mosaic Masterpiece?
I invite you to explore the endless creative possibilities of pebble mosaics. Visit Robert Kline Art for more inspiration and unique handmade gifts. Don’t forget to share your own mosaic creations – I’d love to see what you come up with!
