Blog
DIY Outdoor Fire Table: Craft Your Own Cozy Corner
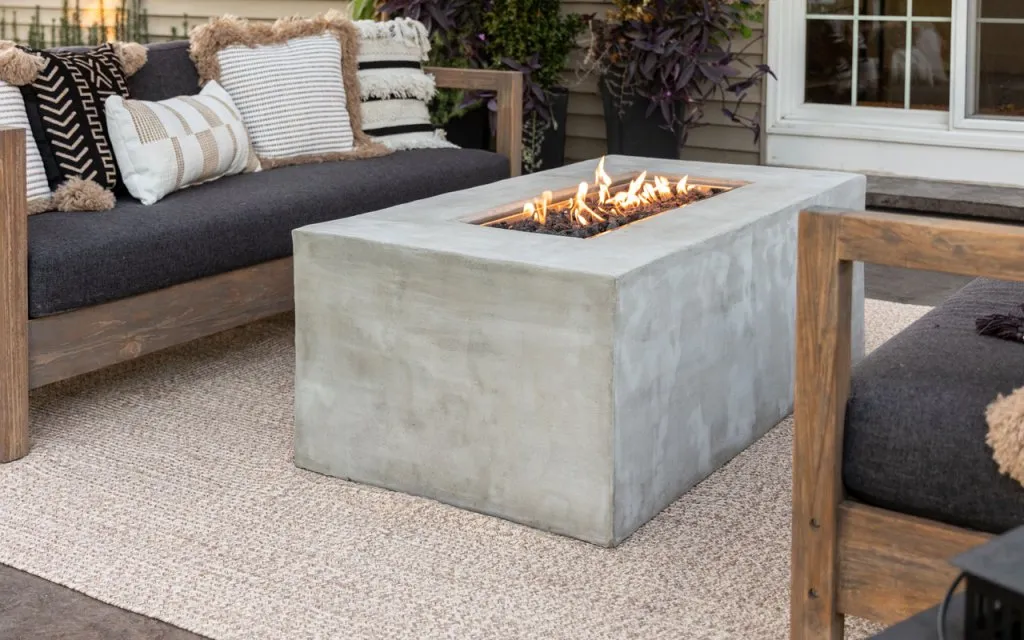
There’s something undeniably magical about gathering around a warm fire on a cool evening. The flickering flames, the crackling sounds, the shared stories—it’s a recipe for unforgettable moments. Recently, I’ve been dreaming of creating a dedicated cozy corner in my outdoor space, and a fire table seemed like the perfect centerpiece.
Of course, as a dedicated DIY enthusiast and craft lover, I wasn’t about to settle for just any fire table. I wanted a piece that reflected my personal style and didn’t break the bank. So, inspired by the sleek and modern Plateau Rectangular Outdoor Fire Table from Crate & Barrel, I embarked on a journey to build my own version. The results? Let’s just say my outdoor space has never looked better, and my wallet is thanking me.
 "Fire table with people sitting around"
Ready to ignite your inner maker? Here’s everything you need to know to craft your own DIY outdoor fire table:
Gathering Your Materials: The Building Blocks of Your Fire Table
Every masterpiece begins with the right tools and materials. For this project, you’ll need a blend of sturdy construction essentials and fire-safe components:
Framework:
- 5-6 metal 2x4s
- 1-2 metal rails
- 1/2″ Self-drilling metal screws
Surface:
- 3 sheets of 7/16″ wonderboard backer lite
- 1 sheet of 1/4″ wonderboard backer lite
- 1 5/8″ rock-on screws
Fire Feature:
- 30″ x 10″ Drop-in fire pit pan
- 11 lb. propane tank
Finishing:
- Thinset Mortar (gray recommended)
- Concrete sealer
- Joint tape
- Optional: Adjustable furniture feet, recessed door ring, magnetic catches, handle
Tools:
- Measuring tape
- Level
- C-clamps
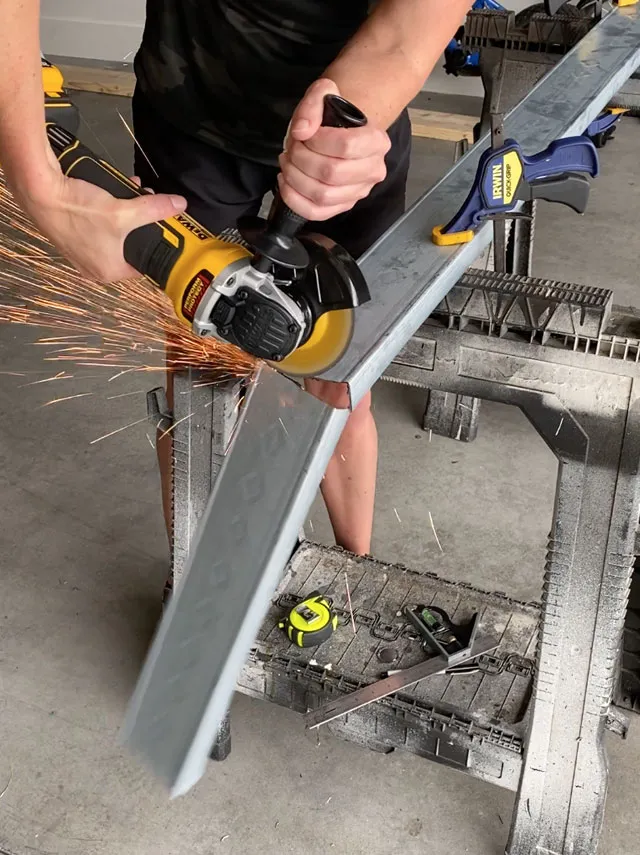
- Grinder
- Utility knife
- Trowel
- Sponge
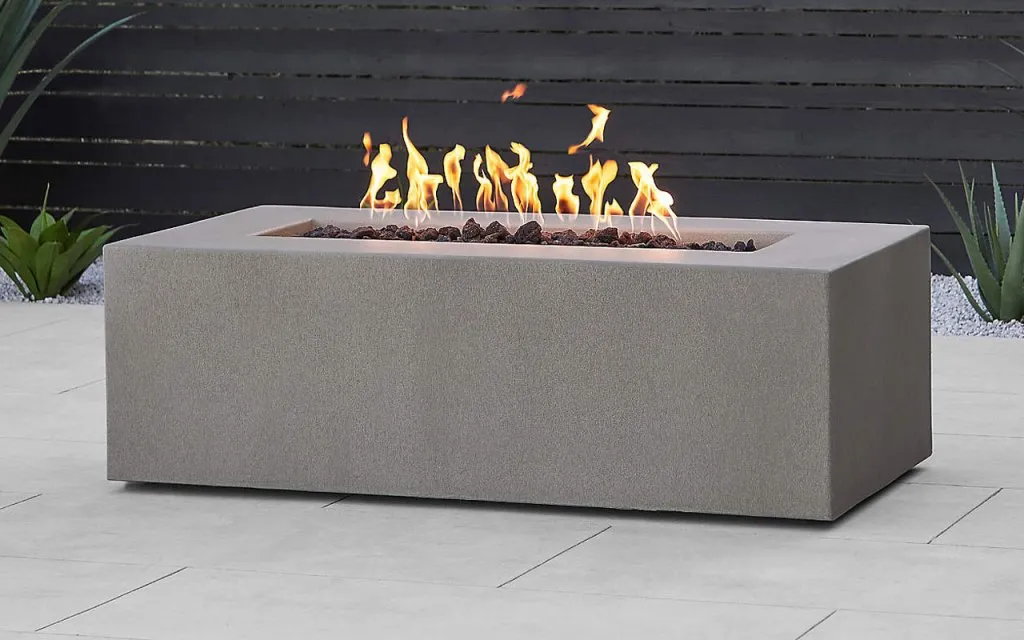 "Fire table in progress"
Building the Framework: A Solid Foundation
Before diving into construction, decide on the dimensions of your fire table. I opted for a size similar to my inspiration: 52″ long x 28″ wide x 18″ high. Remember to factor in the thickness of your wonderboard when calculating the framework size.
-
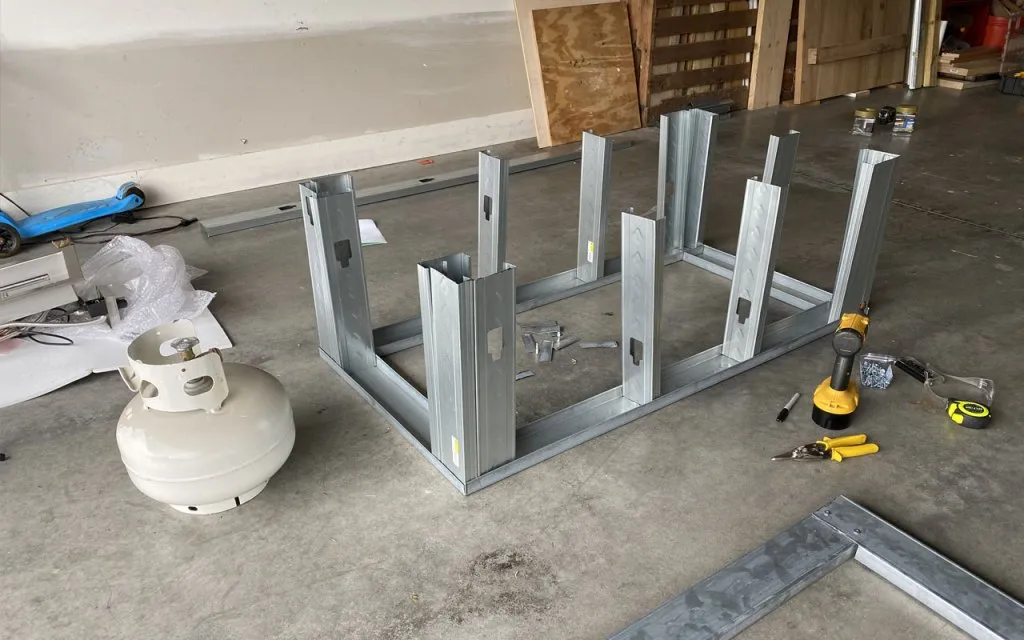
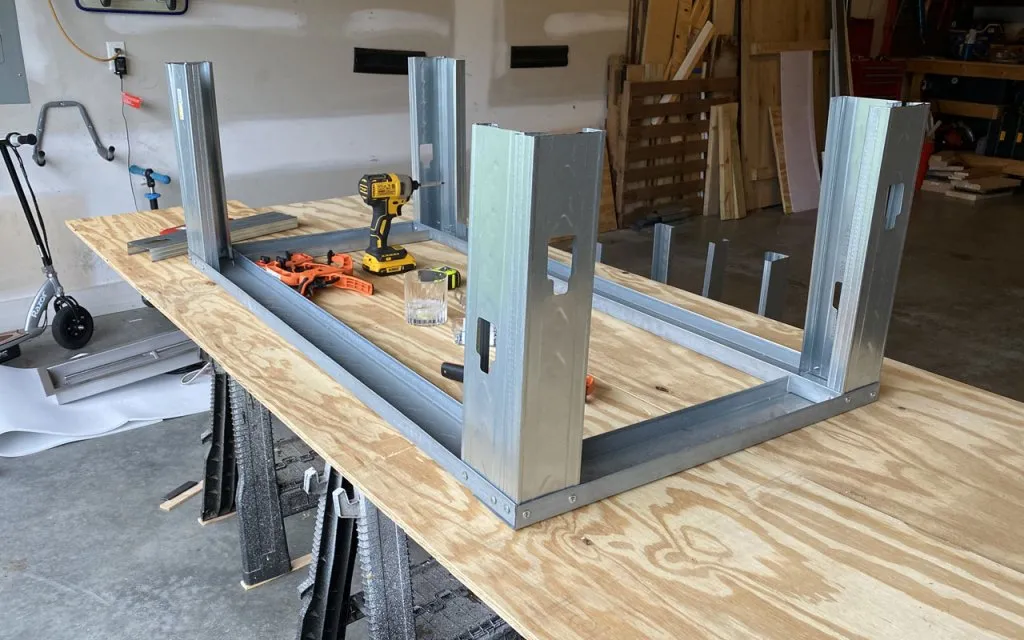
Constructing the Base: Begin by assembling the bottom frame using metal rails and securing them with metal screws. This forms the foundation of your fire table.
-
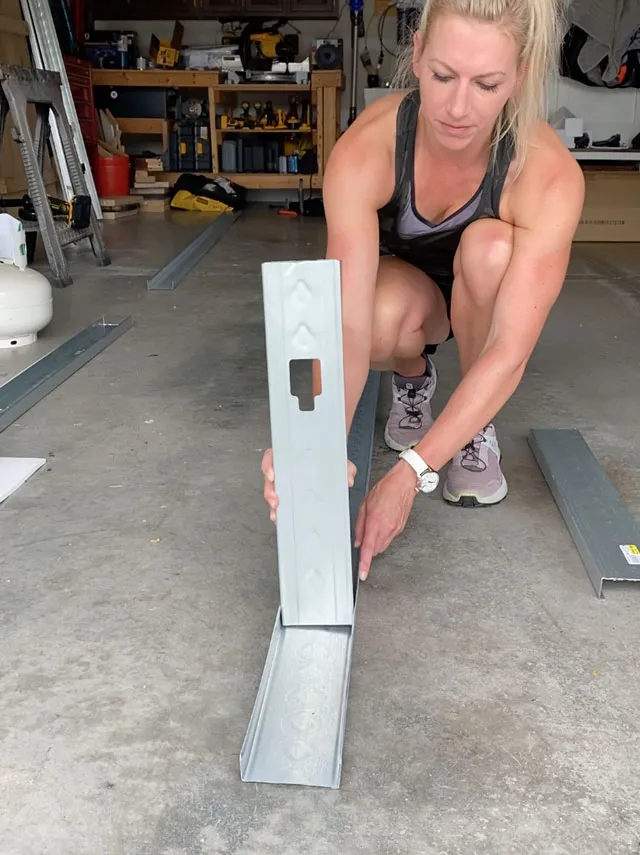
Adding Vertical Supports: Cut your metal 2x4s to the desired height and attach them to the bottom frame using screws. These act as the vertical supports, giving your fire table its shape.
-
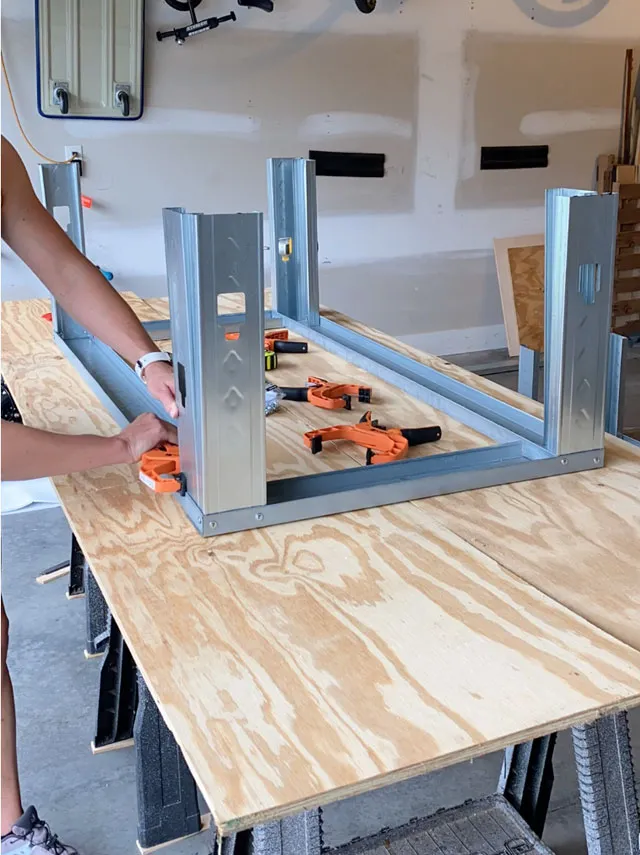
Securing the Top: Add a top frame using metal rails, mirroring the bottom frame. Attach it securely to the vertical supports, creating a sturdy box-like structure.
Pro-tip: C-clamps are your best friend when working with metal framing. Use them to hold the pieces in place while you drill and secure the screws. A magnetic level will also be super handy for ensuring everything stays straight and true.
 "Fire table with the frame complete"
- Fire Pan Support: Cut additional metal 2x4s to create a support structure on top of the frame for your fire pit pan. The size and placement will depend on the dimensions of your pan. Ensure it sits snugly within the frame.
 "Fire table frame with fire pan support"
Encasing the Frame: Wonderboard for Durability and Style
With the framework complete, it’s time to enclose it with wonderboard, a cement-based material known for its strength and moisture resistance – perfect for outdoor projects.
-
Perimeter Coverage: Cut the 7/16″ wonderboard to size and attach it to the sides of the frame using rock-on screws. Remember to pre-drill holes through both the wonderboard and metal framing for easier installation.
-
Creating a Seamless Top: I opted for a two-layer approach for the top to achieve a flush look:
- First Layer: Use the thinner 1/4″ wonderboard for the initial layer, cutting a hole in the center to accommodate your fire pit pan. Ensure the top of the pan sits flush with the wonderboard.
- Second Layer: Cut a slightly larger hole in the 7/16″ wonderboard to create a removable lid. This piece will rest on the fire pan support, concealing it from view.
 "Fire table with wonder board top"
Adding the Finishing Touches: Thinset Mortar for a Polished Look
The beauty of DIY lies in customization. I chose to achieve a modern, cement-like finish using thinset mortar, but feel free to explore alternative materials like stone or concrete to match your aesthetic.
-
Applying the Mortar: Prepare the thinset mortar according to the manufacturer’s instructions. Using a trowel, apply an even layer to the entire surface of the fire table.
-
Preventing Cracks: Apply joint tape to any areas where two pieces of wonderboard meet. This helps prevent cracking and ensures a smoother final appearance.
-
Smoothing the Surface: Once the mortar begins to set, lightly dampen a sponge and use it to smooth out the surface, removing any imperfections. For a perfectly smooth finish, a second coat of mortar might be necessary. Allow ample drying time between coats.
-
Sealing for Protection: To protect your masterpiece from the elements, apply a concrete sealer to the entire fire table, following the manufacturer’s guidelines.
 "Fire table with thin set complete"
Personalizing Your Fire Table: Functionality Meets Style
To elevate the functionality and aesthetics of my fire table, I incorporated a few finishing touches:
-
Adjustable Feet: Adding adjustable feet to the base not only provides stability but also allows you to level the fire table on uneven surfaces.
-
Hidden Storage: To neatly conceal the propane tank, I created a hidden compartment within the table. A recessed door ring and magnetic catches provided a sleek and secure closure, while a small handle added a touch of convenience.
 "Fire table complete with propane tank inside"
Basking in the Glow: Enjoying Your DIY Masterpiece
And there you have it—a stunning, handcrafted fire table ready to transform your outdoor space into an inviting oasis. Imagine those chilly evenings spent gathered around the mesmerizing flames, sharing stories, and creating memories.
This project was a true labor of love, a testament to the power of creativity and a testament to the satisfaction that comes from crafting something truly unique with your own two hands.
Feeling inspired? I’d love to see your DIY fire table creations! Share your masterpieces with me in the comments below. And don’t forget to explore the Robert Kline Art website for more handmade wonders and DIY inspiration.
