Creating Your Own DIY Hanging Macrame Chair: A Step-by-Step Guide

Hey there, fellow craft enthusiasts! Robert Kline here, and today, we’re diving headfirst into the intricate and rewarding world of macrame with a project that’s both stylish and functional – a DIY hanging macrame chair!
I’ve always been drawn to the bohemian elegance of macrame, and there’s something truly magical about transforming simple ropes into stunning works of art. This project, inspired by a beautiful piece from Urban Outfitters, pushed my creative boundaries, and I’m excited to guide you through my journey, complete with all the triumphs and, yes, even the occasional hiccup!
Gathering Your Macrame Supplies
Before we embark on this creative adventure, let’s gather our tools and materials. Here’s what you’ll need:
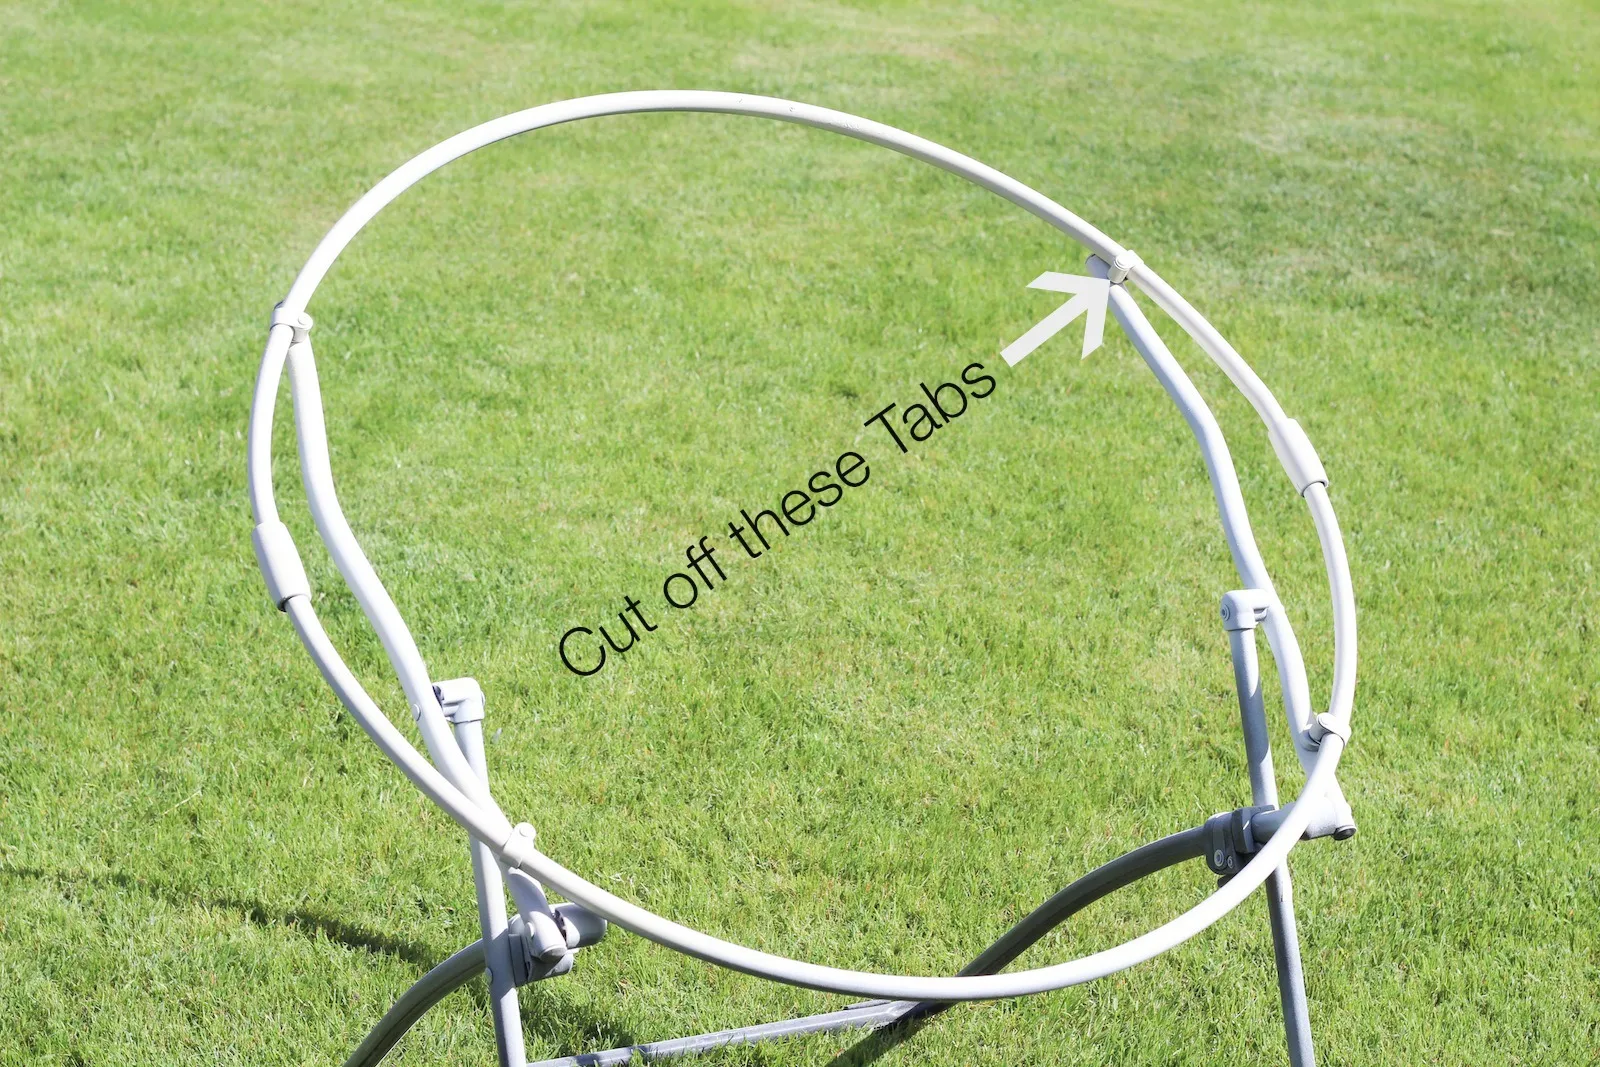
- A Sturdy Hoop: You can use a pre-made metal hoop or get resourceful like I did and repurpose an old chair frame. I found a classic saucer chair at Target, spray-painted it a crisp white, and carefully removed the legs.
- Macrame Cord: I opted for clothesline from Home Depot for its durability and rustic charm. This project is rope-intensive, so stock up! I used approximately 8-9 rolls of 200-foot clothesline and an additional 100-foot roll.
- Hula Hoop: Yes, you read that right! A hula hoop serves as the framework for the chair’s comfortable seat.
- Poster Board: This will come in handy when creating the seat.
- Scissors: Sharp scissors are essential for clean cuts.
- Tape: Masking tape or painter’s tape will be your best friend when it comes to preventing the rope from unraveling.
- Measuring Tape: Precision is key in macrame!
- Patience: This project is a labor of love, so embrace the process and enjoy the journey.
 DIY Hanging Macrame Chair
Mastering the Macrame Knots
Macrame, at its core, is all about knots, and two basic knots form the foundation of this project:
-
Square Knot: The square knot is the workhorse of this project. To tie a square knot, you’ll create a series of loops and passes with your cords, resulting in a flat, square-shaped knot.
-
Alternating Square Knot: As the name suggests, this knot involves alternating the starting cord for each square knot, creating a beautiful spiral effect.
Crafting the Macrame Masterpiece: Step-by-Step
-
Preparing Your Rope: Begin by cutting your clothesline into 120 pieces, each measuring 10 feet long. To prevent unraveling, wrap tape around the rope before cutting.
-
Creating the Chair’s Body:
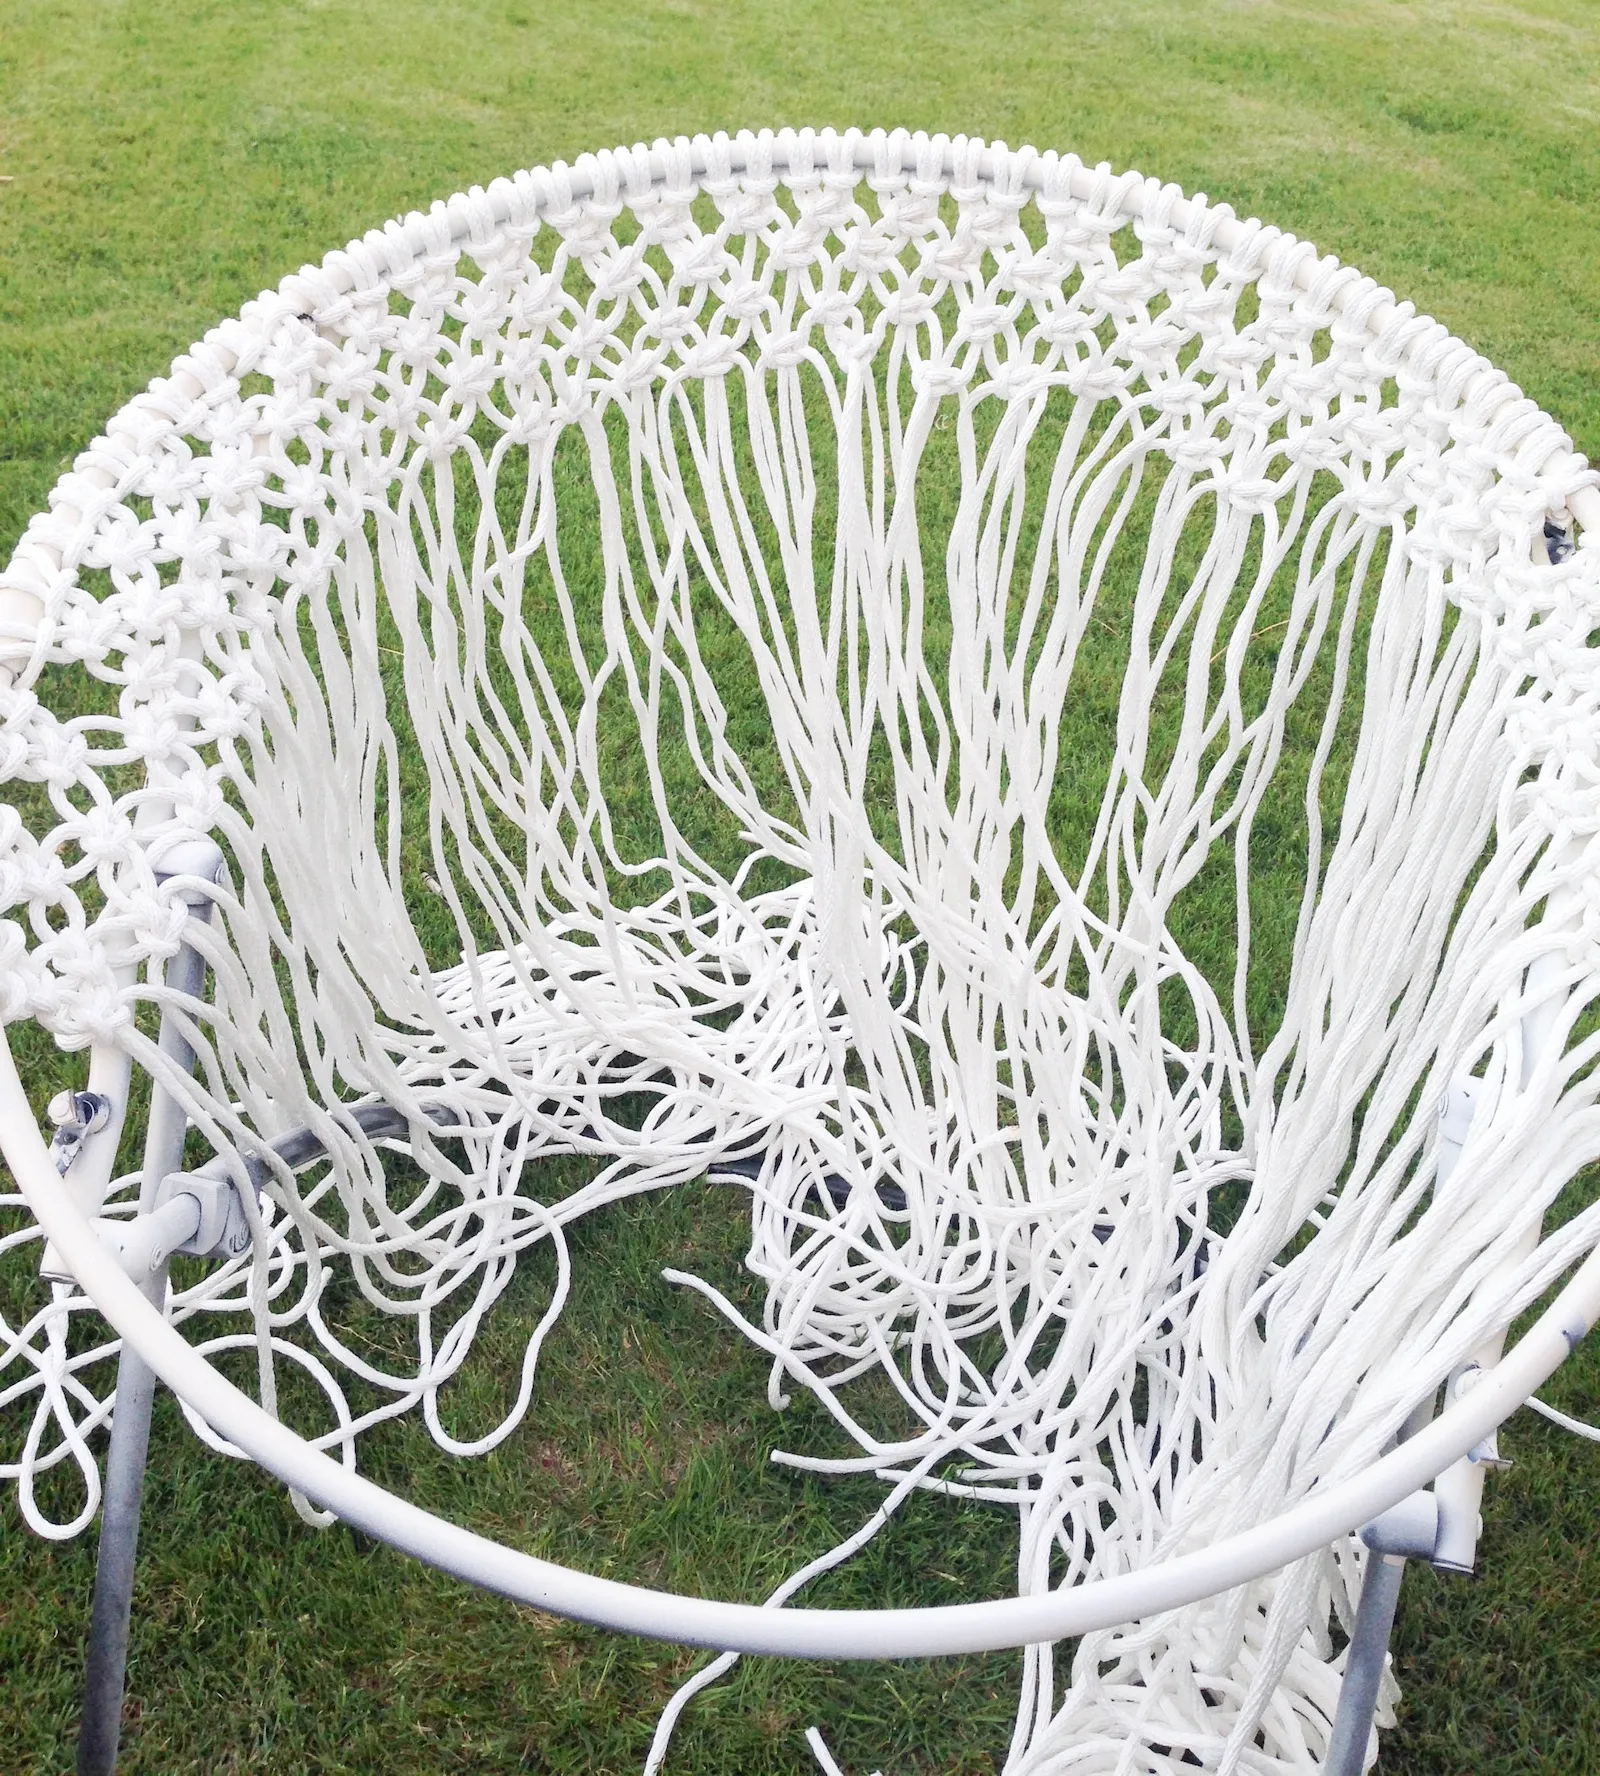
- Securely attach your rope pieces to your hoop using a series of square knots. I recommend starting on one side and working your way around.
- As you progress, you’ll notice the chair’s body taking shape. Continue tying alternating square knots, creating a visually appealing spiral design.
 The Chair
 -
Crafting the Comfortable Seat:
- Place your hula hoop on your poster board and trace its outline. This will serve as a guide for your seat’s dimensions.
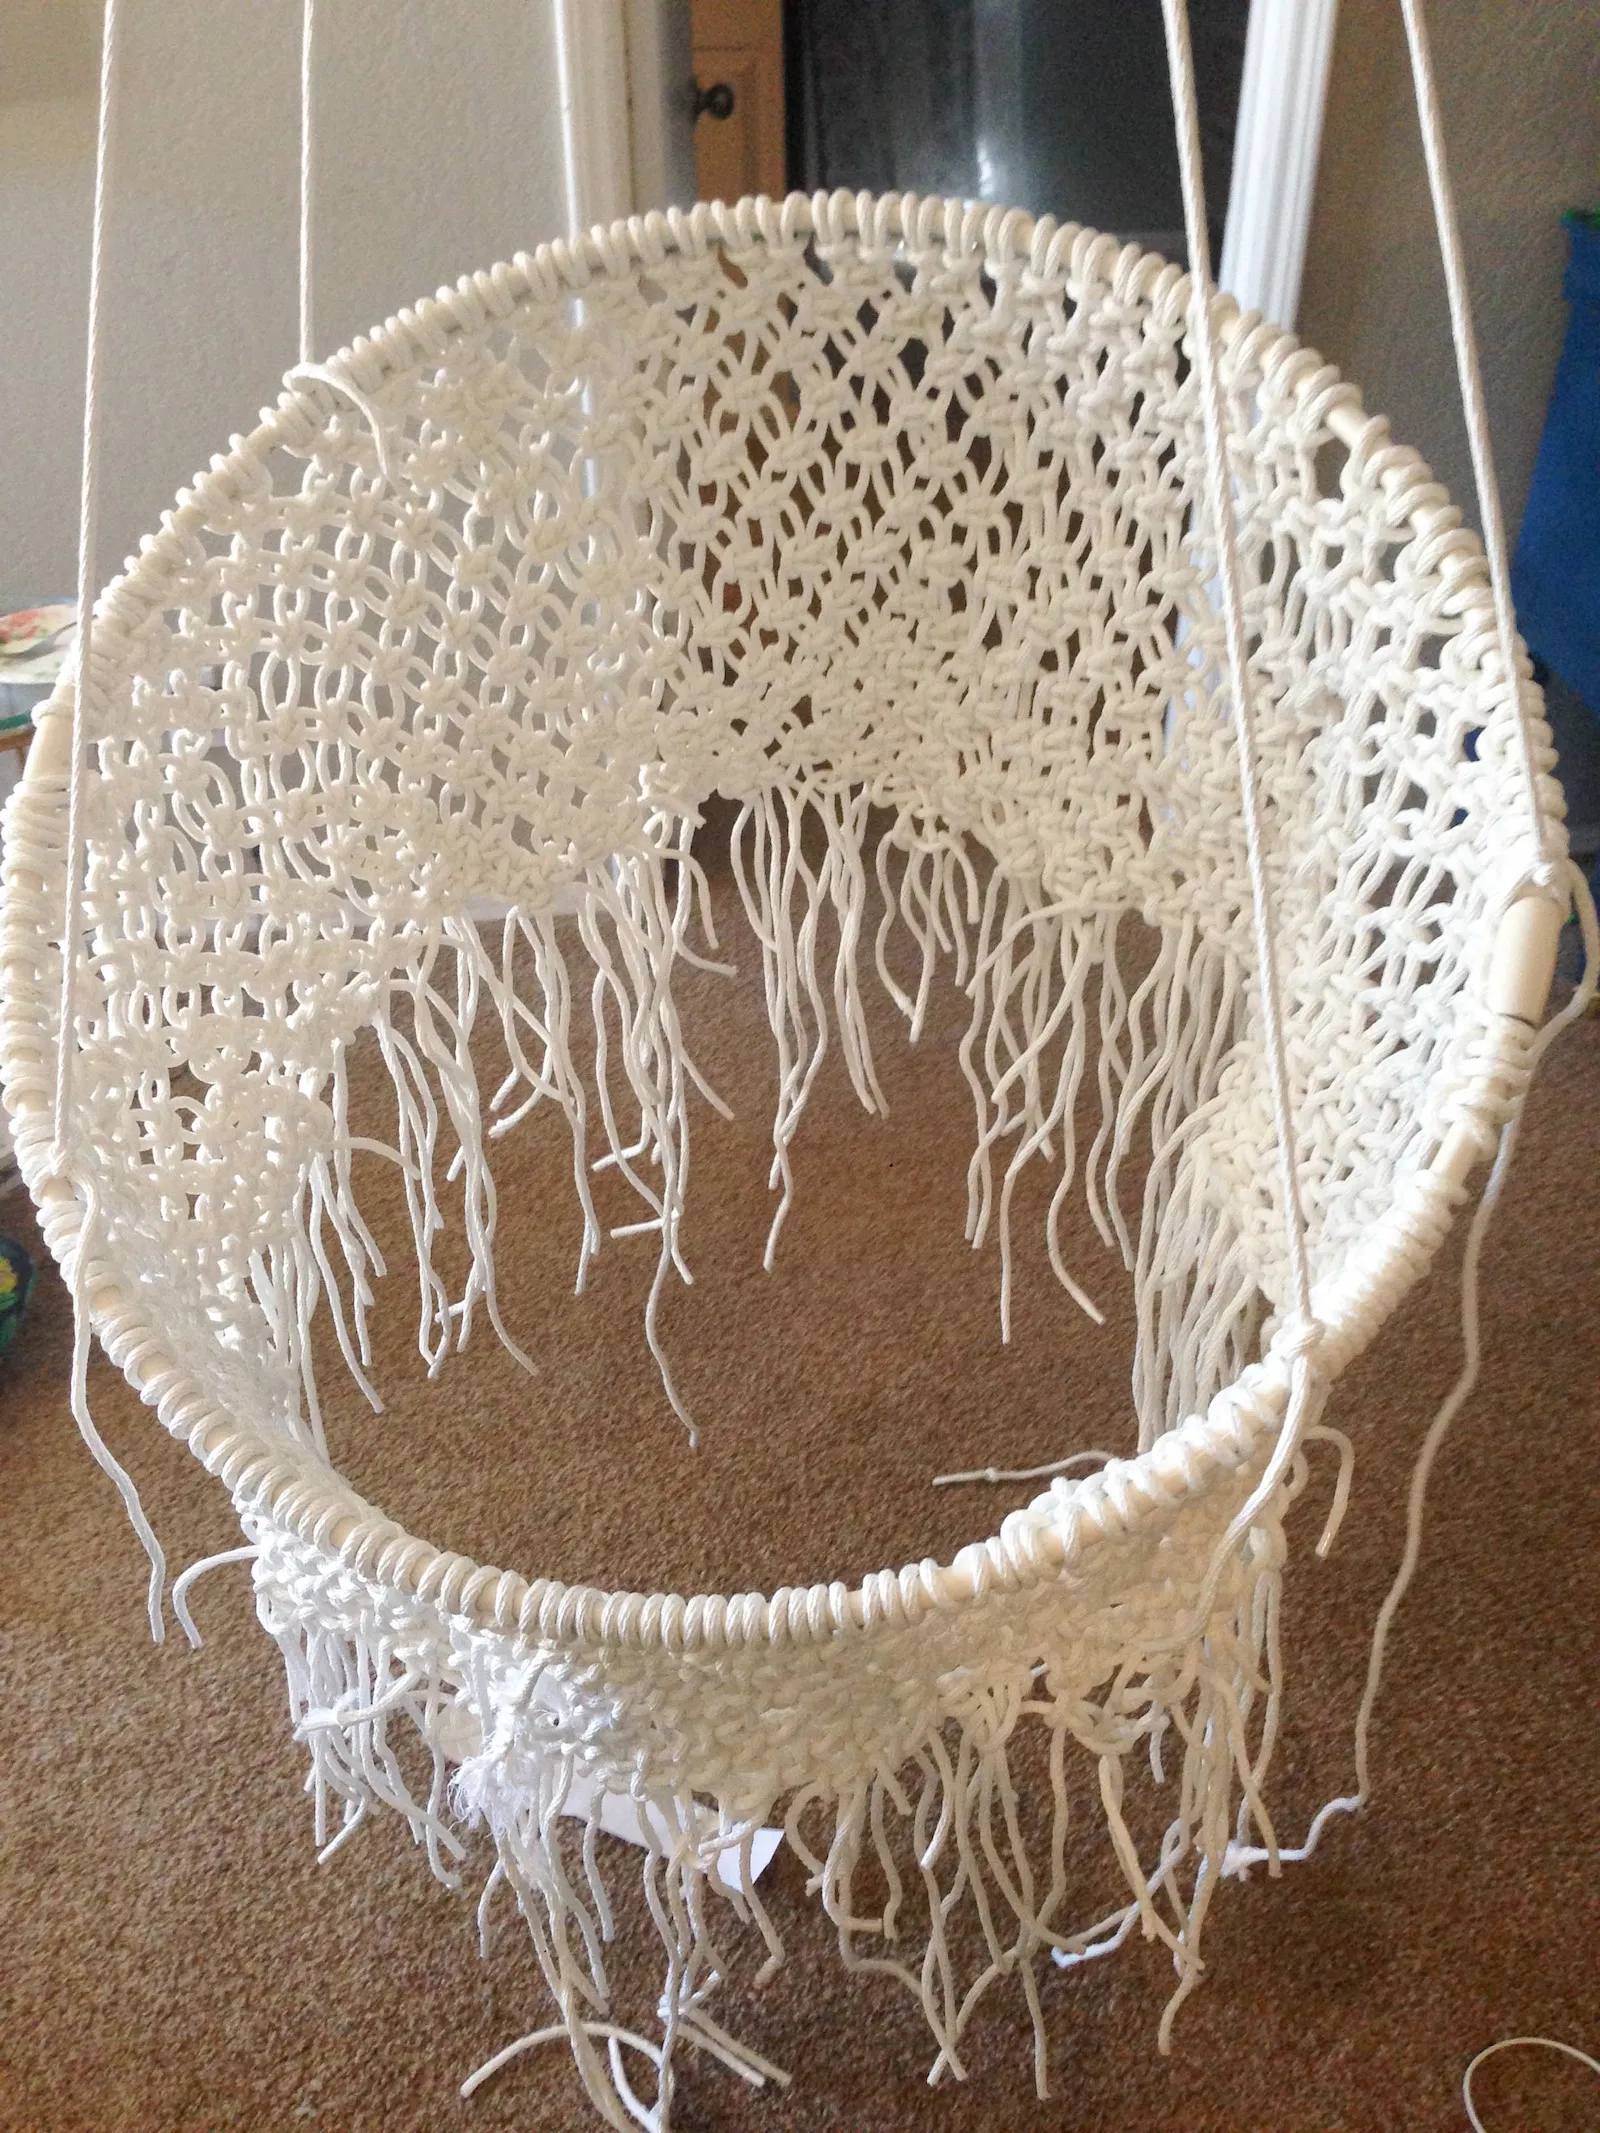
- Using the same alternating square knot technique, begin knotting your rope onto the hula hoop, following the outline you’ve created on your poster board. You’ll want to space the knots on the seat a bit further apart than the chair’s body for a slightly different look and feel.
 IMG_6477-2
 -
Assembling Your Macrame Masterpiece:
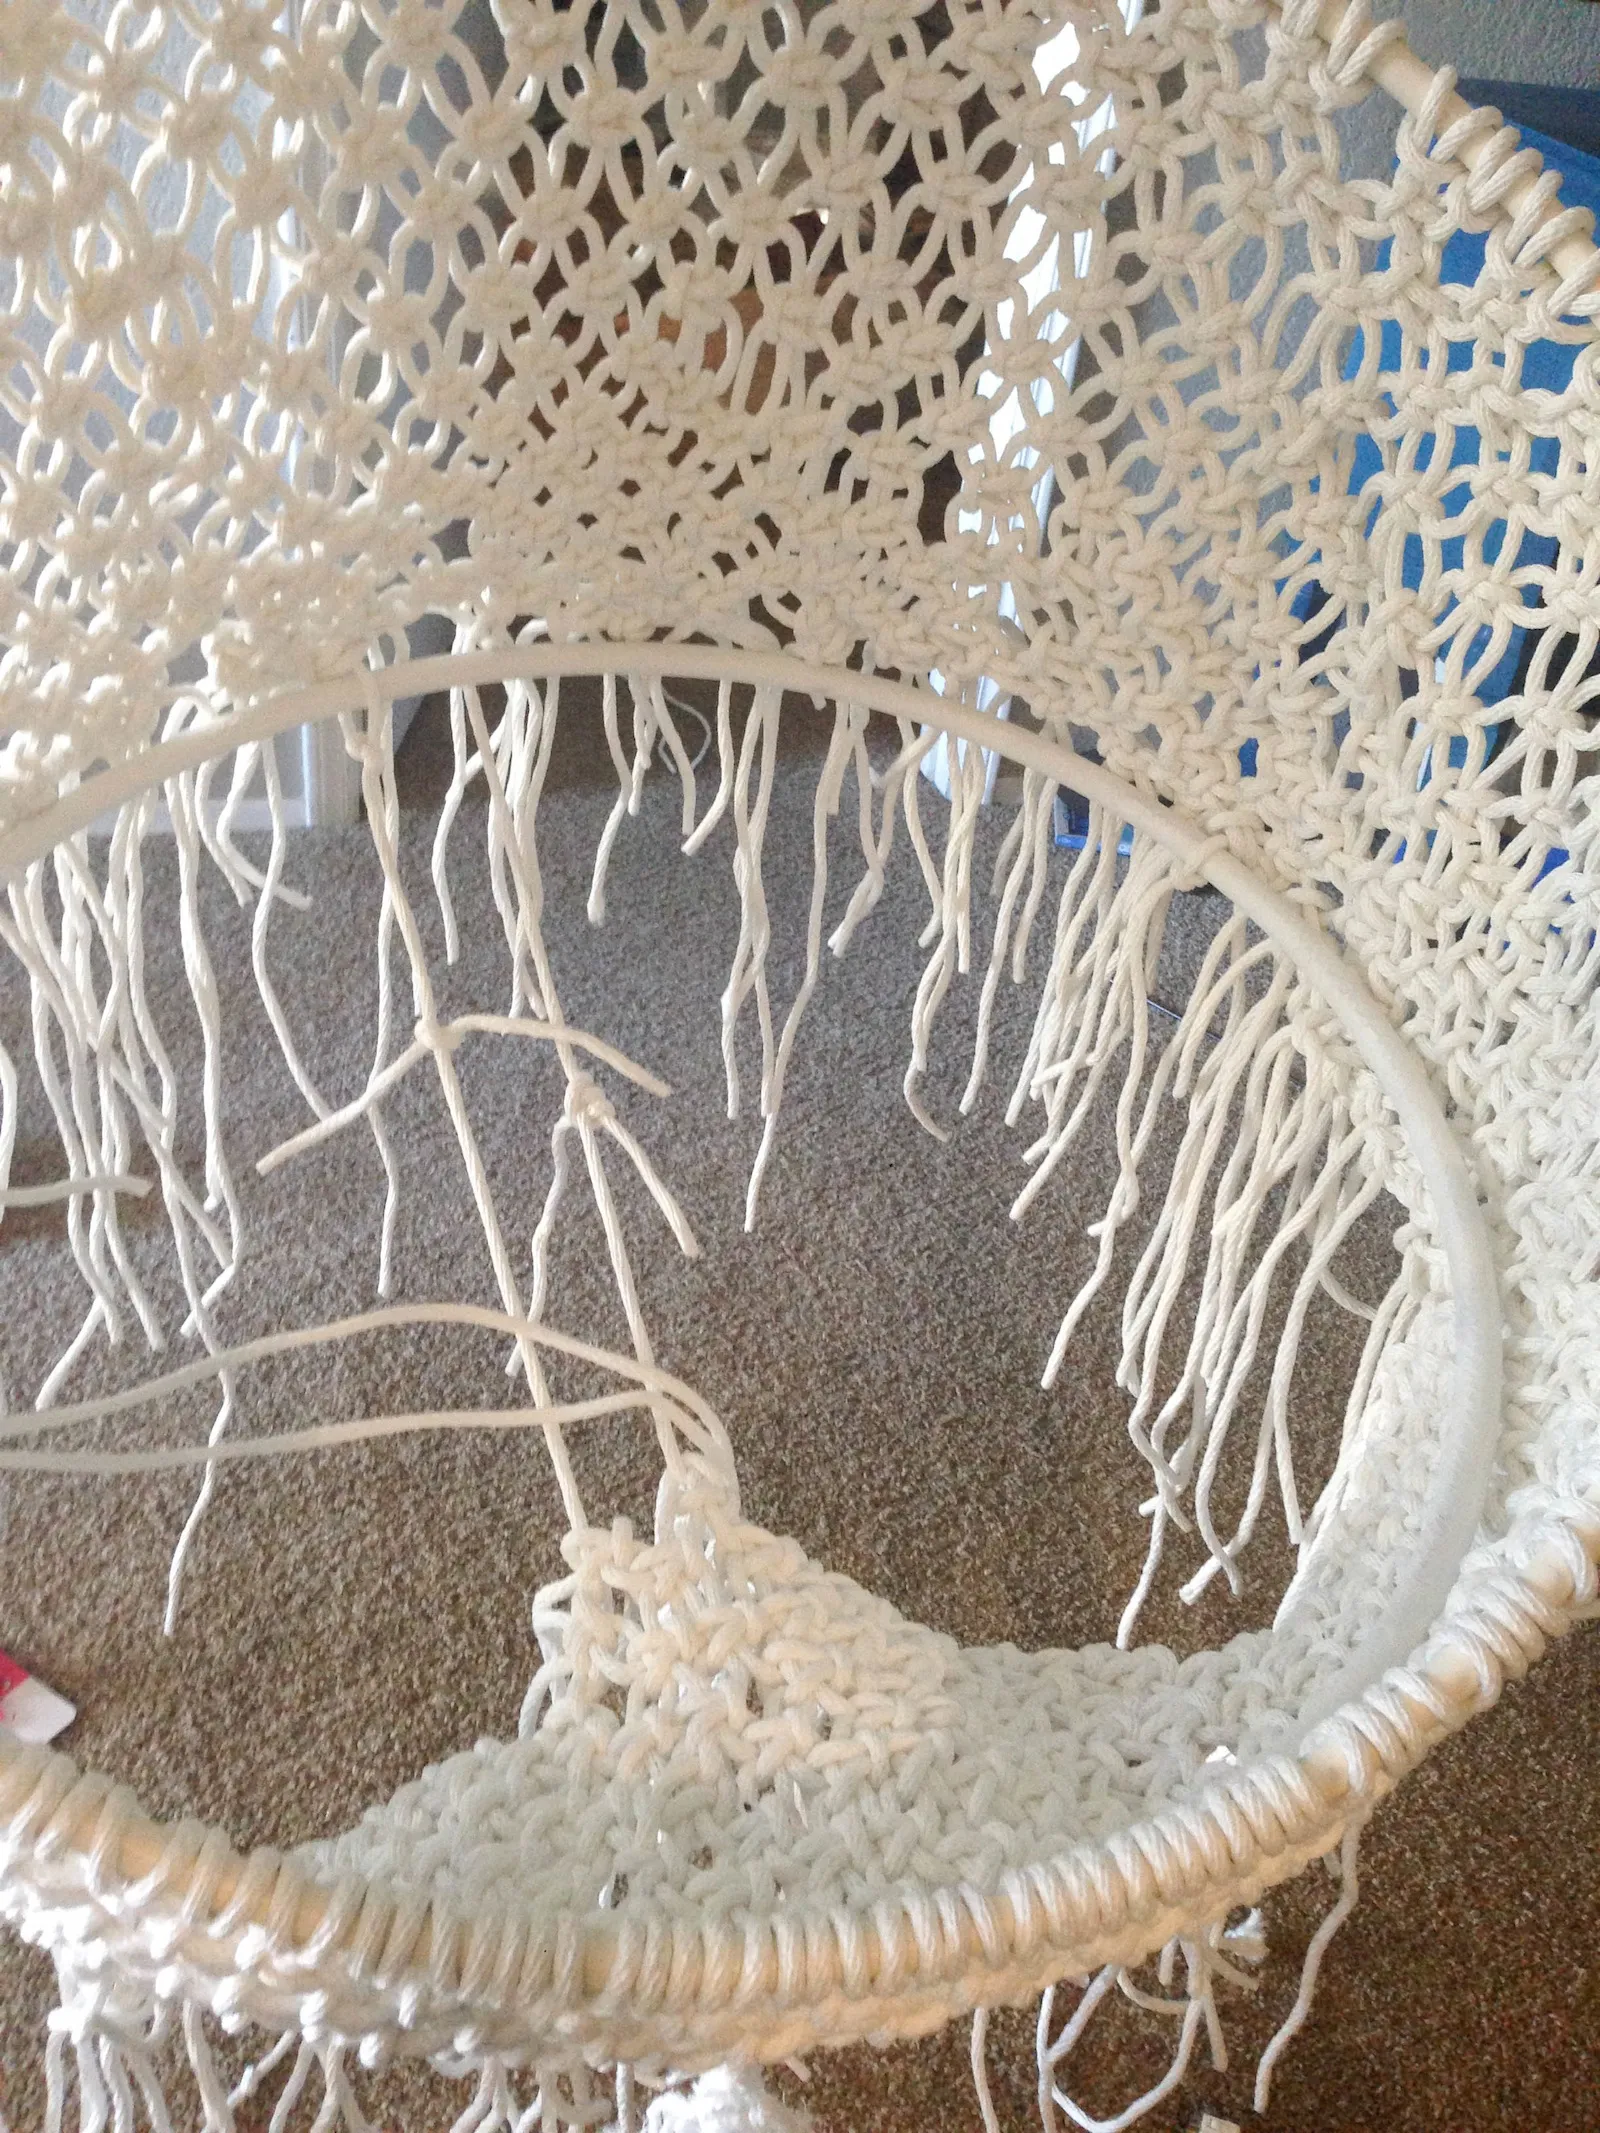
- With the seat and body complete, it’s time to combine them. Using basic knots, securely attach the base of the chair’s body to the hula hoop.
- Gather the remaining rope ends from both the seat and the body and tie them together for added stability.
- Trim any excess rope, remembering to tape off the ends to prevent unraveling.
 IMG_6492-2
 -
Hanging Your Creation:
- Cut four equal lengths of rope for hanging. I used leftover clothesline for a cohesive look.
- Drill holes into your chosen hanging mechanism (I repurposed some scrap wood).
- Thread your ropes through the holes, ensuring they are evenly spaced.
- Securely tie the ropes to the top of your macrame chair, ensuring the chair hangs level.
 IMG_6500-2
Robert Kline Art’s Expert Tips and Tricks
- Don’t Be Afraid to Experiment: Macrame is all about creativity. While I’ve provided a blueprint, feel free to experiment with different knotting patterns and rope colors to personalize your chair.
- Embrace Imperfections: Handmade creations are always one-of-a-kind! Embrace any imperfections—they add to the charm and character of your piece.
- Take Breaks: Macrame is a relaxing craft, but it can be tiring, especially for larger projects. Take breaks as needed and come back to your project with fresh eyes.
- Share Your Masterpiece: Once you’ve completed your DIY hanging macrame chair, share photos of your handiwork on social media and tag #RobertKlineArt. I can’t wait to see your creations!
Conclusion: Relax and Enjoy
Creating a DIY hanging macrame chair is a rewarding experience that combines creativity, skill, and a touch of bohemian flair. Your finished chair will be a testament to your craftsmanship and a cozy retreat where you can unwind and enjoy the fruits of your labor. Remember, at Robert Kline Art, we believe that everyone has a creative spark waiting to be ignited. So, gather your materials and embark on this fulfilling macrame adventure. Happy knotting!
