Building a Custom Rolling Kitchen Island with Storage: A DIY Journey
Hey there, fellow DIY enthusiasts! Let’s talk about taking on those bigger projects, the ones that require a bit more planning (and maybe a few more trips to the hardware store!). Today, I’m sharing my experience building a custom rolling kitchen island – a project that transformed my kitchen from functional to fantastic!
The Problem: An Empty Wall and a Craving for Counter Space
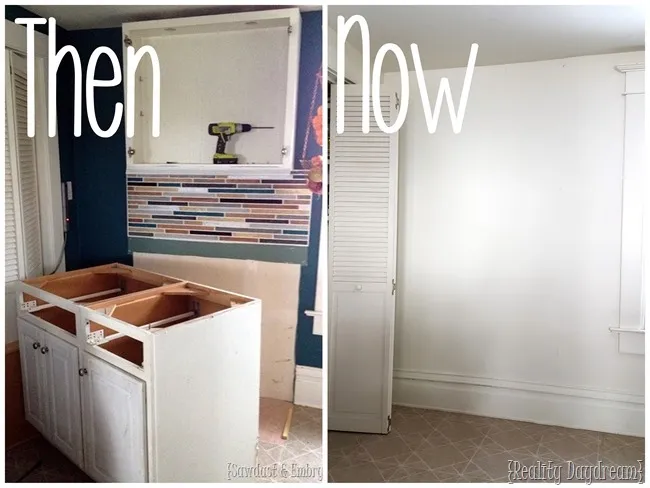
You know that awkward wall in your kitchen? The one that seems to serve no purpose other than collecting clutter? That was my dilemma. After rearranging some cabinets, this wall was just begging for a makeover.
 Blank wall in the kitchen… build a custom rolling island!
My vision? A rolling kitchen island with storage, topped with a beautiful butcher block counter. I wanted it to house our microwave, provide extra drawers (because you can never have too many drawers in a kitchen!), and just generally elevate the entire space.
Finding Inspiration: Pinterest to the Rescue!
What’s a DIYer to do when inspiration strikes? Turn to Pinterest, of course! I gathered ideas for kitchen islands, focusing on functionality, style, and features I could incorporate into my own design.
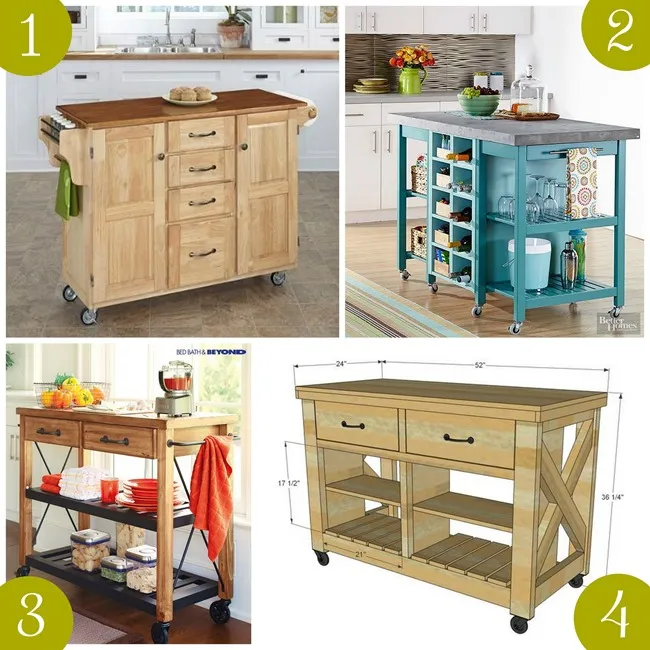 Rolling Kitchen Island inspiration came from lots of sources.
From ample storage solutions to sleek designs and even those gorgeous industrial wheels (swoon!), Pinterest provided a treasure trove of ideas.
From Sketch to Reality: Planning the Perfect Island
With inspiration in hand, I sketched out my dream island. I envisioned a dedicated space for our microwave, plenty of drawers for storage, and a trash can cabinet accessible from both sides. A wine rack was a fleeting thought, quickly abandoned with a crawling baby in mind!
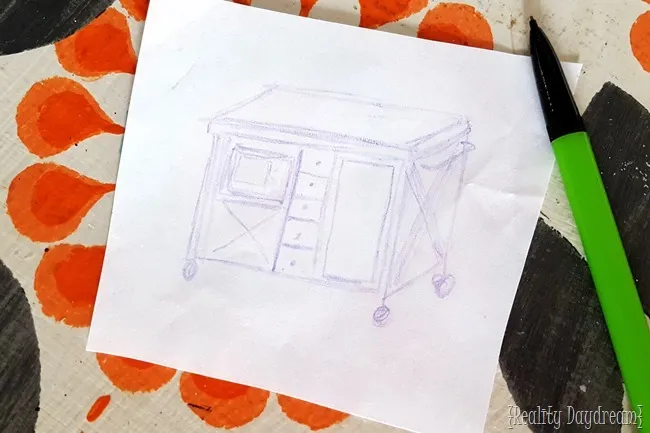 Sketch of how I want my custom kitchen island! (Tutorial included!)
Then came the part where my amazing father-in-law, who happens to be a skilled woodworker, swooped in and transformed my rough sketch into detailed building plans. (He’s also the one who helps me avoid those “measure twice, cut once… oops!” moments.)
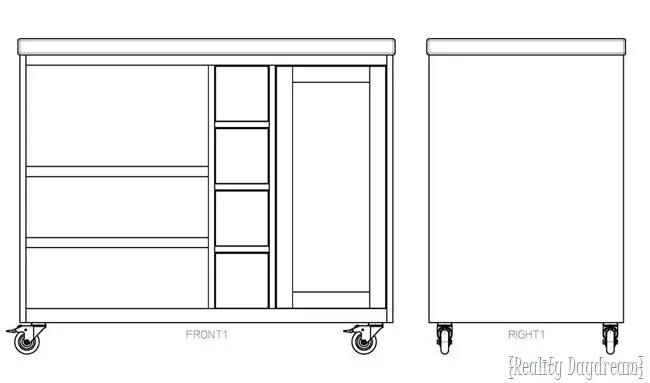 Building plans for rolling kitchen island with a place for garbage can and microwave!
The Construction Phase: Bringing the Vision to Life
We used sturdy 3/4″ plywood for the main structure, capping off the edges with poplar for a polished look.
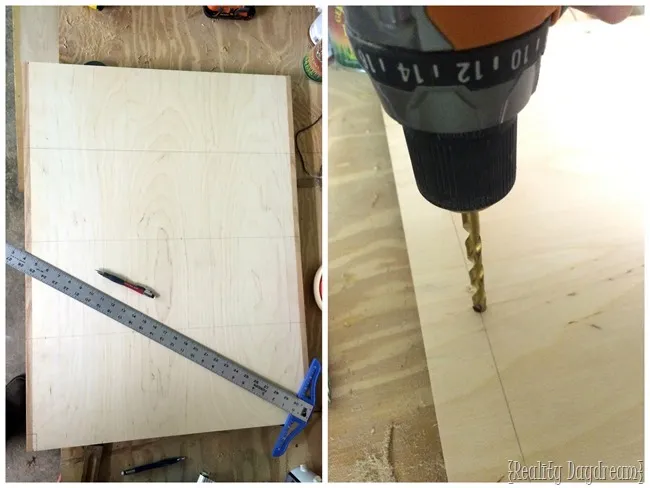 Measure and drill holes to make construction easy on this rolling kitchen island.
Pocket holes were our best friend during assembly, thanks to our trusty Kreg Foreman. Seriously, this tool is a game-changer for creating strong, secure joints.
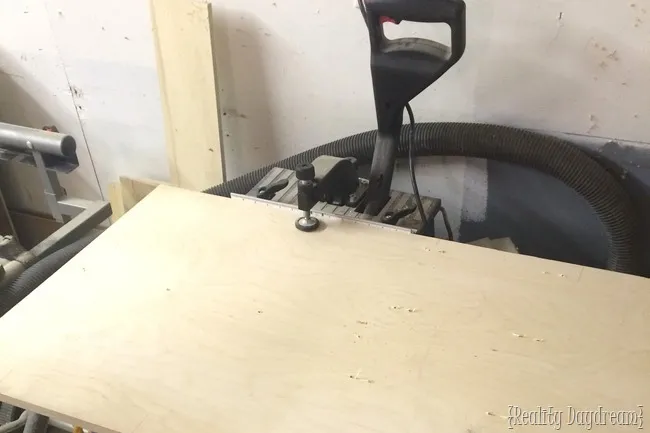 Rolling Kitchen Island
We built custom cabinet doors from poplar, adding stub tenons for extra strength and a professional finish.
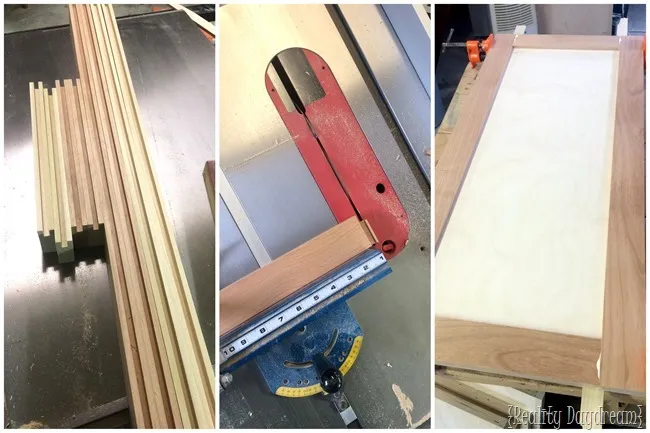 The rolling kitchen island gets custom cabinet doors!
Sanding and priming before assembly made the painting process a breeze. And of course, my little helper Paisley was there to lend a hand (or should I say, a sanding pad!).
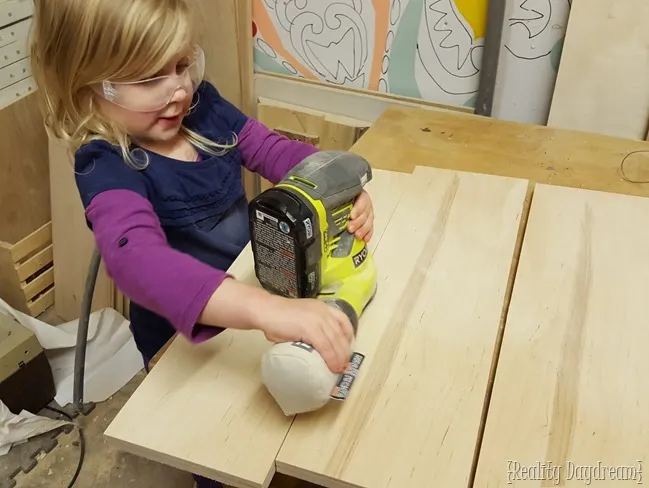 Paisley operating the orbital sander prior to priming the custom DIY rolling kitchen island.
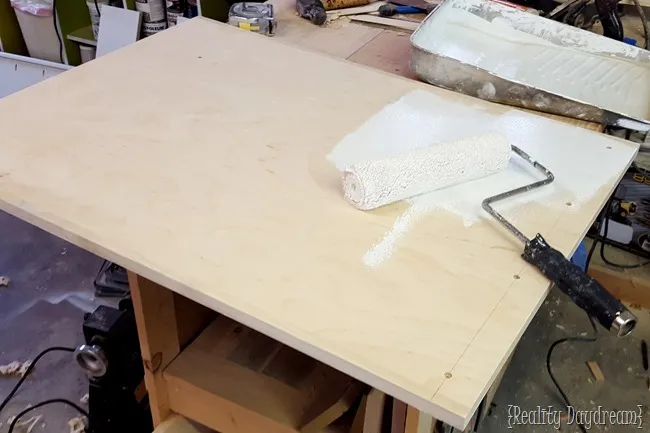 Prime the rolling kitchen island before painting.
A few coats of glossy “Night Tide” paint by Rustoleum (matching our KitchenAid mixer!) and our island was ready for its final touches.
Putting It All Together: The Finishing Touches
With the island assembled, we attached the casters, added some perfectly sized baskets for storage, and – my favorite part – arranged everything just so!
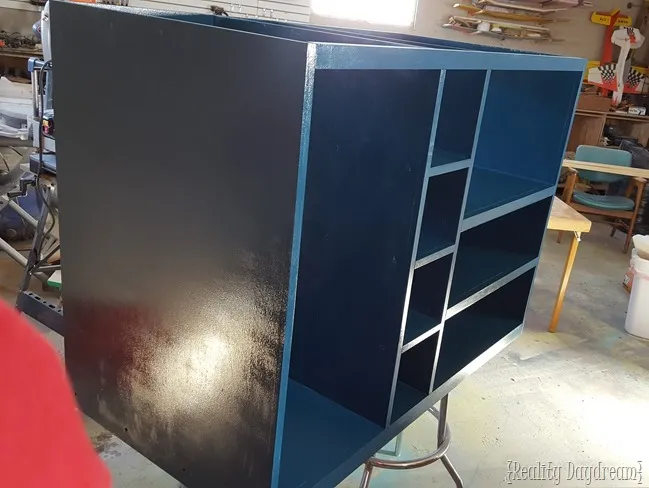 Designing and building a custom rolling kitchen island with a place for the microwave and trash can!
The finishing touch? Sleek, modern hardware from Hickory Hardware that complements the island’s clean lines and ties in beautifully with the rest of the kitchen.
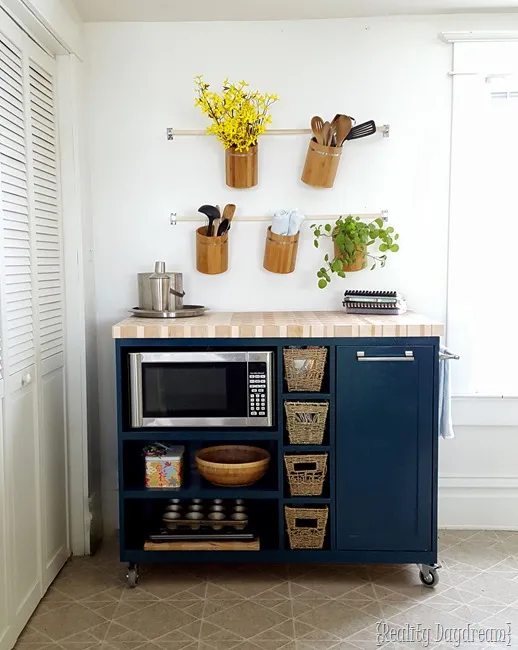 Custom DIY Rolling Kitchen Island …with butcher block top, and a place for the microwave and trash!
A Kitchen Transformed: Function Meets Style
And there you have it – a custom rolling kitchen island that’s as beautiful as it is functional. It’s amazing what a difference a well-planned DIY project can make! The island adds so much-needed counter space, storage, and a touch of personality to our kitchen.
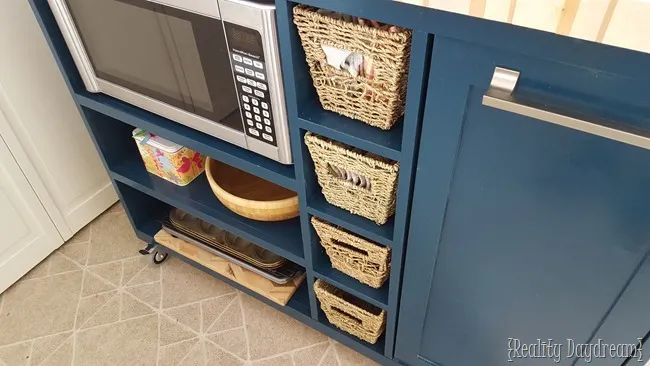 This custom DIY rolling kitchen island was built with a butcher block top, and a place for the microwave and trash!
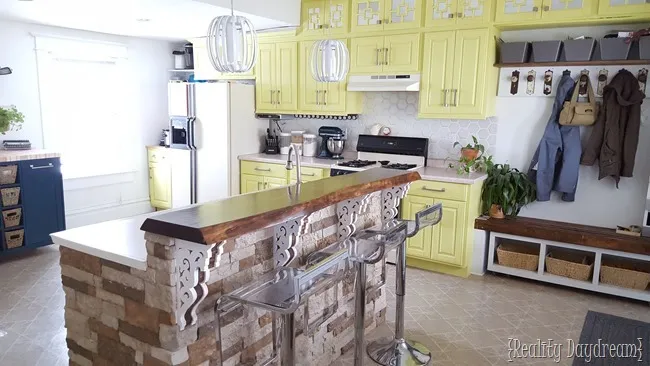 See how the custom DIY rolling kitchen island fits perfectly?!
More Than Just a Kitchen Island
This project was a reminder that DIY is about more than just building things – it’s about creating spaces that reflect our style and enhance our lives. It’s about the satisfaction of taking an idea from concept to reality, and the joy of sharing the process and the results with others.
So, what are you waiting for? Grab your tools, unleash your creativity, and start building something amazing! And don’t forget to share your creations with me – I can’t wait to see what you come up with.
