Building a Simple Garage Lawn Tool Organizer: A Step-by-Step Guide

Hey there, fellow craft enthusiasts! Robert Kline here, and let me tell you, a well-organized garage is a beautiful thing. Nothing’s more satisfying than knowing exactly where your tools are when you need them. Today, we’re going to tackle a common problem: wrangling those unruly lawn tools into a simple, effective organizer that will have your garage looking tidy in no time. Let’s get started!
Why You Need a Garage Lawn Tool Organizer
We’ve all been there – tripping over rakes, shovels precariously leaning against the wall, and that frustrating search for the missing gardening gloves. A dedicated lawn tool organizer not only tames the chaos but also:
- Maximizes space: Vertical storage solutions free up valuable floor area.
- Protects your tools: Proper storage prevents damage and extends the life of your equipment.
- Saves time and frustration: No more hunting for what you need!
Choosing the Right Organizer for Your Needs
Before we dive into building, let’s consider your options. There are a few different types of organizers that work well for lawn tools:
- Wall-mounted systems: Ideal for saving space, these utilize pegboards, hooks, and shelves to keep tools off the floor.
- Freestanding racks: A good option if you need a portable solution or want to avoid drilling into walls.
- Custom-built organizers: This allows you to tailor the design to your exact needs and space.
For this guide, we’ll focus on building a basic wall-mounted organizer using readily available materials.
Materials and Tools You’ll Need
- Wood: Choose a sturdy wood like pine or cedar. You’ll need:
- Two 6-foot long 2×4 boards for the vertical supports.
- Three 4-foot long 2×4 boards for the horizontal supports and shelf.
- Fasteners: Wood screws (2-inch and 3-inch)
- Hooks, brackets, or pegboard: For hanging tools.
- Level
- Stud finder
- Drill
- Saw (circular or hand saw)
- Measuring tape
- Pencil
- Safety glasses
Building Your Organizer
Step 1: Plan and Measure
- Decide on a location: Choose a wall stud to ensure your organizer is securely anchored.
- Measure your tools: Determine the height and width of your organizer based on the tools you want to store.
- Sketch your design: A simple drawing with measurements will help you visualize the final product.
Step 2: Cut the Wood
- Vertical supports: Cut the two 6-foot 2x4s to your desired height (this will depend on your ceiling height and how much space you want below the organizer).
- Horizontal supports: Cut two 4-foot 2x4s to the width you’ve determined for your organizer.
- Shelf: Cut the remaining 4-foot 2×4 to the same width as the horizontal supports.
Step 3: Assemble the Frame
- Lay out the frame: Position the vertical supports on the floor, parallel to each other. Place the horizontal supports across them, creating a rectangular frame. Use a level to ensure everything is square.
- Secure the frame: Pre-drill holes and use 3-inch wood screws to attach the horizontal supports to the vertical supports.
Step 4: Attach the Shelf
- Position the shelf: Place the remaining 4-foot 2×4 across the bottom of the horizontal supports, creating a shelf.
- Secure the shelf: Pre-drill holes and use 3-inch wood screws to attach the shelf to the supports.
Step 5: Mount the Organizer
- Locate studs: Use a stud finder to mark the location of wall studs where you’ll be mounting the organizer.
- Position the organizer: Enlist a helper to hold the organizer against the wall, aligning it with your stud markings.
- Secure to the wall: Pre-drill holes through the vertical supports and into the wall studs. Use 3-inch wood screws to firmly attach the organizer to the wall.
Step 6: Add Hooks and Accessories
- Plan your layout: Determine the best placement for hooks, brackets, or pegboard based on the tools you’ll be storing.
- Install accessories: Follow the manufacturer’s instructions for installing your chosen hanging system.
Tips for Success
- Sand down any rough edges on the wood for a polished look.
- Consider applying a coat of paint or stain to protect the wood and enhance its appearance.
- Label your hooks or storage areas to make it easy to find what you need.
Conclusion
And there you have it – a simple and effective way to organize your lawn tools! With a little effort and some basic DIY skills, you can create a customized storage solution that keeps your garage tidy and your tools in top condition.
Don’t forget to check out Robert Kline Art for more creative DIY projects and inspiration! Happy crafting!
Images:
 Organized Garage with Wall-Mounted Tool Storage
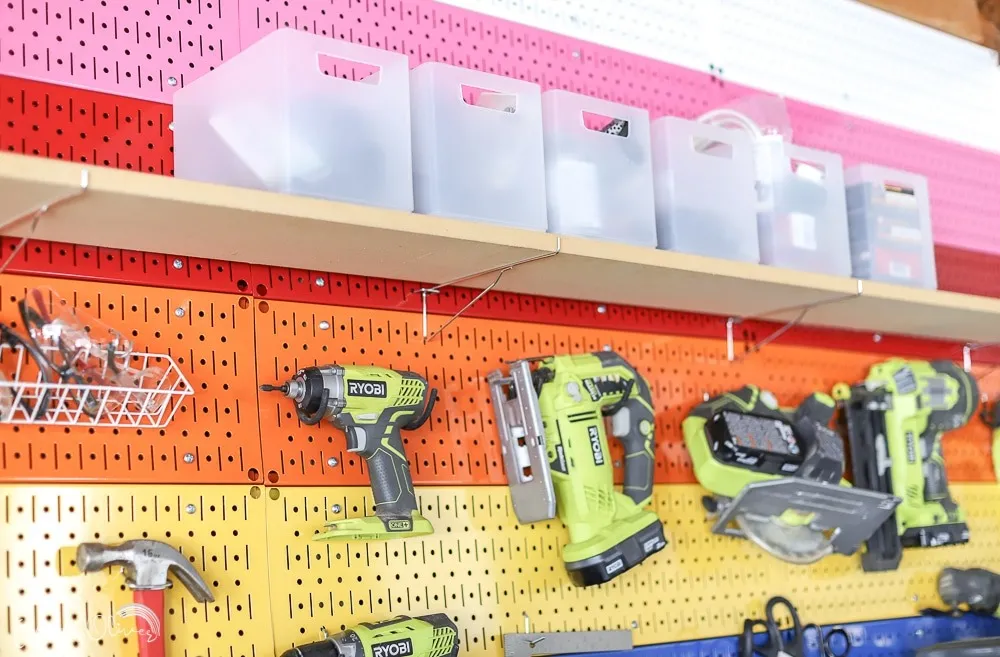 Colorful Pegboard Tool Organizer
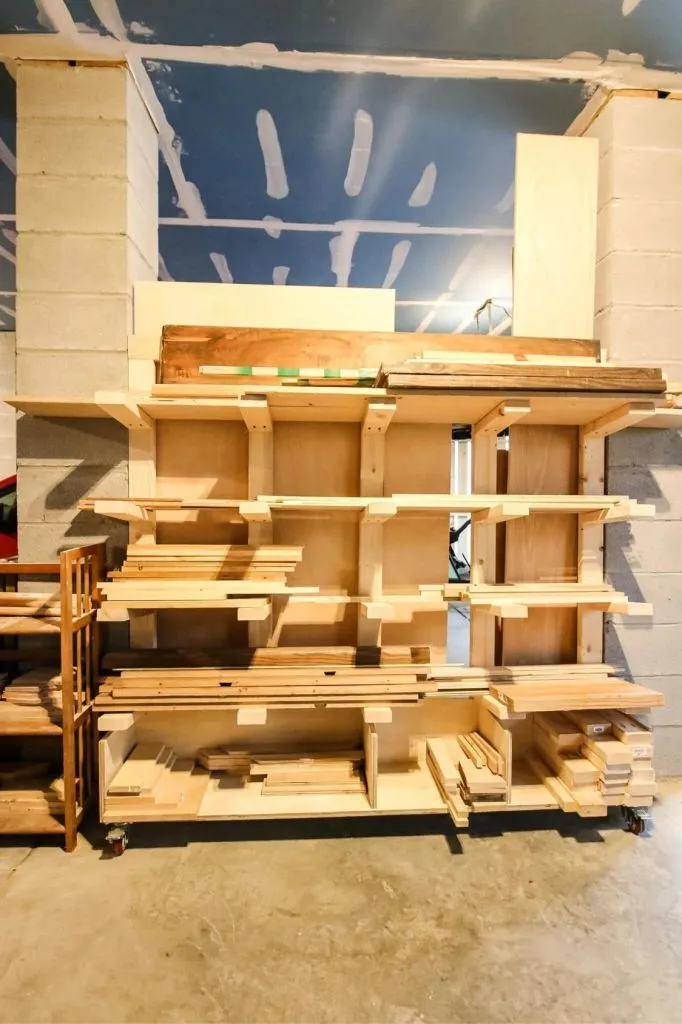 Garage Storage Solutions for Tools and Paint
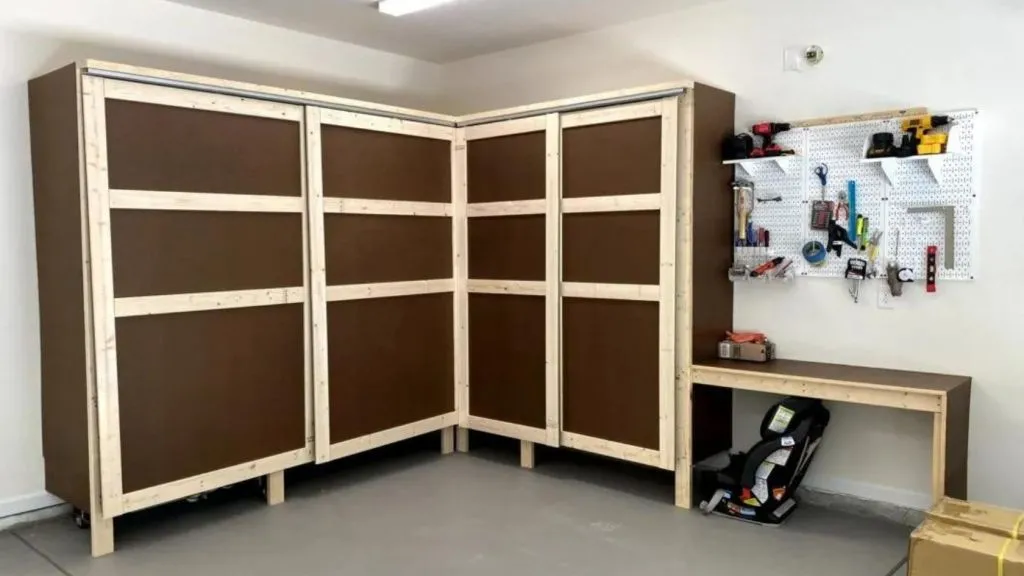 DIY Garage Shelves with Sliding Doors
 Modern Garage with Wall-Mounted Shelves
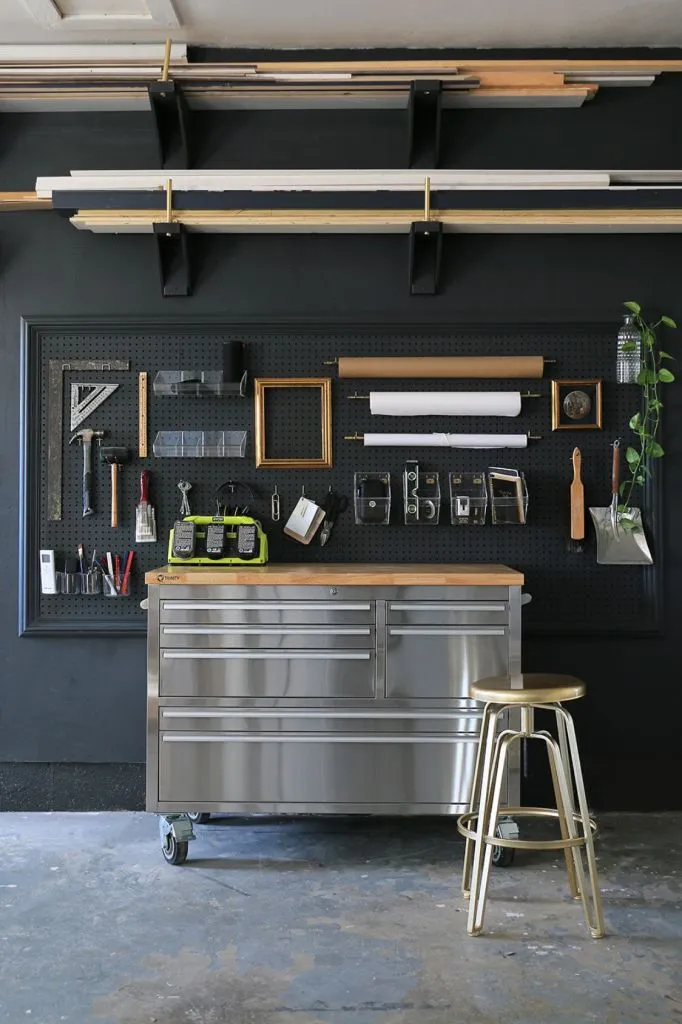 Sturdy DIY Garage Shelves
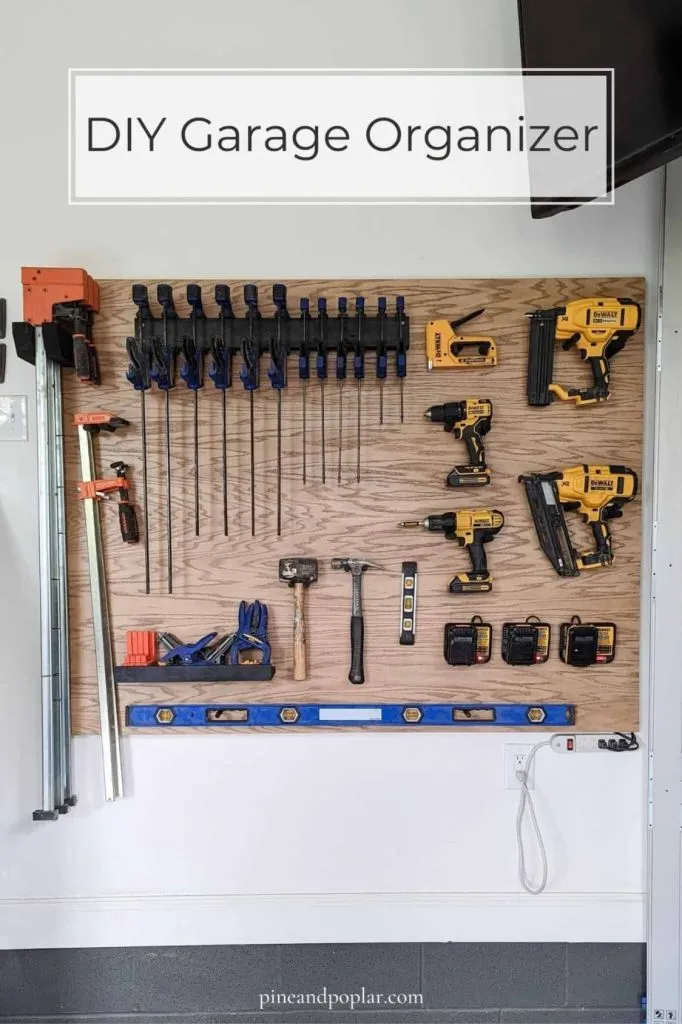 DIY Power Tool Organizer
