DIY Desk Organizer: Turn Trash into Treasure with This Easy Guide
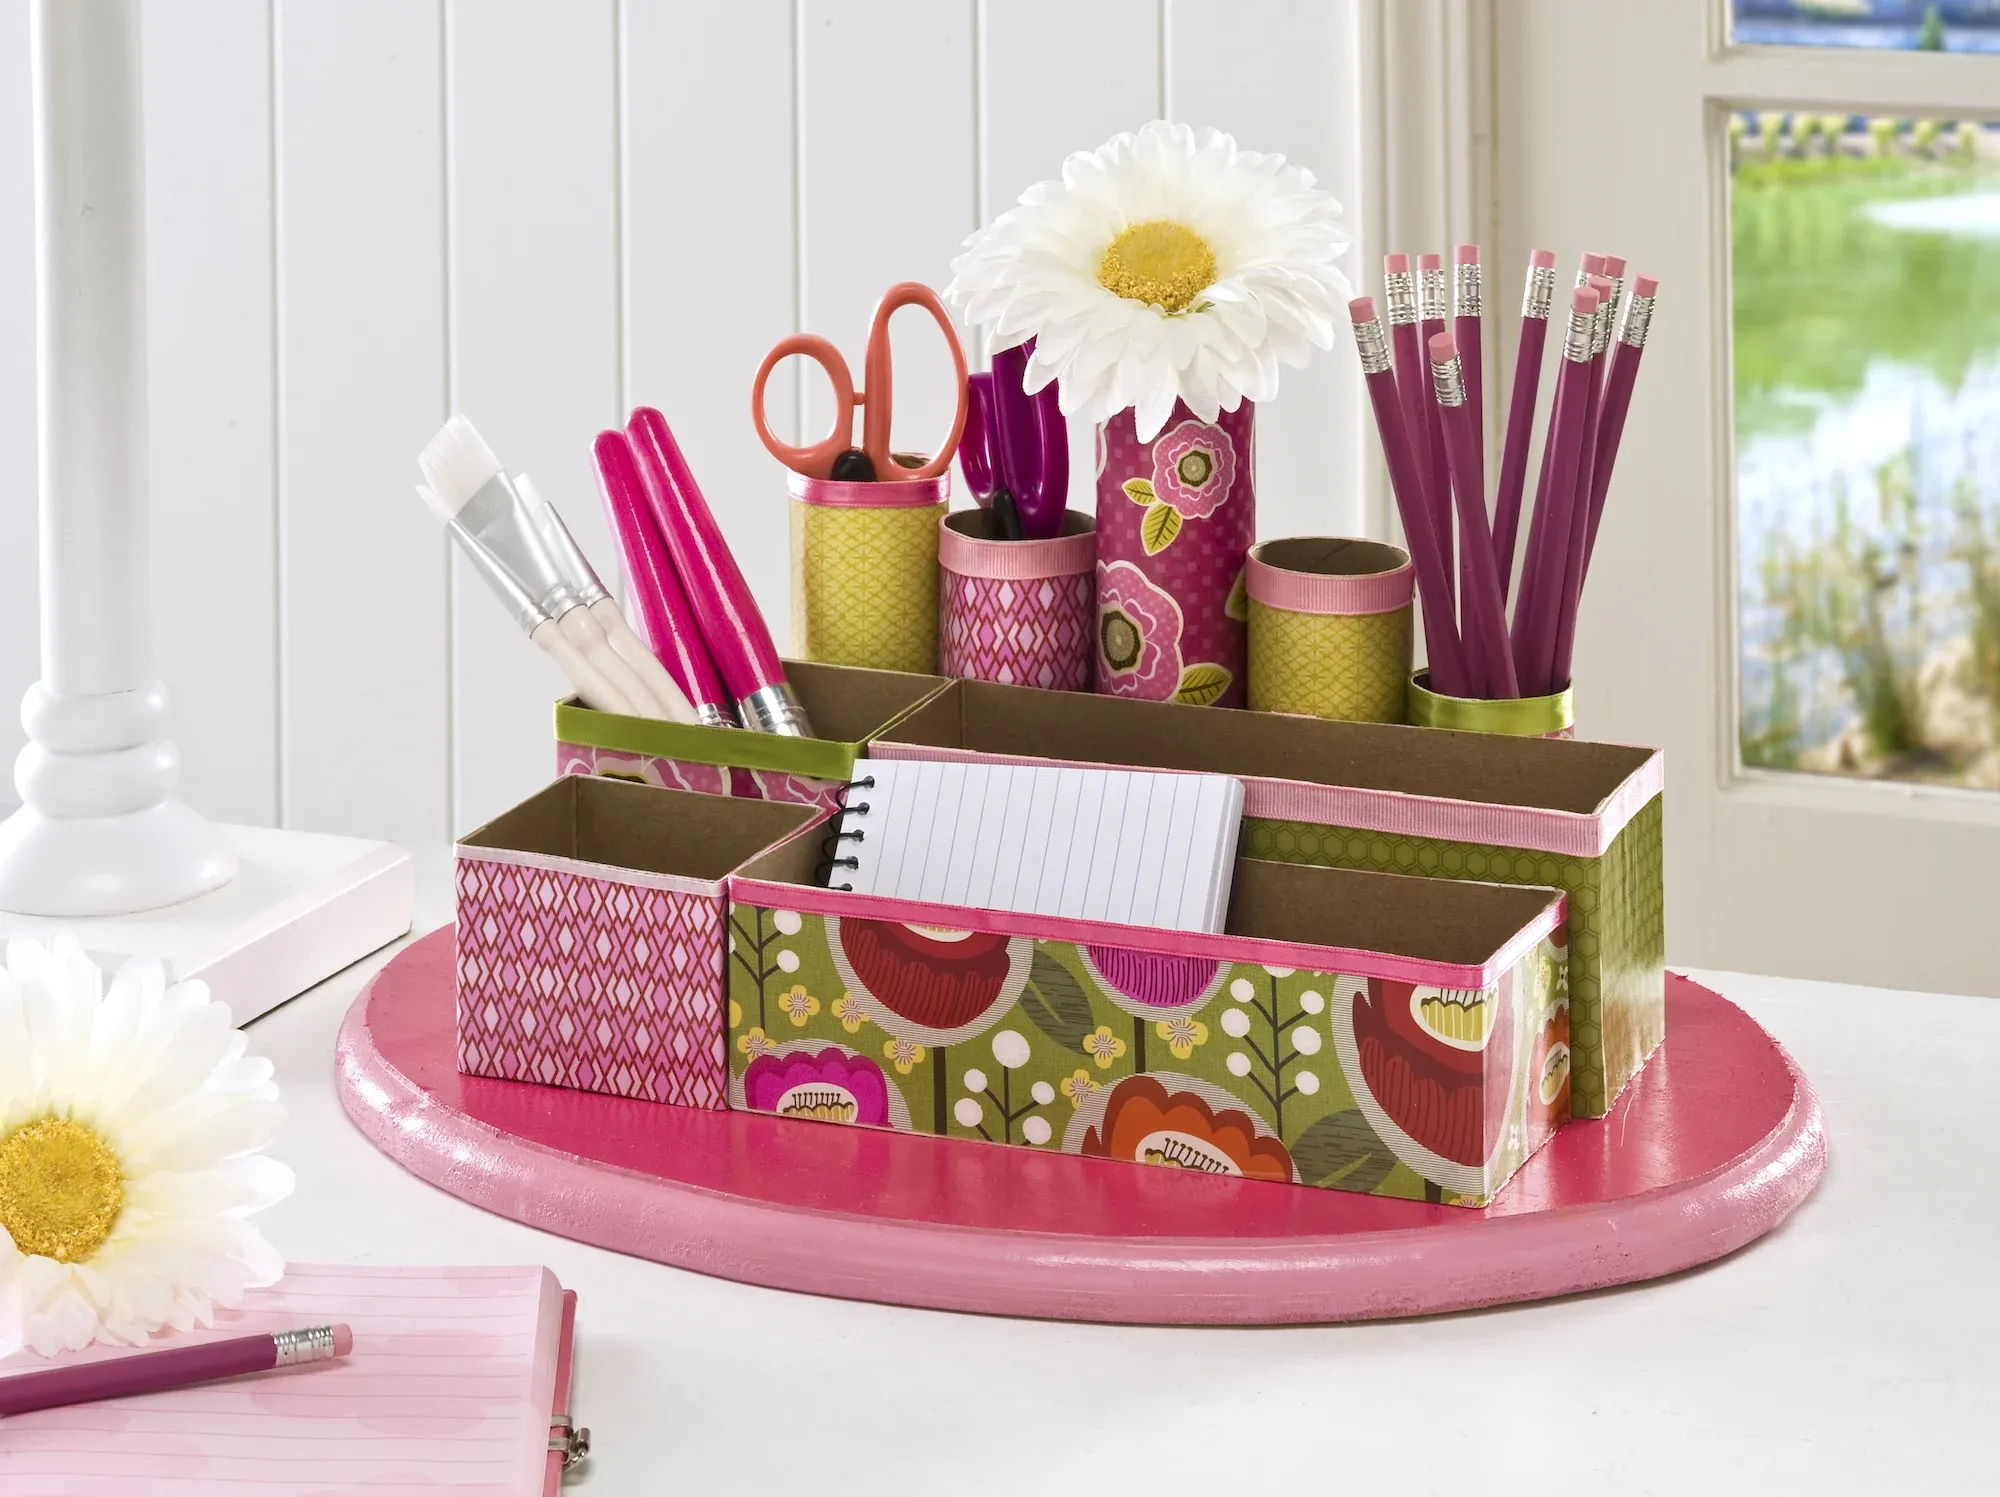
Feeling overwhelmed by clutter? I’ve been there. As an artist, my workspace often resembles a whirlwind of inspiration, but sometimes, a little organization is in order. That’s when I decided to roll up my sleeves and tackle the chaos with a touch of DIY magic! This recycled desk organizer is not only practical but also environmentally friendly, giving those empty cereal boxes and toilet paper rolls a new lease on life.
Upcycling for a Unique Desk Organizer
I love a good upcycling project, and this DIY desk organizer combines creativity and sustainability in the most satisfying way. With just a few basic materials, you can craft a personalized organizer that’s both stylish and functional.
 DIY desk organizer
Image: A finished DIY desk organizer crafted from recycled materials.
This project is perfect for those who love to craft on a budget. Plus, it’s a fun activity to do with kids, teaching them about recycling and unleashing their creative potential.
Gathering Your Supplies
Before we begin our crafting adventure, let’s round up the necessary materials:
Core Materials:
- Empty cereal boxes
- Toilet paper rolls and/or paper towel rolls
- Wooden plaque (large enough to serve as the base)
Crafting Essentials:
- Mod Podge (Satin, Gloss, Matte, or Hard Coat – your choice!)
- Acrylic paint (various colors of your liking)
- Scrapbook paper
- Matching ribbon
- Craft glue
- Tape
Tools of the Trade:
- Scissors
- Craft knife
- Paintbrushes
- Pen or pencil
- Ruler
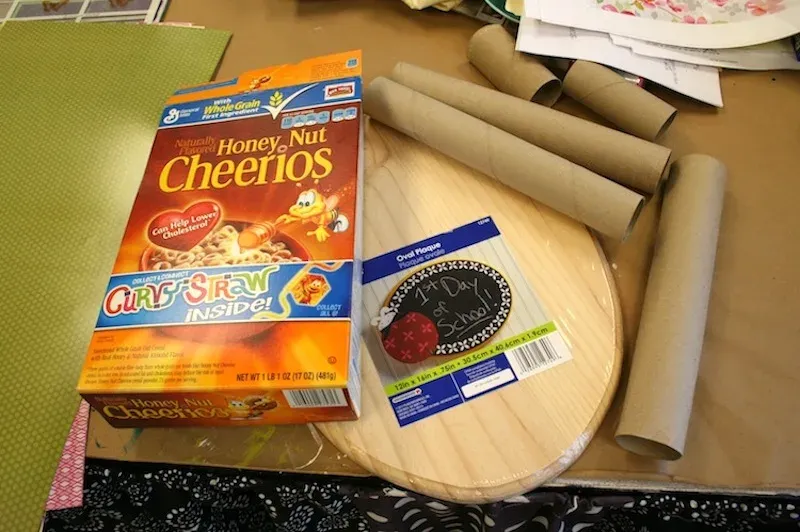 Wood plaque, cereal box, and paper towel and toilet paper rolls
Image: Gathering the essential materials before starting your DIY desk organizer.
Step-by-Step Guide
Ready to transform those recycled materials into a work of art? Let’s get started!
1. Designing Your Organizer
- Layout: Arrange your cereal boxes and paper rolls on the wooden plaque to create the desired compartments for your organizer. Experiment with different heights and sizes for visual interest.
- Securing the Compartments: Use tape to temporarily hold the cereal box compartments together. Don’t worry, the tape will be hidden later on!
2. Preparing the Compartments
- Cutting and Shaping: Cut the cereal boxes into the desired sizes and shapes for your compartments. You can create a mix of taller compartments for storing notebooks and smaller ones for pens, pencils, or paintbrushes.
- Optional Painting: To prevent the cereal box labels from showing through the scrapbook paper, apply a coat of white acrylic paint to the inside and edges of the compartments. This step ensures a polished and cohesive look. Let the paint dry completely.
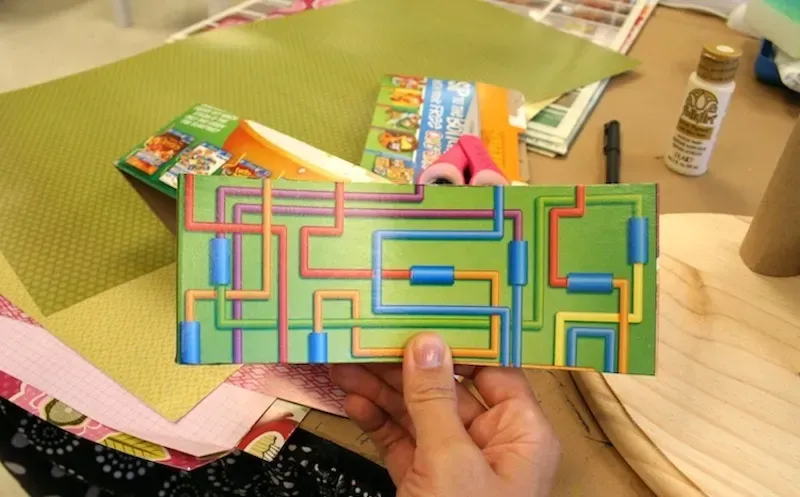 Finished bin made from cereal boxes
Image: A cereal box transformed into a compartment for the desk organizer.
3. Adding a Touch of Color
- Painting the Base: Unleash your creativity and paint the wooden plaque in your chosen colors. Let the paint dry thoroughly before moving on to the next step.
4. Decoupaging the Compartments
- Tracing and Cutting: Use a pen or pencil to trace the outline of each compartment onto the back of your chosen scrapbook paper. Make sure to cut slightly larger than the traced lines to allow for folding over the edges.
- Applying Mod Podge: Apply a thin layer of Mod Podge to the back of each scrapbook paper cutout. Carefully position and smooth the paper onto the corresponding compartment, ensuring no air bubbles are trapped underneath. Repeat this process for all compartments.
- Drying Time: Allow the Mod Podge to dry completely (about 15-20 minutes) before applying a second coat to the entire compartment, including the edges. This will seal and protect your beautiful designs.
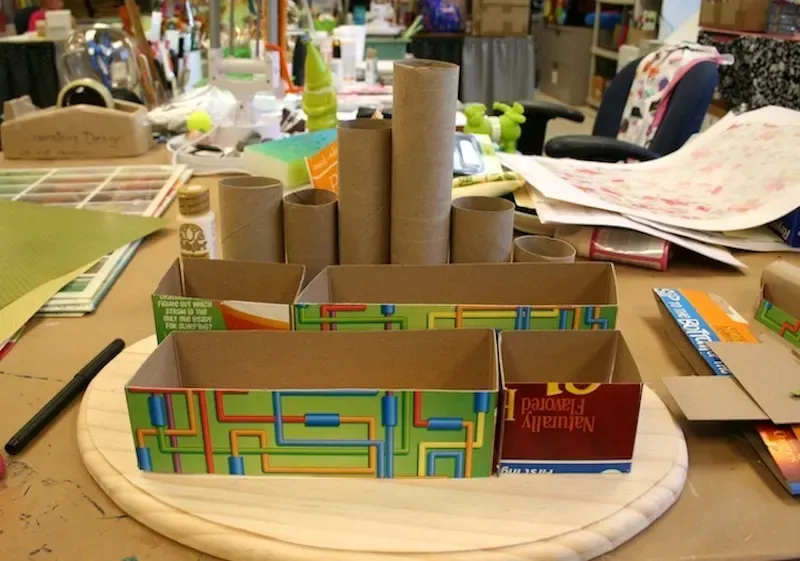 Cereal box pieces and toilet paper rolls and paper towel rolls sitting on the top of a wood plaque
Image: Arranging the compartments on the painted wooden plaque.
5. Finishing Touches
- Ribbon Embellishment: For an extra touch of elegance, glue decorative ribbon along the top edges of each compartment. This adds a pop of color and a refined look to your DIY organizer.
- Assembling the Organizer: Once the Mod Podge is completely dry, use craft glue to attach the compartments to the painted wooden plaque. Arrange them according to your design and press firmly for a secure bond.
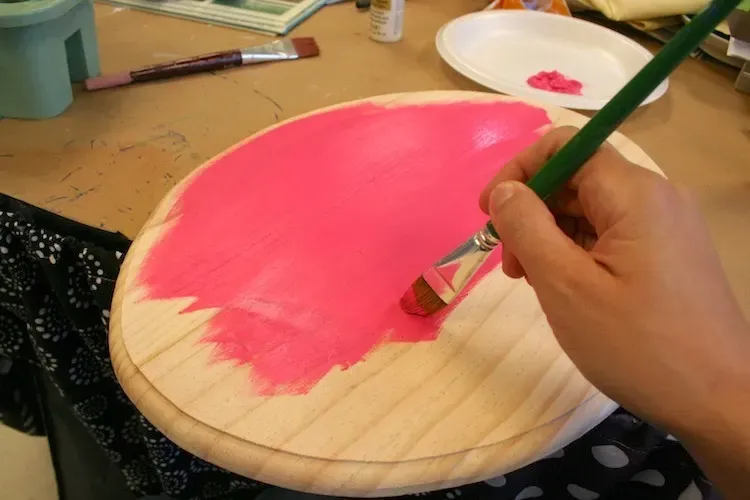 Painting a plaque with pink acrylic craft paint
Image: Painting the wooden plaque with vibrant acrylic paint.
6. Time to Dry and Enjoy!
- Allow the craft glue to dry completely (at least 24 hours) before using your new desk organizer.
Tips and Tricks from Robert Kline Art
- Choosing the Right Paper: Opt for thicker scrapbook paper to prevent the cereal box labels from showing through. Consider painting the boxes white if you’re concerned about visibility.
- Exploring Different Shapes and Sizes: Don’t be afraid to experiment with various sizes and styles of wooden plaques. You can even use a natural wood slice for a rustic aesthetic.
- Experimenting with Mod Podge: Explore different Mod Podge finishes like Gloss, Matte, or even Sparkle for unique effects. Apply multiple coats for a durable finish, especially for high-traffic compartments.
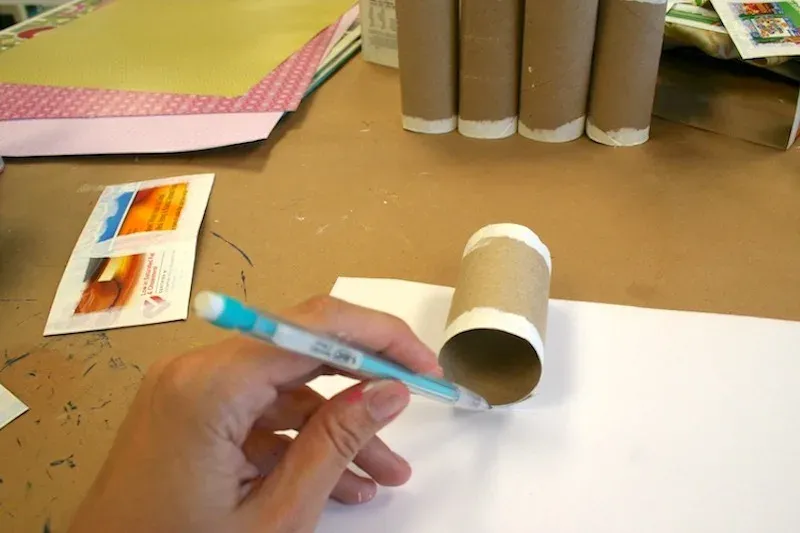 Tracing toilet paper rolls on paper
Image: Tracing the paper roll dimensions onto scrapbook paper for precise cutting.
Conclusion
Congratulations on creating your very own DIY desk organizer! Not only have you tackled clutter with a touch of creativity, but you’ve also given new life to recycled materials.
I encourage you to experiment with different colors, patterns, and embellishments to make this project truly your own. Remember, the beauty of crafting lies in its ability to be personalized and reflect your unique style.
Now, let’s see your creations! Share photos of your upcycled desk organizers in the comments below. And don’t forget to explore more handcrafted treasures on the Robert Kline Art website for unique gift ideas and crafting inspiration. Happy crafting!
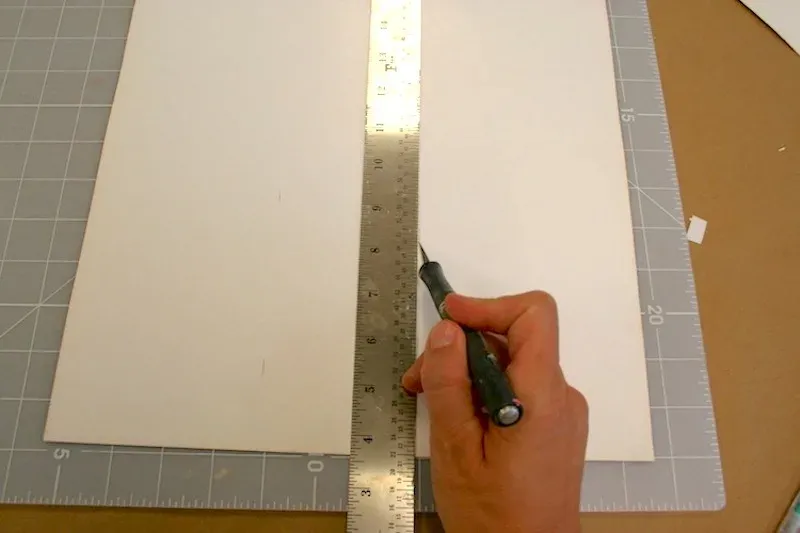 Measuring and cutting paper with an X-Acto knife
Image: Meticulously cutting scrapbook paper to size using an X-Acto knife.
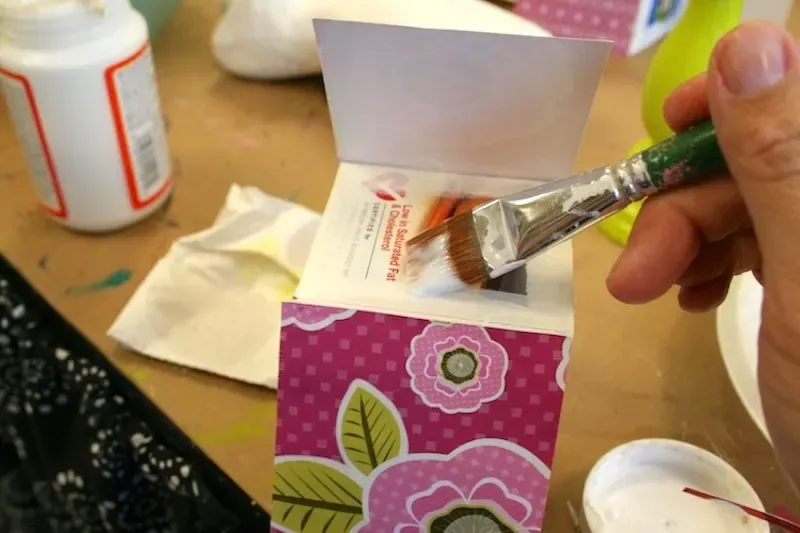 Painting Mod Podge on a cereal box to fold down the paper
Image: Applying Mod Podge for a smooth and polished finish.
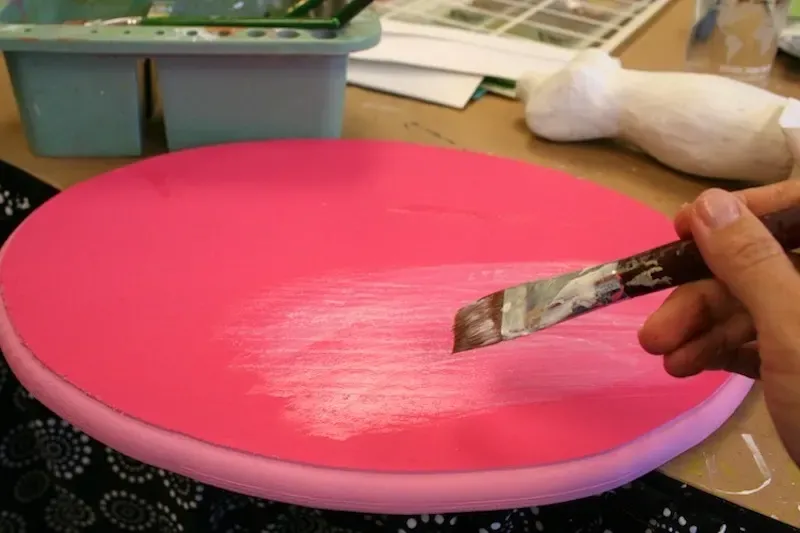 Adding Mod Podge to a painted wood plaque
Image: Sealing the painted wooden plaque with Mod Podge.
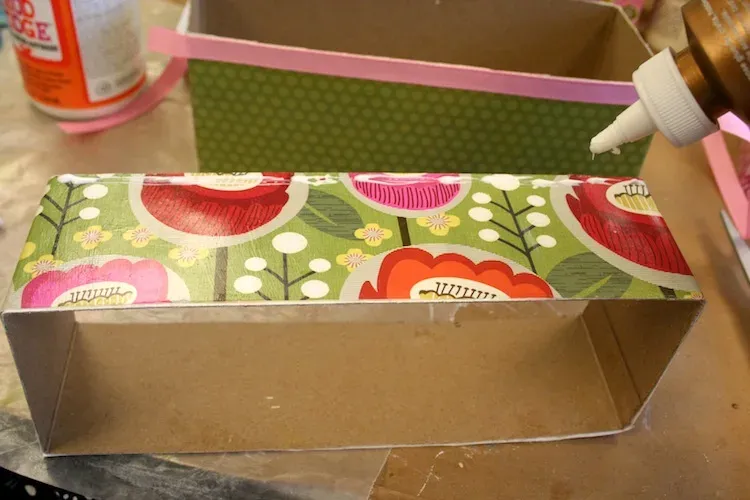 Adding ribbon trim to craft organizer compartments
Image: Adding a touch of elegance with ribbon embellishments.
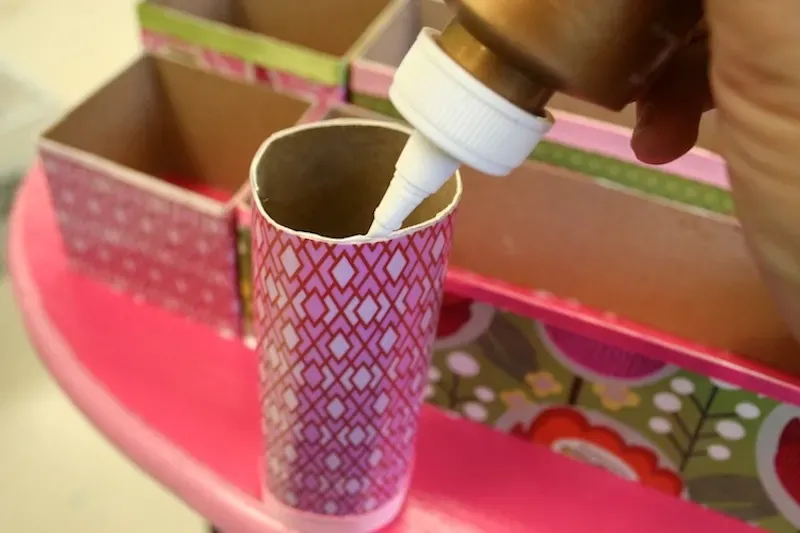 Add glue to the edges of the toilet paper rolls
Image: Securing the compartments to the wooden plaque with craft glue.
