Blog
Building a Modern Sliding Barn Door: A Step-by-Step Guide

As an artist who loves incorporating handmade elements into my work, I’m always drawn to the rustic charm and modern functionality of sliding barn doors. They add a unique character to any space, and the best part? They’re surprisingly easy to build!
Let me share my streamlined process for crafting a sleek and modern barn door, perfect for adding a touch of “Robert Kline Art” to your home.
Gathering Your Materials and Tools
Before we dive in, let’s gather our tools and materials. For this project, you’ll need:
- Primed Boards: I used 1″x6″, 1″x4″, and 1″x2″ boards from my local Home Depot.
- Brad Nailer and 1″ Brad Nails
- Tape Measure
- Wood Glue
- Air Compressor (optional, but makes nailing a breeze)
Measuring for a Perfect Fit
Accurate measurements are crucial. Begin by carefully measuring your door opening. Remember, your barn door should be slightly larger than the opening for optimal coverage and visual appeal.
Expert Tip: A good rule of thumb is to make the barn door 1/2″ to 3/4″ taller and 4″ to 5″ wider than the opening. This provides a bit of overlap for privacy and a cleaner look.
Building the Barn Door Frame
Now, let’s create the foundation of our door:
- Lay Out the Boards: Arrange your 1″x6″ boards side-by-side to form the main door surface. Depending on your door’s desired width, you might need to cut the boards to size.
- Add Stability with Glue: Apply a thin line of wood glue between each board before securing them together.
- Measure and Cut Trim Pieces: Using your 1″x4″ board, measure and cut the top and bottom cross trim pieces to the desired width of your door.
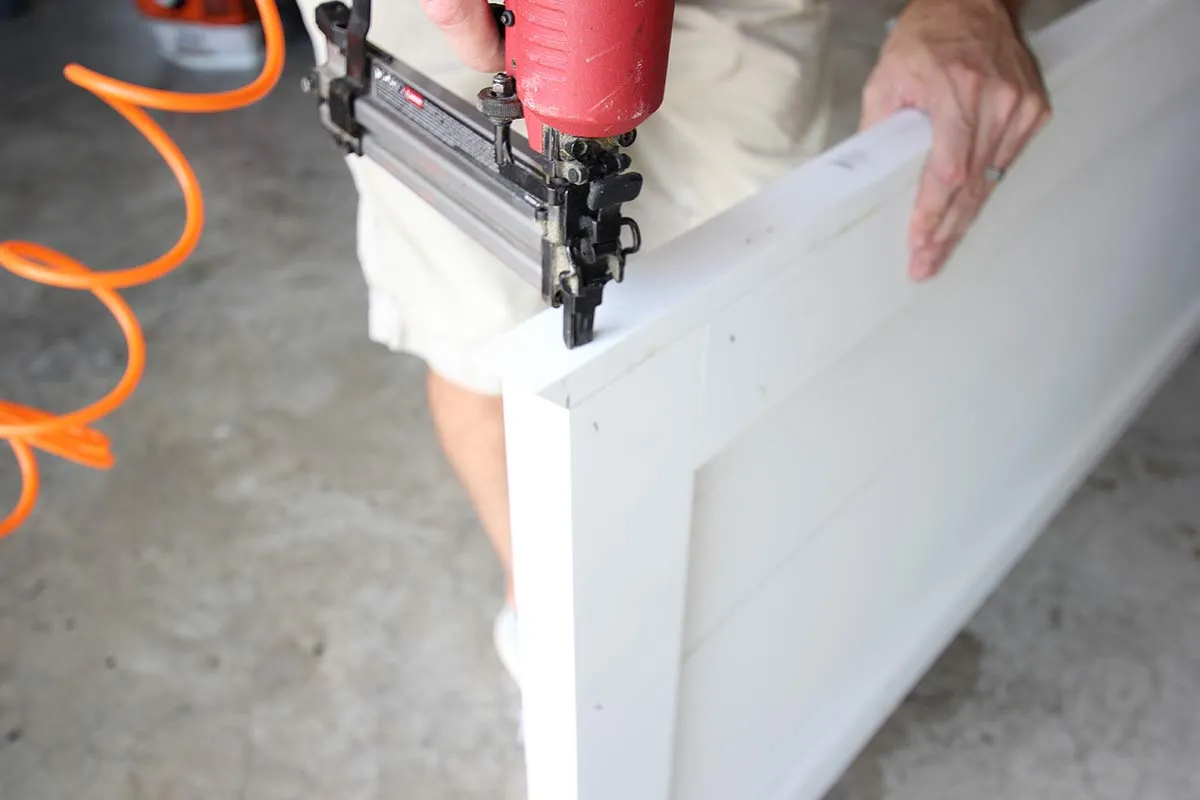
- Secure the Trim: Apply glue to the back of the trim pieces and carefully nail them to the top and bottom edges of the door.
 " width=
Pro Tip: I prefer to use minimal nails in my projects for a cleaner look. Less nails mean less filling and sanding later!
Adding the Finishing Touches
Now that the basic frame is complete, let’s add the side and edge trim for a polished finish:
- Measure and Cut Side Trim: Measure the distance between the top and bottom trim pieces and cut your 1″x4″ boards accordingly for the side trim. Attach them using glue and nails.
- Cut Edge Trim: Using the door’s length and width, cut the edge trim pieces from your 1″x2″ boards. Remember to cut 45-degree angles on the top piece for a seamless look.
- Attach Edge Trim: Glue and nail the edge trim pieces into place, ensuring a snug fit.
 " width=
Completing the Look
Congratulations, you’ve successfully built your very own barn door! Now comes the fun part—customizing it to match your style.
- Fill, Sand, and Paint: Take your time filling any nail holes and sanding the door for a smooth finish. Choose a paint color that complements your decor and apply it evenly.
- Install Hardware: Select a sturdy barn door hardware kit from your local hardware store and follow the manufacturer’s instructions for installation.
 " width=
Show Off Your Handiwork
And there you have it! A beautiful, functional sliding barn door that adds instant character and a personal touch to your space.
I’m always thrilled to see the unique creations people come up with. Feel free to share your finished barn door projects in the comments below! And for those seeking unique, handcrafted gifts, be sure to browse the stunning collection on the “Robert Kline Art” website.
