Building a DIY Murphy Bed for a Multifunctional Guest Room
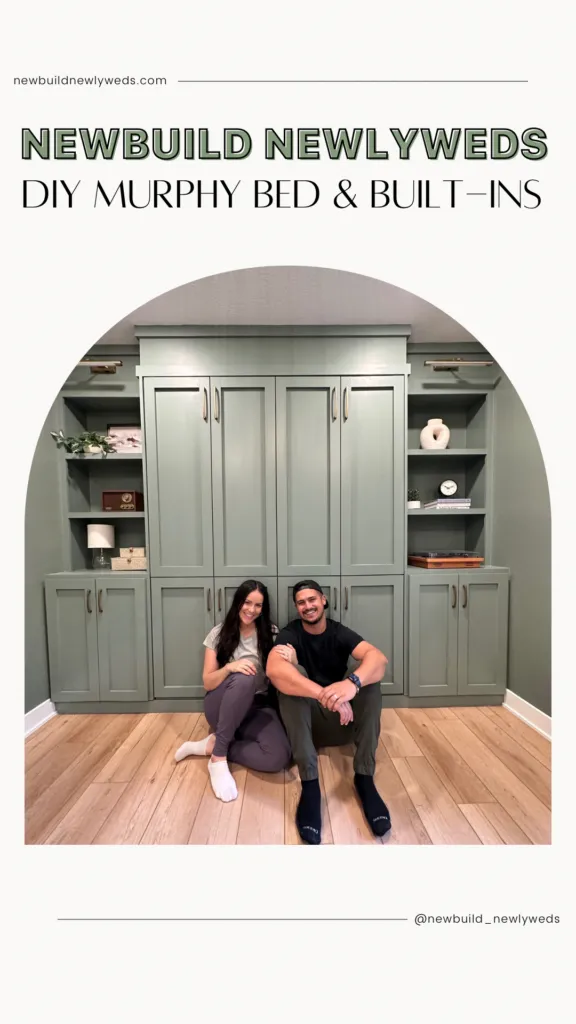
As an artist who loves to craft and create, my home is my sanctuary. After finishing renovations, I wanted to create a welcoming guest space without sacrificing my functional office. My solution? A DIY Murphy bed! This allowed me to have a comfortable guest room that easily transforms back into a workspace. Let me walk you through the process, offering tips and tricks from my own experience.
Planning and Preparation: The Foundation of Success
Like any good art piece, a well-built Murphy bed starts with a plan. I recommend beginning with a detailed Murphy bed kit. It provides the framework, step-by-step instructions, and a comprehensive list of materials. Trust me, this takes the guesswork out of the equation.
Building the Bed Frame: Strength and Support are Key
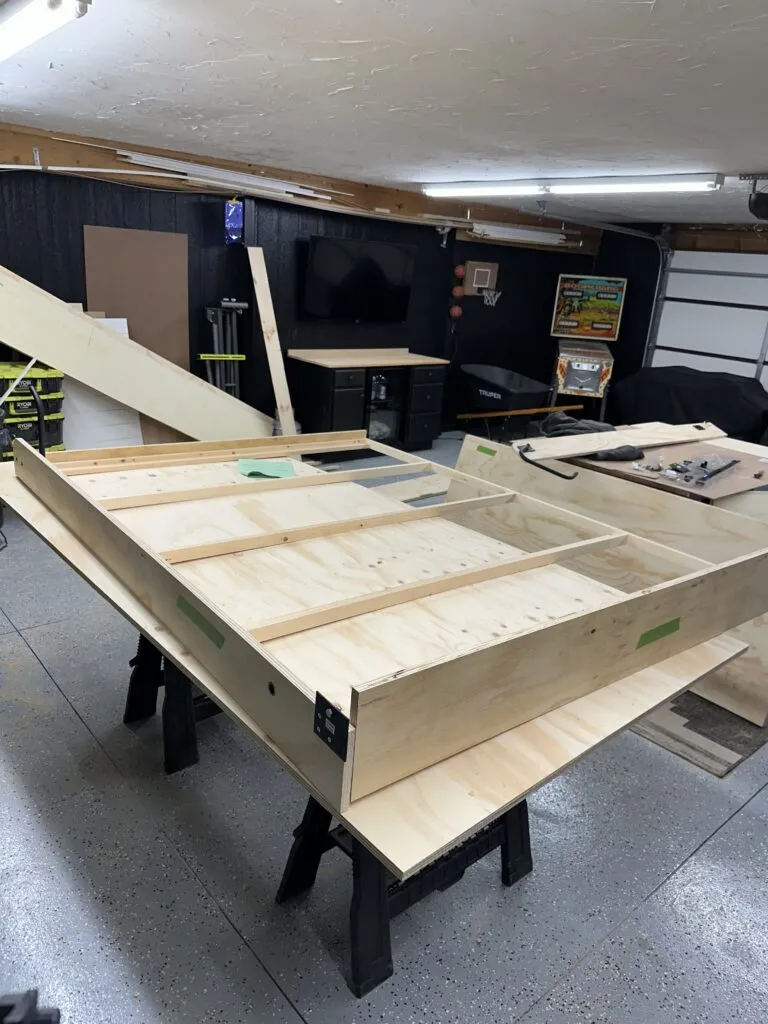
Following the instructions, I began by carefully measuring and cutting the wood for the frame. A table saw and circular saw were my tools of choice for this step.
Pro Tip: Accuracy is crucial here, so double-check your measurements before making any cuts.
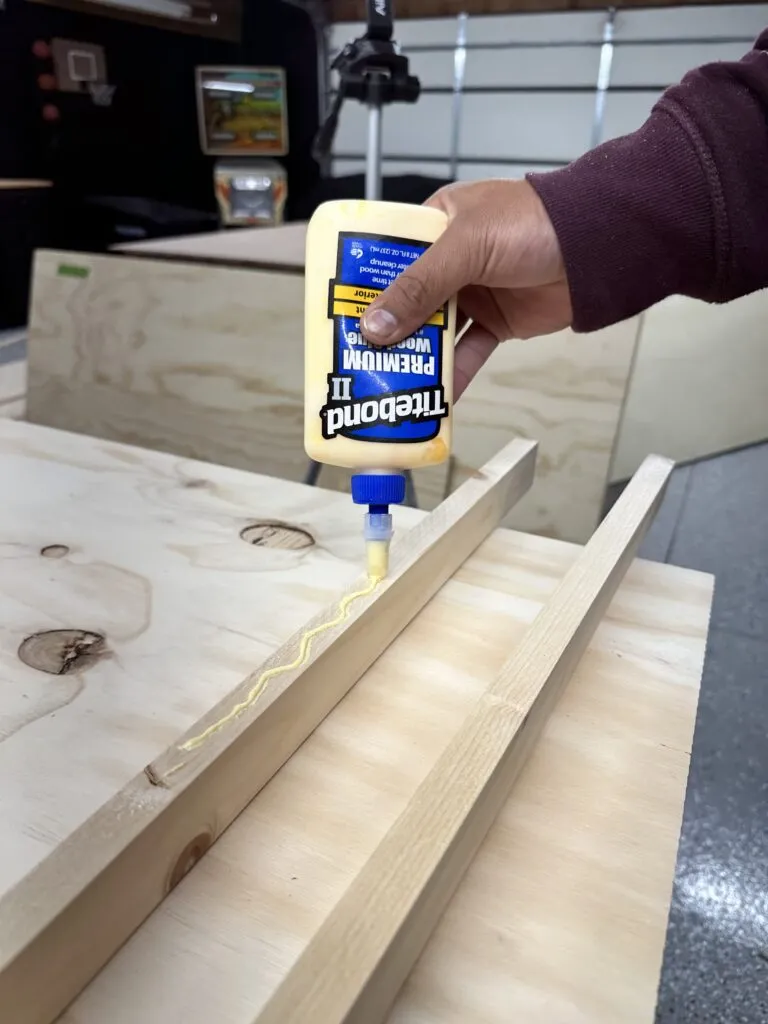
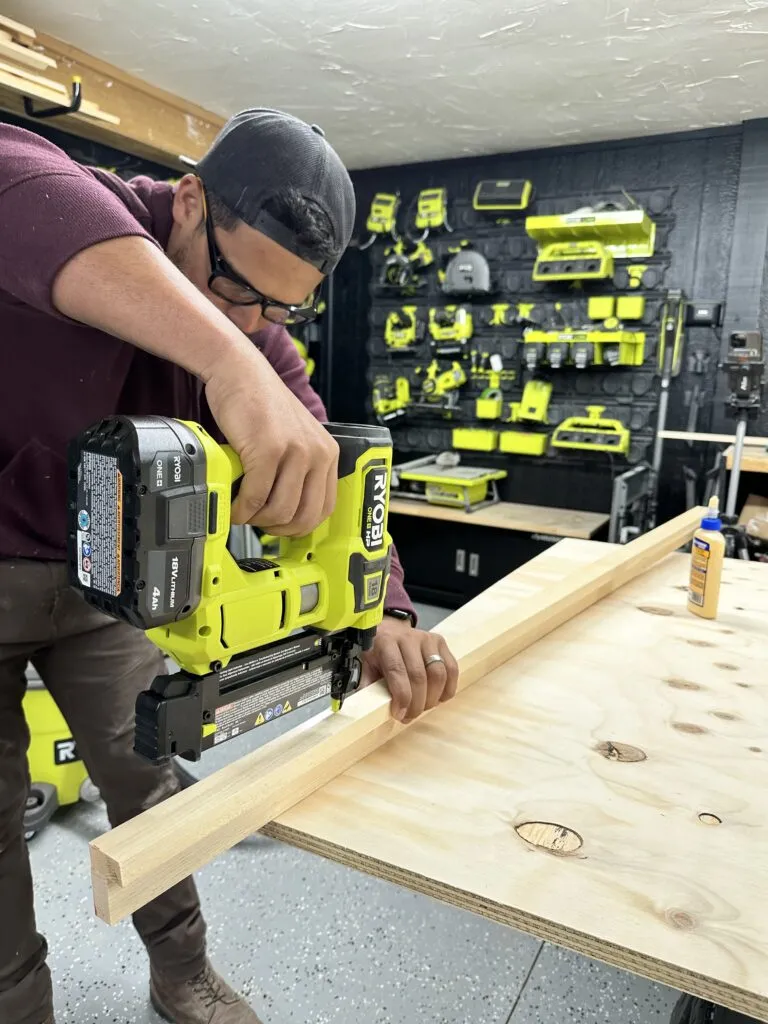
Next, I reinforced the frame with pine 1x2s for mattress bracing. Since we’re talking about supporting the weight of people, plywood wouldn’t cut it. Wood glue and nails provided a secure bond for the bracing, while 2 ½” screws, predrilled and countersunk for added strength, attached the outside boards.
 "Murphy bed frame assembly
Constructing the Cabinet: Creating the Illusion
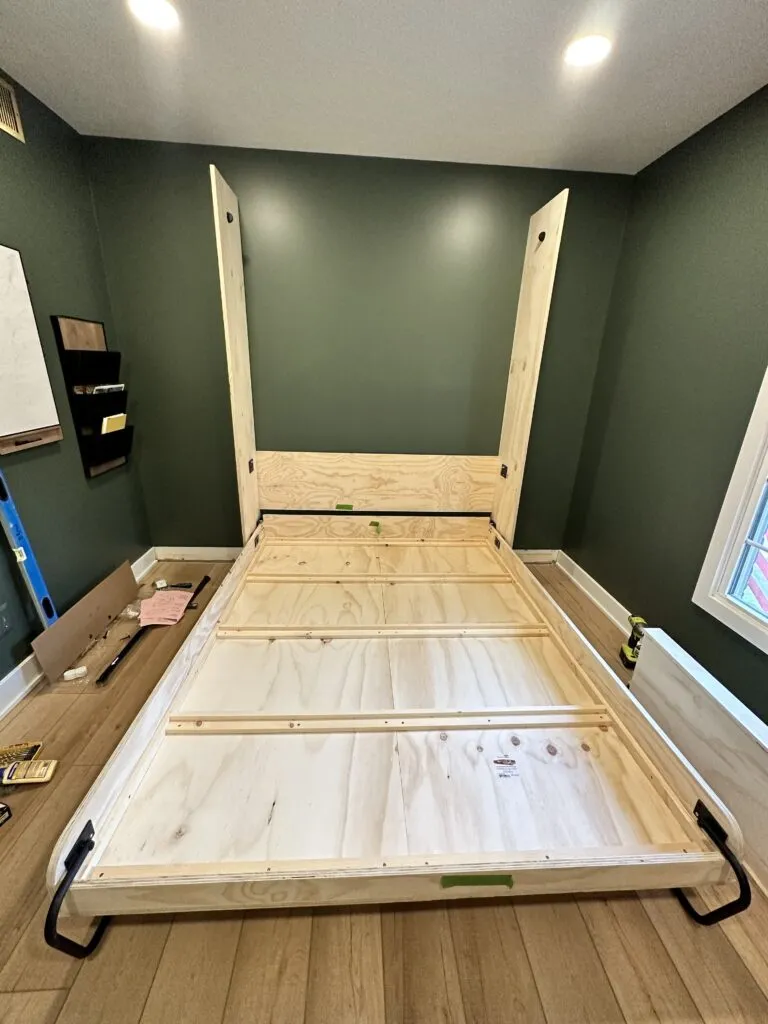
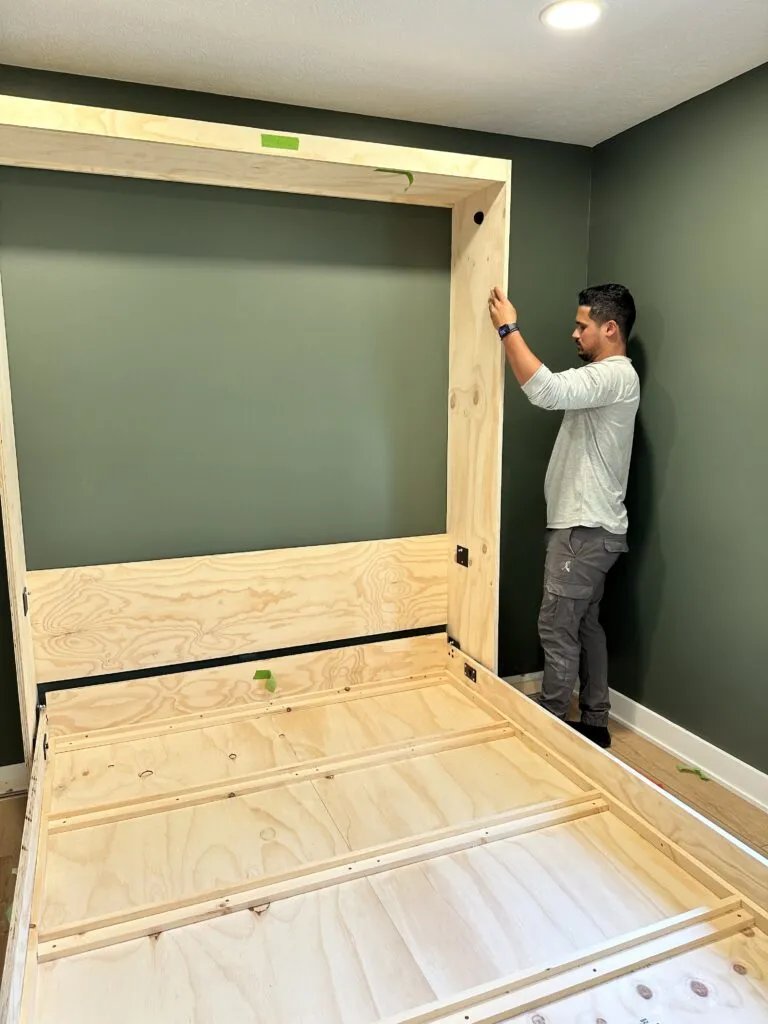
With a sturdy frame complete, I moved on to crafting the cabinet – the Murphy bed’s disguise. Starting with the sides, I sanded them smooth for a flawless finish.
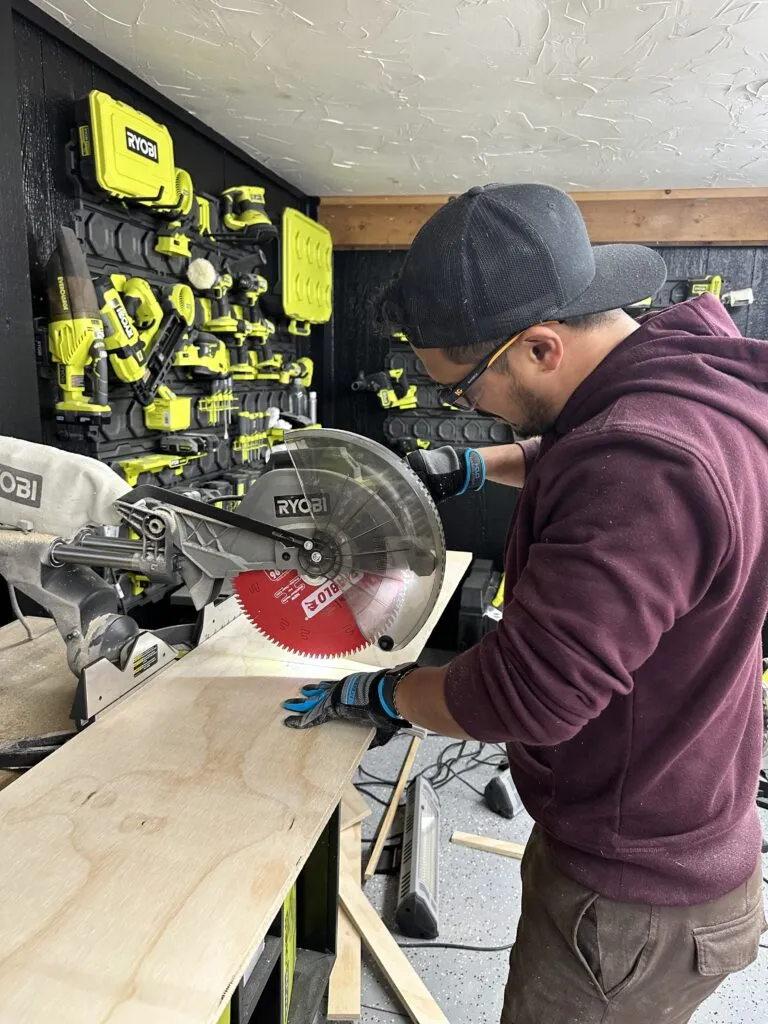 "Murphy bed cabinet construction
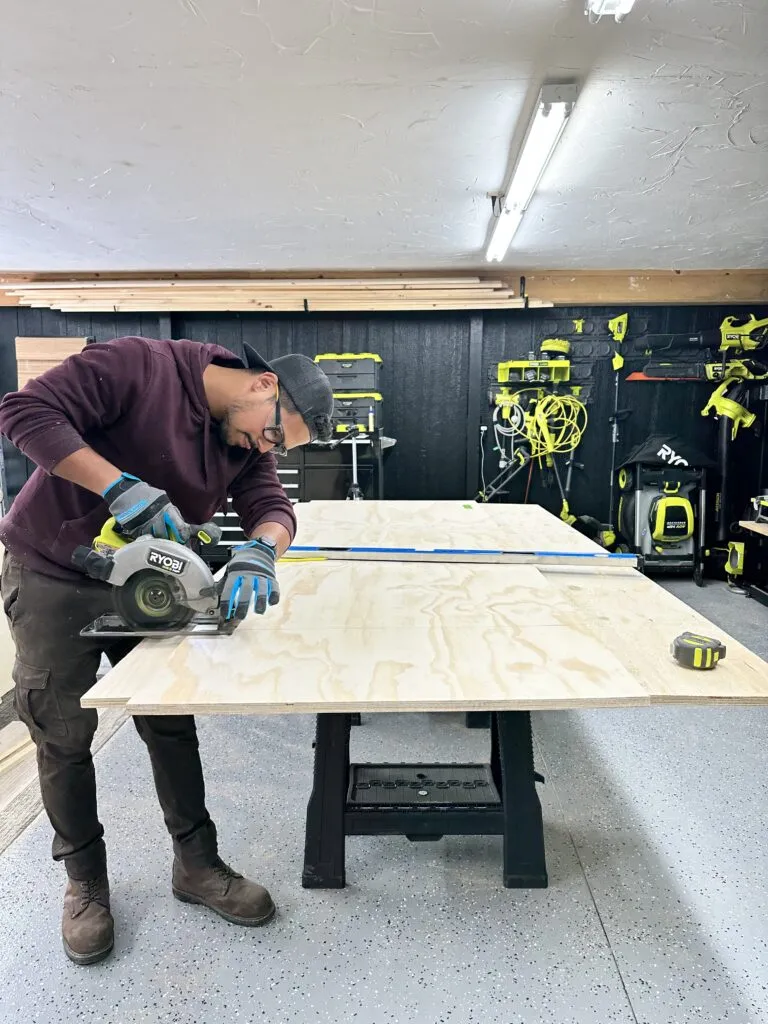 "Murphy bed cabinet side view
We used 2x4s for the base of the side cabinets, ensuring stability and providing an anchor point. Pocket holes and screws were our go-to for secure attachment.
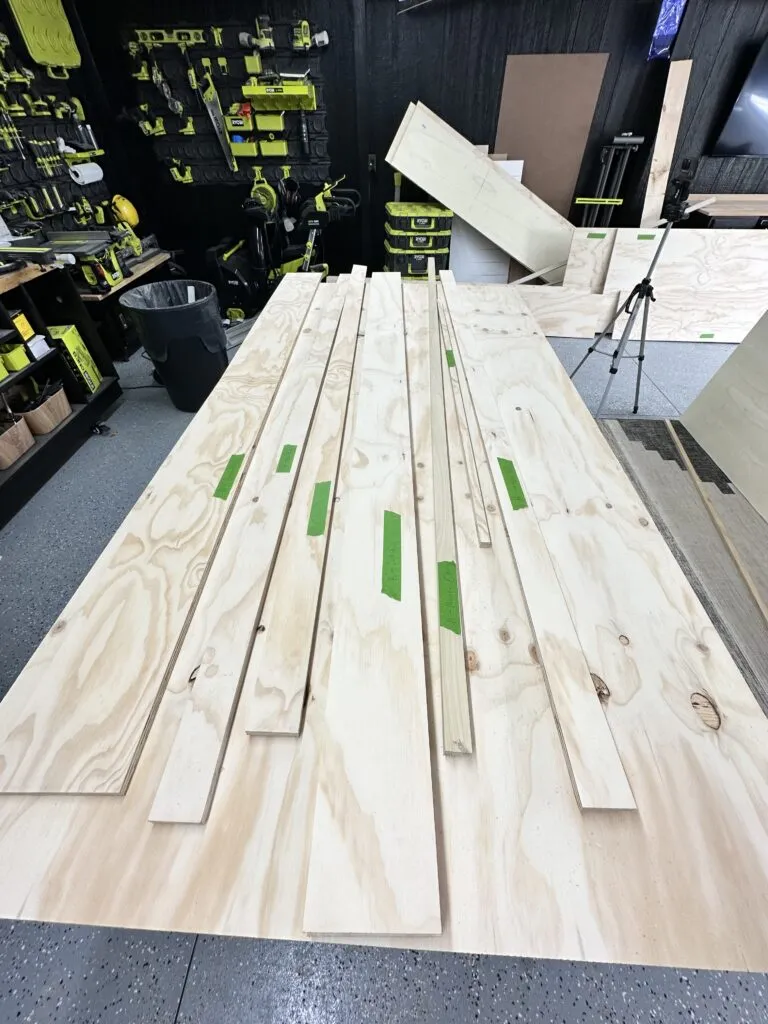 "Murphy bed cabinet base
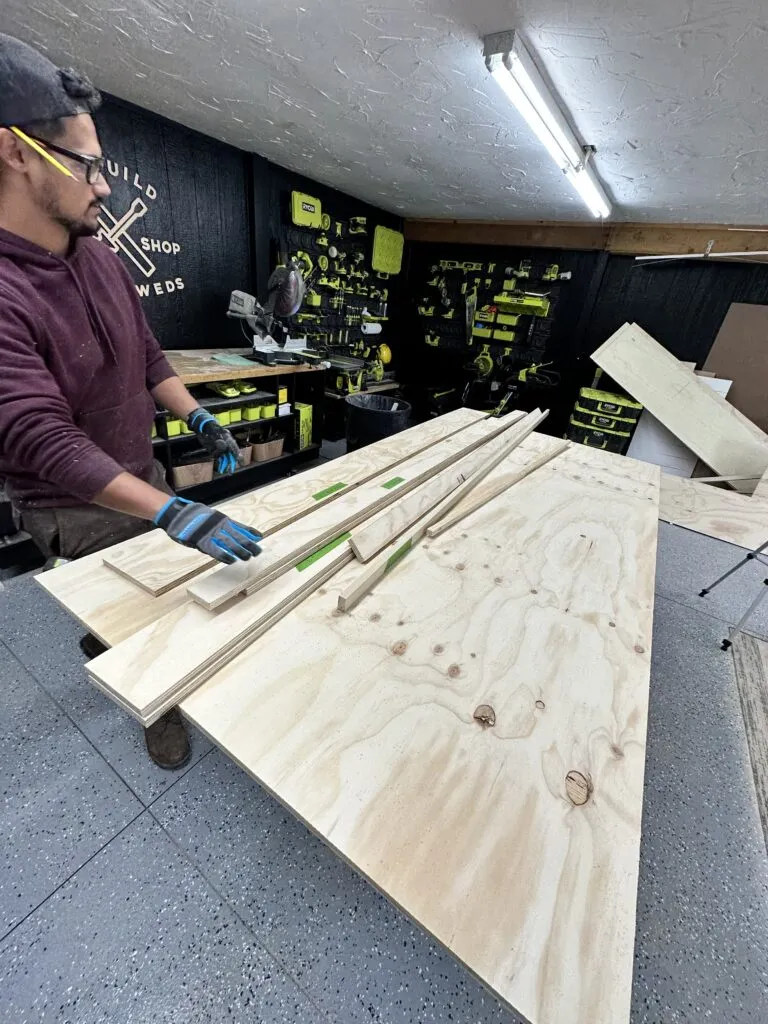 "Murphy bed cabinet assembly
Installing the Mechanism: Effortless Transformation
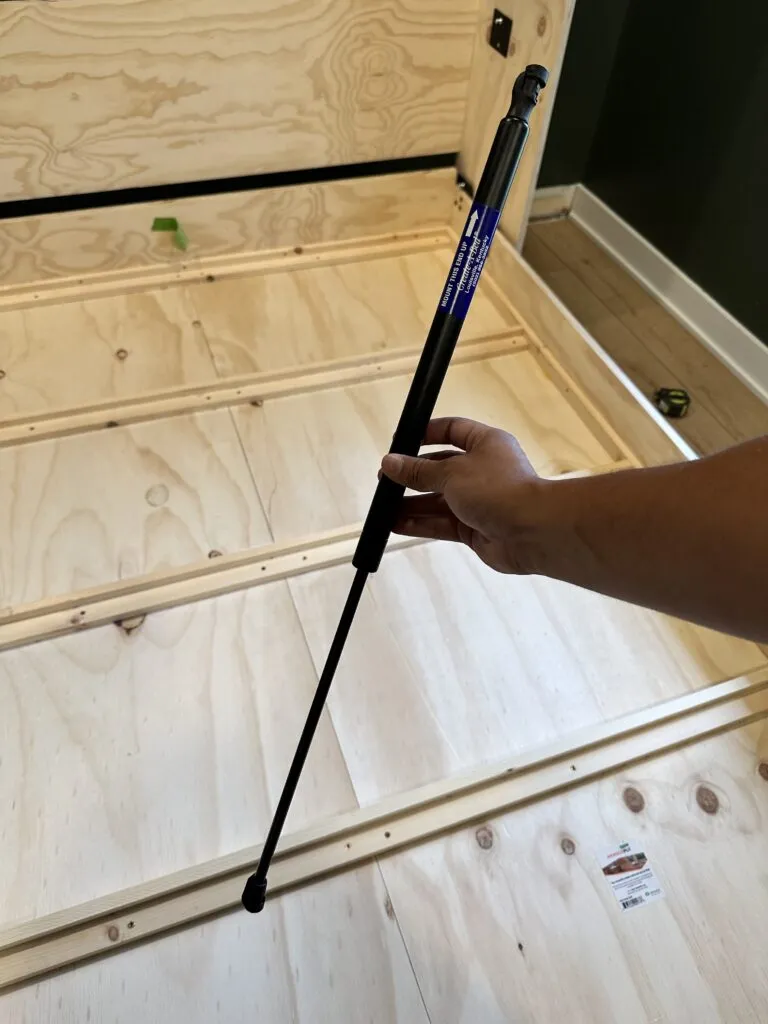
Once the cabinet was in place, it was time to install the magic – the gas springs. These mechanisms, connecting the cabinet to the bed frame, ensure the bed raises and lowers smoothly and safely.
 "Installing gas springs in Murphy bed cabinet
 "Murphy bed cabinet with installed gas springs"
Adding Storage and Shelving: Form and Function Unite
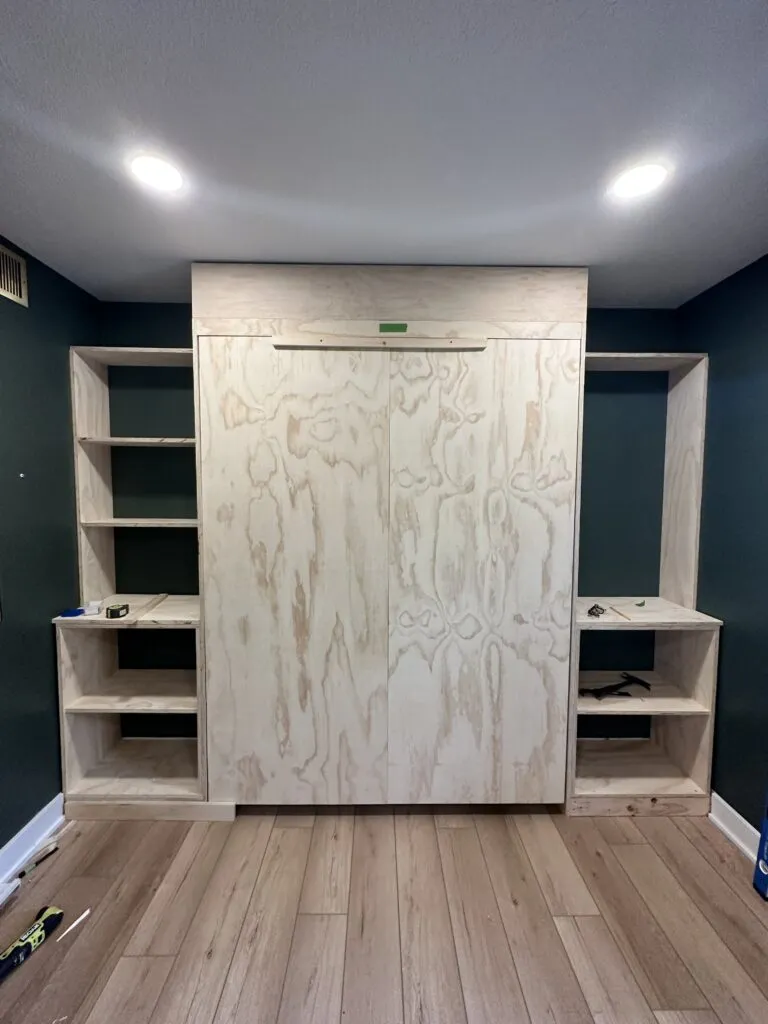
No Murphy bed is complete without stylish and practical storage. I opted for built-in cabinets and shelving on either side, maximizing space and enhancing the illusion of a traditional wall unit.
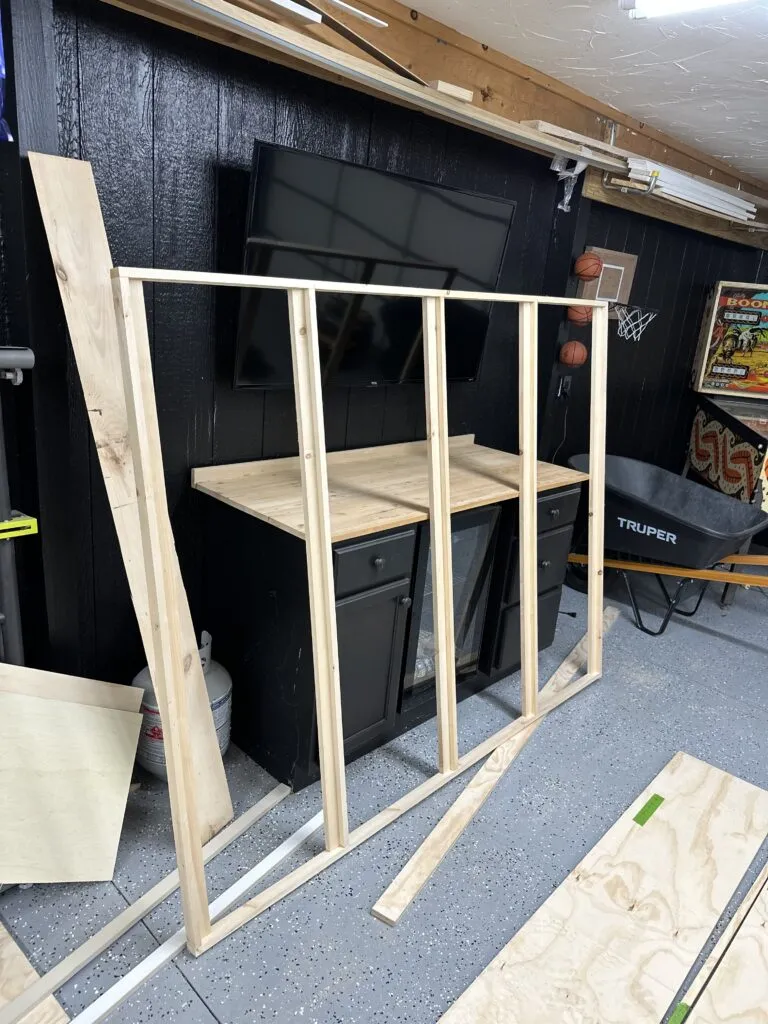 "Built-in shelves above Murphy bed"
 "Completed built-in shelves above Murphy bed"
The Finishing Touches: Elevating the Look
To achieve a seamless built-in look, I used 1x3s to create faux cabinet doors for the Murphy bed. Adding real cabinet hardware took the illusion to the next level, making it indistinguishable from a standard cabinet.
 "Painting the Murphy bed and built-in cabinets
 "Murphy bed and built-in cabinets after painting"
 "Close-up of painted Murphy bed and cabinet doors"
Painting: A Splash of Color
For a cohesive look, I chose Behr’s Cabinet, Door & Trim Enamel in a soothing satin finish. This paint is fantastic – one coat provided excellent coverage! I used a sprayer for a smooth finish on the cabinets and a roller for the walls.
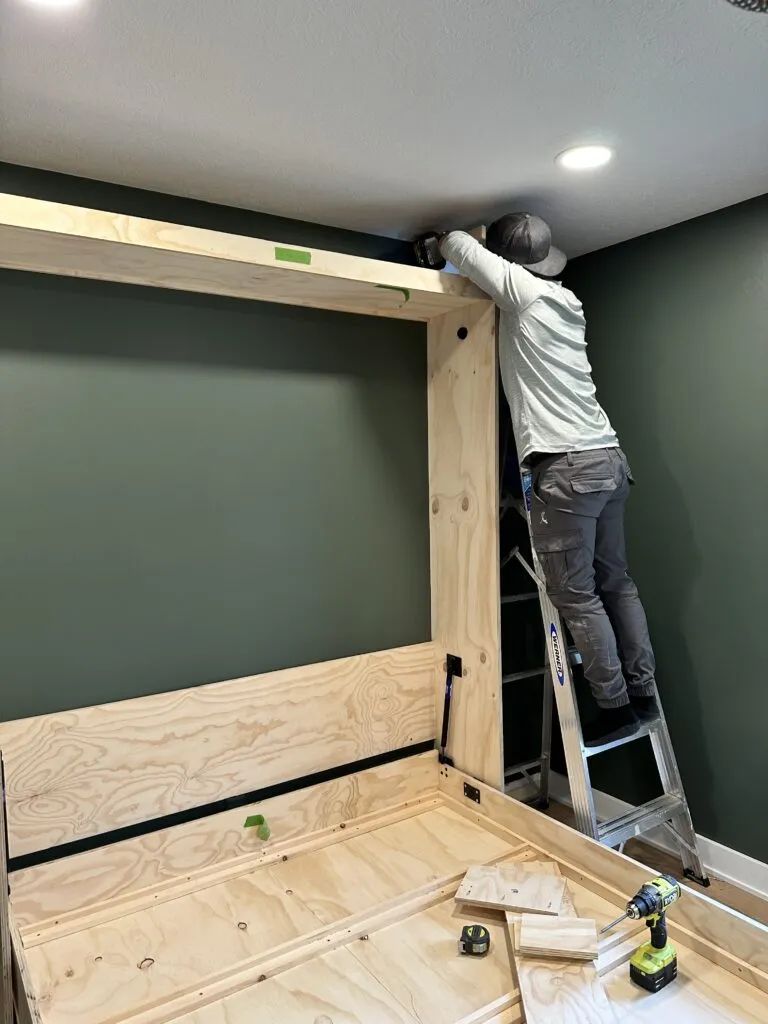 "Before and after photos of the Murphy bed transformation"
The Final Reveal: A Multifunctional Masterpiece
The result? A stunning and practical Murphy bed that seamlessly blends into my office space! My guests have a comfortable place to rest, and I retain my functional workspace.
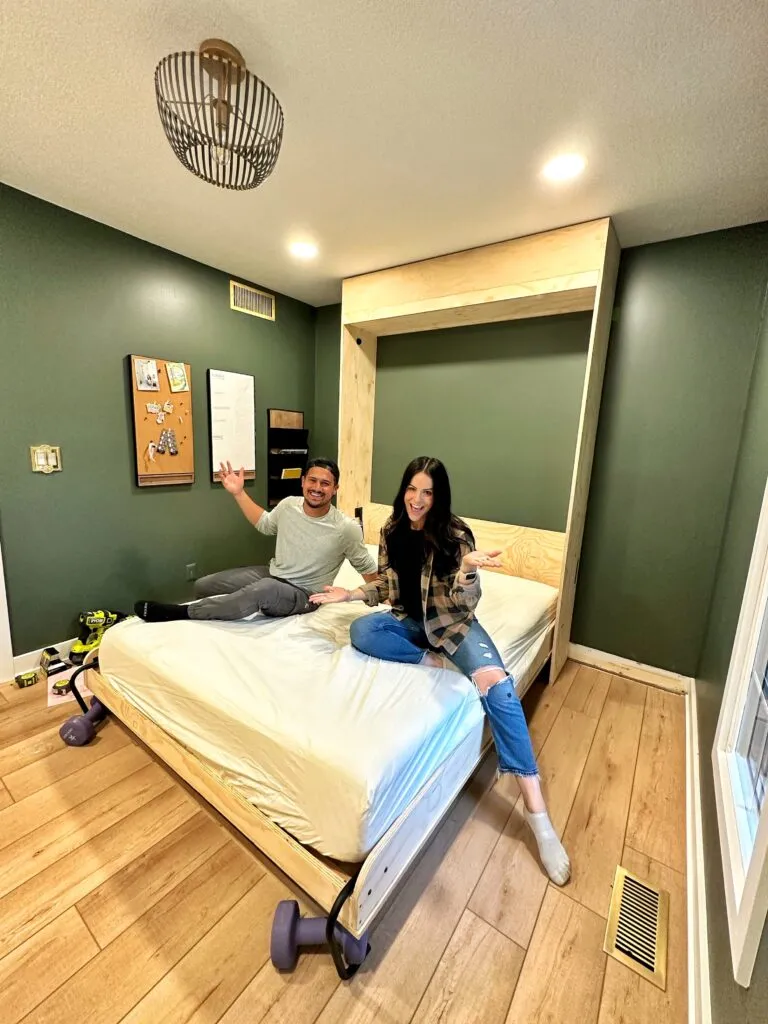 "Completed Murphy bed pulled down with bedding"
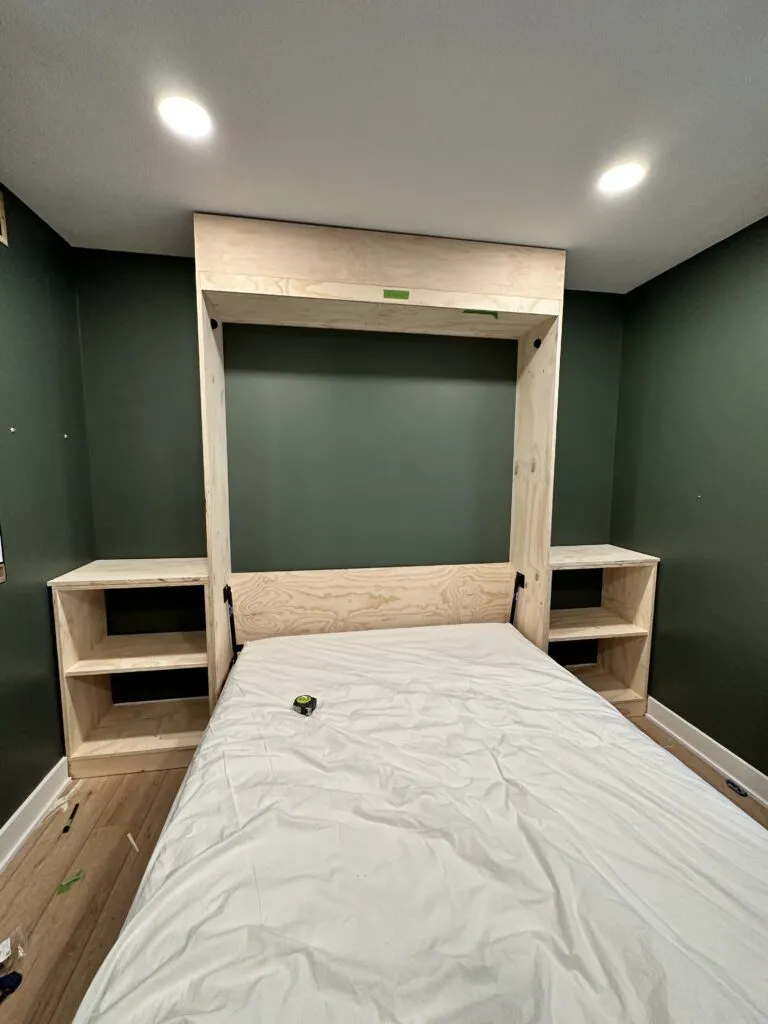 "Completed Murphy bed in a room with a desk"
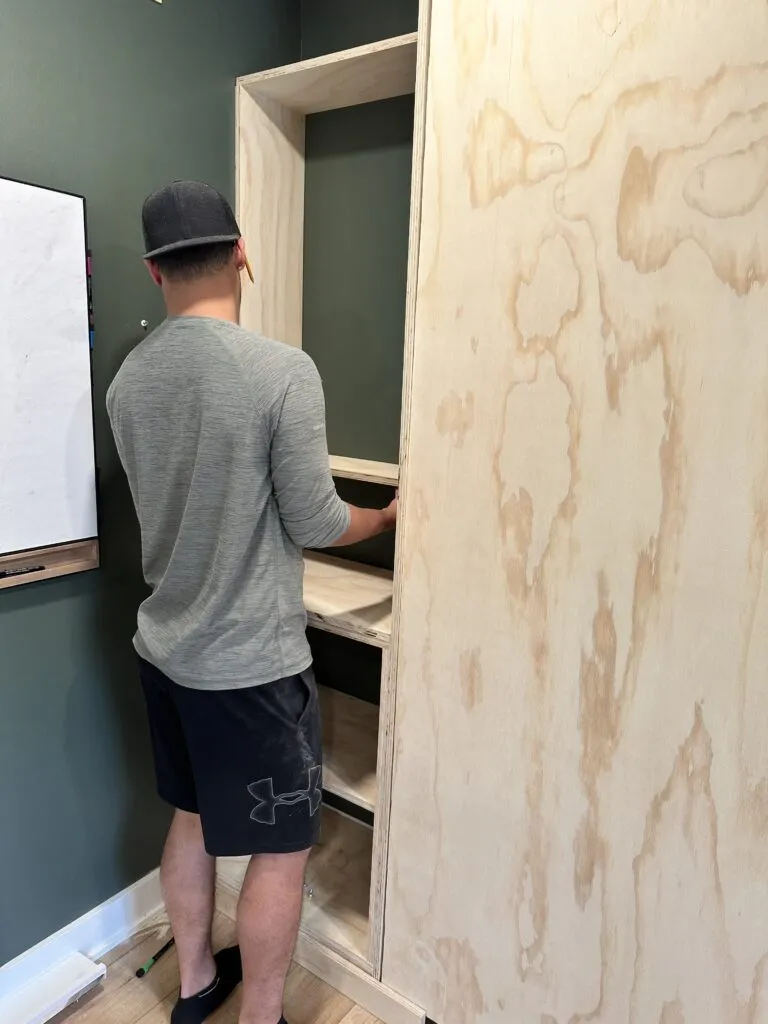 "Close-up of the completed Murphy bed with pillows and blankets"
 "Another view of the completed Murphy bed in a room setting"
A Word of Encouragement:
Building a DIY Murphy bed may seem daunting, but it’s an incredibly rewarding project. Take your time, follow the instructions, and don’t be afraid to get creative! You, too, can create a beautiful and functional space that reflects your style.
Check out Robert Kline Art for more inspiring DIY projects and unique handmade gifts. Let’s create something amazing together!
