DIY Floating Shelves: An Easy Weekend Project

Have you ever stood in your living room, picturing the perfect addition to your space, only to be daunted by the perceived complexity of the project? That’s precisely how I felt about installing floating shelves next to our fireplace. I’m thrilled to share that building these DIY floating shelves was shockingly simple, leaving me wondering why I waited so long!
Let me set the scene: we built our home five years ago, and like many homeowners, we have an ever-evolving list of projects to personalize our space. Built-in shelves flanking the fireplace were high on the list, but after exploring countless designs on Pinterest, we fell head-over-heels for the modern, airy aesthetic of floating shelves.
From Blank Slate to Statement Shelves
Imagine a blank canvas – that was our fireplace wall just a month after moving in. Fast forward to today, and the transformation is remarkable! The star of the show? Our beautiful, chunky floating shelves, adding character and warmth to the entire living room.
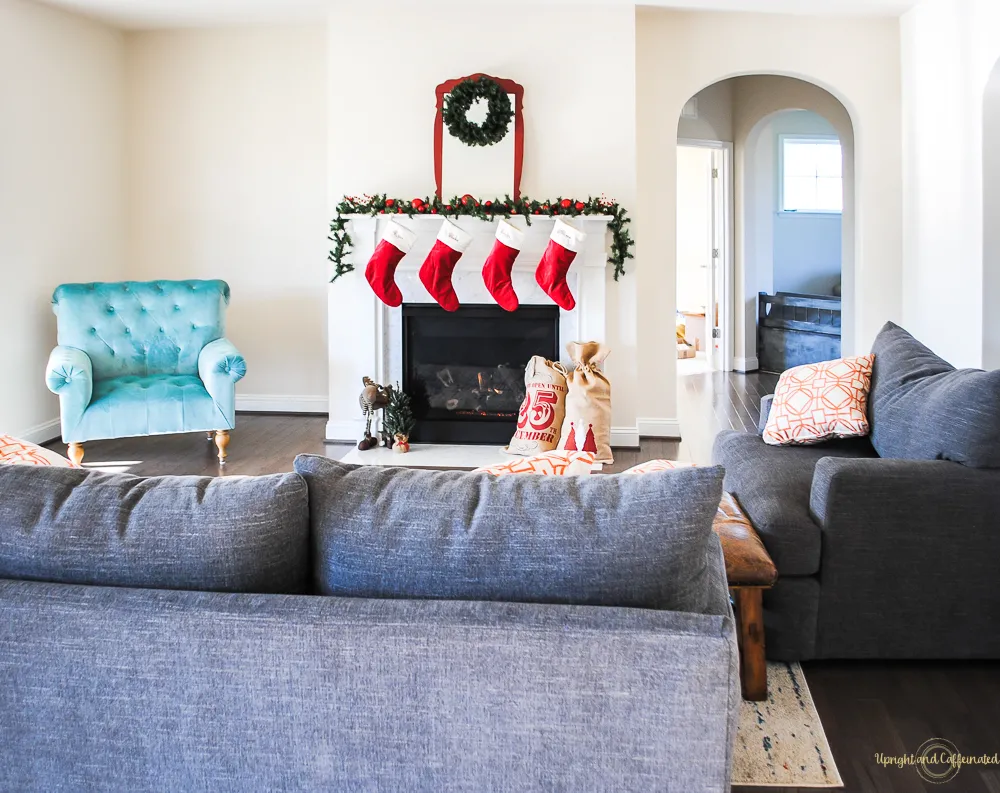
 Before image of the fireplace
The before image of the fireplace wall shows a blank slate, full of potential.
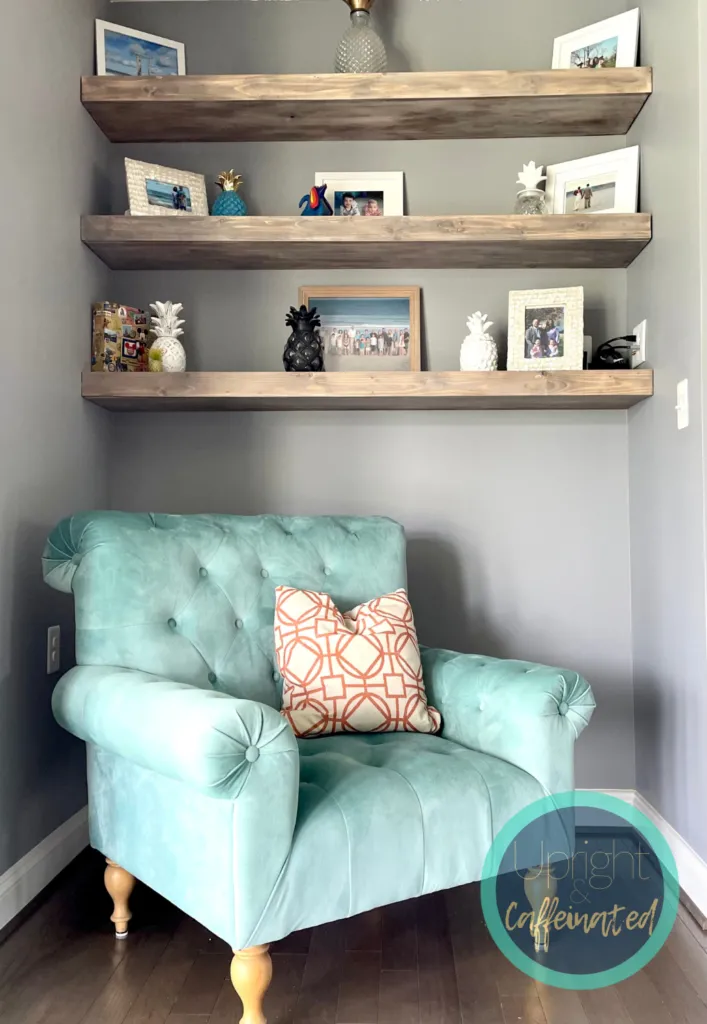
 After image of the fireplace with DIY floating shelves
The after image of the fireplace wall, now featuring DIY floating shelves, showcases a stunning transformation.
I’m absolutely smitten with the final result, and the best part? This project is entirely achievable for even the most novice DIY enthusiast.
Crafting Your Own DIY Floating Shelves: A Step-by-Step Guide
Ready to elevate your living space with this stunning and functional addition? Let’s dive into the step-by-step process:
Building the Braces: The Foundation of Your Shelves
-
Measure and Cut: Begin by measuring the width of your wall where the shelves will be installed. Using 2×2 lumber, cut pieces to match this measurement. These will serve as the main support for your floating shelves.
-
Create the Shelf Supports: Next, cut additional 2×2 lumber pieces to the desired depth of your shelves. These shorter pieces will be attached to the main support beams to create the “L” shaped brackets that will hold the shelves.
-
Secure the Braces: Find the studs in your wall using a stud finder. Screw the assembled braces directly into the studs, ensuring a secure and stable foundation for your shelves.
Crafting the Floating Shelves
-
Prepare Your Shelf Boards: Choose your desired wood for the shelves themselves. Pine whiteboard, with its affordability and ease of use, is an excellent option. I opted for a warm, rich finish using Minwax Espresso stain. Lightly sanding the boards before staining ensures a smooth and even finish.
Pro-tip: If you plan on using liming wax for a weathered look (like I did!), I recommend applying it before assembling the shelves. This allows for easier application and prevents any wax buildup in unwanted areas.
-
Assemble the Shelves: Lay your first shelf board on top of the installed braces, and secure it in place using a nail gun. Repeat with the bottom side of the shelf for added durability.
-
Add the Finishing Touch: For a polished look, cut a three-inch piece of your 2×2 lumber and attach it to the front edge of your shelves, concealing the raw edges of the shelf boards.
Achieving the Perfect Weathered Finish with Liming Wax
-
Fill Nail Holes: To create a seamless look, fill any visible nail holes. Chalk paste works wonders here, as it dries quickly, fills gaps effectively, and is easily removable if needed.
-
Apply the Liming Wax: Now for the fun part – achieving that gorgeous, weathered finish! Using a clean cloth, apply the liming wax to your shelves, working in the direction of the wood grain.
-
Buff and Reveal: Allow the liming wax to sit for 3-5 minutes, then buff it out using a clean rag. The transformation is remarkable! The liming wax adds depth and character, giving the shelves a beautiful, beachy vibe.
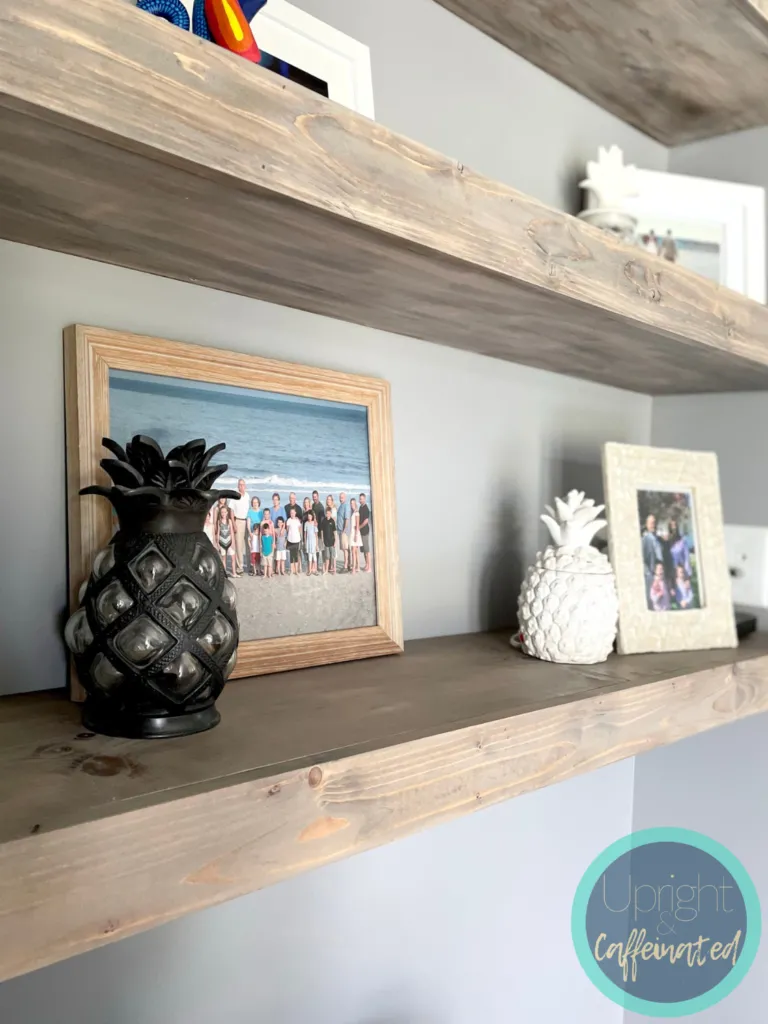
 Detailed image of the DIY floating shelves
A closer look at the finished floating shelves highlights the rustic charm achieved with liming wax.
Bask in the Glow of Your DIY Success
And there you have it! Building your own DIY floating shelves is a surprisingly straightforward project that can be accomplished in a weekend. These shelves instantly elevate any space, adding storage, style, and a touch of handcrafted charm. The best part? You’ll have the satisfaction of knowing you created these stunning shelves with your own two hands.
Feeling inspired? I encourage you to give this project a try! And when you do, be sure to share your creations with me in the comments below. I can’t wait to see what you create!
Explore More Handmade Treasures
Ready to infuse your home with even more handcrafted charm? Visit Robert Kline Art for a curated collection of unique, handmade gifts and decor, perfect for adding personality and warmth to your space.
