Blog
Building a Stunning DIY Floating Desk with Storage

Hey there, fellow craft enthusiasts! Robert Kline, your trusted guide in the world of handmade wonders, is here today with an exciting project that’s as practical as it is stylish. We’re diving headfirst into the realm of woodworking, but don’t worry, I promise it’s simpler than you might think!
Have you ever envisioned a sleek, space-saving floating desk gracing your home office, craft room, or even your child’s play area? Well, envision no more! In this step-by-step guide, we’ll embark on a journey to craft a stunning DIY floating desk with storage, all while keeping the budget delightfully friendly. Get ready to unleash your inner artisan and add a touch of personalized elegance to your living spaces!
Gathering Your Tools and Materials
Before we roll up our sleeves and delve into the construction process, let’s gather our trusty tools and materials:
Materials:
- 1/4″ birch plywood
- 2x3s (Calculate the quantity based on your desired desk dimensions)
- 3″ Wood construction screws
- 2″ Wood construction screws
- Wood glue
- Polycrylic in matte finish (or your preferred sealant)
Tools:
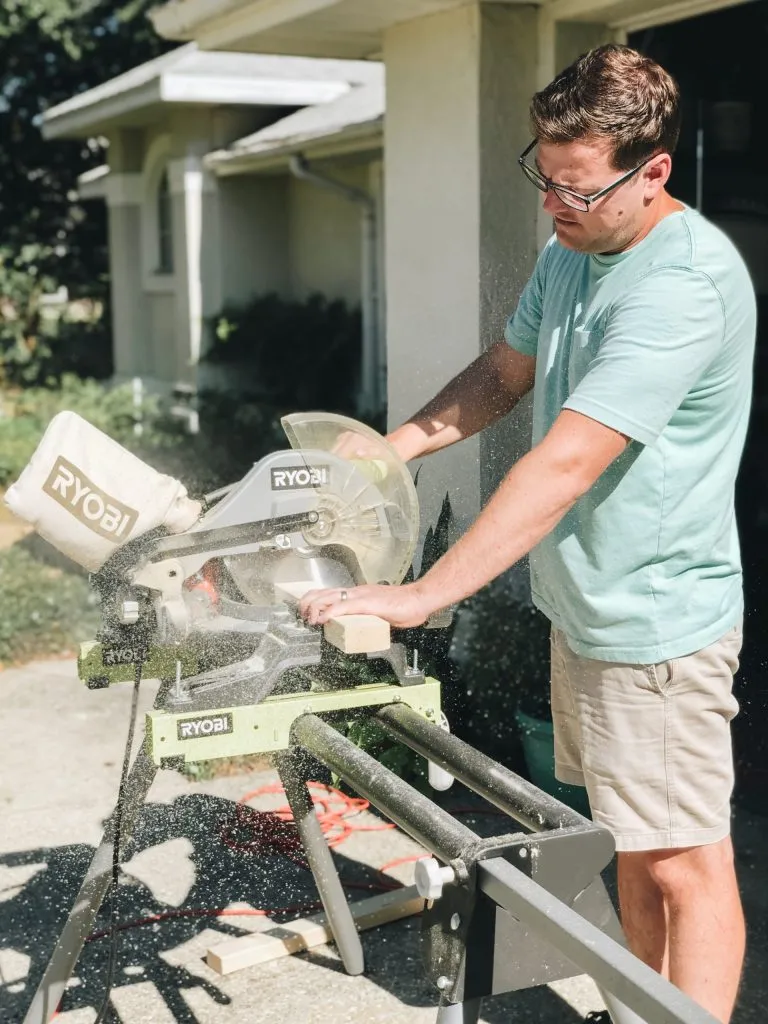
- Miter saw
- Jigsaw / circular saw / table saw (whichever you prefer)
- Drill
- Stud finder
- Clamps
- Level
- Measuring tape
- Pencil
Constructing the Sturdy Frame
Now that we have our arsenal of crafting essentials, let’s lay the groundwork for our floating masterpiece – the frame!
- Determining the Dimensions: Begin by deciding on the width and depth of your floating desk. Consider the available wall space and how far you’d like it to extend. Remember, this desk is all about maximizing functionality without overwhelming the room.
- Creating the Back Support: Cut a 2×3 to your desired desk width. This piece will serve as the backbone of our floating desk, providing sturdy support against the wall.
- Adding Sides and Interior Bracing: Cut additional 2x3s to your desired desk depth, minus the width of the front and back 2×3 pieces. These will form the sides and interior support structure.
- Assembling the Frame: Attach two of the depth-wise 2x3s to the ends of the back support using wood glue and 2-inch wood screws. Add more depth-wise 2x3s at even intervals for added stability. Finally, attach the front 2×3 piece using wood glue and screws, securing it to the interior supports.
Mounting the Frame with Confidence
With our robust frame ready to take its rightful place, let’s securely mount it to the wall:
- Locating Studs: Using a stud finder, mark the location of studs on your wall. These will serve as our anchoring points, ensuring maximum stability for the desk.
- Determining the Height: Decide on your desired desk height. Consider the height of the intended user and the overall ergonomics of the workspace.
- Leveling and Securing: Enlist the help of a friend to hold the frame level against the wall at your chosen height. Once level, drill 3-inch wood screws through the back support and into each stud. Remember, attaching the frame to studs is crucial for safety and stability.
Bringing It to Life: Attaching the Desk Surfaces
Now comes the transformative part – cladding our frame with sleek plywood surfaces:
-
Cutting the Plywood: Measure the top surface area of the frame, adding the plywood thickness to the right/left and front dimensions. This ensures a seamless, concealed fit. Cut the plywood accordingly for the top, front, sides, and bottom.
-
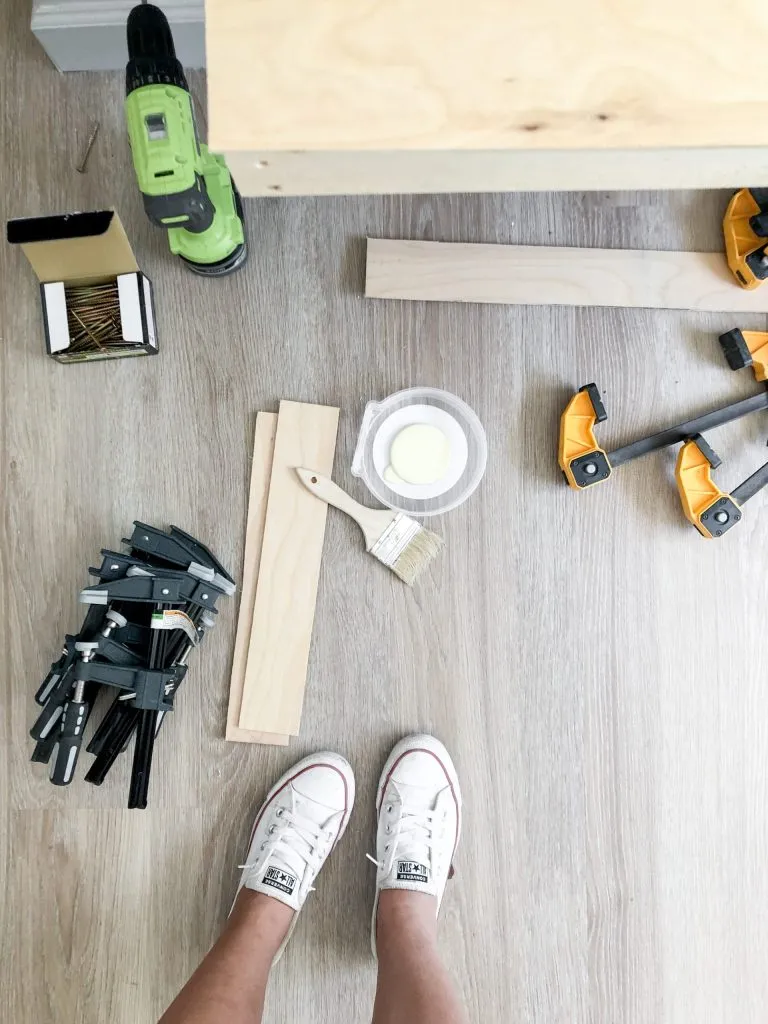
Attaching the Top: Apply wood glue to the top edges of the frame. Center the top piece of plywood, ensuring it’s flush with the wall. Use clamps and evenly spaced weights to apply pressure while the glue dries.
 A floating desk being assembled with clamps and weights
 -
Attaching the Front and Sides: Repeat the process for the front and side pieces, applying wood glue and using clamps to secure them while drying. Remember to factor in the plywood thickness for a flawless fit.
 Attaching the sides of a floating desk
 -
Attaching the Bottom (with a Twist): For the bottom piece, use only construction screws, attaching them through the plywood and into the 2x3s. This allows for future height adjustments if needed.
 Securing the bottom of a floating desk
Finishing Touches and Customization
Our floating desk is almost complete! Let’s add those final touches:
-
Sanding (Optional): Lightly sand any rough edges for a polished look.
-
Sealing: Apply two coats of polycrylic (or your preferred sealant) to protect the wood and enhance its natural beauty.
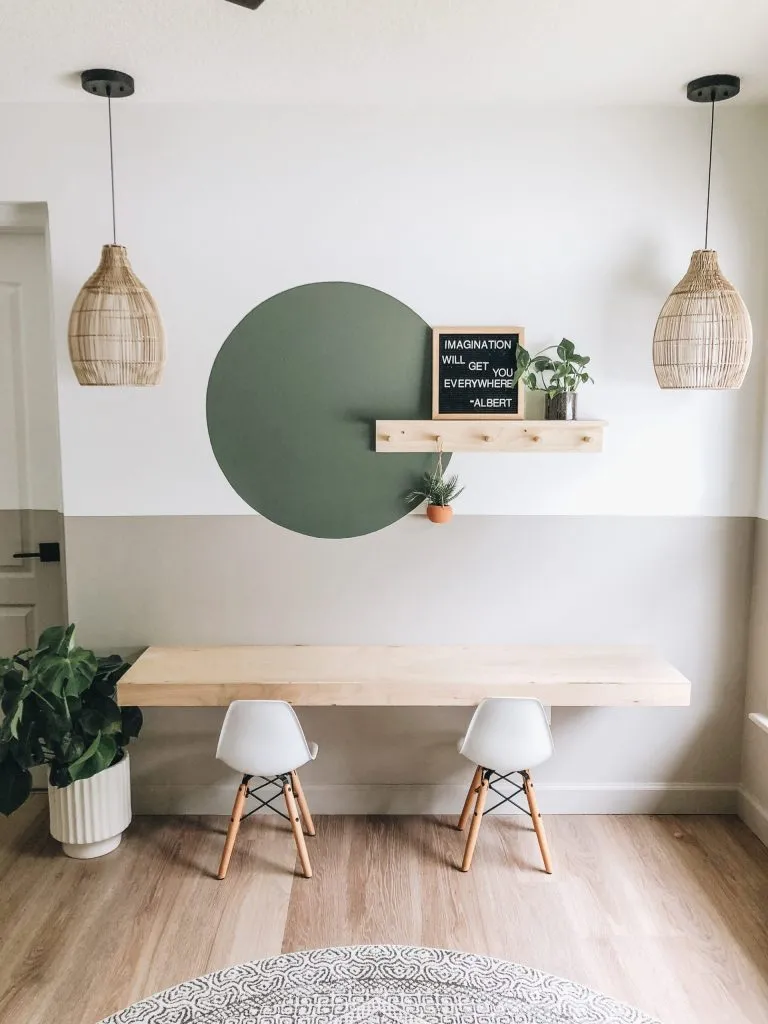
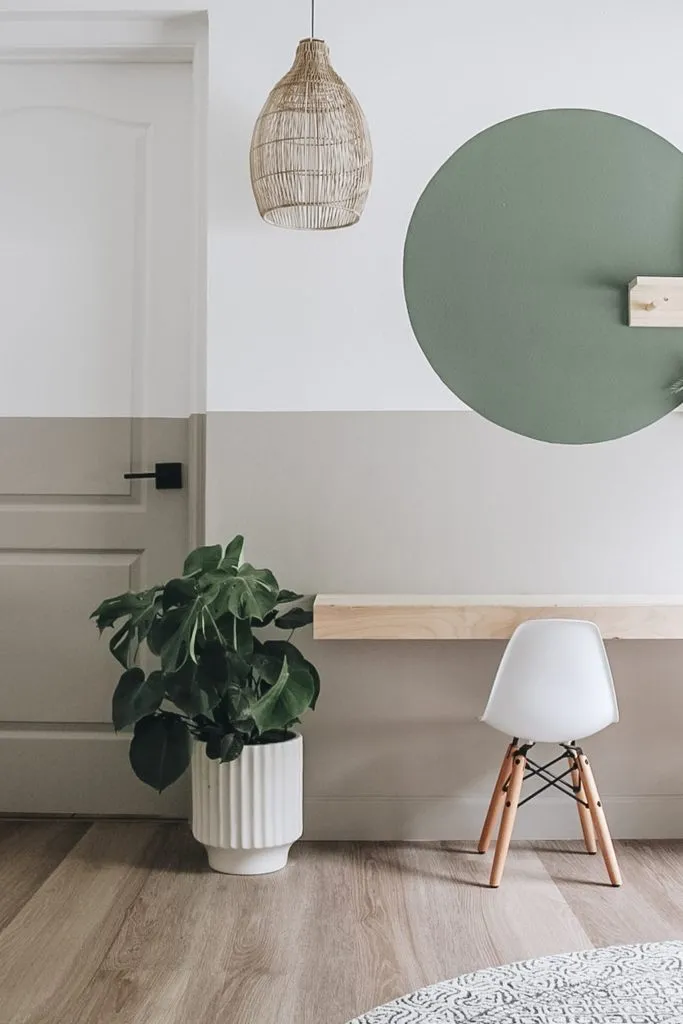
 A completed floating desk in a playroom setting
Embracing the Beauty of Handmade
Congratulations! You’ve successfully crafted a stunning DIY floating desk with storage. Step back and admire your handiwork – a testament to your creativity and craftsmanship. This desk is not just a piece of furniture; it’s a reflection of your unique style and a functional work of art.
Looking for more inspiration to elevate your crafting game? Explore the world of handmade wonders at Robert Kline Art and discover a treasure trove of ideas, tips, and step-by-step guides. Remember, the world of crafting is your oyster, and the possibilities are limitless! Let your imagination soar and create something truly extraordinary.
Don’t forget to share your crafting adventures with us! We’d love to see your unique creations and hear your thoughts on this DIY project. Leave a comment below and let’s connect! Happy crafting!
