Craft the Perfect DIY Clothes Drying Rack
Tired of flimsy clothes drying racks that buckle under the weight of a damp towel? Don’t despair! At Robert Kline Art, we believe in empowering you to create beautiful and functional pieces for your home. Today, I’m excited to share a simple yet sturdy DIY clothes drying rack project that won’t break the bank.
This handcrafted drying rack is perfect for delicate garments, offering a wider surface area than those flimsy store-bought racks. Plus, you can customize the size to fit your space. So gather your tools, and let’s get crafting!
Materials You’ll Need:
- Seven 1″ x 2″ x 8′ pine boards (or wood of your choice)
- Ten 3/4″ wooden dowels (eight at 30″ long, two at 32″ long)
- Wood glue
- 1 5/8″ wood screws
- 5/8″ wood screws
- Three 1 1/2″ hinges
- Twine
- Sanding sponge or sandpaper
- Wood plugs
- Finish nails
- Measuring tape
- Speed square
- Circular saw or hand saw and miter box
- Drill with 3/4″ and 1/8″ drill bits
- Clamps
- Awl (optional)
- Pliers
Let’s Get Building!
Step 1: Cut the Legs and Tops
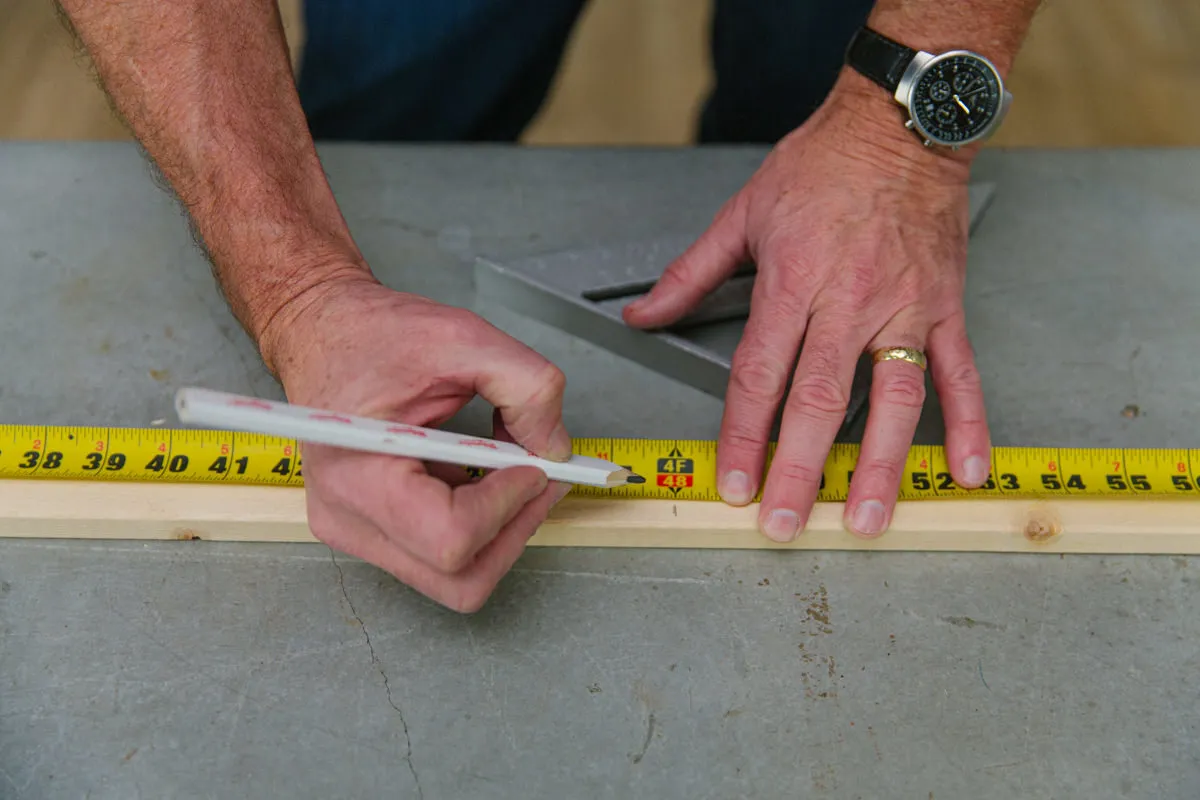
First, cut two of your one-by-twos in half to create four pieces for the legs of your drying rack. On one end of each leg piece, use a speed square to mark a 15-degree angle and carefully cut along the line. Next, cut the remaining one-by-two into two 30″ pieces – these will be the top supports for your rack.
 cut one-by-twos
Cut the one-by-twos to size for the legs and top supports of the drying rack
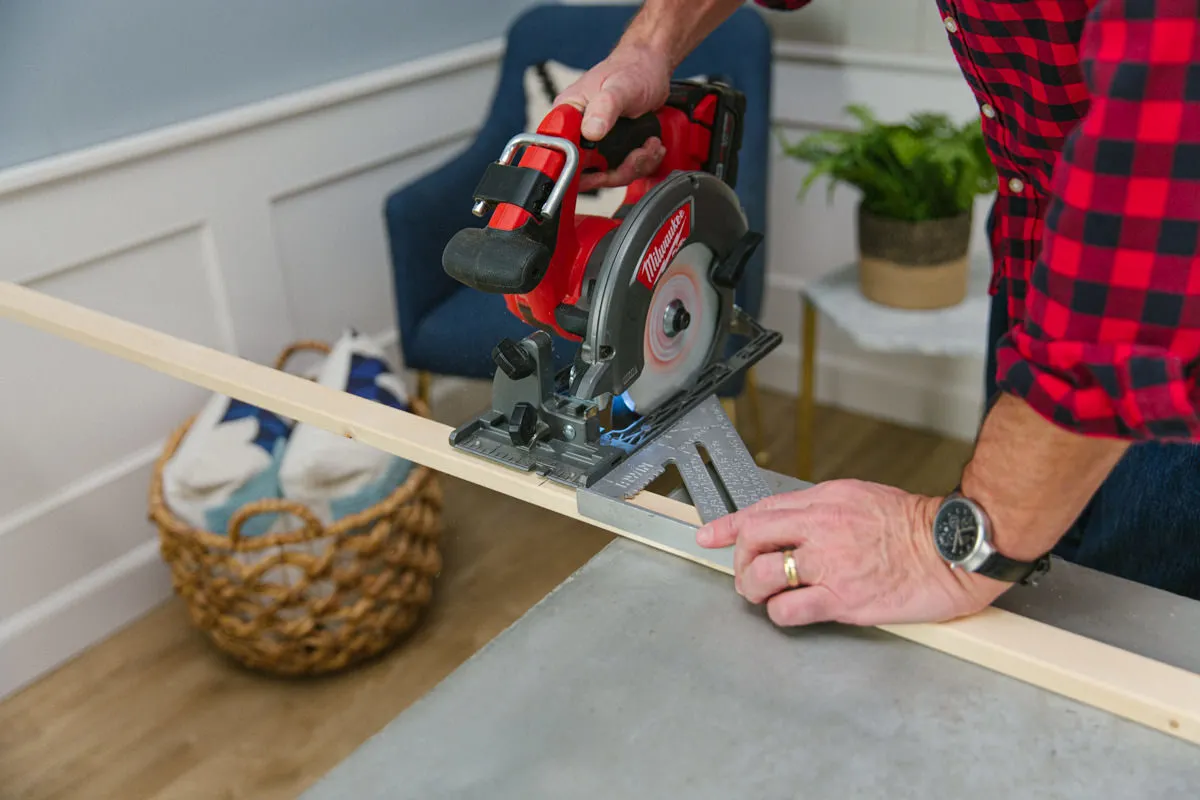 circular saw for DIY project
A circular saw makes quick work of cutting the wood to size
Step 2: Prepare the Dowels
Measure and cut eight of your dowels to a length of 30 inches. These will form the main drying rods of your rack. Then, cut the remaining two dowels to 32 inches – these will be used for the top supports.
Pro Tip: “When working with dowels, I always like to cut from the end that has the label sticker. This way, I don’t need to worry about peeling it off later,” says expert craftsman, Johnathan Miller.
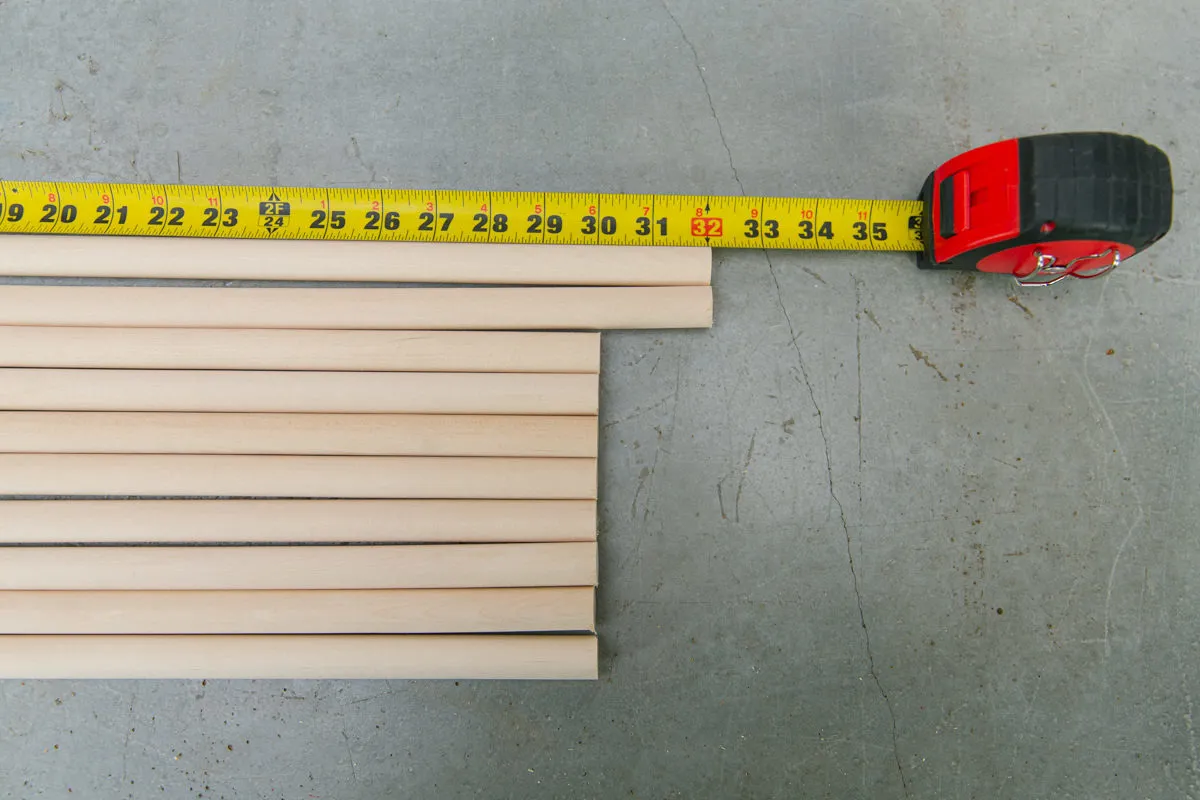 cut dowels for the laundry rack
Measure and cut the dowels to the correct lengths
Step 3: Drill the Holes for the Dowels
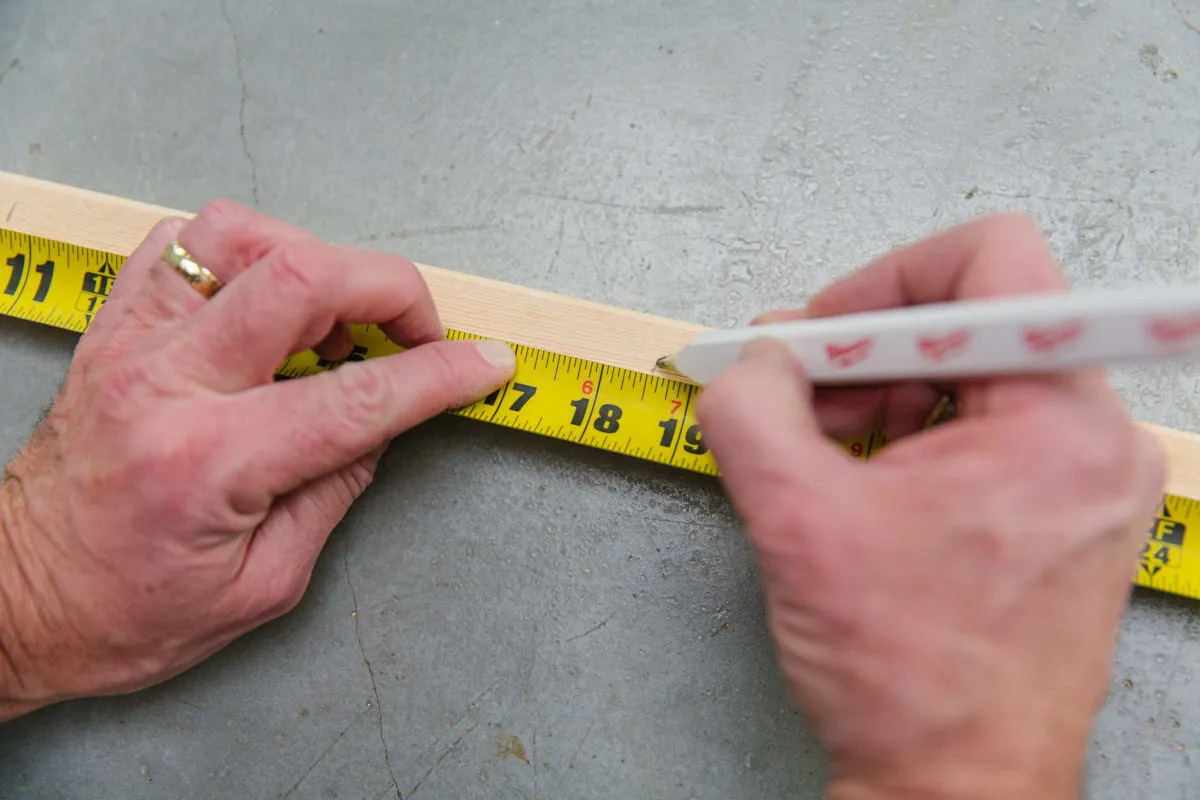
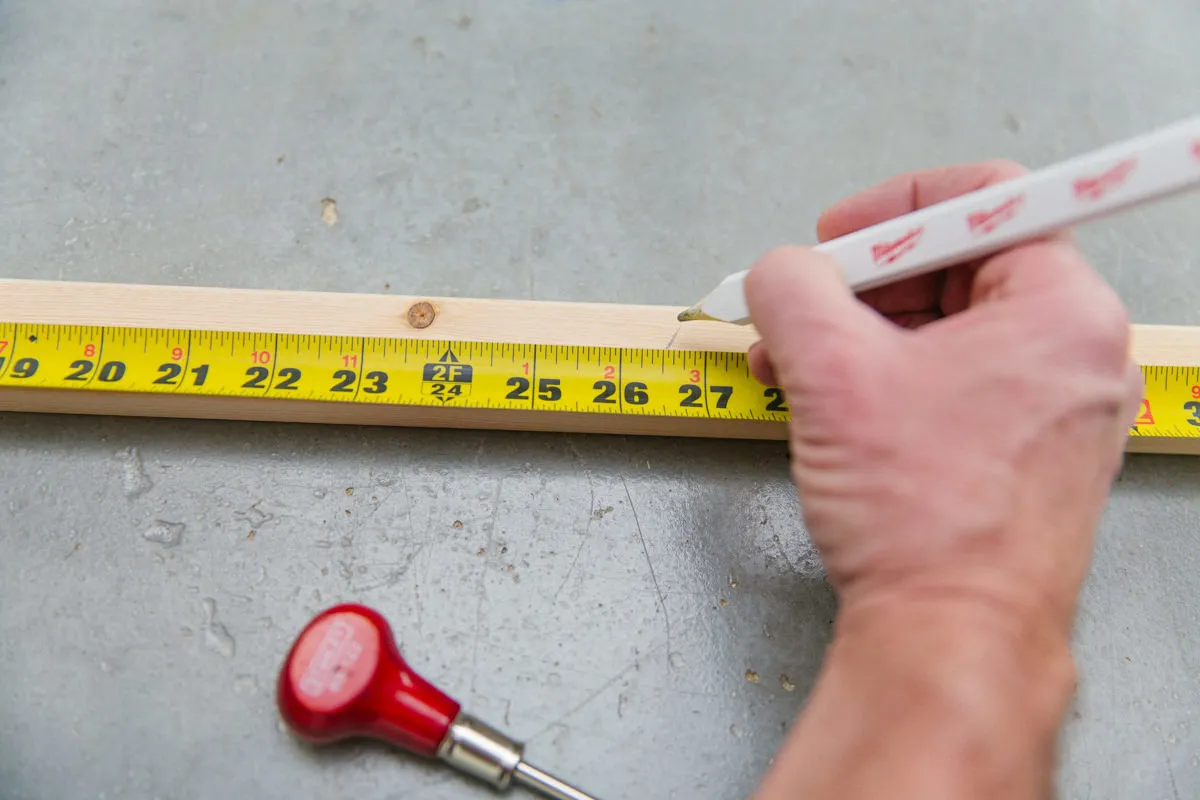
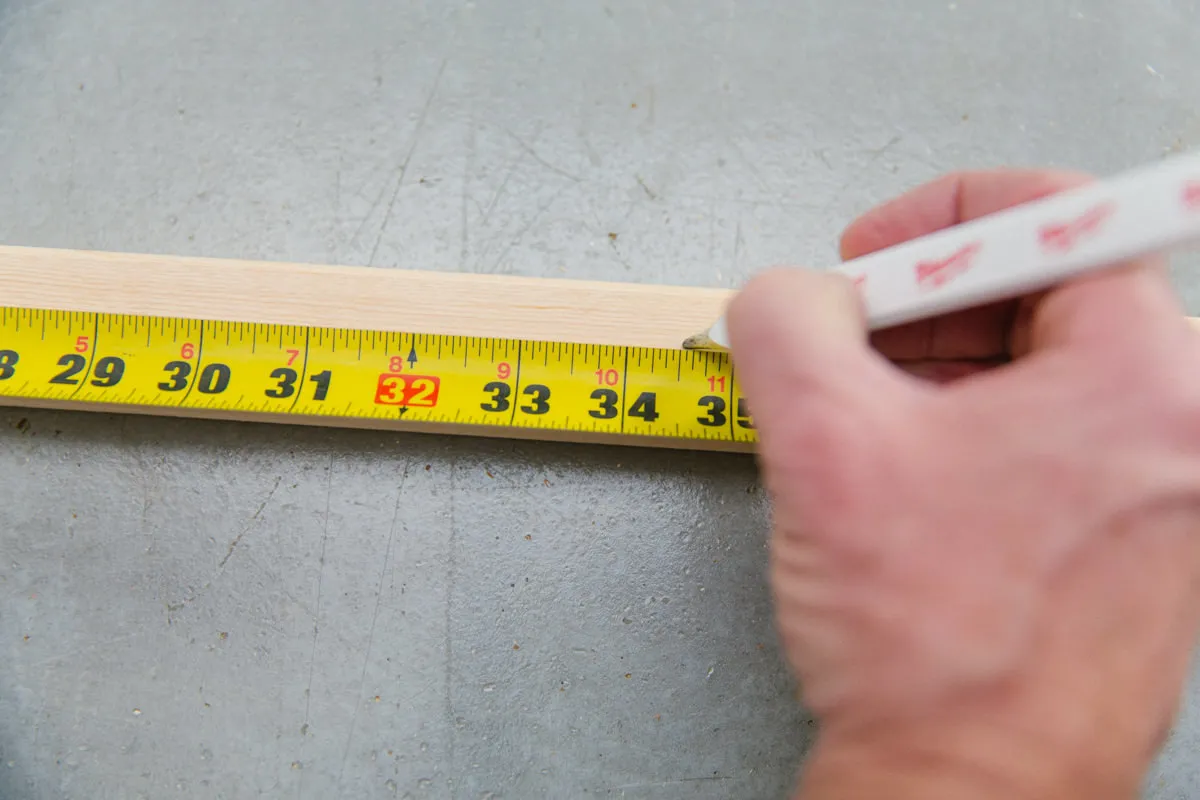
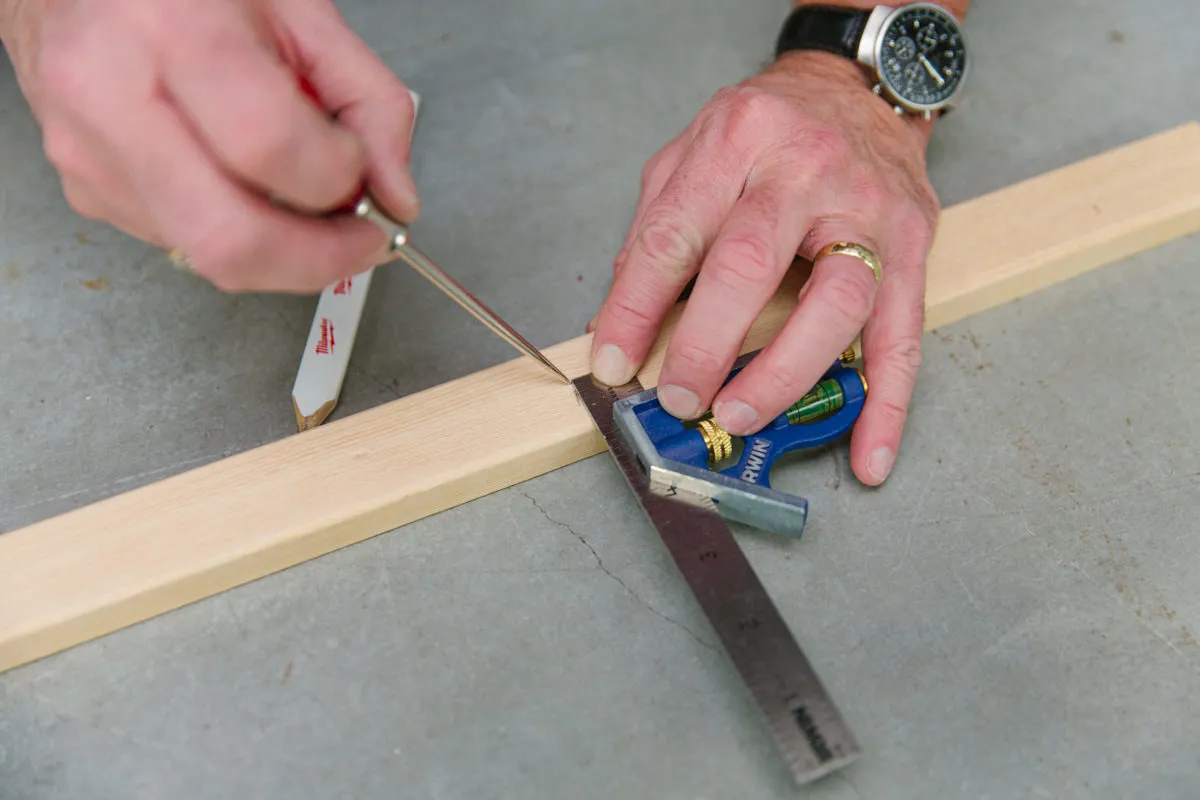
On two of the leg pieces, measure and mark the following distances from the top straight edge: 2 1/2″, 10 1/2″, 18 1/2″, 26 1/2″, and 34 1/2″. Use a square to ensure your marks are centered on the width of the legs. An awl can be helpful to create precise indentations for drilling.
Clamp the two marked leg pieces together, ensuring the marked sides face outward. Use a 3/4″ spade bit to drill through each mark. Repeat this process for the other two legs.
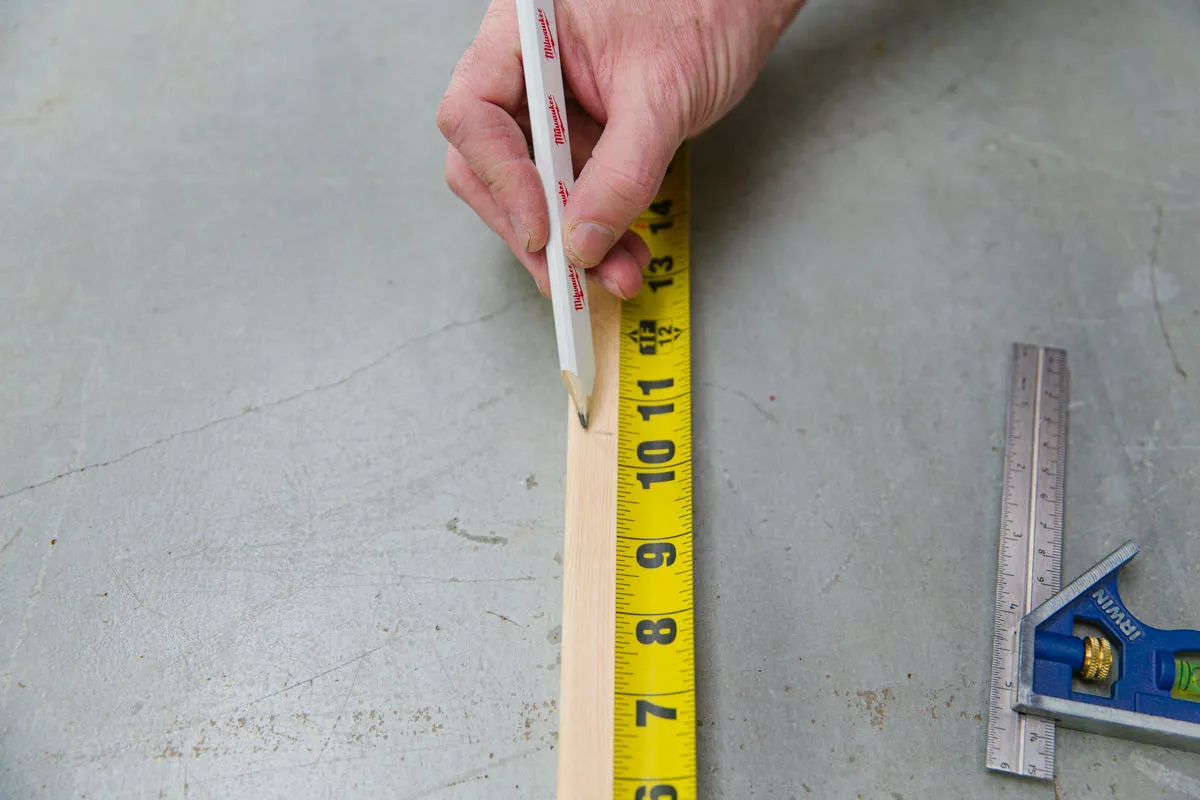 10 1/2" measurement
Mark the placement for the dowel holes
 18 1/2" measurement
Double-check your measurements before drilling
 26 1/2" measurement
Accurate markings will ensure the dowels are evenly spaced
 34 1/2 measurement
Use a consistent method for marking all the holes
 use a square to measure
Ensure the markings are centered on the legs
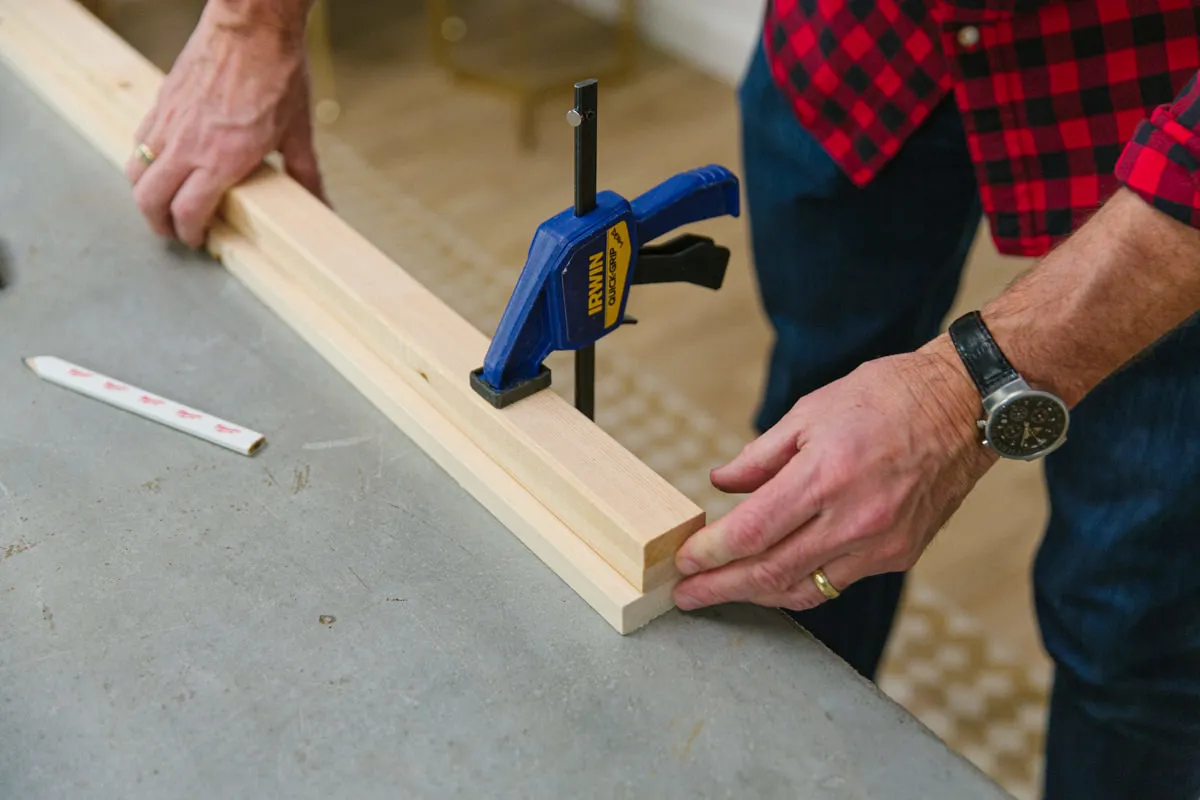 clamp the wooden legs together
Clamp the legs securely before drilling
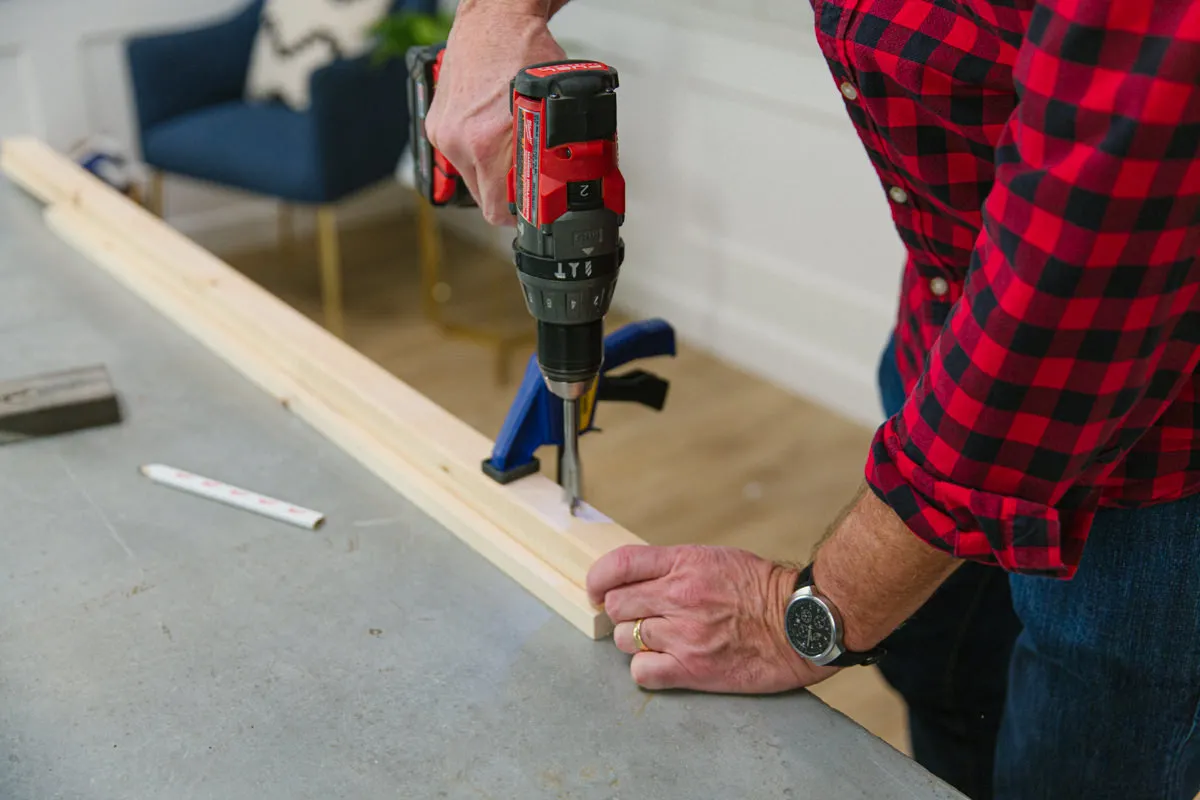 drill the wood pieces for the laundry drying rack
Carefully drill through each marked point
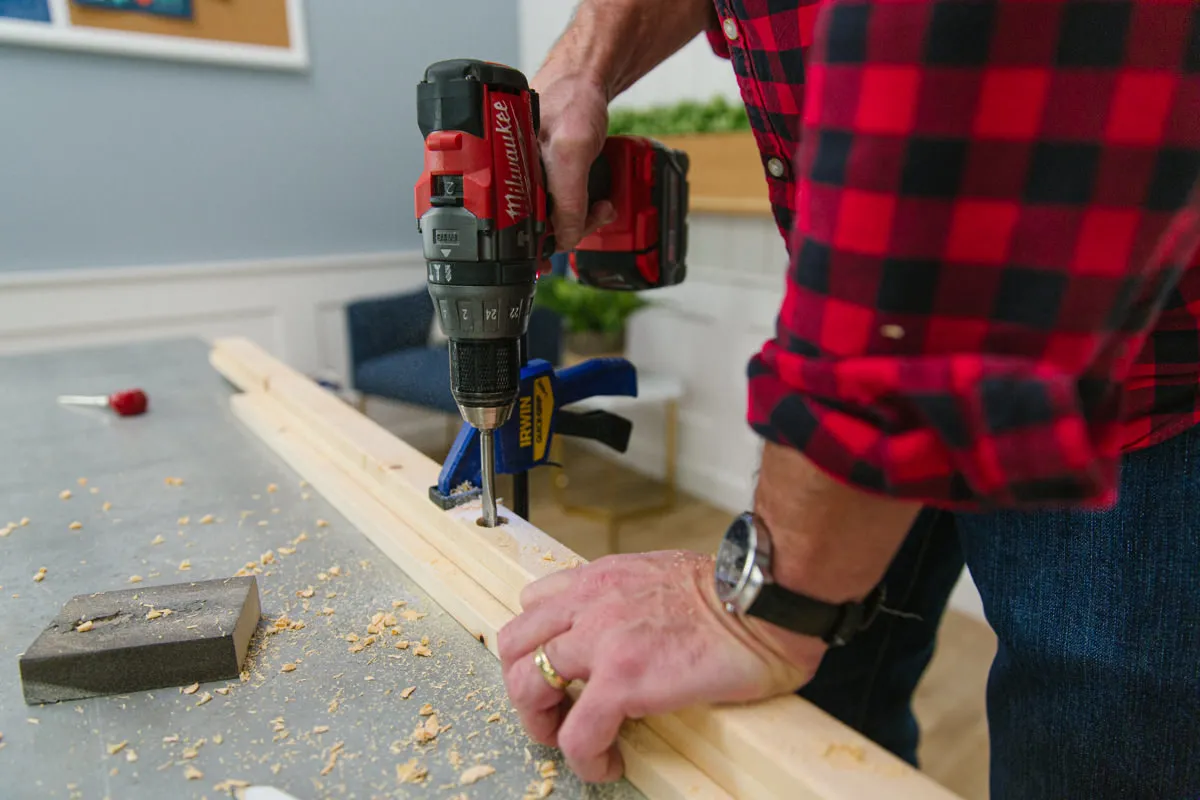 drill through both wooden legs
Drilling through both legs at once ensures the holes align
Step 4: Smooth It Out
Sand all the pieces of your drying rack, paying special attention to the legs. A smooth finish is important to prevent snags and tears in your delicate clothing.
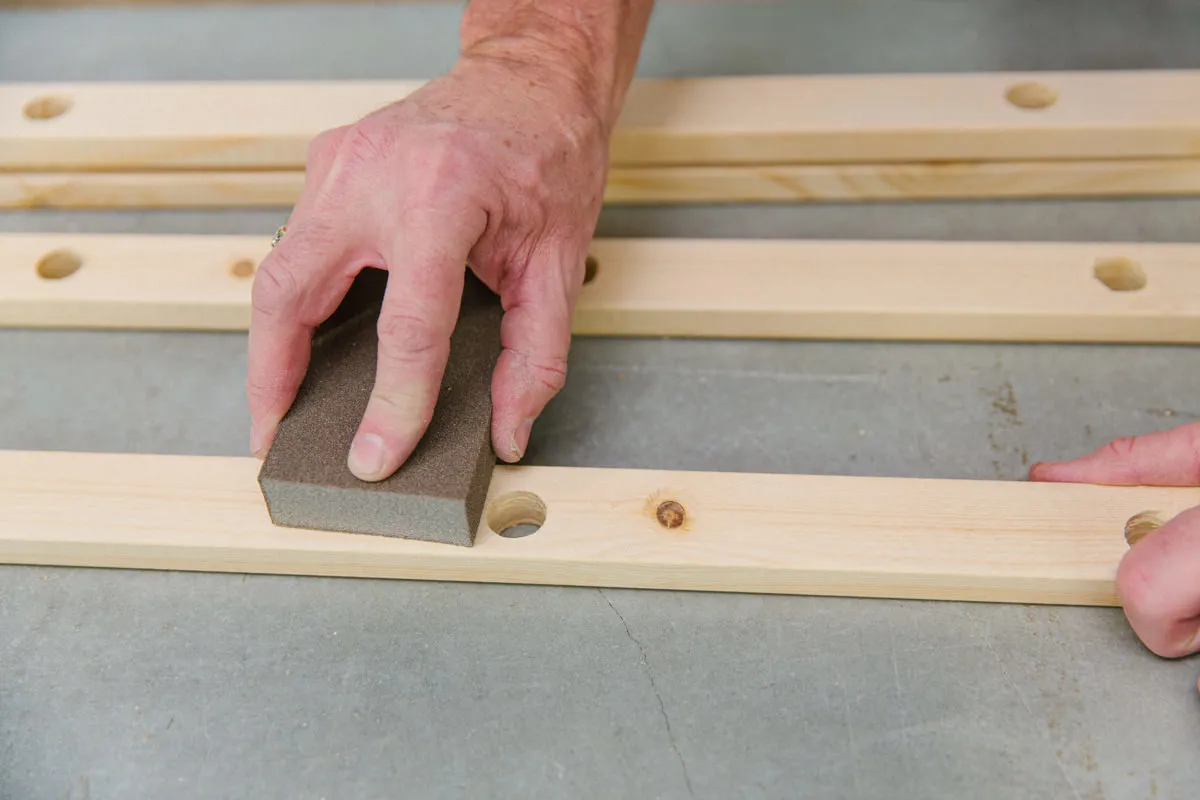 use a sanding sponge on the wood
Sand all surfaces of the wood to prevent snagging on clothing
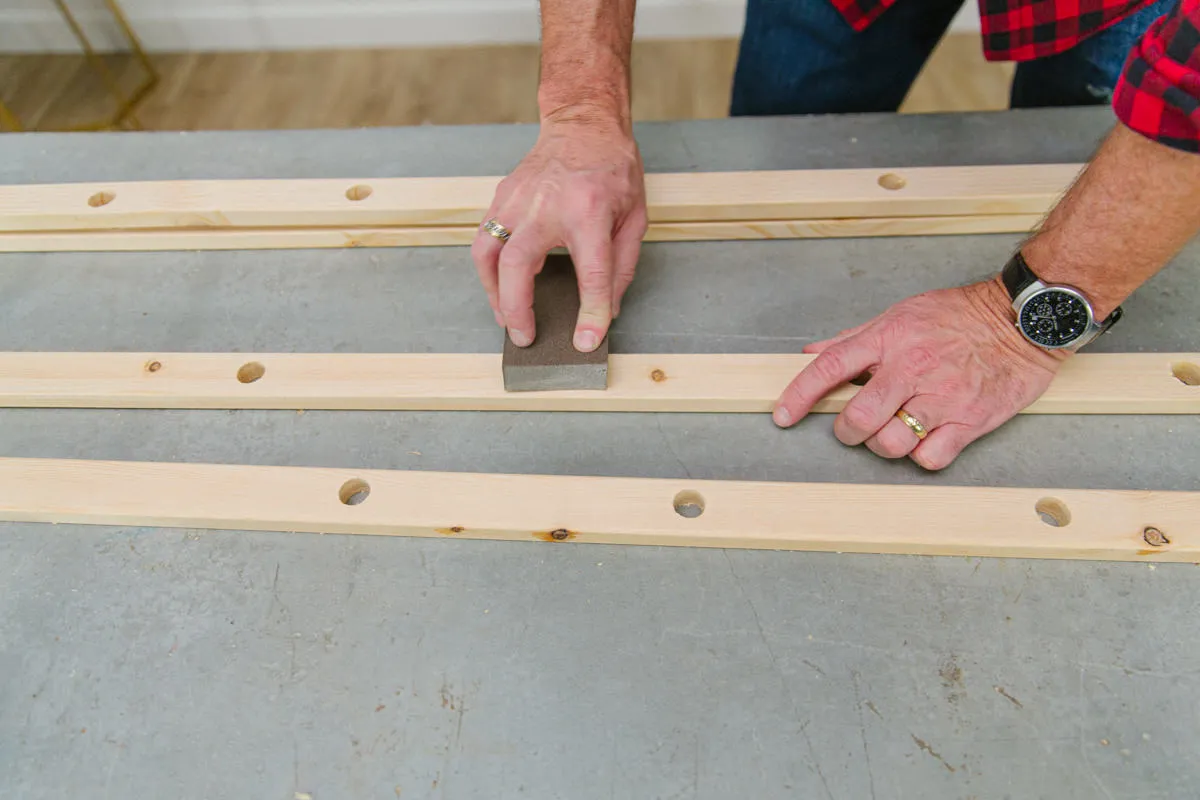 sanding the diy project
A smooth finish is essential for this DIY drying rack
Step 5: Assemble the Frames
Now it’s time to put the two sides of the drying rack together! Align two of the legs so that the angled cuts are at the bottom and facing the same direction. Insert the ends of your 30″ dowels into the predrilled holes. Secure them with wood glue and 5/8″ screws from the backside.
Repeat this process for the remaining two legs, but this time, use the two 32″ dowels for the top and middle positions. These dowels will extend past the legs by about an inch on each side. You can secure these with glue and screws as well.
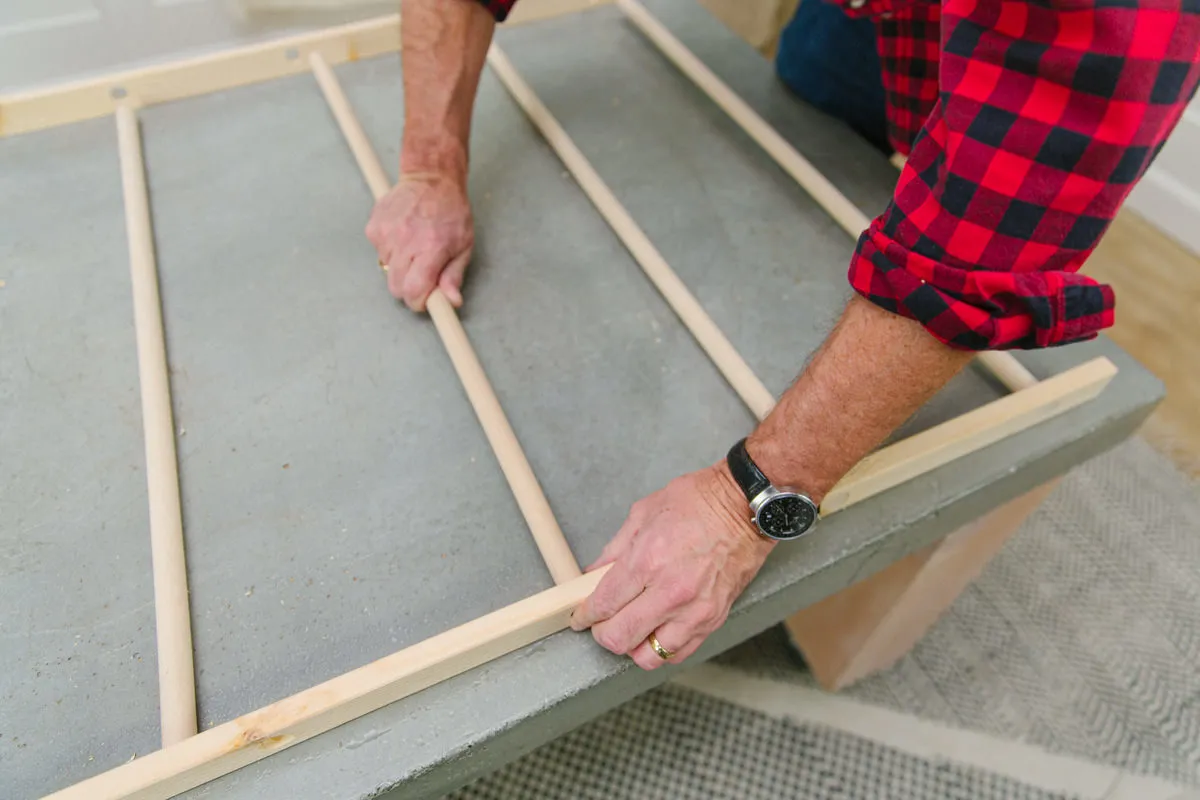 build frames
Assemble the frames of the drying rack
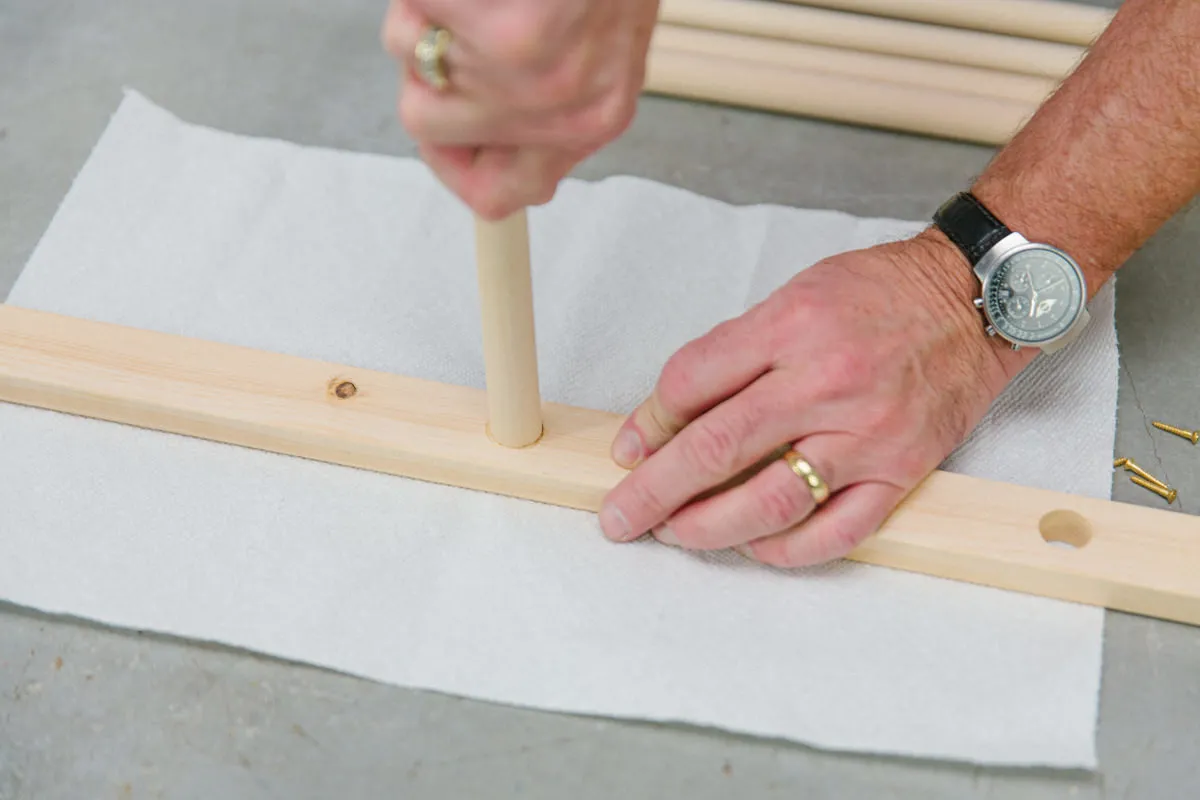 build a laundry drying rack
Use wood glue and screws to secure the dowels in place
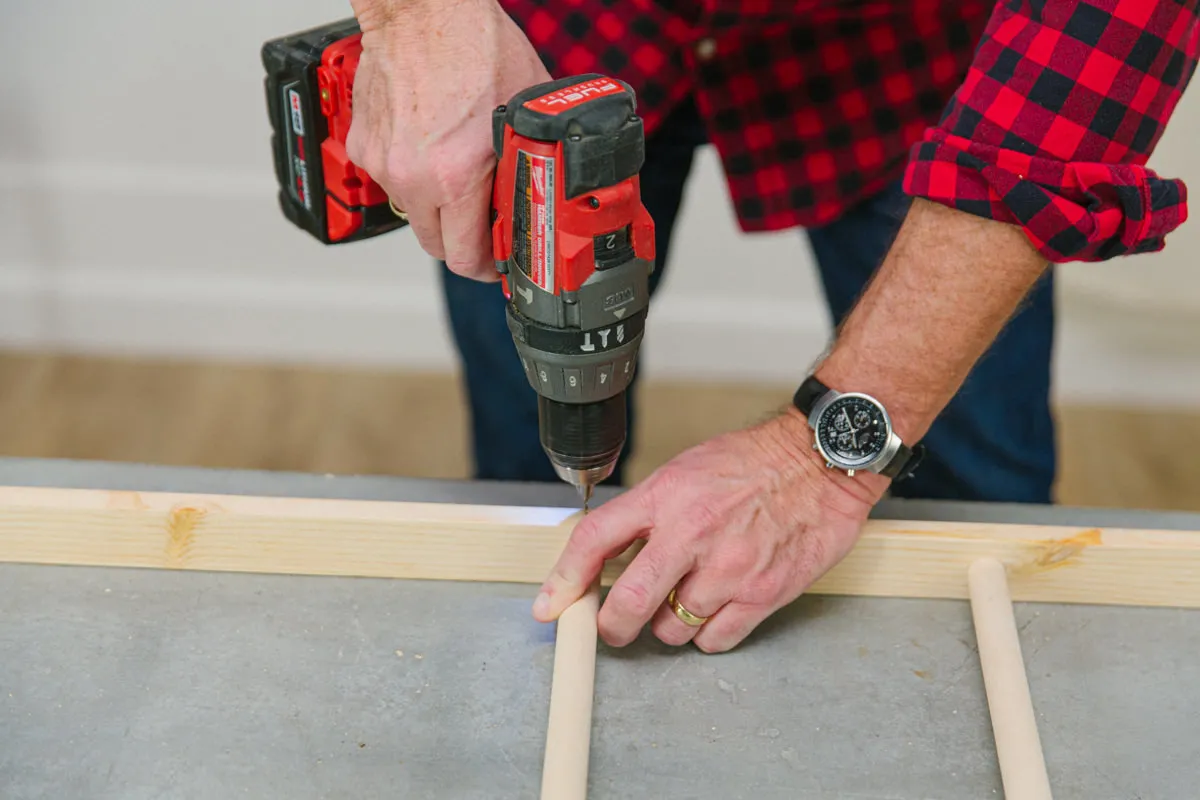 secure with a screw
Attach the dowels to the legs using screws
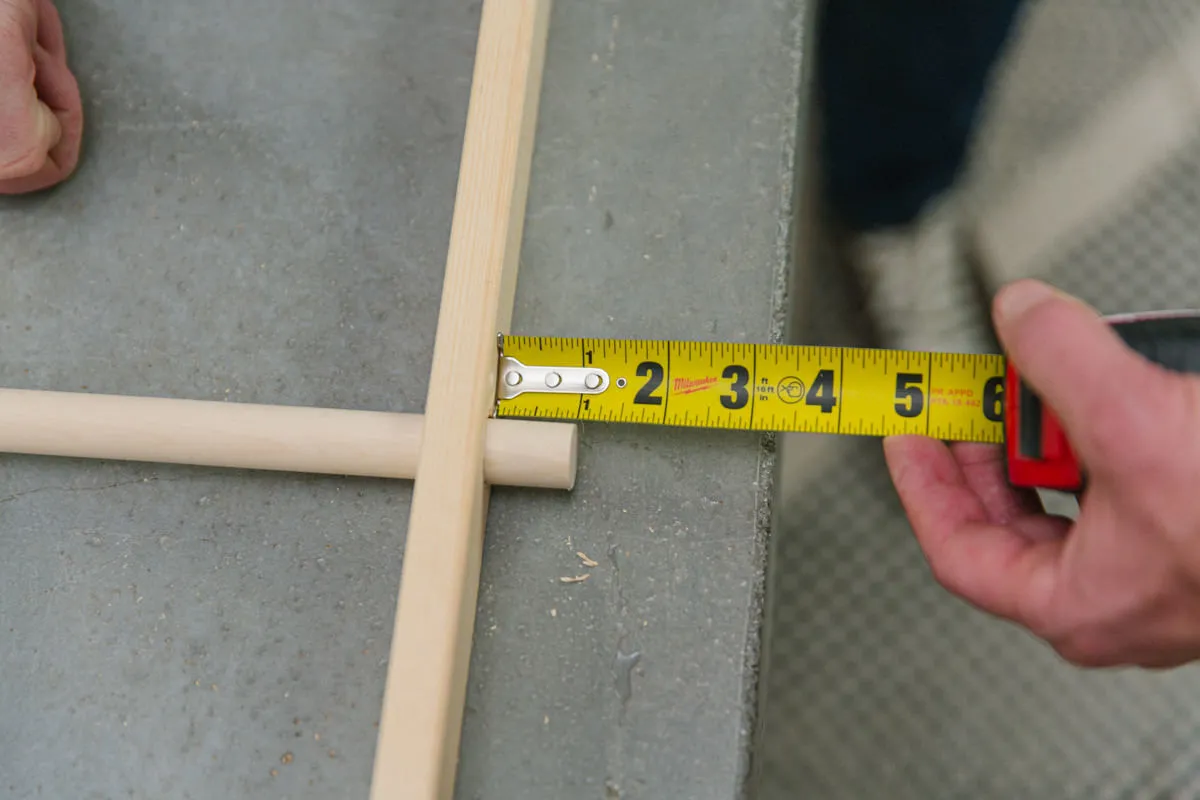 dowels should stick out
The longer dowels will extend past the legs, providing extra support
Step 6: Add Finishing Touches
To prevent clothes hangers from slipping off the extended dowels, add wood plugs to the ends. Pre-drill a hole in the center of each plug using a 1/16″ drill bit. Apply wood glue to the ends of the 32″ dowels and secure the plugs with a finish nail.
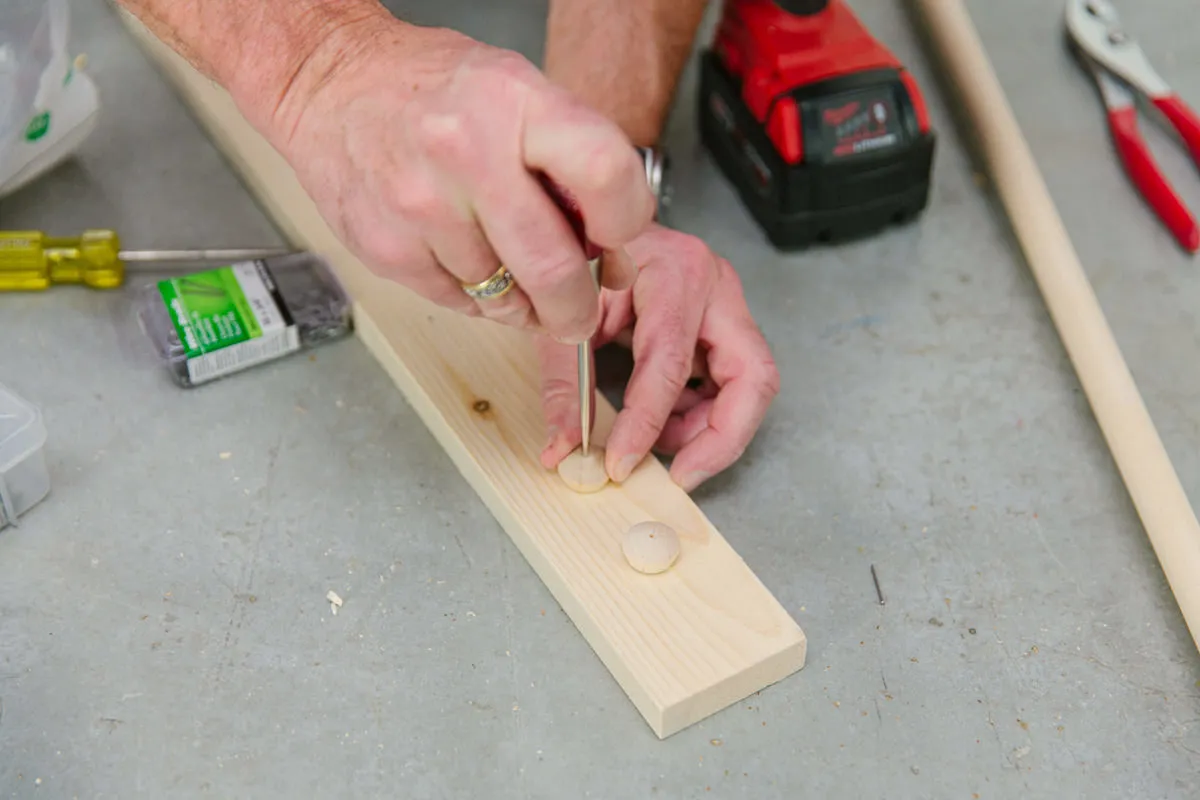 add wood plugs
Add wood plugs to the ends of the extended dowels
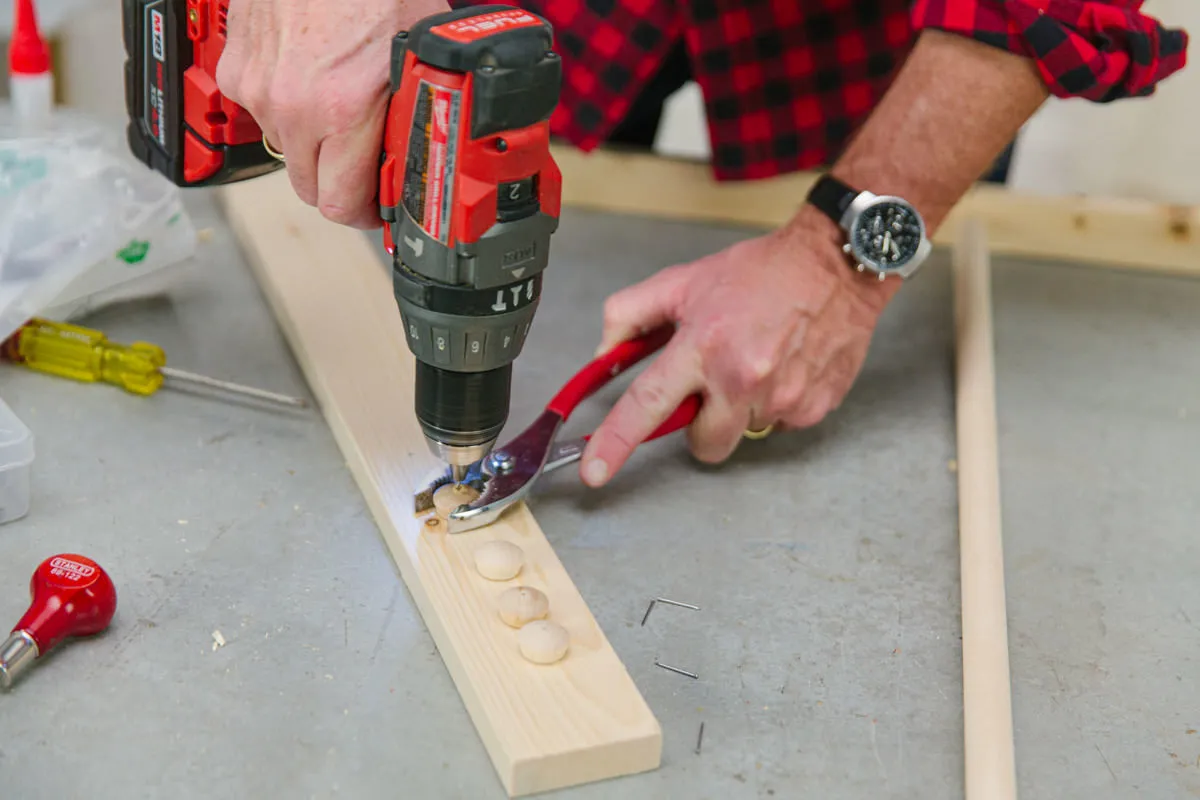 pre drill holes
Pre-drill holes in the wood plugs for the finish nails
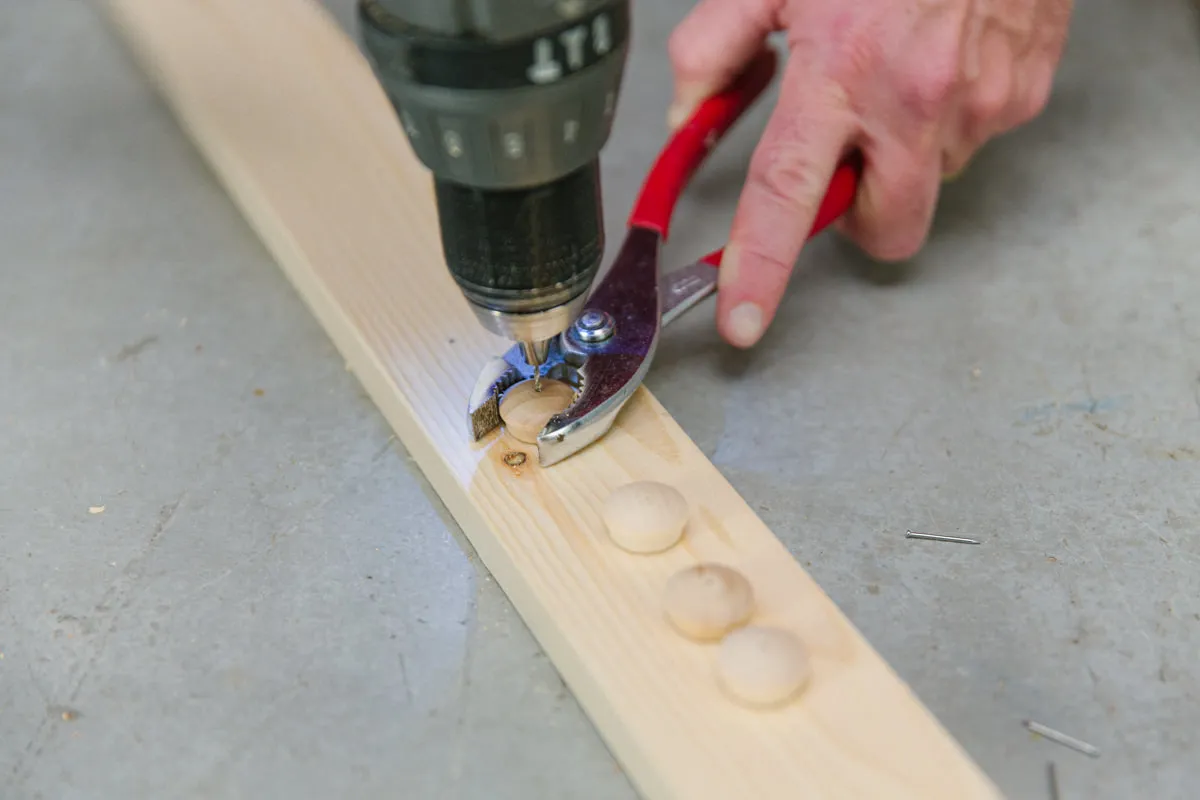 Use a pair of pliers to hold the plugs
Use pliers to hold the plugs while hammering in the nails
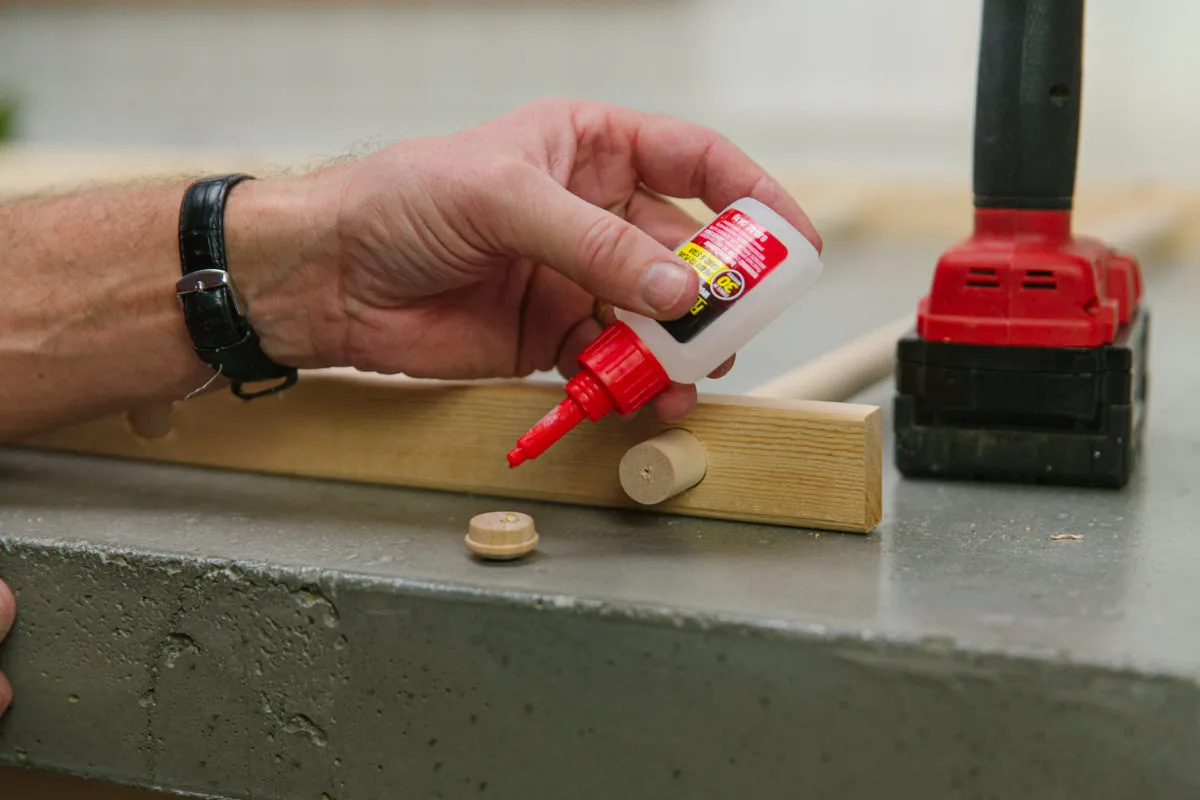 wood glue for plugs
Apply wood glue to the dowel ends before attaching the plugs
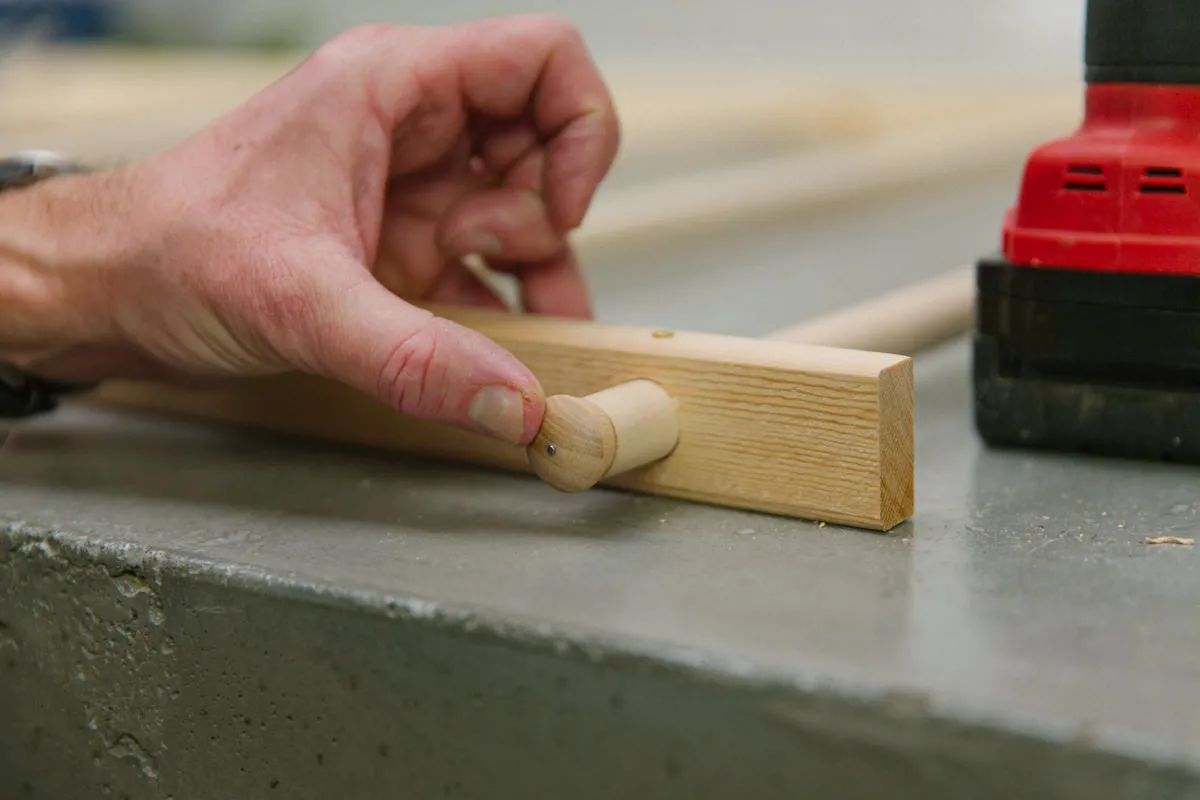 add a finish nail
Secure the wood plugs with finish nails
Step 7: Connect the Frames
Attach the 30″ top pieces to each frame using 1 5/8″ trim screws. Then, position the two frames with the bottom angles facing outward and clamp them together. Attach three hinges evenly spaced along the top seam, creating a folding mechanism.
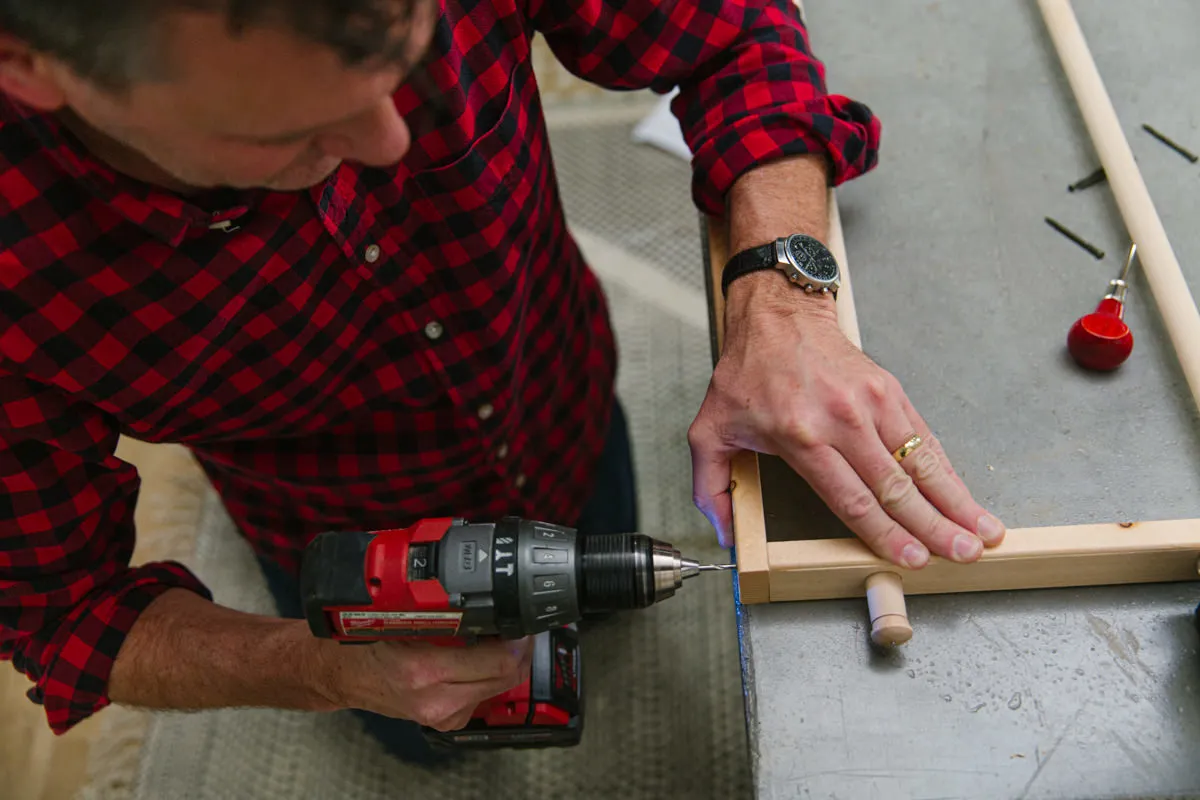 assemble frame for laundry rack
Connect the two frames with hinges
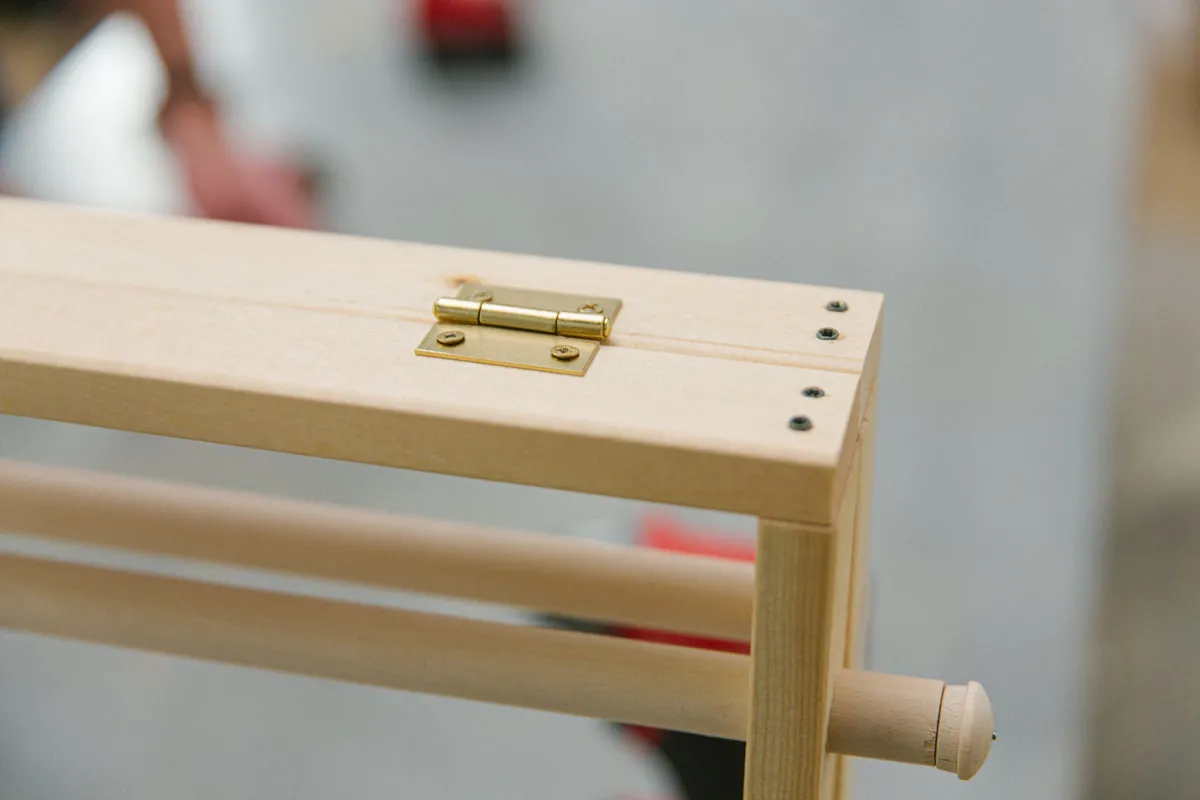 hinges for laundry rack
Use hinges to allow the drying rack to fold

Attach the hinges securely with screws
 hinges for laundry rack
The hinges should allow for smooth opening and closing of the rack
Step 8: Add the Finishing Touch
Finally, drill 1/8″ holes halfway down each leg. Thread twine through these holes, tying the legs together and preventing the rack from overextending. We recommend a spacing of about 30″ between the bottom of the legs.
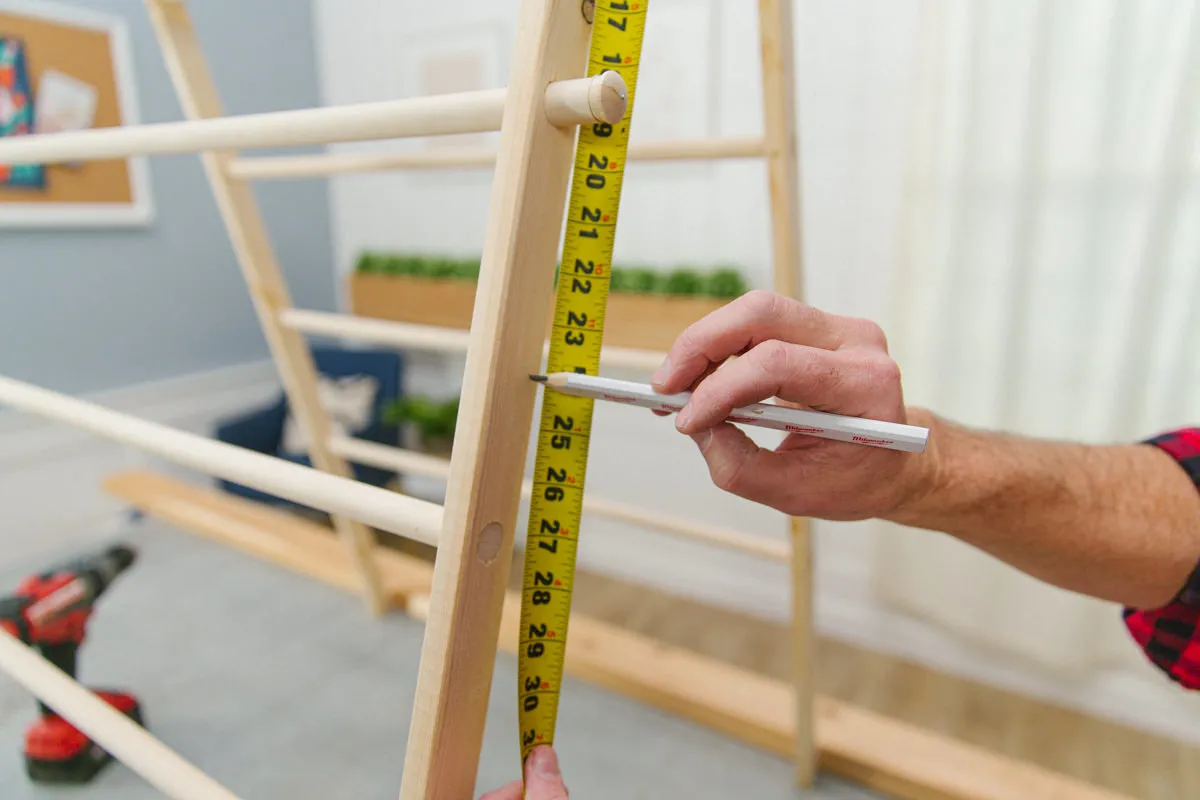 drill a hole for the twine
Drill holes for the twine that will connect the legs
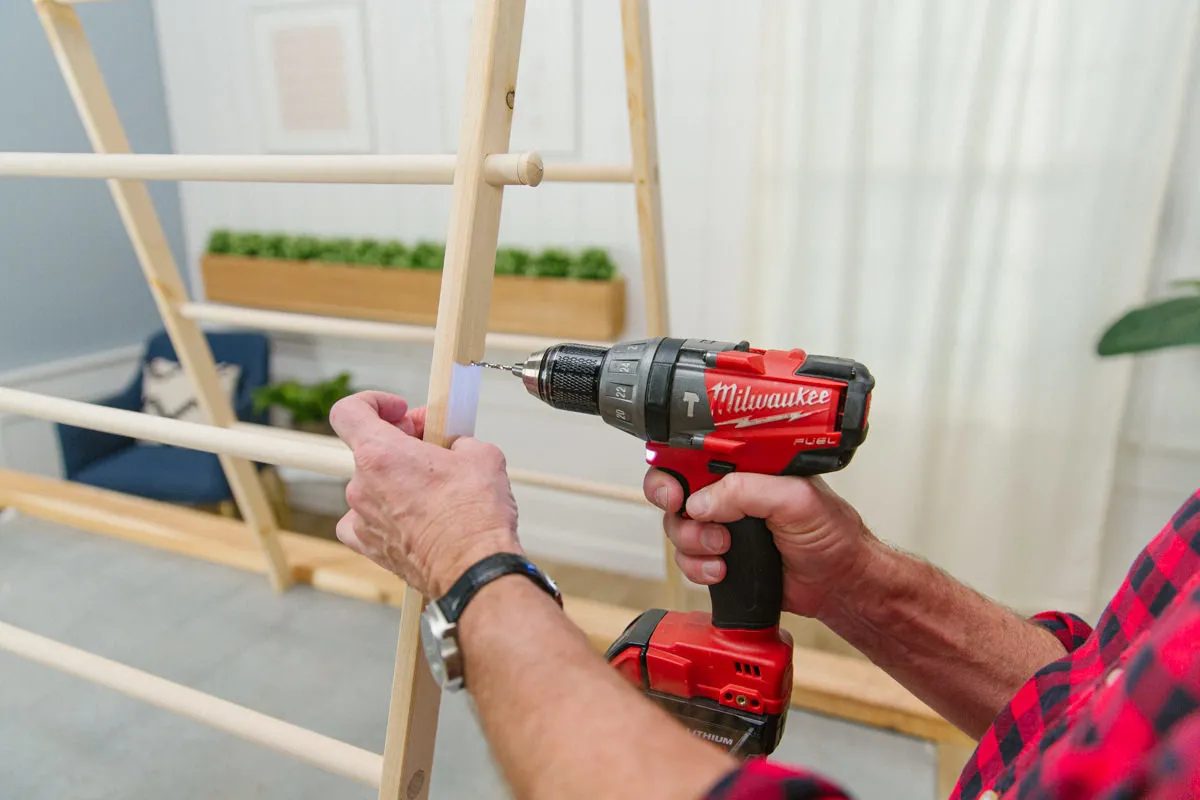 diy laundry drying rack
The twine will prevent the drying rack from over-extending
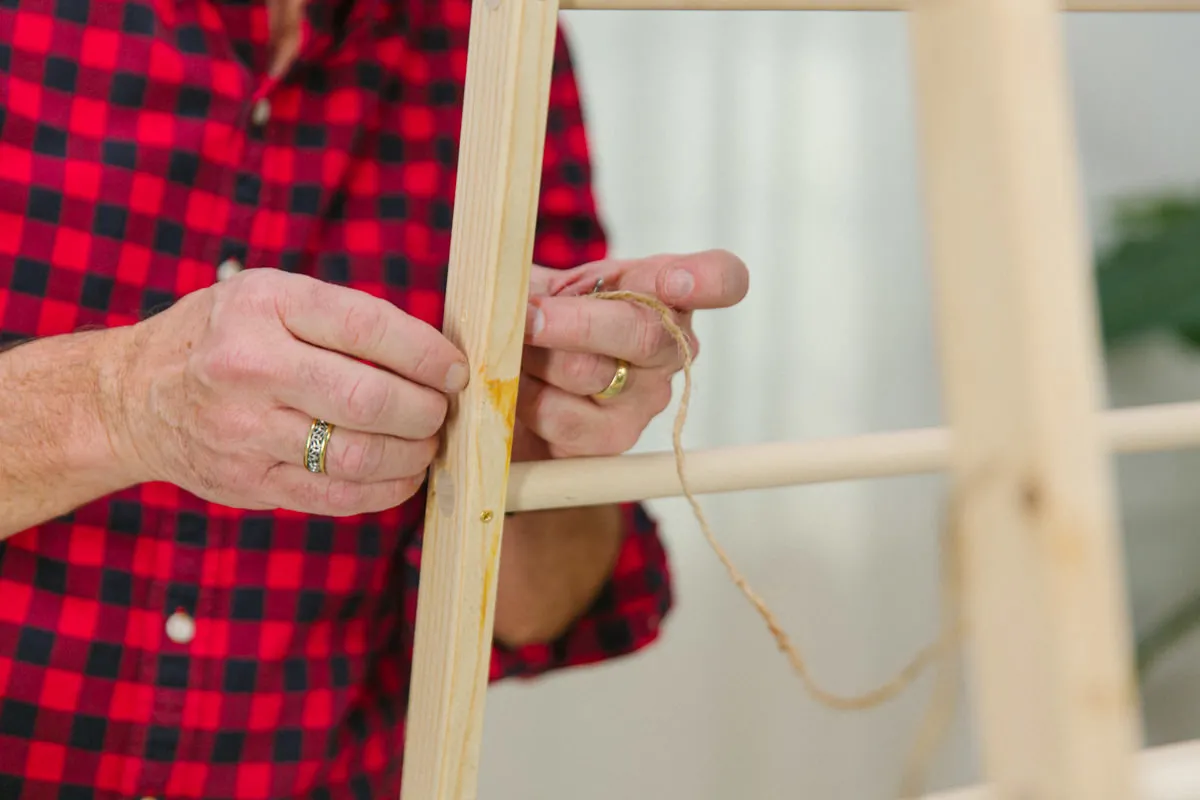 thread twine through
Thread the twine through the holes in the legs
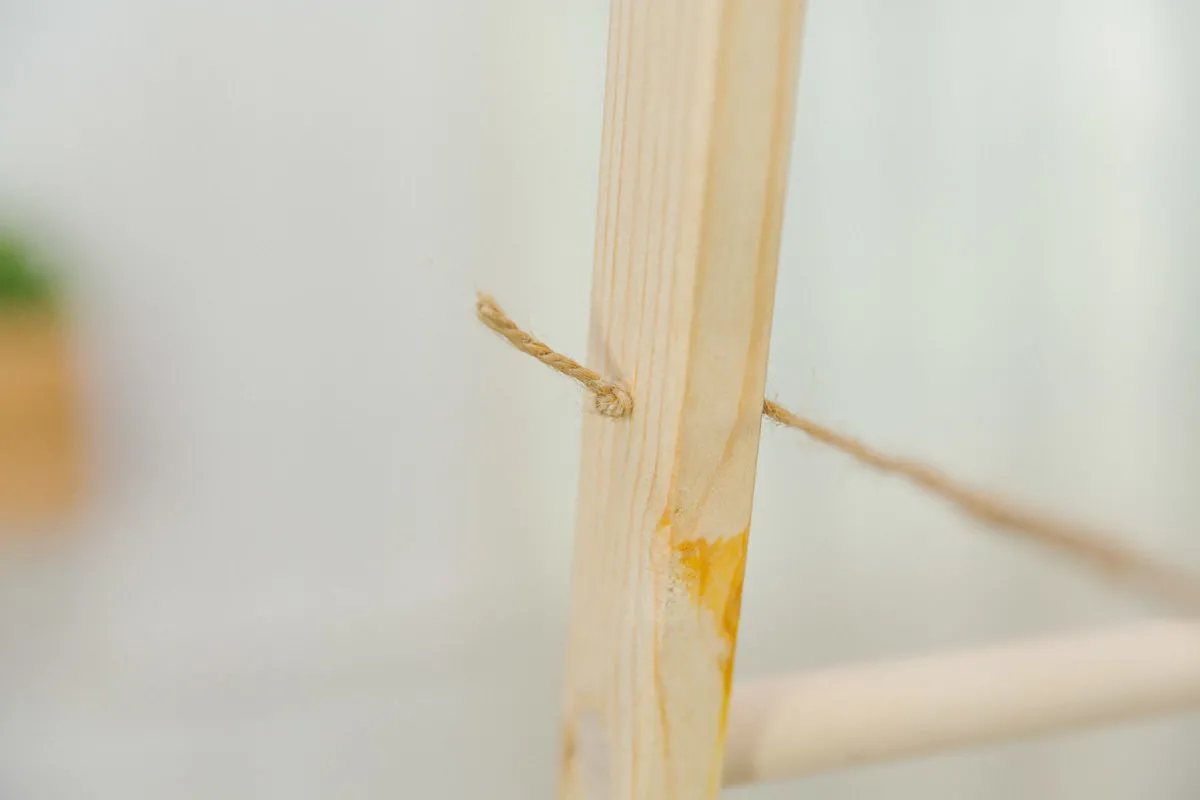 add twine
Tie the twine securely to keep the legs from spreading too far
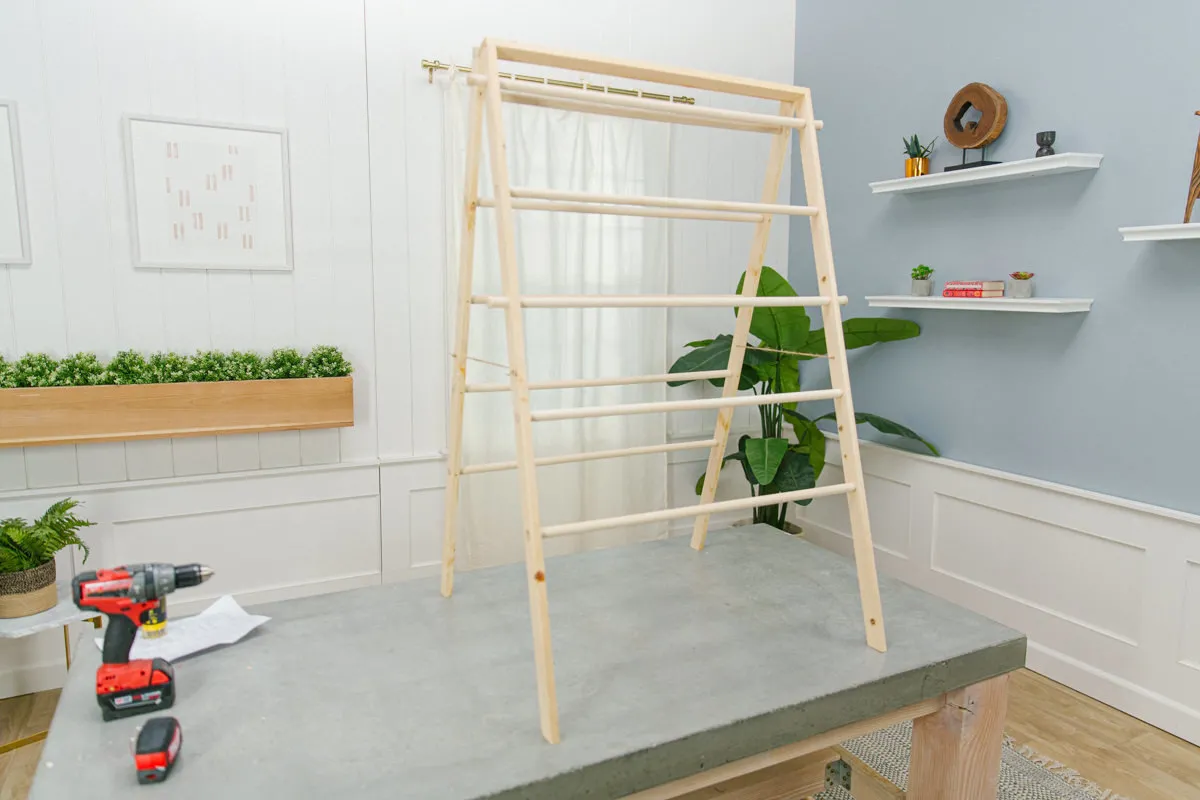 how to make a diy laundry drying rack
The finished DIY laundry drying rack
Conclusion
Congratulations! You’ve just built a beautiful and functional drying rack that will make laundry day a breeze. This simple project is a testament to the fact that with a few basic materials and a bit of creativity, you can craft high-quality, custom pieces for your home.
Now, are you ready to take your crafting to the next level? Explore the world of unique handmade gifts and decor at Robert Kline Art. We offer a curated collection of one-of-a-kind pieces that are sure to inspire. Share your creations and connect with fellow artisans in the comments below!
