Blog
Build Your Own Backyard Oasis: A DIY Pallet Bar Guide
Picture this: the sun is setting, casting a warm glow over your garden. Friends and family gather, laughter fills the air, and you’re serving up refreshing drinks from your very own handcrafted pallet bar. Sounds idyllic, right? Well, hold onto your hammers, DIY enthusiasts, because I’m about to guide you, step-by-step, through building your very own outdoor pallet bar!
This isn’t just any bar; it’s a testament to your craftsmanship, a conversation starter, and a focal point for unforgettable gatherings. Plus, it’s surprisingly budget-friendly and perfect for adding a touch of rustic charm to your outdoor space.
What You’ll Need
Before we dive into the construction, let’s gather our tools and materials. Remember, the key to a successful DIY project lies in preparation!
Tools:
- Wrecking bar
- Hammer
- Stapler
- Saw
- Electric sander and sandpaper
- Holesaw kit
- Drill and drill bits
Materials:
- 3 x identical pallets (check your local lumberyard or online marketplaces)
- Coach bolts
- Wood screws
- Steel chain
- Eye hooks
- Carabiners
- Exterior paint (choose your favorite colors!)
- Solar-powered fairy lights (for that magical touch)
Let’s Get Building!
Step 1: Pallet Deconstruction
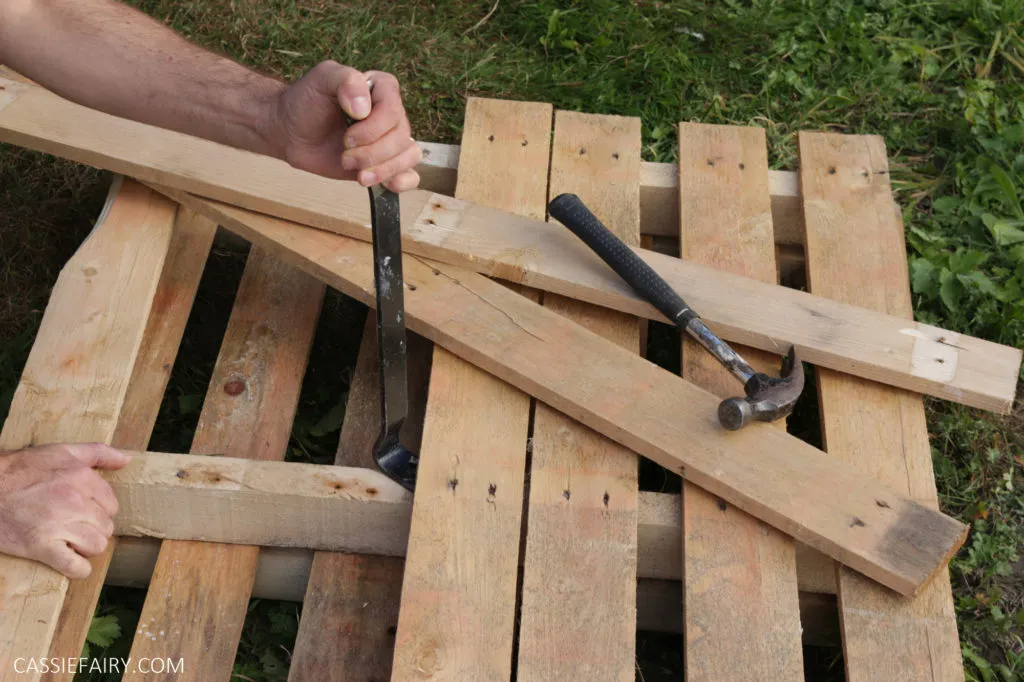
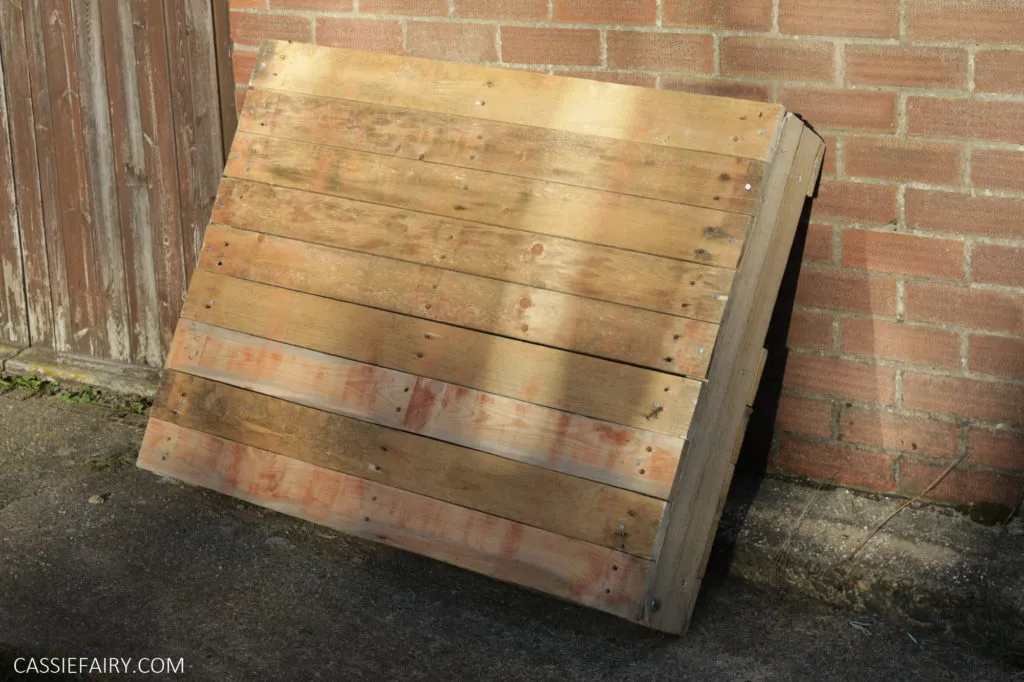
Using your trusty wrecking bar, carefully dismantle the pallets, separating the planks from the supporting beams. The beams will form the backbone of our bar, while the planks will be used for cladding.
Step 2: Building the Base
Take two supporting beams and secure them together with wood screws to create a sturdy “L” shape. Repeat this process for the other side, forming the two back corners of your bar.
 Pallet bar base construction
Step 3: Creating the Back Wall
Attach two more corner supports to form the uprights for the back wall. Using five planks, cover the bottom half of the bar (the part visible from the inside) by screwing them into the side supports.
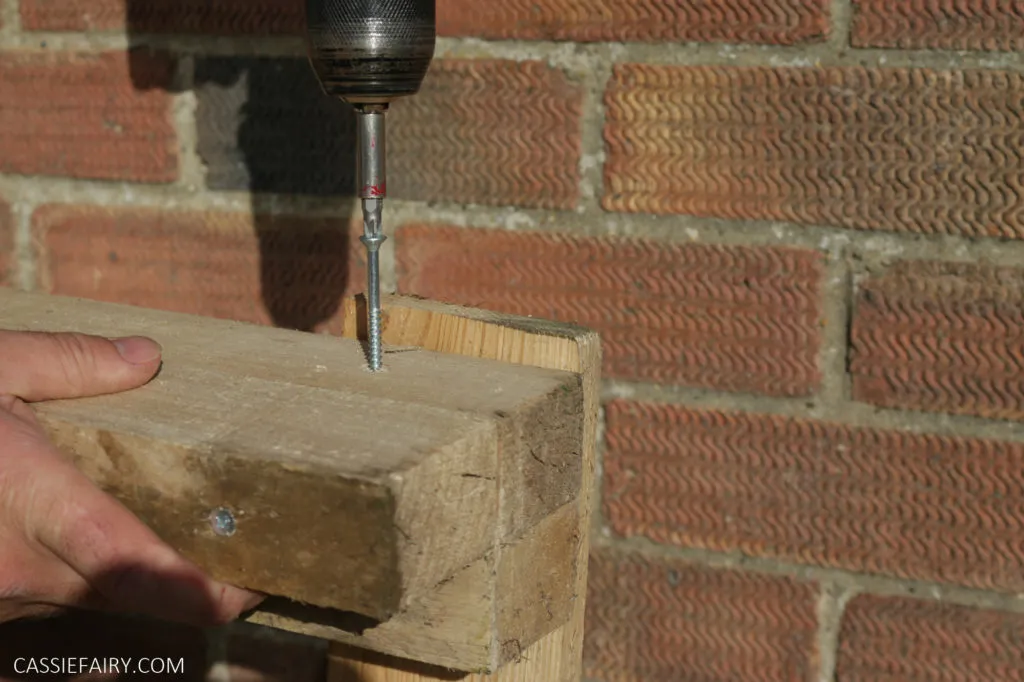 Pallet bar back wall construction
Step 4: Adding Top Support
Secure a plank across the top of the back wall to enhance the bar’s structural integrity. Then, add a central support beam. Leaving a gap on the back will allow easy access for installing the fairy lights later.
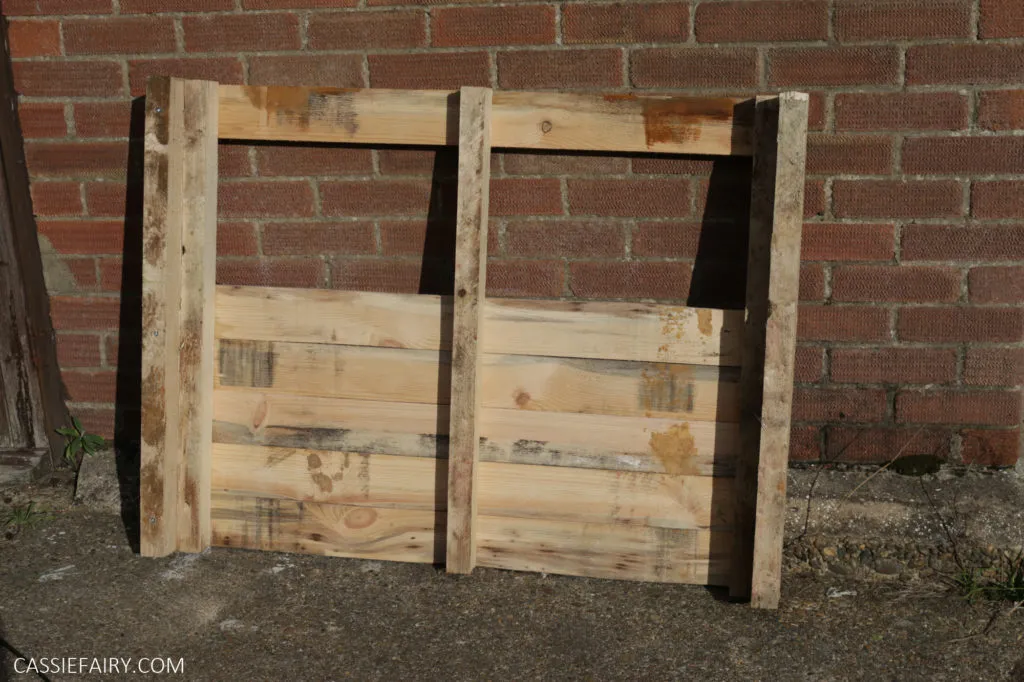 Pallet bar top support
Step 5: Constructing the Front Top
Flip the bar structure over and nail five planks to the top to create the front top section where your illuminated “BAR” sign will shine.
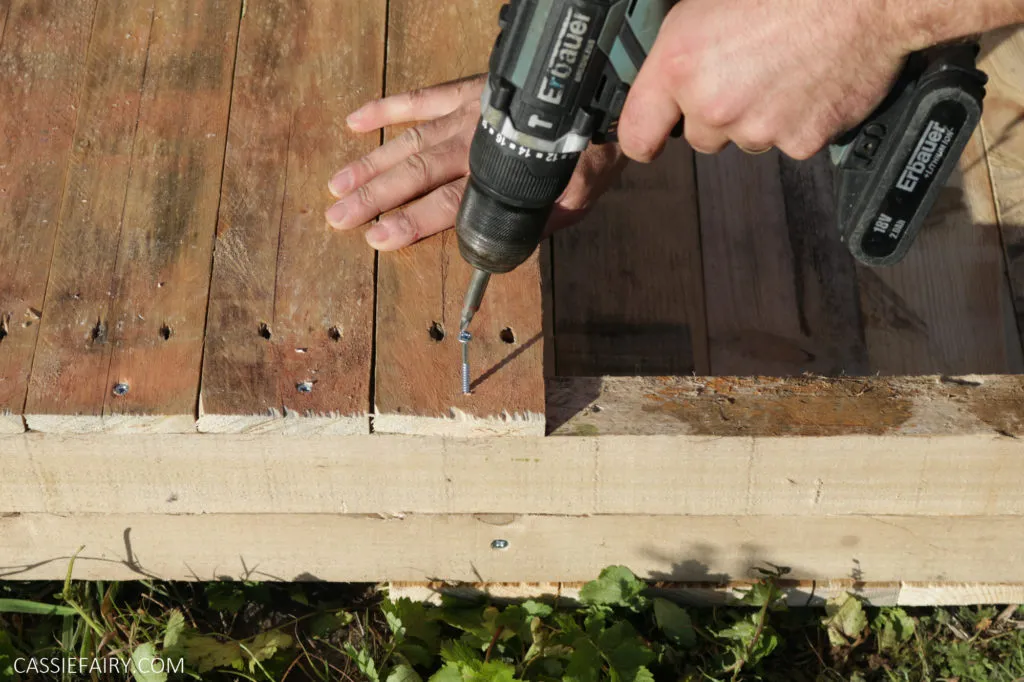 Pallet bar front top construction
Step 6: Crafting the Fold-Down Front
Measure the distance from the base of the bar to the plank section at the top. Cut two side supports to this measurement and attach planks to them, forming the fold-down front. Remember to position the supports slightly inward from the plank ends to ensure a snug fit within the corner supports when closed.
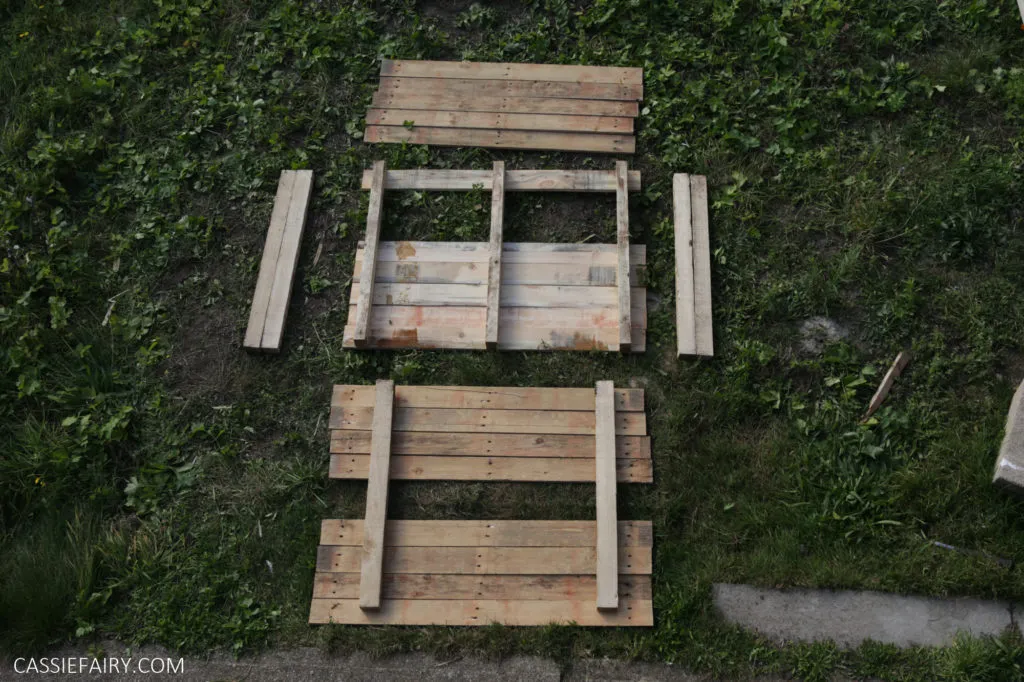 Pallet bar fold-down front construction
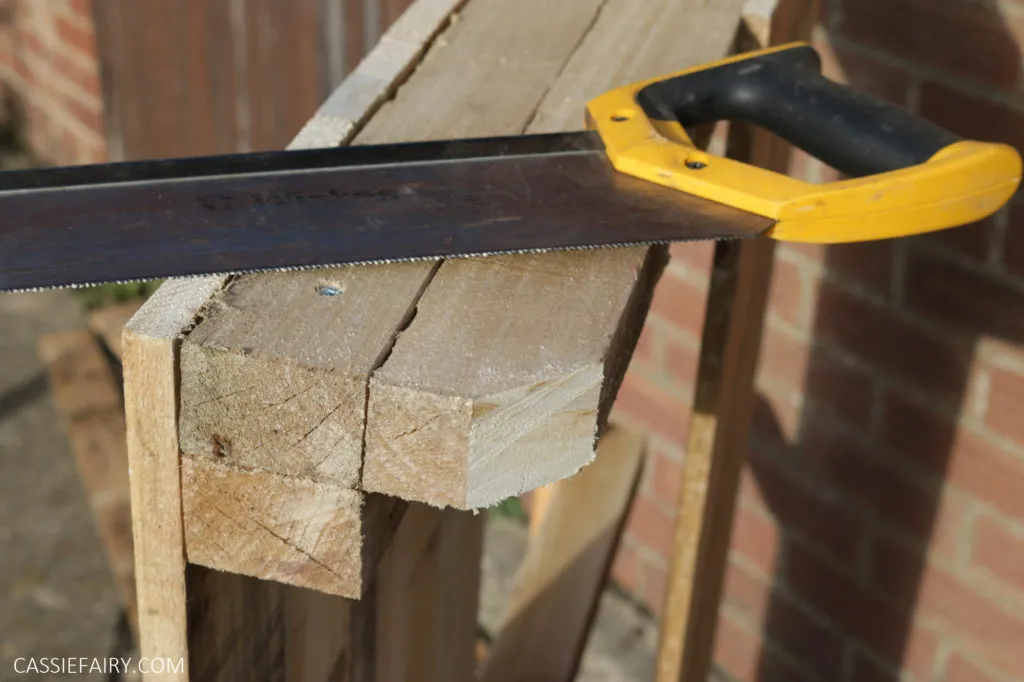
Step 7: Angling the Corner Supports
Return to the main bar frame and cut an angle across the bottom front of the corner supports. This will allow the fold-down front to close seamlessly.
 Pallet bar corner support angling
Step 8: Attaching the Fold-Down Front
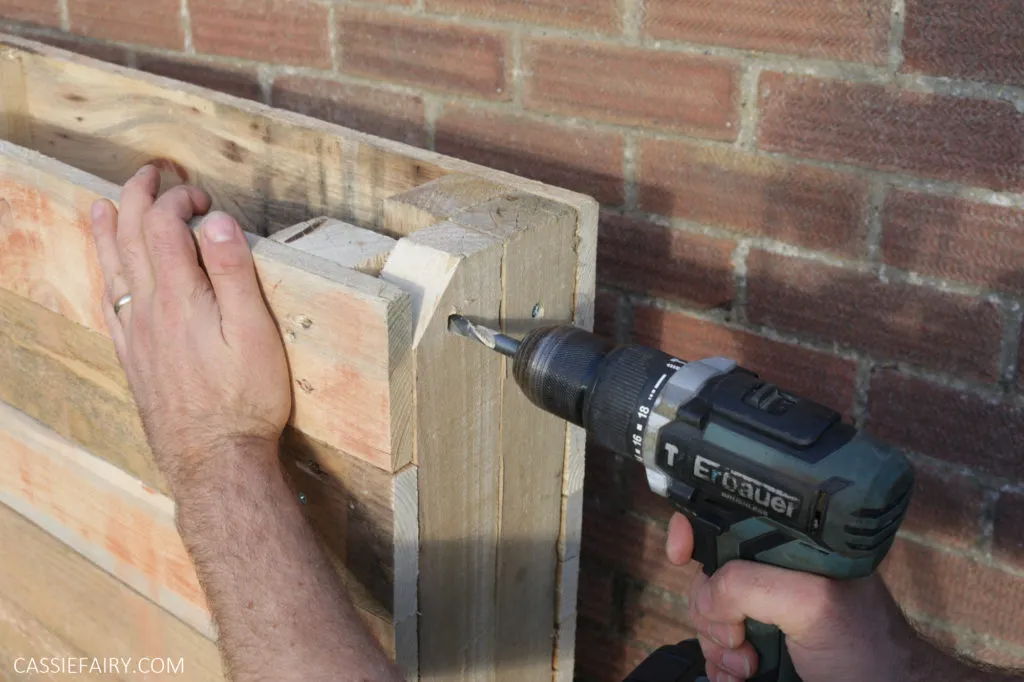
Position the fold-down section onto the front of the bar. Drill through the outside of each corner support and into the corresponding supporting beam of the fold-down section. Insert a coach bolt through each hole to act as a hinge.
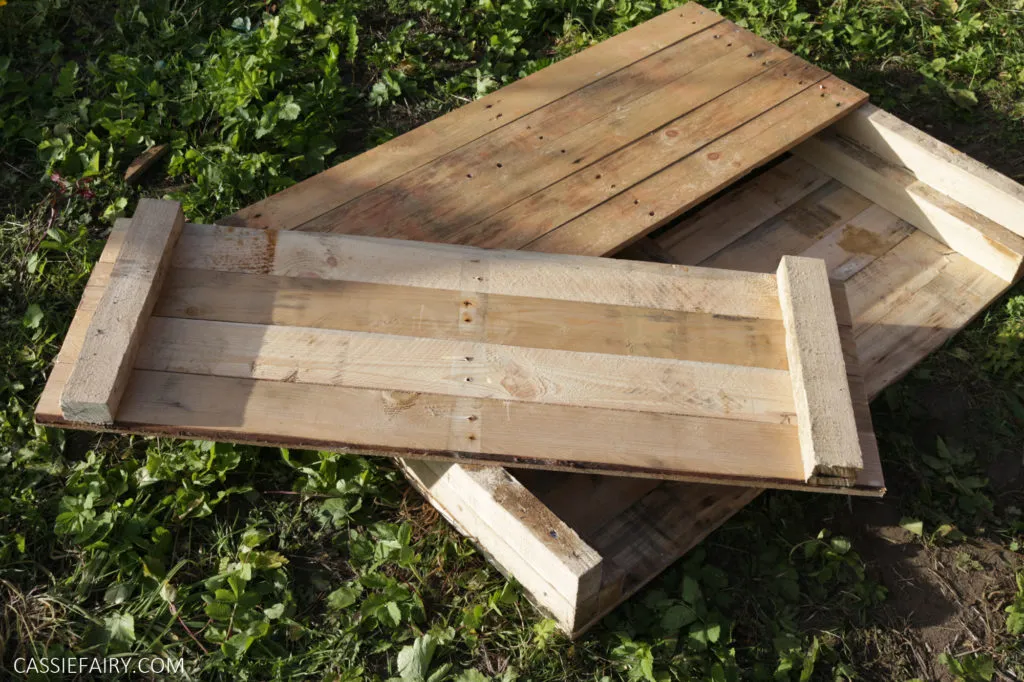 Pallet bar fold-down front attachment
Step 9: Cladding the Fold-Down Section
Use additional planks to clad the inside of the fold-down section, creating a finished look.
 Pallet bar fold-down section cladding
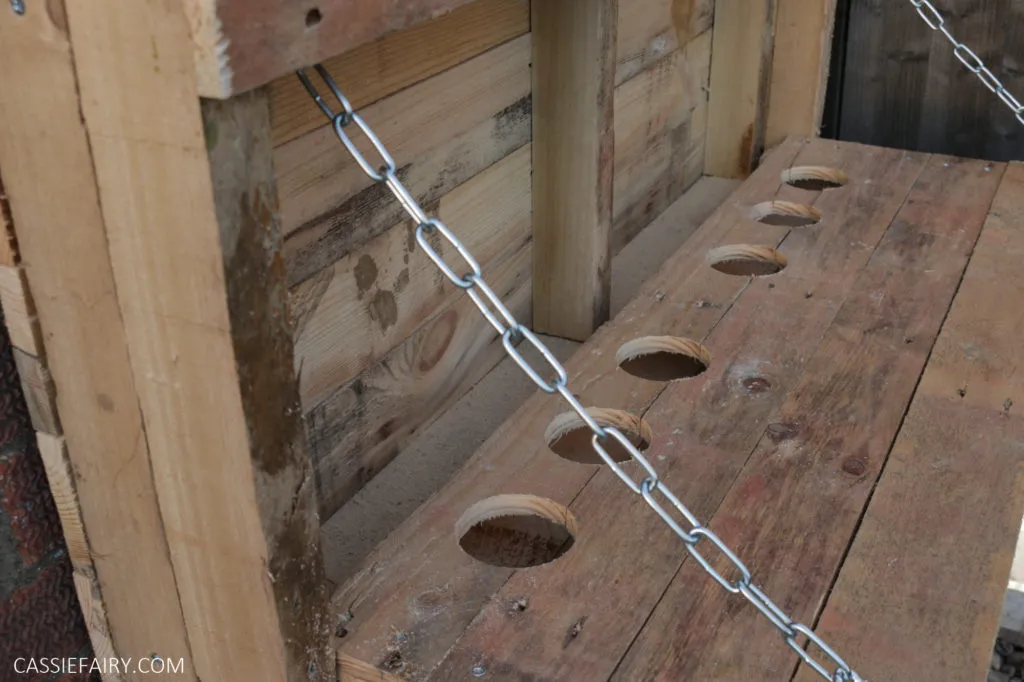
Step 10: Optional Glass Holders
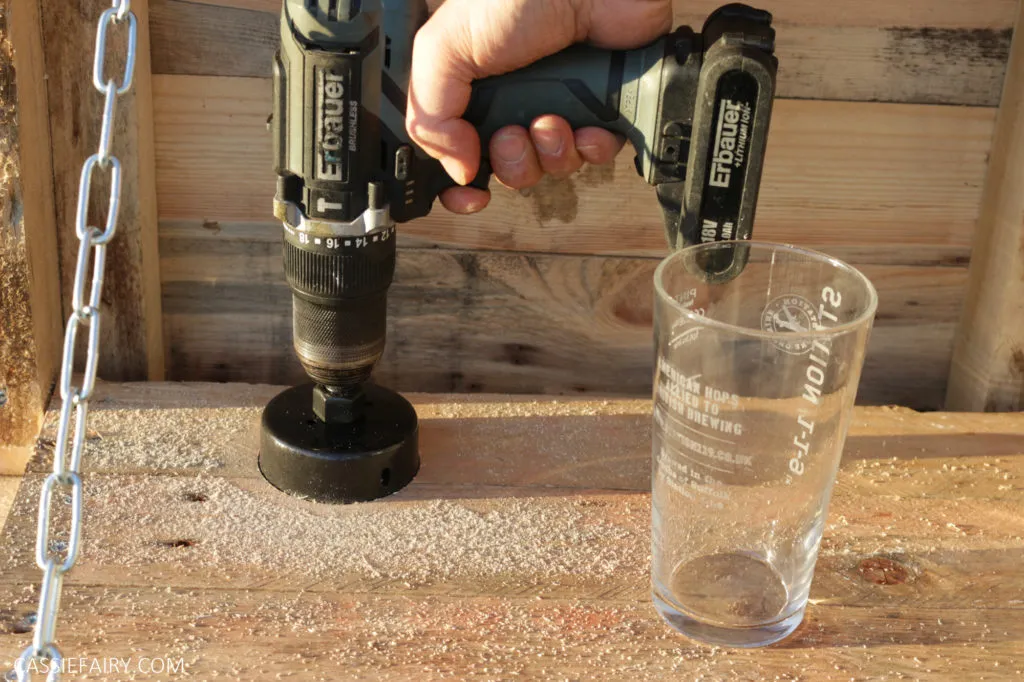
For a touch of practicality, use a holesaw to cut holes along the back plank of the fold-down section. These holes are perfect for holding glasses or bottles, keeping your bar tidy and organized.
 Pallet bar optional glass holders
Step 11: Adding the Underside Shelf
Close the fold-down section and notice the gap on the underside of the bar. Fill this gap with a support beam or plank to create a handy “shelf” when the bar is open.
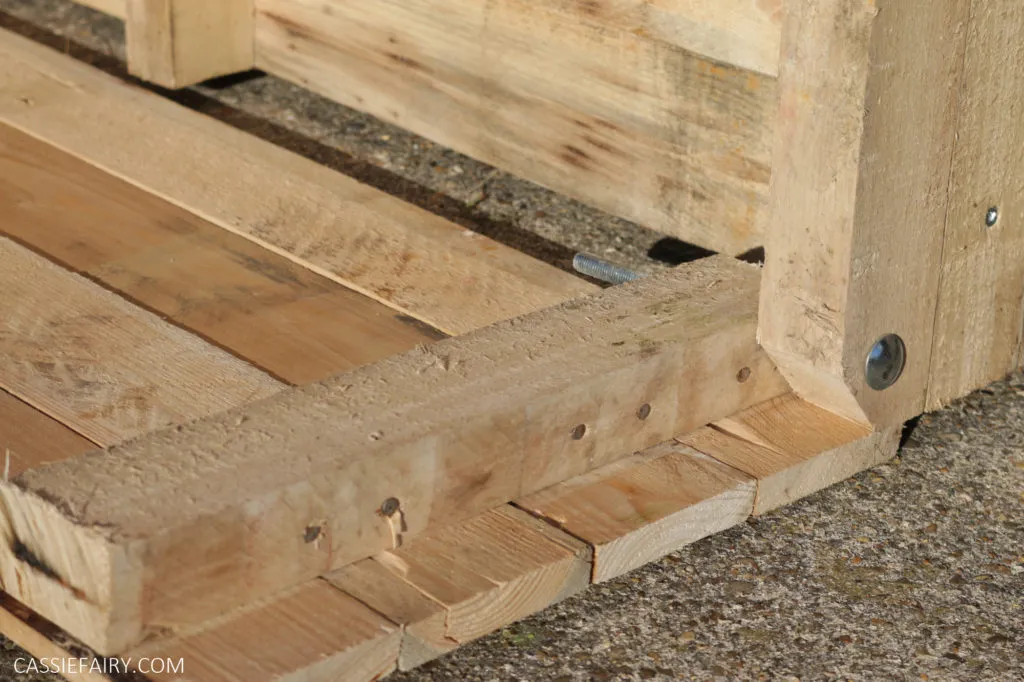 Pallet bar underside shelf
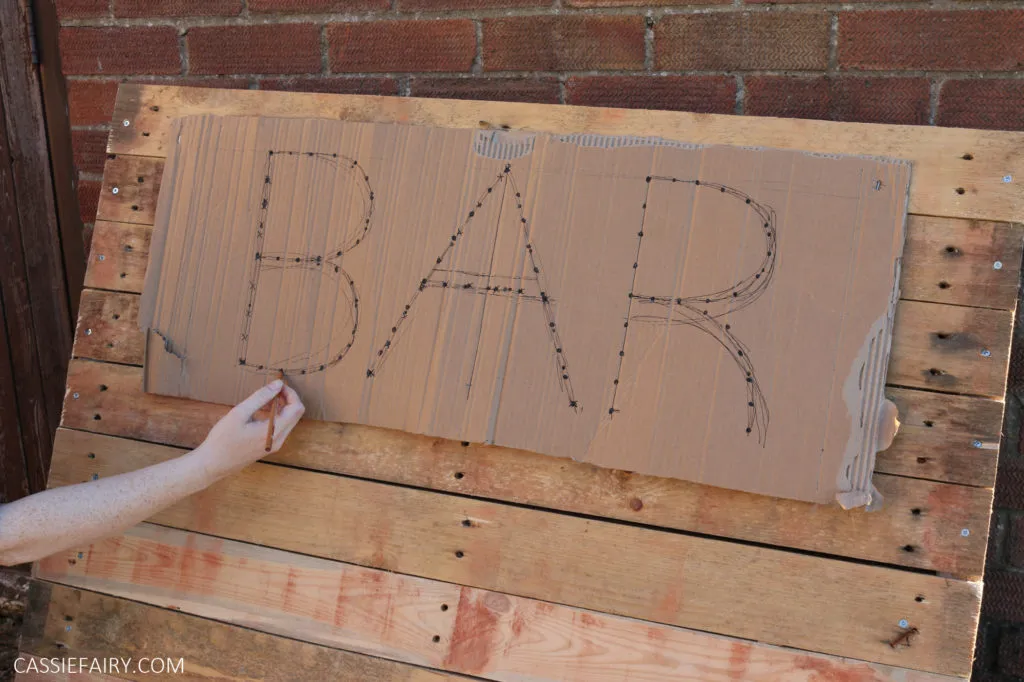
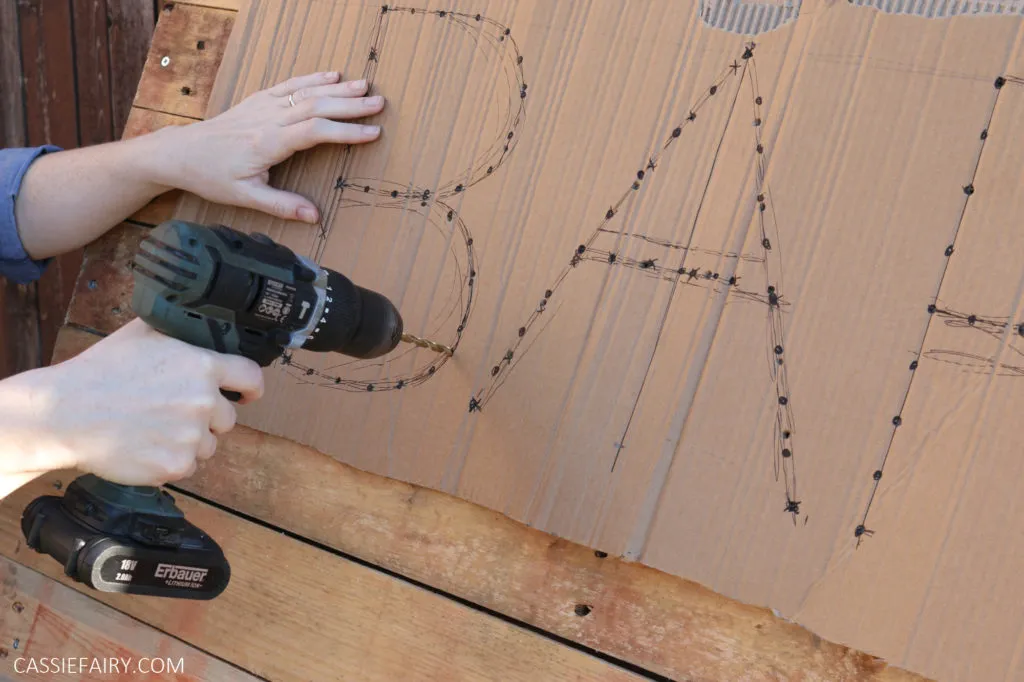
Step 12: Marking for Lights and Lettering
Outline the lettering for “BAR” on the front top section. Mark the desired positions for your fairy lights, ensuring they align with your lettering.
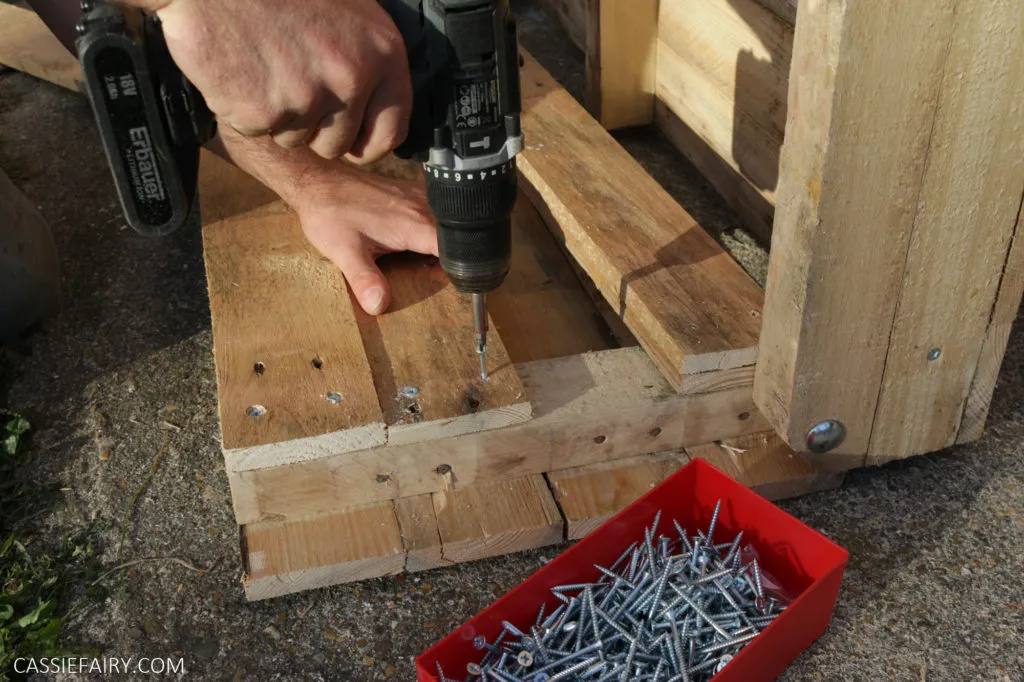 Pallet bar light and lettering marking
Step 13: Drilling the Light Holes
Using a drill bit slightly larger than your fairy light bulbs, carefully drill holes through the front of the bar at the marked locations.
 Pallet bar light hole drilling
Step 14: Attaching the Chain
Secure an eye hook to the inside edge of one corner support and another to the front of the fold-down section. Connect them using a carabiner and chain. This will allow you to easily open and close your bar.
 Pallet bar chain attachment
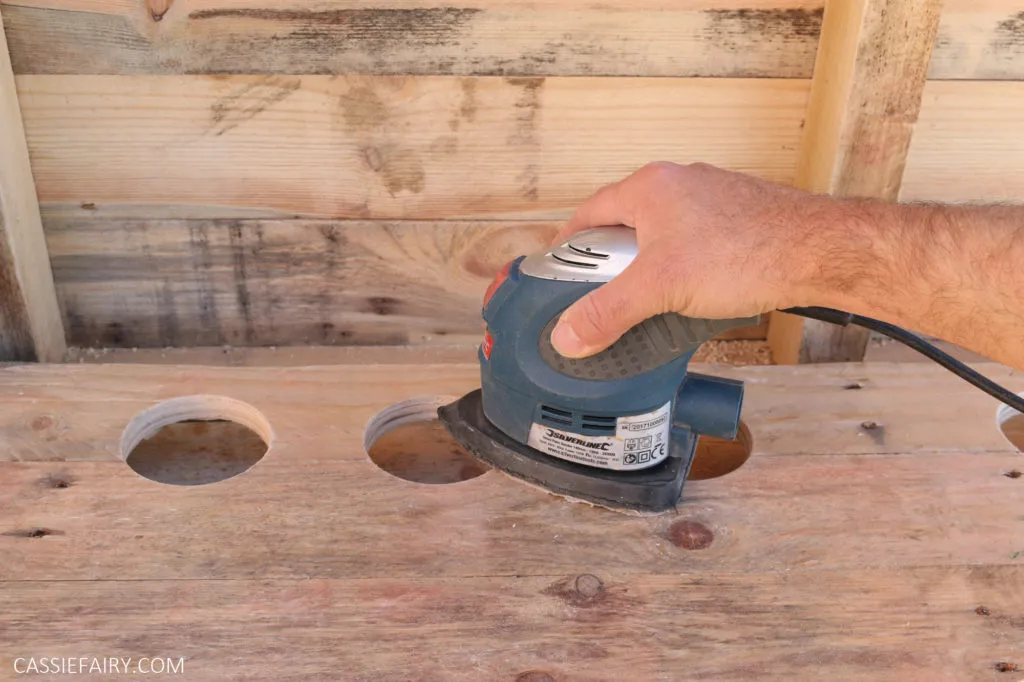
Step 15: Sanding for a Smooth Finish
Give your entire bar a thorough sanding with an electric sander. Pay close attention to edges and corners, ensuring a smooth and splinter-free surface.
 Pallet bar sanding
Step 16: Adding a Splash of Color
Now for the fun part – painting! Choose exterior-grade paint in your desired color scheme. Consider a contrasting color for the inside of the bar to make it pop.
 Pallet bar painting
Step 17: Securing the Bar Closure
To keep your bar securely closed, attach two eye hooks on each side of the fold-down section and connect them with carabiners.
 Pallet bar closure
Step 18: Installing the Lights
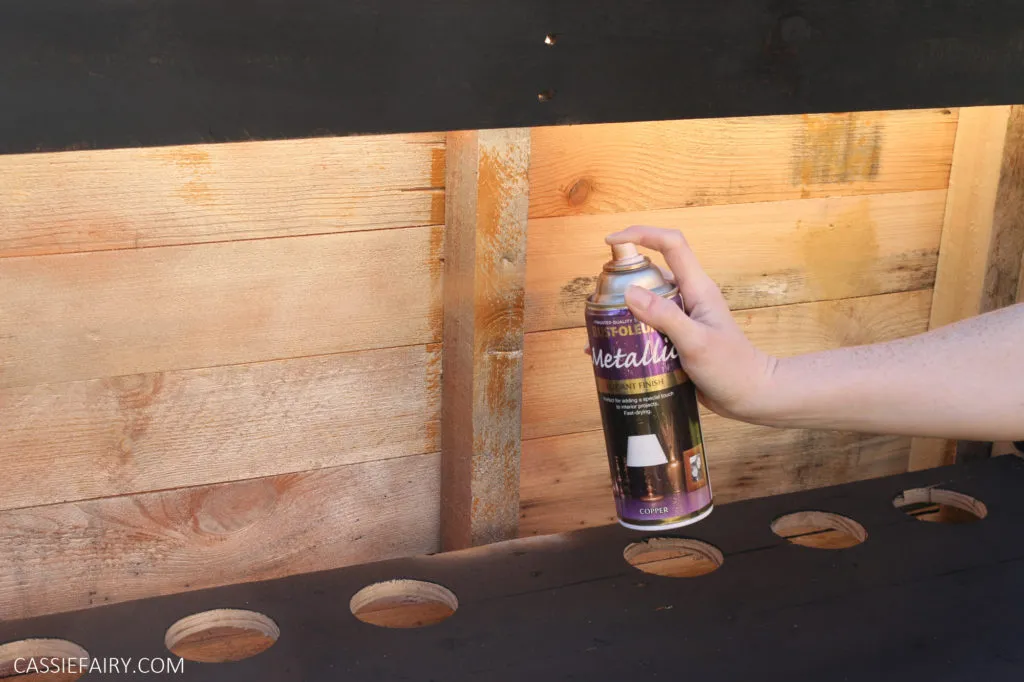
Paint a line of contrasting paint between the drilled holes to spell out “BAR.” Working from the back of the bar, insert your solar-powered fairy lights through the holes. Place the solar panel on top of the bar where it can soak up the sun’s rays.
 Pallet bar light installation
Congratulations, Your Bar is Ready!
Mount your masterpiece securely to a wall on your patio or in your garden, following the appropriate mounting method for your chosen location. Now, step back, pour yourself a celebratory drink, and bask in the glow of your very own handcrafted pallet bar.
Share Your Creations and Explore More!
We’d love to see your unique pallet bar creations! Share photos of your finished projects in the comments below. And be sure to explore Robert Kline Art for more inspiring DIY ideas and unique handmade gifts.
