Blog
DIY Folding Desk: Maximize Your Space with Style
Are you tired of bulky furniture hogging precious space in your home? Craving a stylish and functional workspace that doesn’t compromise your design aesthetic? Look no further than this DIY folding desk! In this step-by-step guide, we’ll embark on a journey of craftsmanship, transforming simple materials into a stunning space-saving masterpiece.
Inspired by the practicality of IKEA’s folding desk, we decided to infuse our own creativity and build a custom piece tailored to our needs. While we might have spent a tad more than buying pre-made, the satisfaction of creating something unique is priceless. So, if you’re ready to unleash your inner DIYer and craft a desk that’s as unique as you are, join us on this rewarding adventure!
Tools and Materials
- Measuring tape
- Pencil
- Level
- Stud finder
- Drill
- Wood screws
- Wood glue
- Saw (circular saw or jigsaw)
- Sandpaper
- Wood stain or paint (optional)
- Polyurethane
- Hinges (2)
- L-brackets (2)
- Wooden dowel
- Pine board (for the desktop)
- Scrap wood (for the braces and lip)
Building Your Dream Desk
Step 1: Planning and Inspiration
Before diving in, gather inspiration and carefully plan your desk’s dimensions. “I always tell my students,” says renowned furniture designer, Sarah Williams, “meticulous planning is the cornerstone of any successful DIY project.” Take photos and videos of similar folding desks to guide your design.
Step 2: Finding Your Support System
Locate and mark a wall stud using a stud finder. This will provide crucial support for your desk. Determine the desired desk height, keeping in mind standard desk heights typically range from 32″ to 34″.
Step 3: Building the Foundation
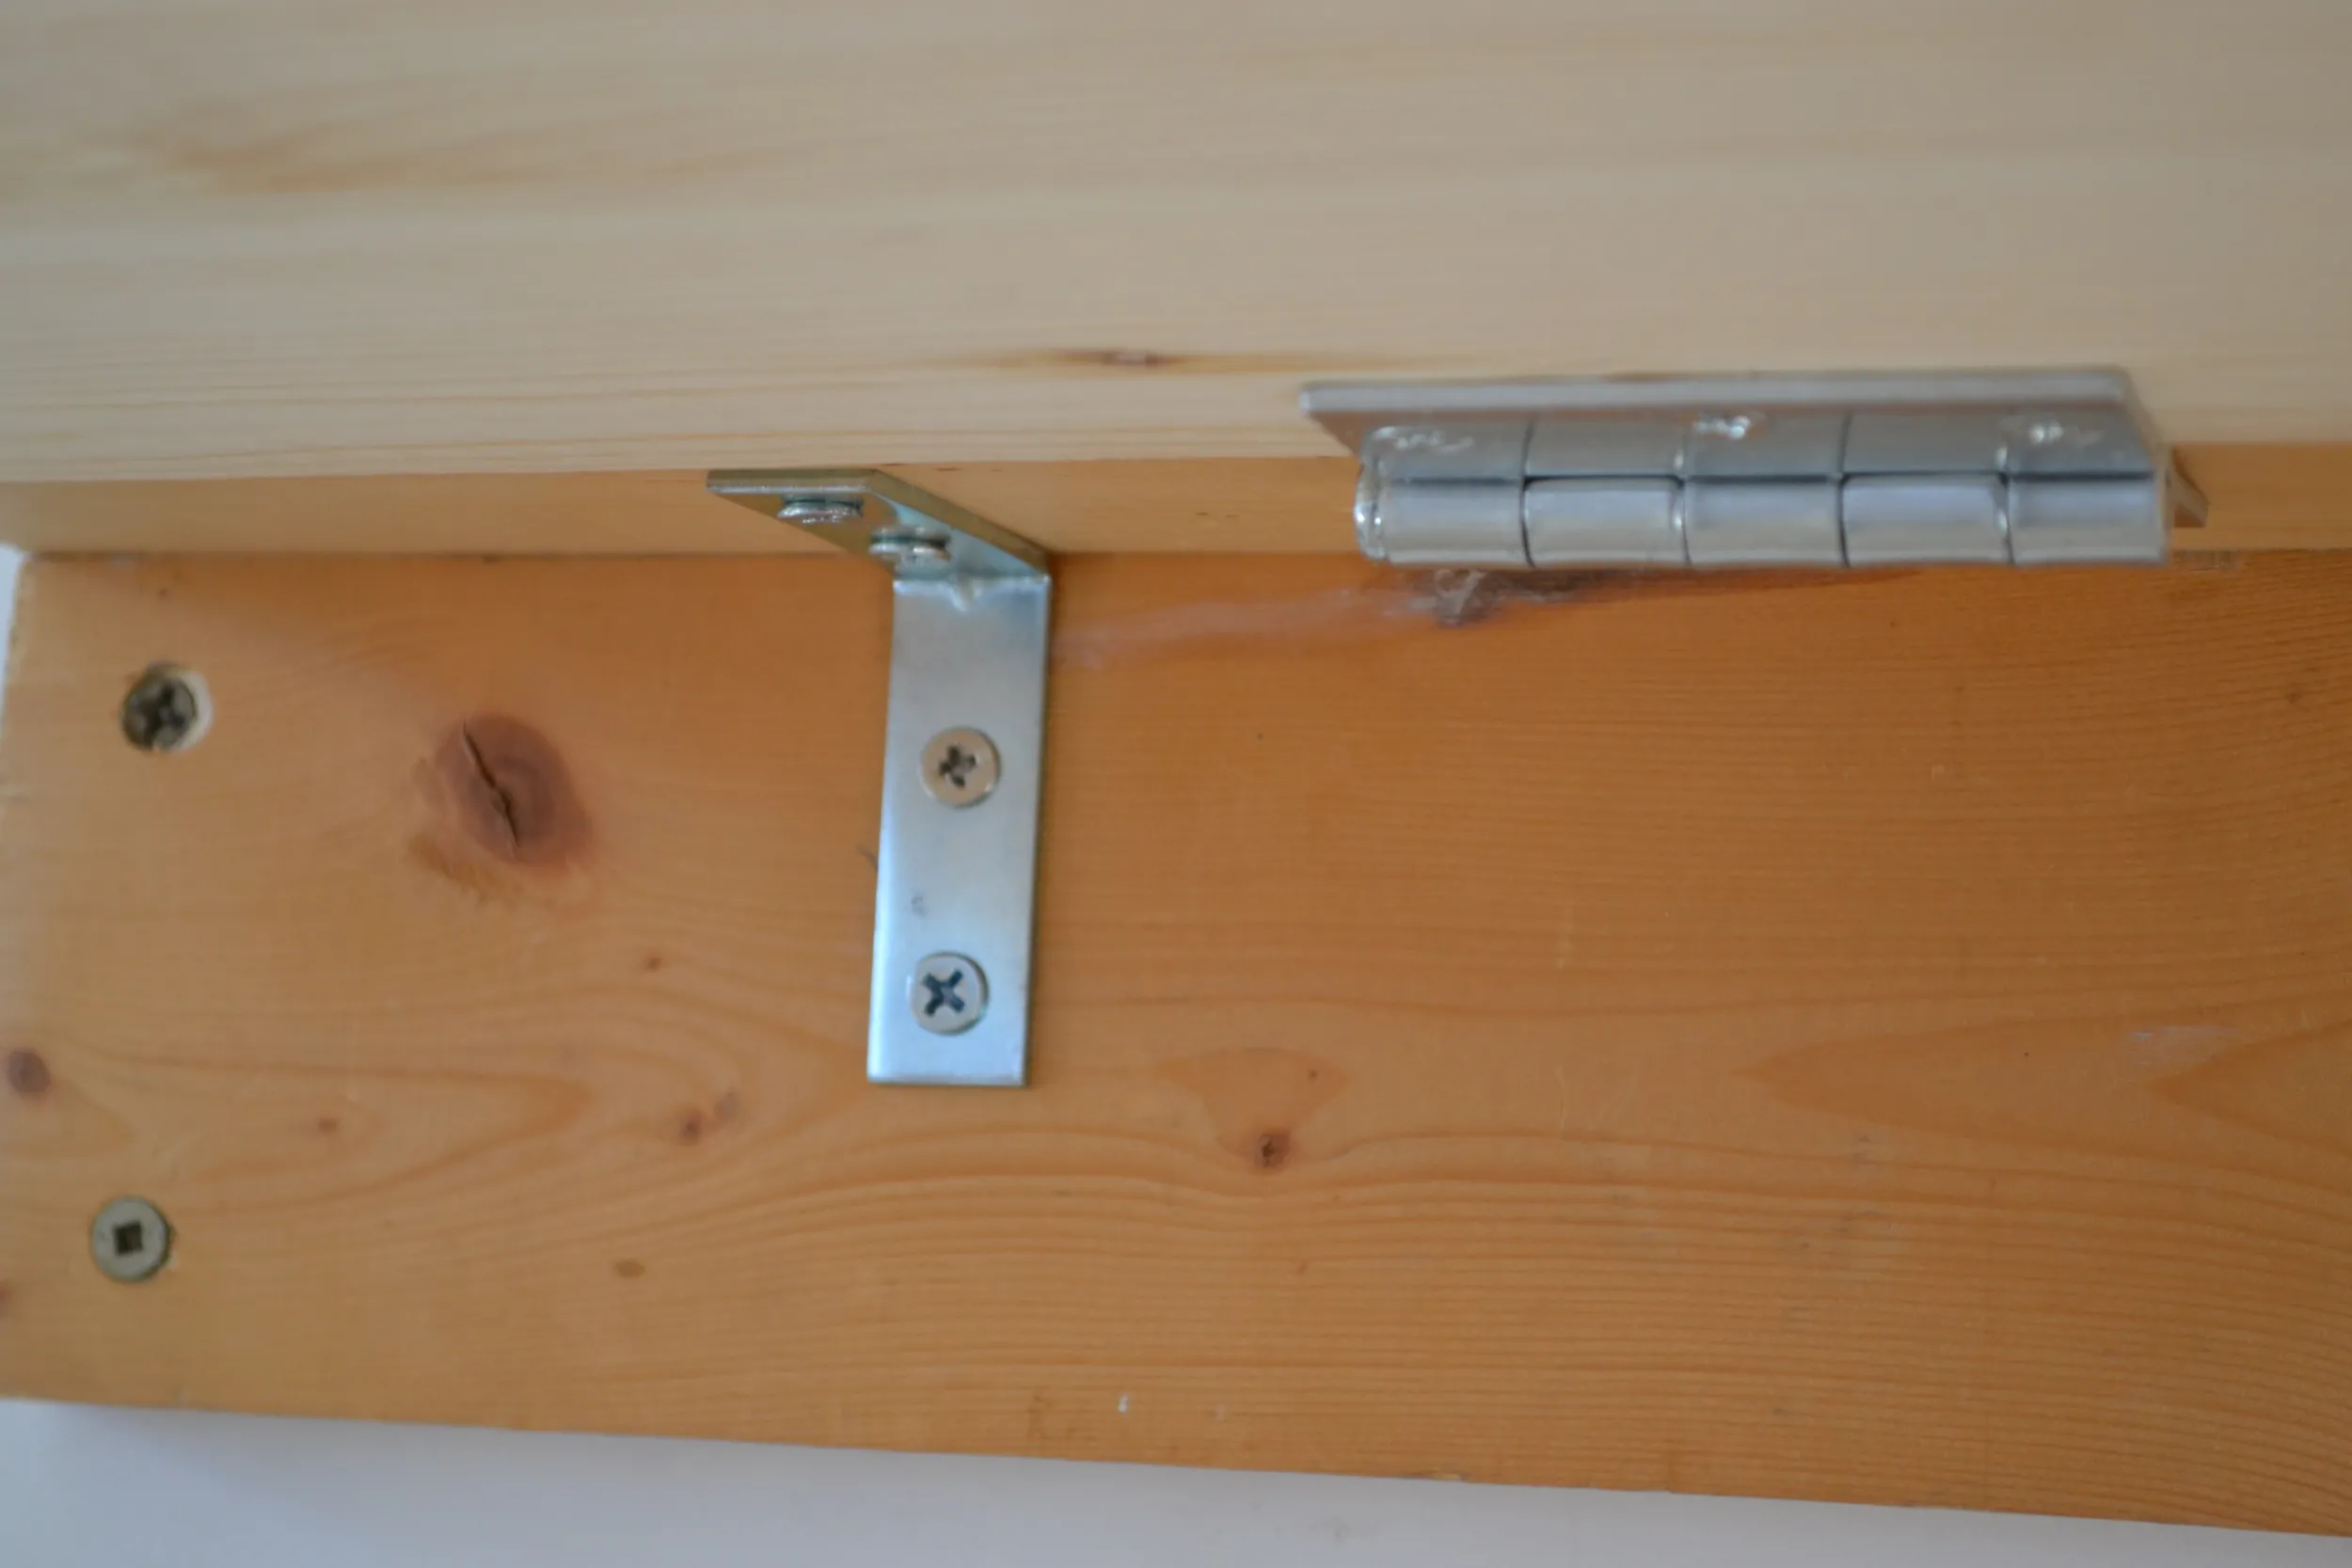
- Cut a piece of wood to serve as the horizontal brace. This brace should be securely attached to the wall stud using screws.
- Cut another piece of wood to act as the “lip” and attach it on top of the horizontal brace.
 Horizontal wood brace with lip and L bracket
Step 4: Adding the Desktop
- Cut your pine board to the desired dimensions for the desktop.
- Attach hinges to the underside of the lip and the underside of the desktop.
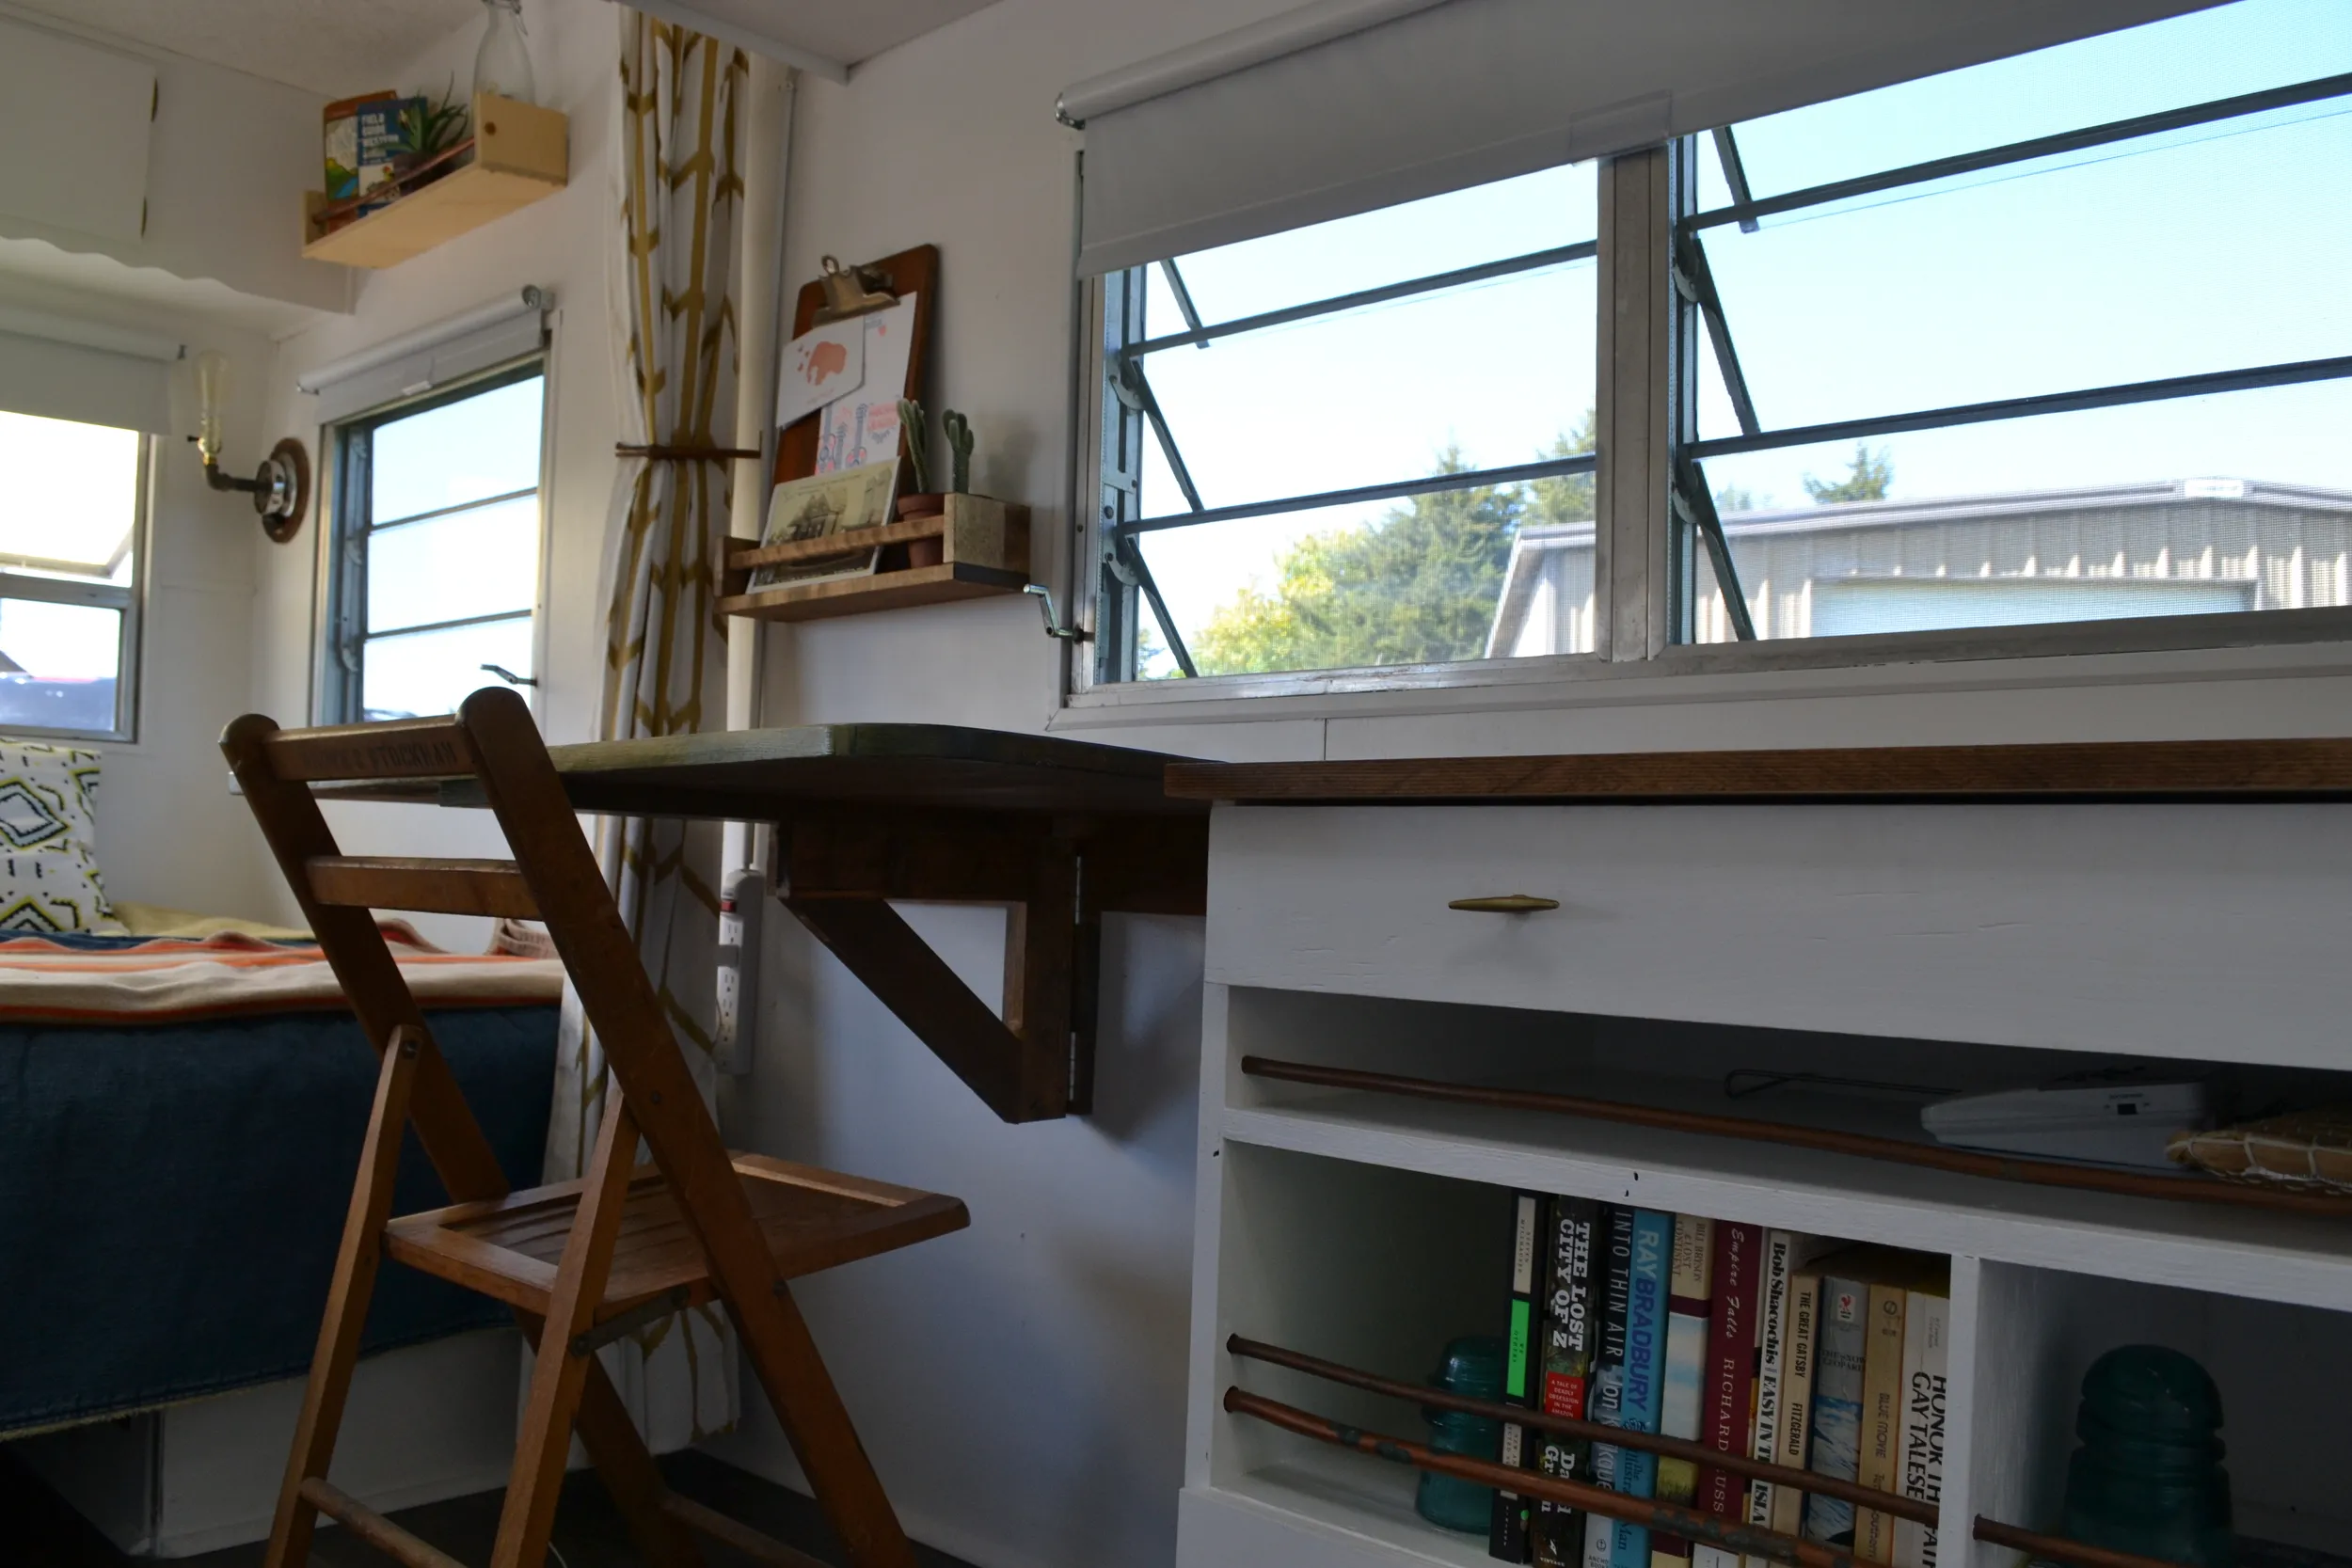 The folding desk is a huge space saver.
Step 5: Crafting the Folding Support
- Install a vertical brace onto the wall, forming a “T” shape with the horizontal brace.
- Attach a piece of wood to the underside of the desktop. This piece should align with the vertical brace when the desk is folded up.
- Construct a triangular brace using scrap wood and secure it to the vertical brace and the underside of the desktop using hinges.
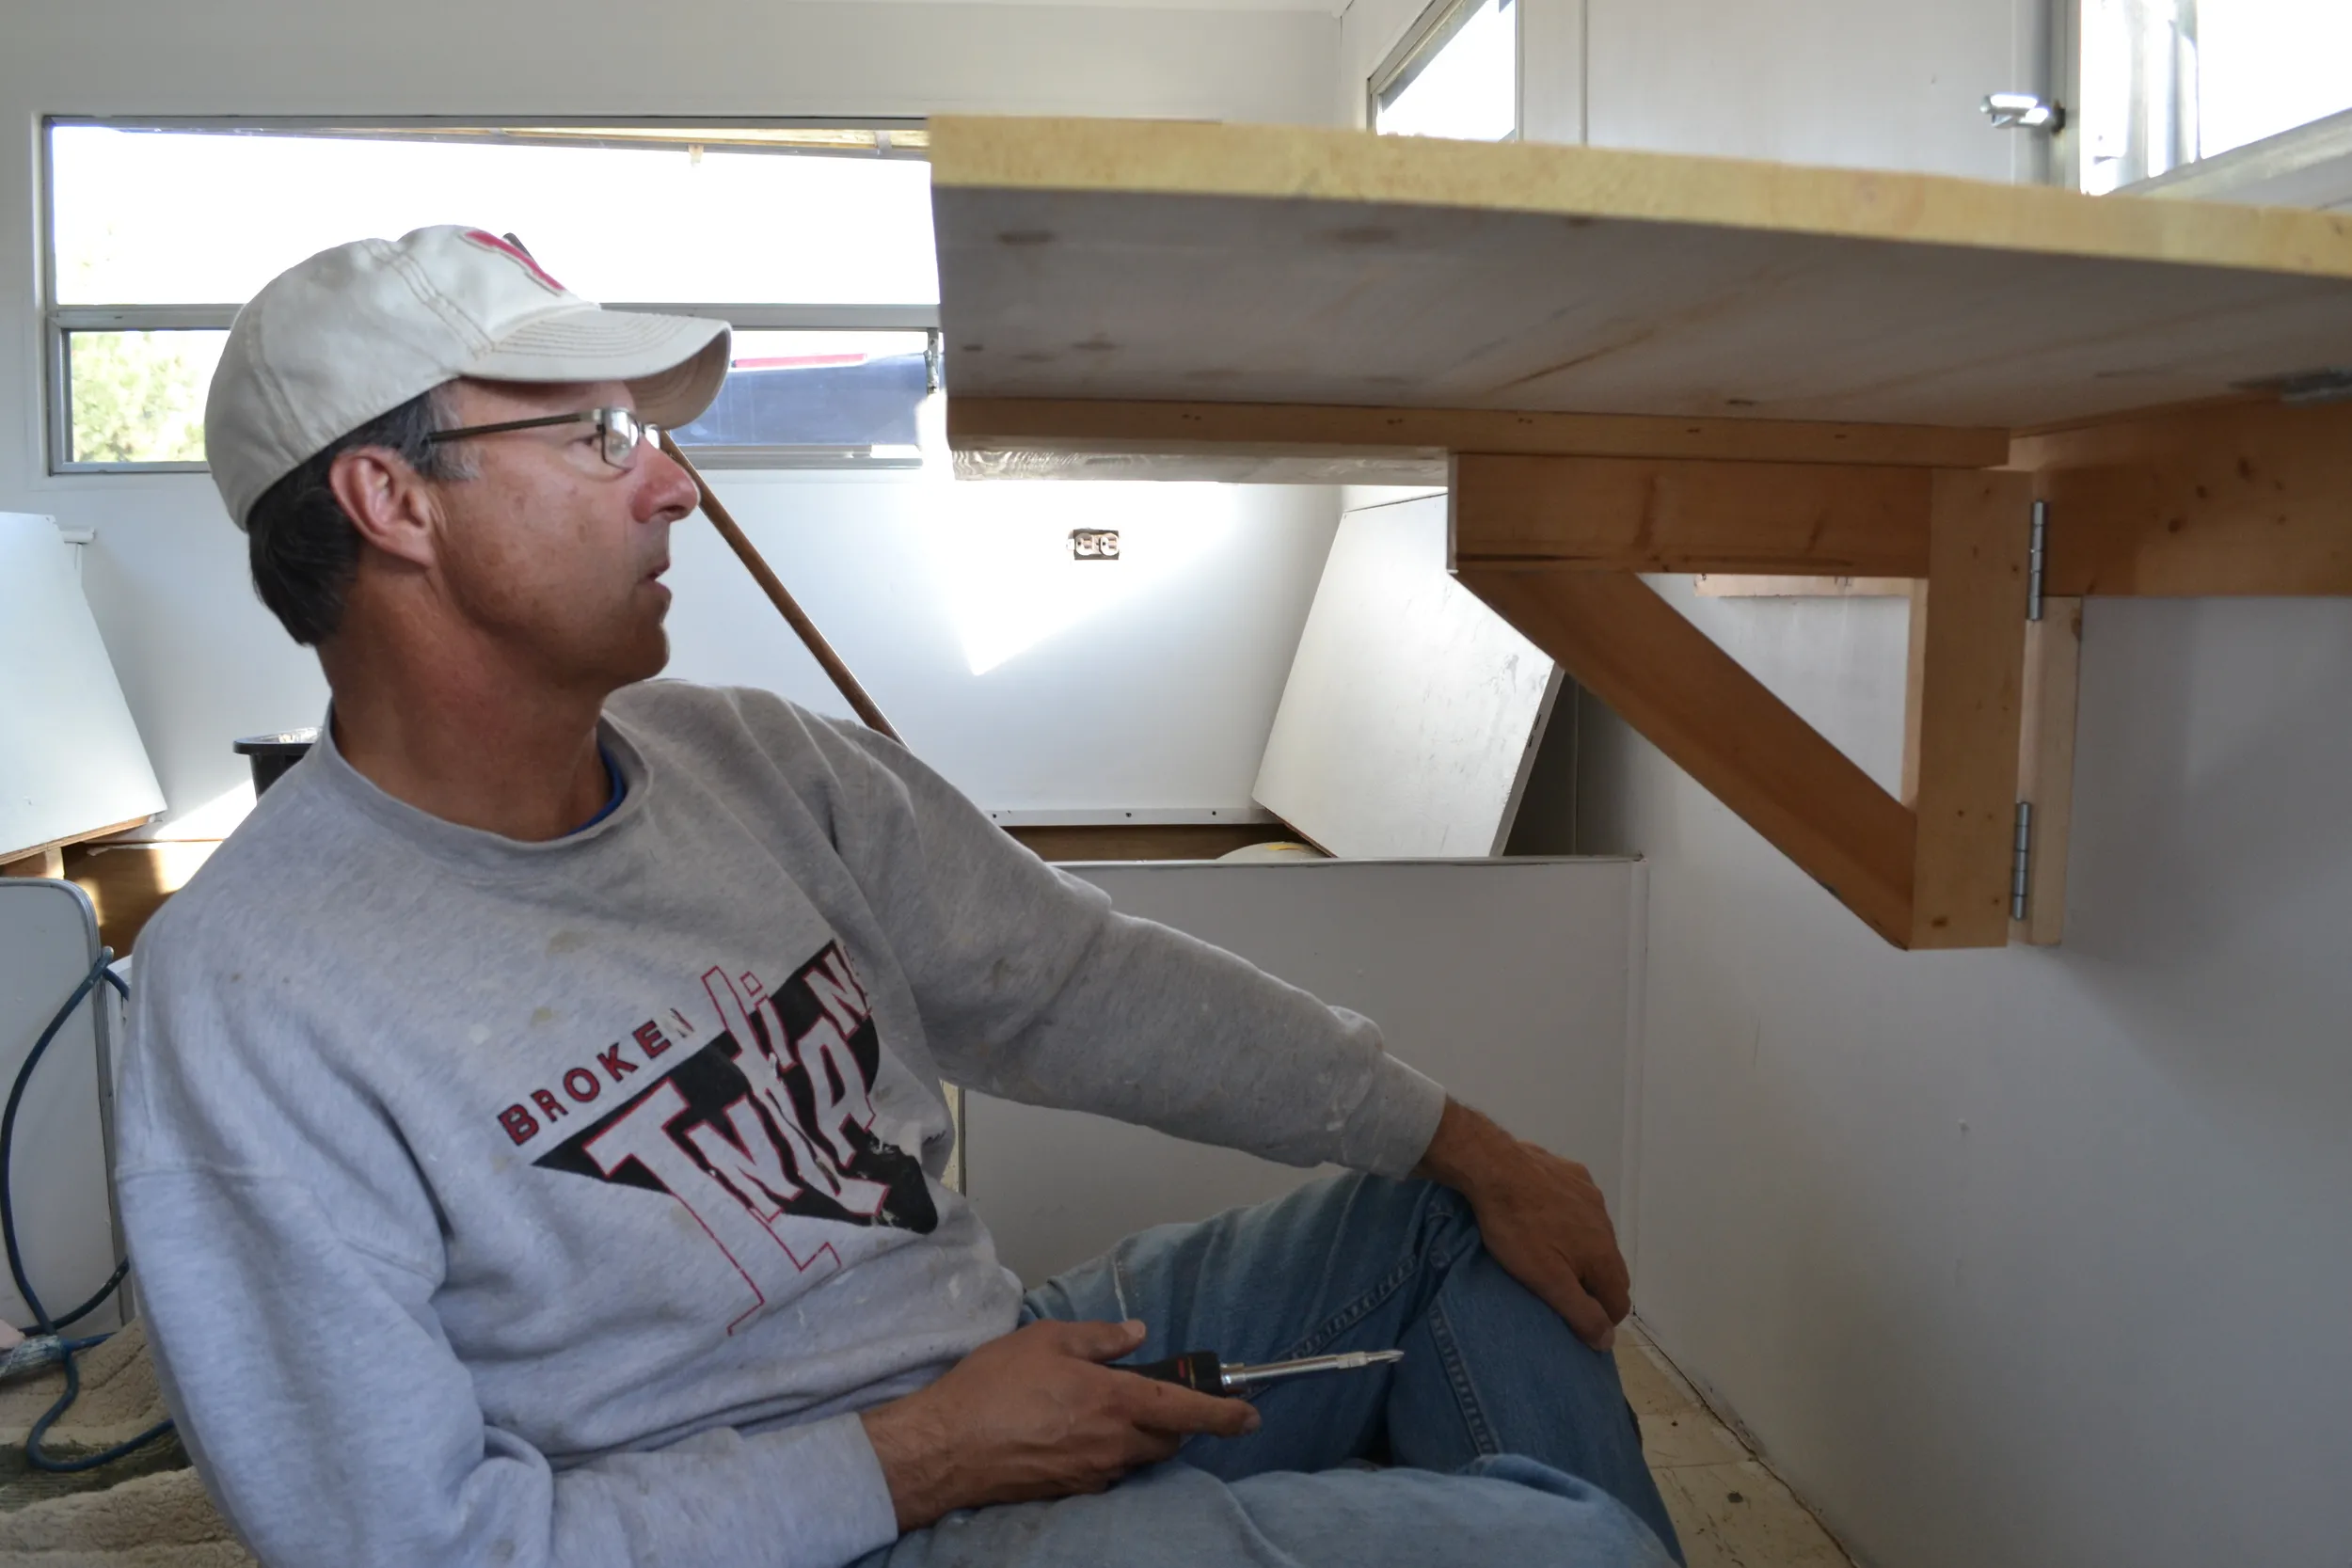 Triangle brace is in.
Step 6: The Magic of the Wooden Dowel
- Drill a hole in the top of the triangular brace and insert a wooden dowel with wood glue.
- Drill a corresponding hole in the wood piece attached to the underside of the desktop.
- The dowel acts as a peg, securing the desk in the upright position.
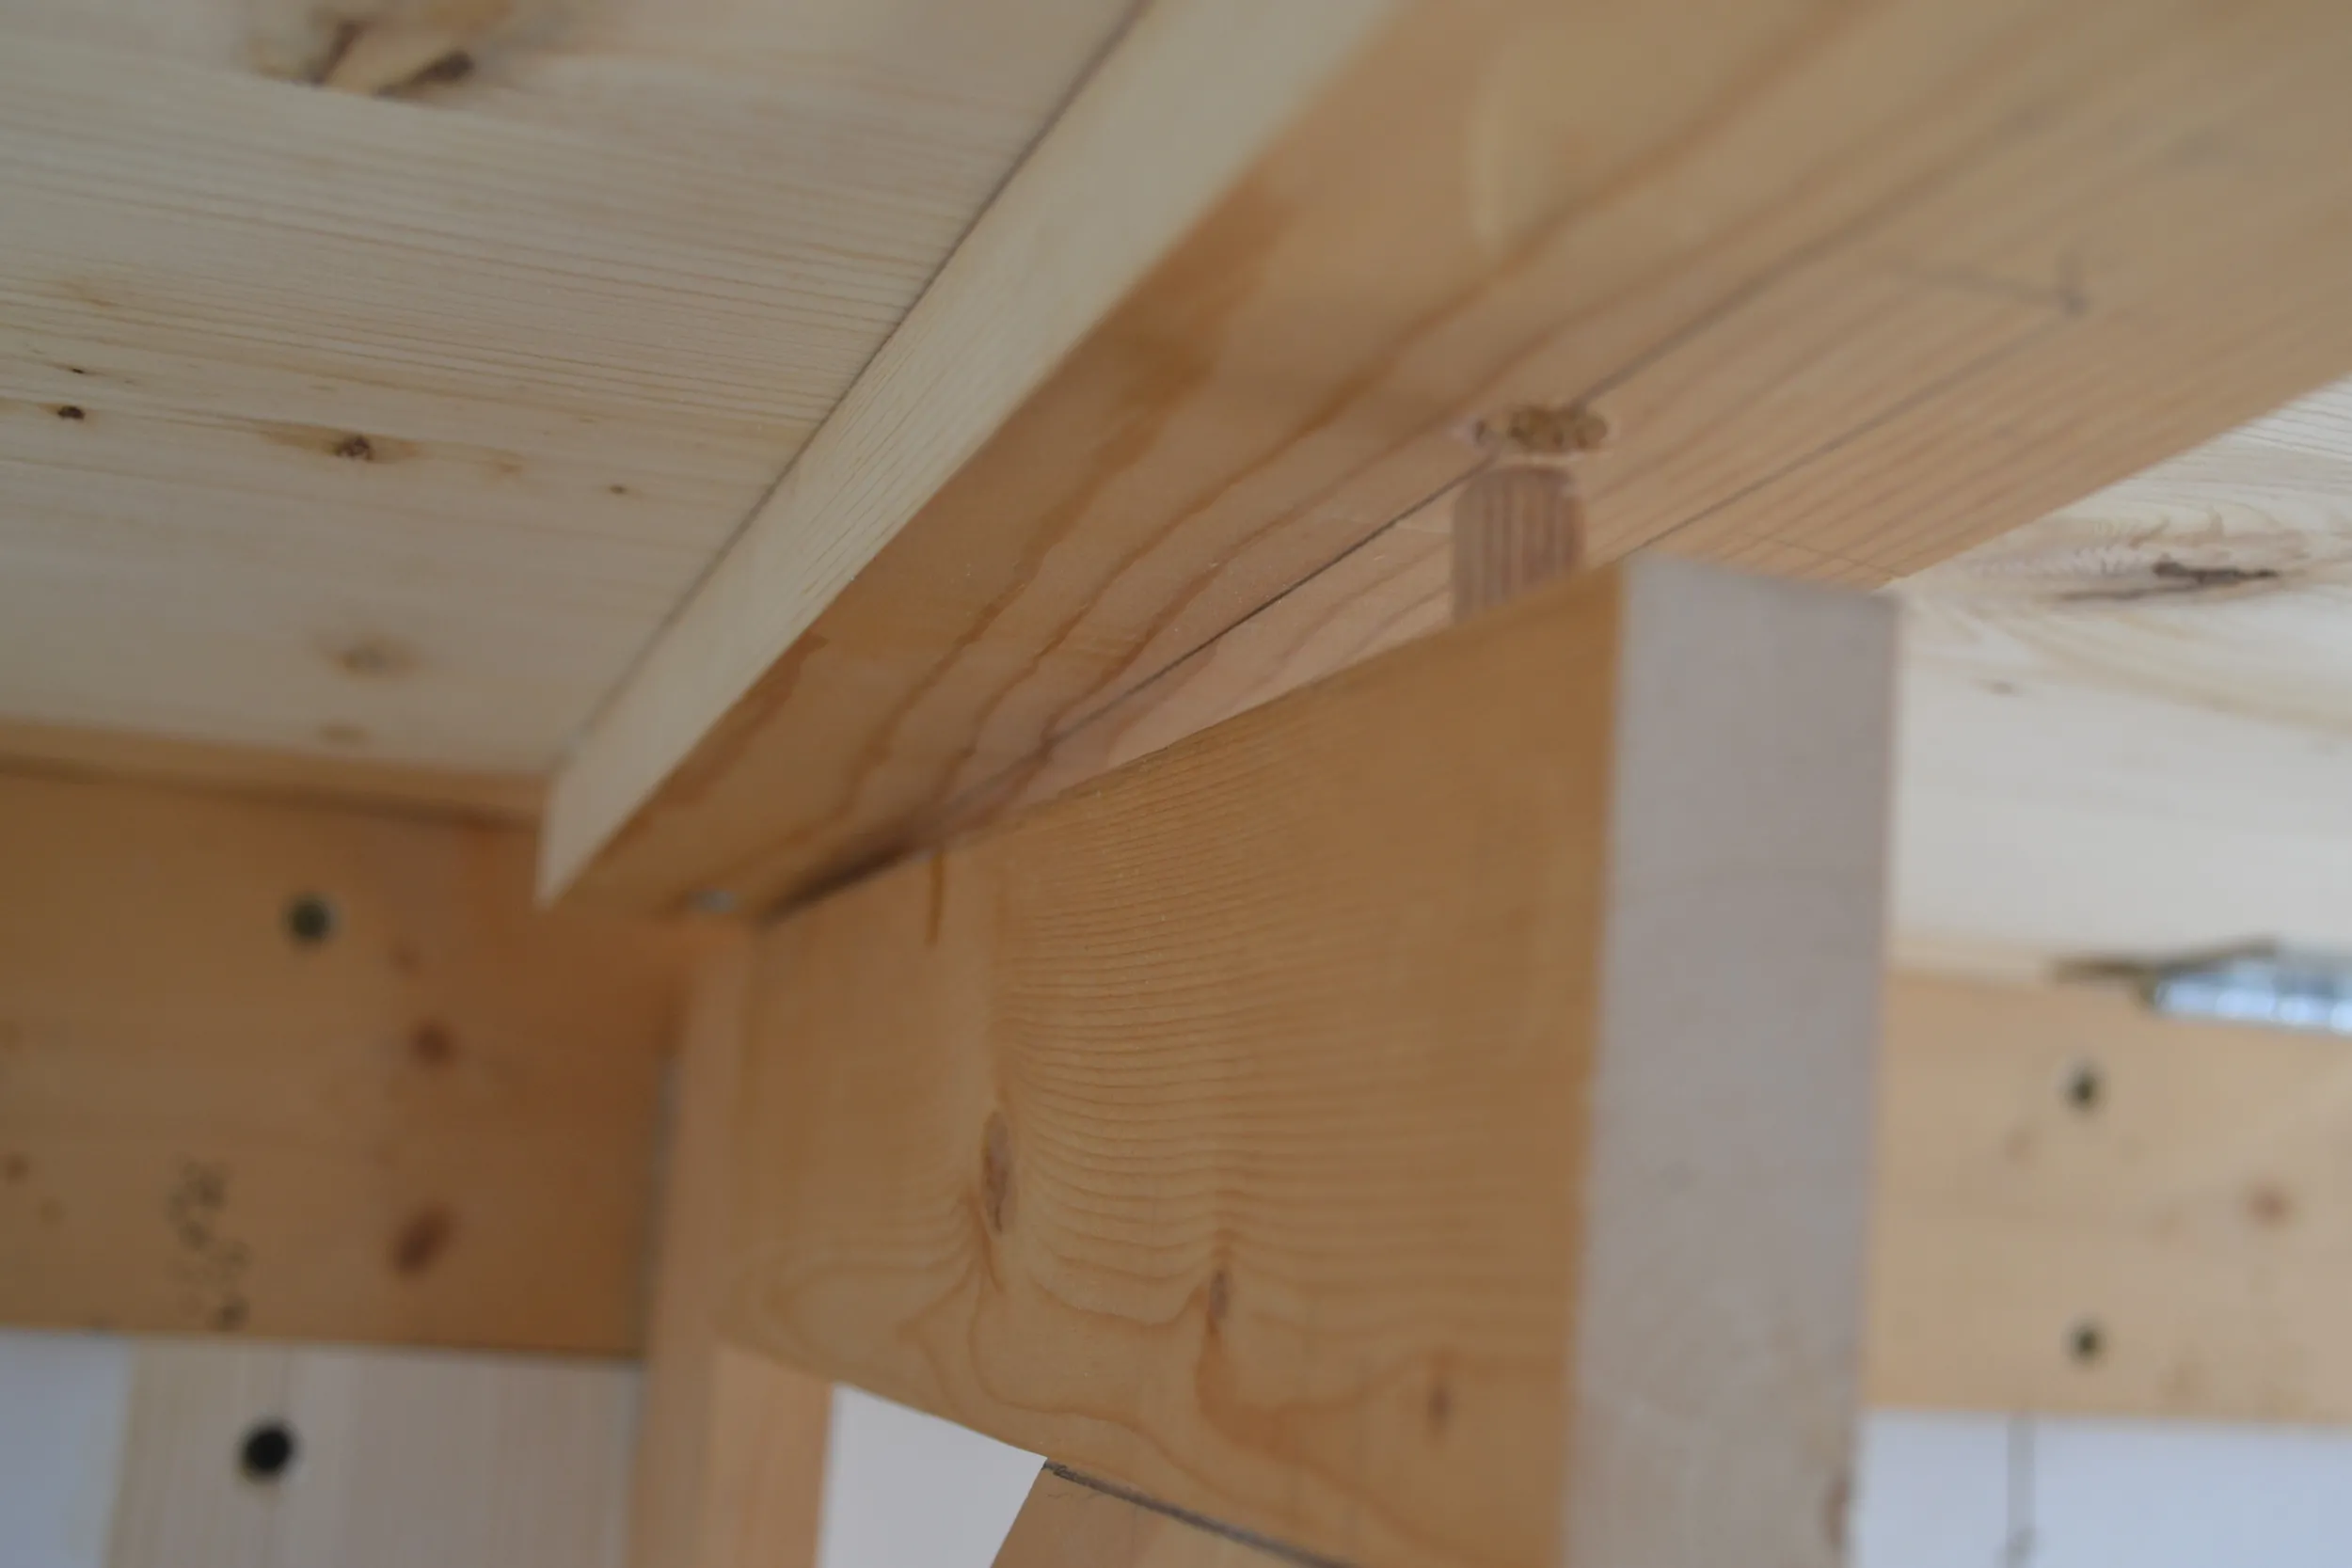 The very, very important wood peg!
Step 7: Finishing Touches
- Sand down all rough edges and surfaces.
- Apply wood stain or paint to match your desired aesthetic.
- Seal the wood with a protective coat of polyurethane for durability.
Customizing Your Masterpiece
- Round the corners of the desktop to prevent accidental bumps and bruises.
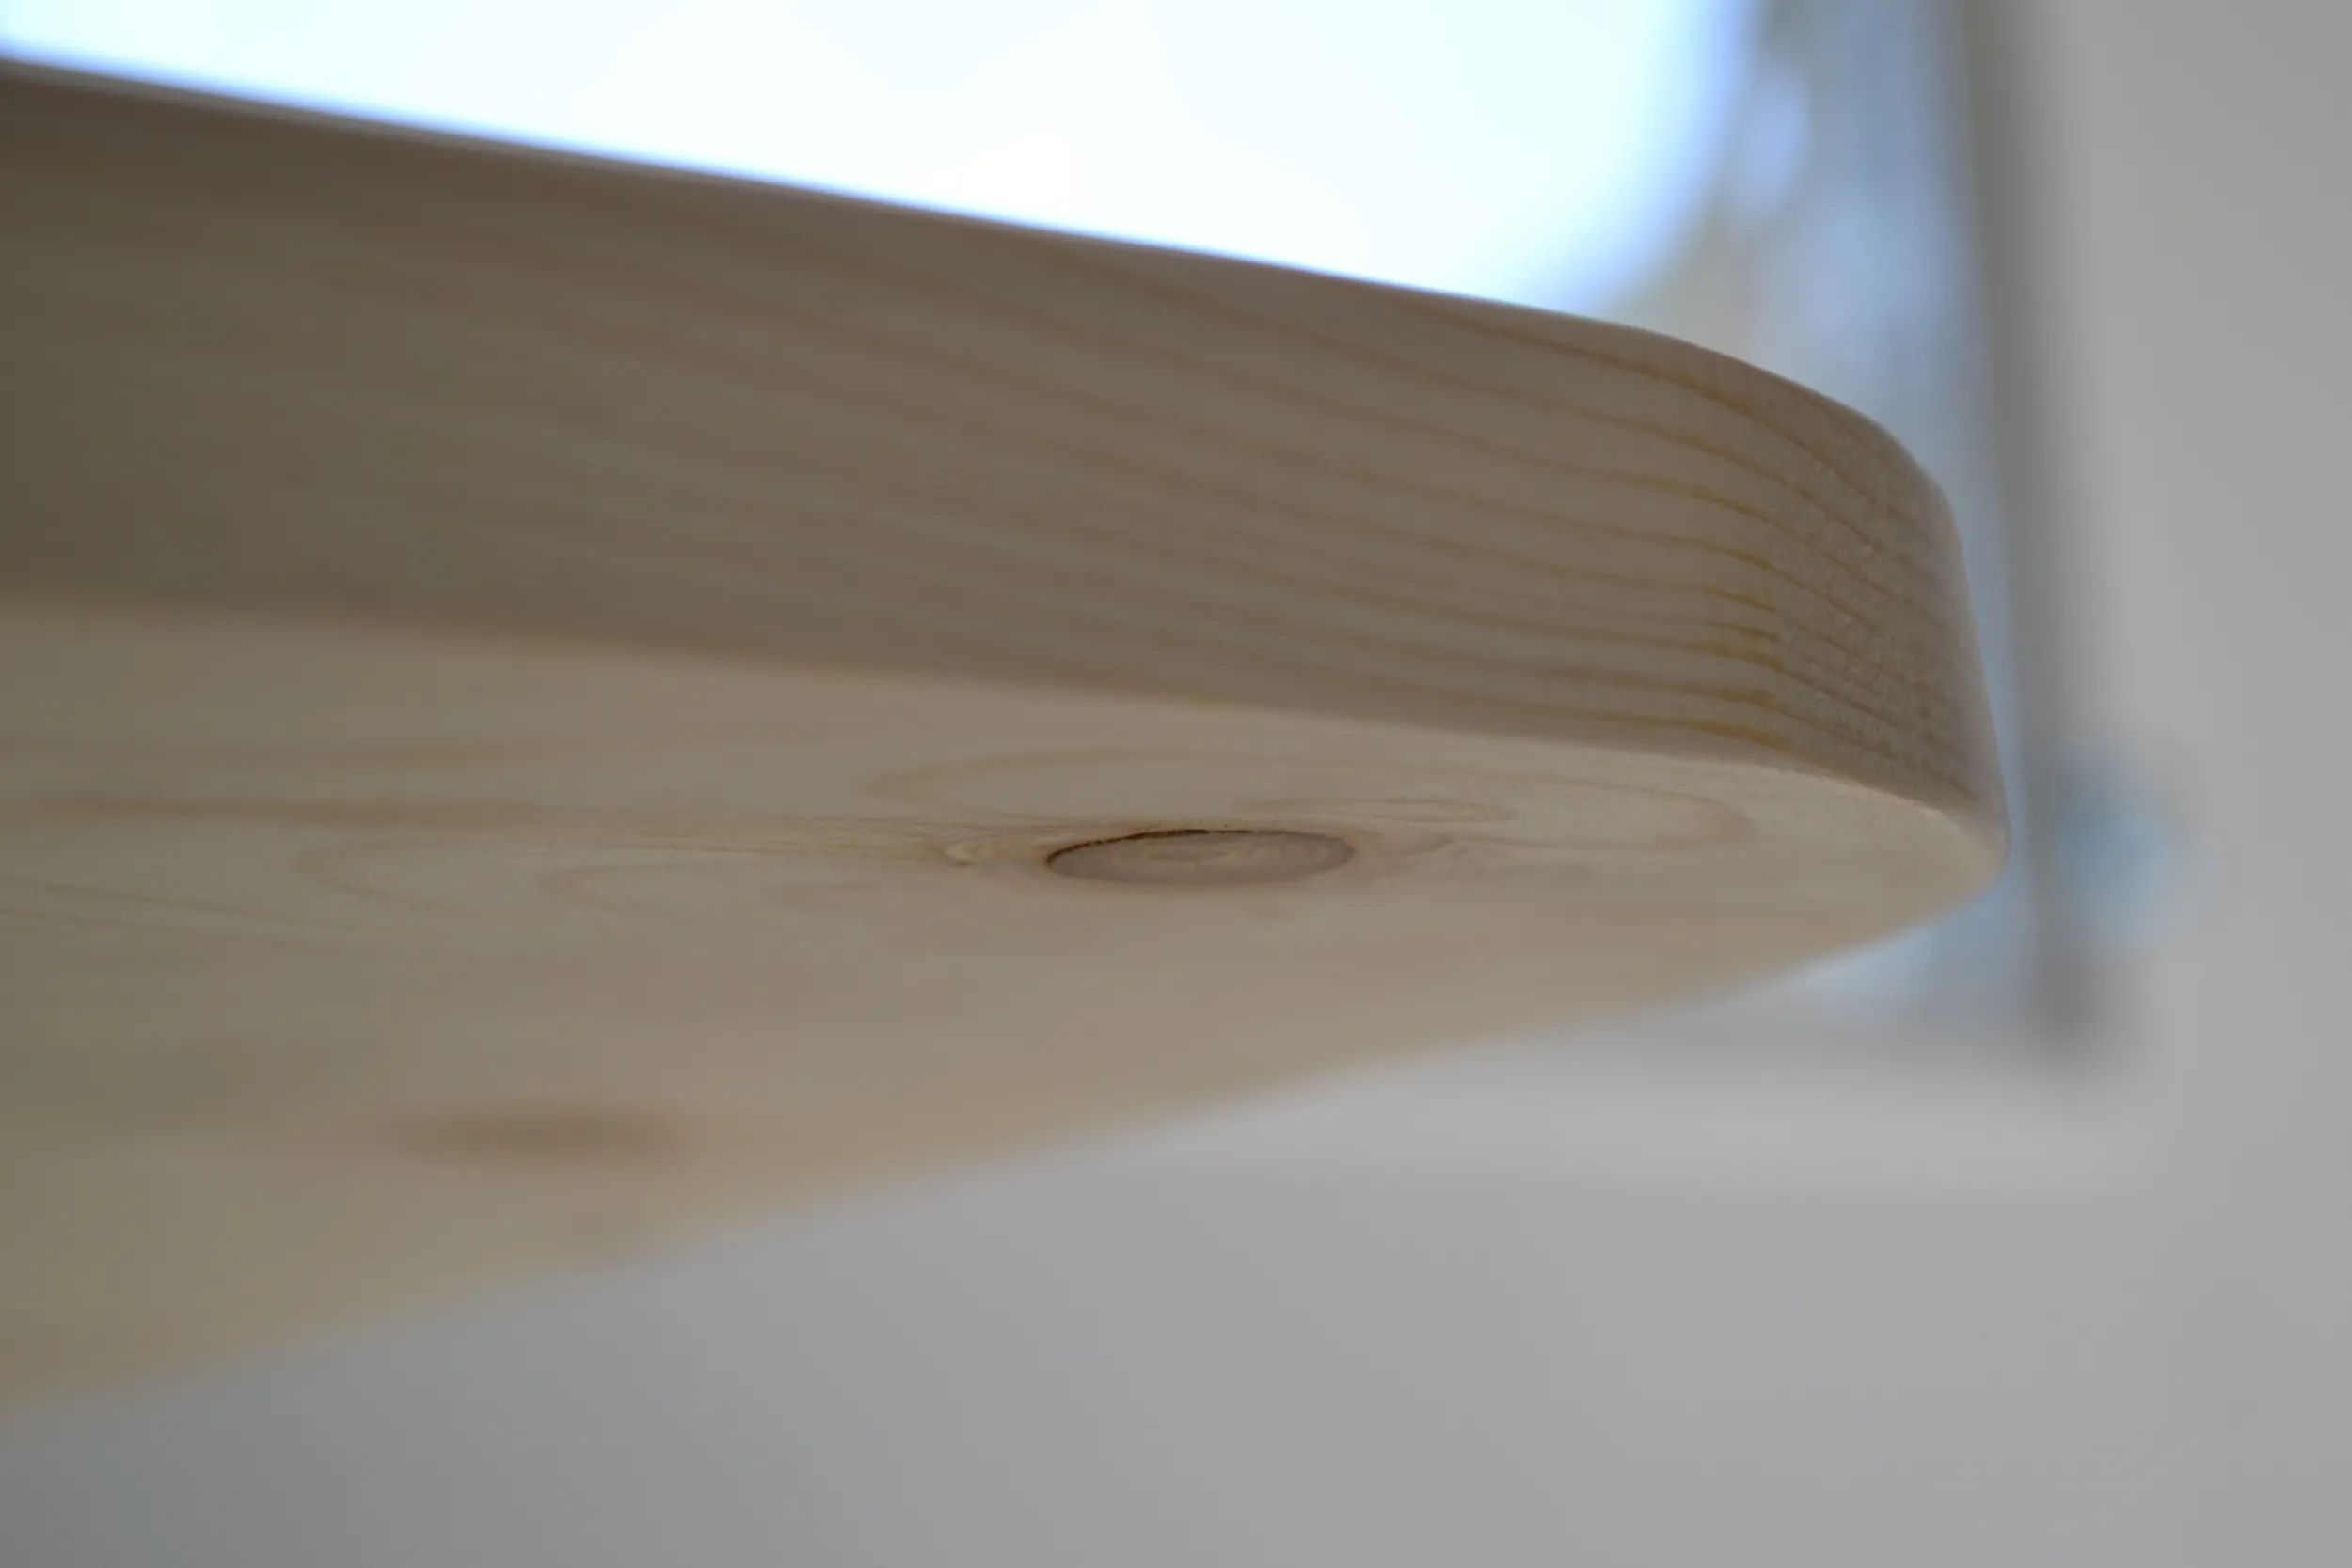 Rounded edges of folding desk
Conclusion
Congratulations on creating your very own DIY folding desk! Not only have you added a functional and stylish element to your living space, but you’ve also experienced the joy of craftsmanship. Now it’s time to enjoy your new workspace and let your creativity flow. Be sure to share your masterpiece with us in the comments below and let us know what unique touches you added to make it your own.
Don’t forget to explore the rest of Robert Kline Art’s website for more inspiring DIY projects and unique handmade gifts.
