Blog
The Joys of Building Your Own Ukulele from a DIY Kit

Have you ever dreamt of crafting your own musical instrument? It’s a uniquely rewarding experience, and with a DIY ukulele kit, it’s more achievable than you might think! At Robert Kline Art, we celebrate the maker in everyone. In this article, we’ll guide you through the fulfilling journey of building a ukulele from scratch, exploring the process, benefits, and the sheer joy of strumming your very own handcrafted instrument.
Why Embark on a Ukulele Building Adventure?
There’s something truly special about crafting with your hands. Building a ukulele from a kit goes beyond just assembling parts; it’s an act of creation, a personal journey from raw materials to a beautiful, playable instrument.
Unleash Your Inner Craftsperson
Building a ukulele allows you to connect with the soul of an instrument. You’ll gain a deeper understanding of its construction, the tonewoods used, and the delicate balance that results in those sweet, joyful ukulele sounds.
A Project for Everyone
DIY ukulele kits cater to various skill levels. Whether you’re a woodworking enthusiast or a curious beginner, there’s a kit out there for you. Plus, the sense of accomplishment upon completion is immensely satisfying.
What to Expect in a DIY Ukulele Kit
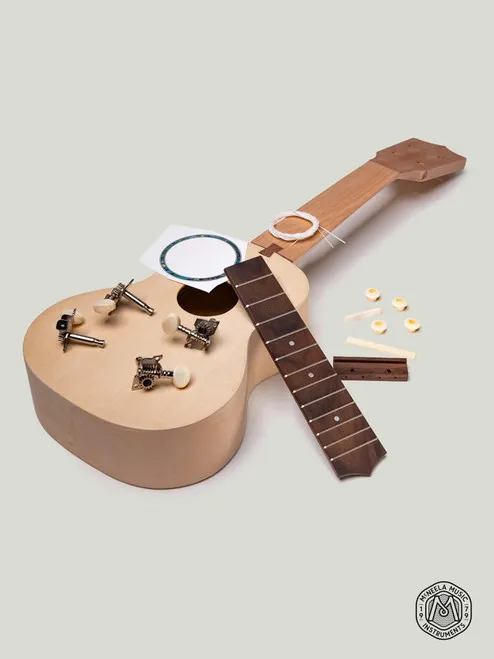
A good ukulele kit will provide everything you need to assemble your instrument, along with clear, easy-to-follow instructions. Here are some key components you can expect:
- Pre-cut Body and Neck: Often made from tonewoods like mahogany or spruce, these pre-shaped pieces form the core of your ukulele.
- Fingerboard and Bridge: These come pre-slotted for easy fret and saddle placement.
- Hardware: Includes tuning pegs, nut, saddle, strings, and even decorative elements.
- Finishing Supplies: Some kits even include sandpaper, oils, or varnishes to add your personal touch to the final look.
 Build Your Own Ukulele Kit
The Building Process: A Step-by-Step Overview
While specific instructions may vary depending on the kit, here’s a general overview of the ukulele building process:
-
Sanding and Shaping: You’ll begin by fine-tuning the body and neck, ensuring smooth surfaces for finishing.
-
Assembly: This step involves attaching the neck to the body, gluing the bridge in place, and installing the tuning pegs.
-
Fretting: If your kit requires fret installation, you’ll carefully hammer them into the pre-cut slots on the fingerboard.
-
Finishing Touches: This is where you can get creative! Sanding, staining, or painting the ukulele lets you personalize its appearance.
-
Stringing and Setup: The final step involves attaching the strings, tuning them to pitch, and making any necessary adjustments to the action (string height).
Tips for Ukulele Building Success
- Take Your Time: Enjoy the process! Don’t rush through the steps.
- Follow Instructions Carefully: Pay close attention to each detail to ensure a successful build.
- Don’t Be Afraid to Ask for Help: If you encounter any challenges, online forums or your local music store can provide guidance.
The Sound of Satisfaction: Your Handcrafted Ukulele
Once your ukulele is strung and tuned, the moment of truth arrives – playing your first chords on an instrument you built with your own hands. The sense of accomplishment is immeasurable.
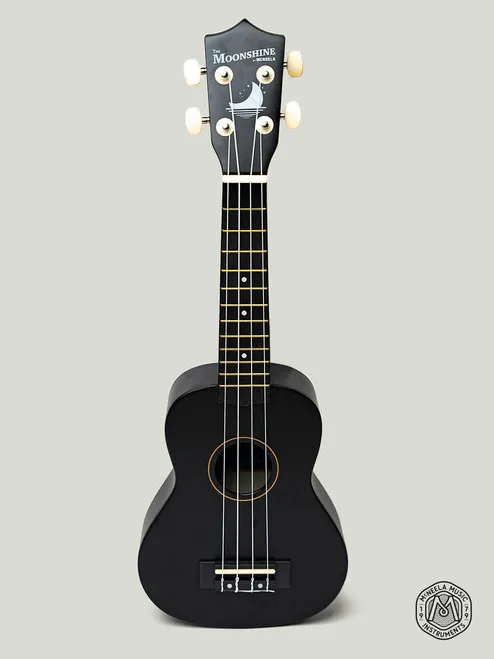
 McNeela Moonshine Soprano Ukulele
More Than Just a Kit: It’s a Journey
Building a ukulele is far more than just assembling a musical instrument; it’s a creative journey of learning, patience, and self-expression. The bond you’ll form with your handcrafted ukulele will be like no other.
Ready to Start Your Ukulele Building Journey?
Robert Kline Art is here to support you every step of the way. Explore our curated selection of DIY ukulele kits and embark on your crafting adventure today! And for those looking to dive into the world of ukulele playing, we have a range of beautiful, ready-to-play ukuleles and instructional books, like “Dick Sheridan Irish Songs for Ukulele”, to get you started on your musical journey.
 Dick Sheridan Irish Songs for Ukulele Book
Don’t forget to share your ukulele building experiences with us! We’d love to see your creations and hear your stories. Happy crafting!
