Blog
Virtual Soap Molding Techniques: Craft Unique Soaps From Home

Have you ever wanted to craft your own beautiful, fragrant soaps? Imagine the satisfaction of using something you created yourself, or gifting a bar of handcrafted soap infused with your personal touch. With virtual soap molding techniques, you can! In this article, we’ll explore the world of melt-and-pour soap making, diving into the materials, techniques, and creative possibilities that await.
What is Melt-and-Pour Soap Making?
Melt-and-pour soap making is a fantastic entry point for aspiring soap artisans. Unlike traditional cold process soap making, which involves handling lye, melt-and-pour utilizes a pre-made soap base. This base, often made with ingredients like shea butter, is simply melted, customized with colors, fragrances, and additives, then poured into molds to set.
The Beauty of Virtual Learning
What makes this experience even better? Learning virtual soap molding techniques offers numerous benefits:
- Convenience: Learn from the comfort of your home. No need to travel!
- Expert Guidance: Benefit from a live, professional instructor who can answer your questions in real-time.
- All-Inclusive Kits: Receive everything you need delivered right to your door. No last-minute runs to the craft store!
 Soap 4.jpg
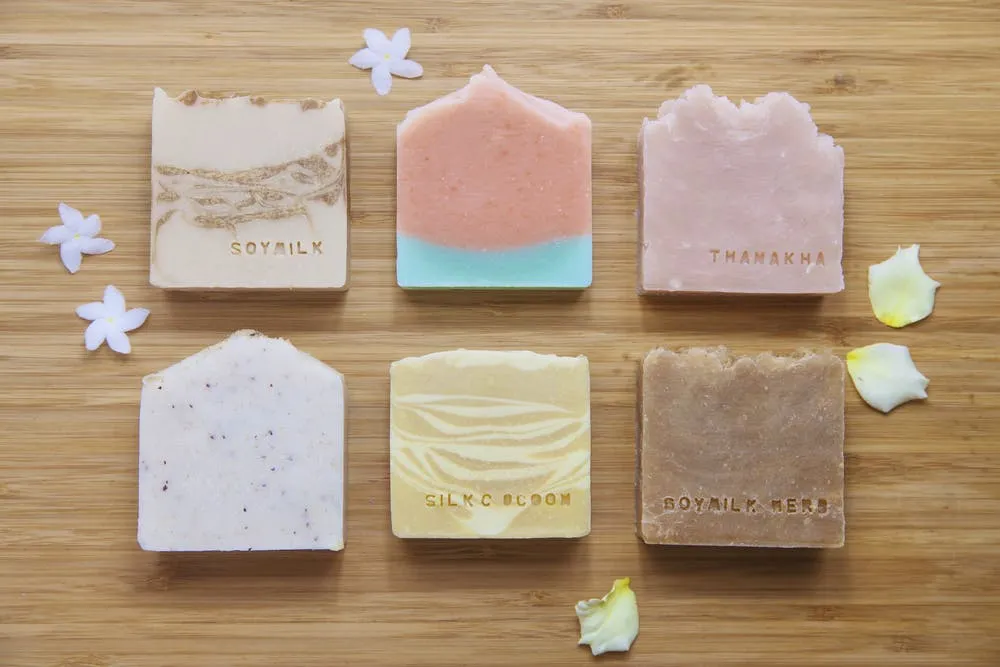
Image: An assortment of colorful, handcrafted soaps
Exploring Virtual Soap Molding Techniques
Ready to begin your soap-making journey? Let’s explore some key techniques:
1. Melting the Base:
The foundation of melt-and-pour soap lies in gently melting the pre-made base. This can be done using a double boiler on the stovetop or a microwave. It’s crucial to avoid overheating, as this can affect the soap’s texture.
“Always melt your soap base in short bursts, stirring gently in between,” advises Susan Miller, a seasoned soap artisan at Robert Kline Art. “This ensures even melting and prevents scorching.”
2. Adding Your Personal Touch:
Once melted, the fun begins! Here’s where your creativity can shine:
- Fragrances: Infuse your soaps with essential oils for aromatherapy benefits or choose from a plethora of synthetic fragrances for delightful scents.
- Colors: Add vibrant hues using soap-safe dyes, micas, or even natural colorants like turmeric or beetroot powder.
- Additives: Incorporate botanicals like dried flowers, oatmeal for exfoliation, or clays for their detoxifying properties.
3. Molding and Setting:
Pour your customized soap mixture into molds. The options are endless, from classic rectangular bars to intricate shapes and designs. Once poured, allow the soap to cool and harden completely.
4. Unmolding and Curing:
Carefully remove your solidified soaps from their molds. For harder bars, allow them to cure in a cool, dry place for a few days. This allows excess moisture to evaporate and results in a longer-lasting bar.
Gifting Your Creations: Spreading the Joy of Handmade
Handcrafted soaps make thoughtful and unique gifts for any occasion. Present them in decorative bags, tie them with twine, and add a personalized label for an extra special touch.
Conclusion
Virtual soap molding techniques offer a gateway into the rewarding world of soap making. With the ease of melt-and-pour and the guidance of online workshops, anyone can create beautiful and fragrant soaps. So why not gather your friends, embrace your creativity, and embark on this exciting crafting adventure?
Ready to explore more unique DIY projects and gifts? Visit Robert Kline Art for inspiration and to discover one-of-a-kind handmade treasures. Share your soap-making journey with us! Leave a comment below and tell us about your experience.
