Blog
Mastering the Art of Slip Casting: A Beginner’s Guide to Creating Ceramic Wonders

Have you ever been captivated by the elegance and intricacy of ceramic pieces? Slip casting offers a fantastic entry point into the world of pottery, allowing both beginners and seasoned artists to craft beautiful, functional, and decorative items. This technique utilizes pre-made molds, making it less intimidating than throwing on a wheel while still yielding impressive results. In this comprehensive guide, we’ll delve into the fascinating process of slip casting, equipping you with the knowledge and confidence to embark on your own ceramic adventures.
What is Slip Casting?
Slip casting is a pottery technique that involves pouring liquid clay, known as slip, into plaster molds. The plaster absorbs excess water from the slip, allowing a solid layer of clay to form against the mold’s inner surface. Once the desired thickness is achieved, the remaining slip is poured out, and the mold is carefully opened to reveal the newly formed piece.
Gathering Your Tools and Materials
Before embarking on your slip casting journey, gather the following essential tools and materials:
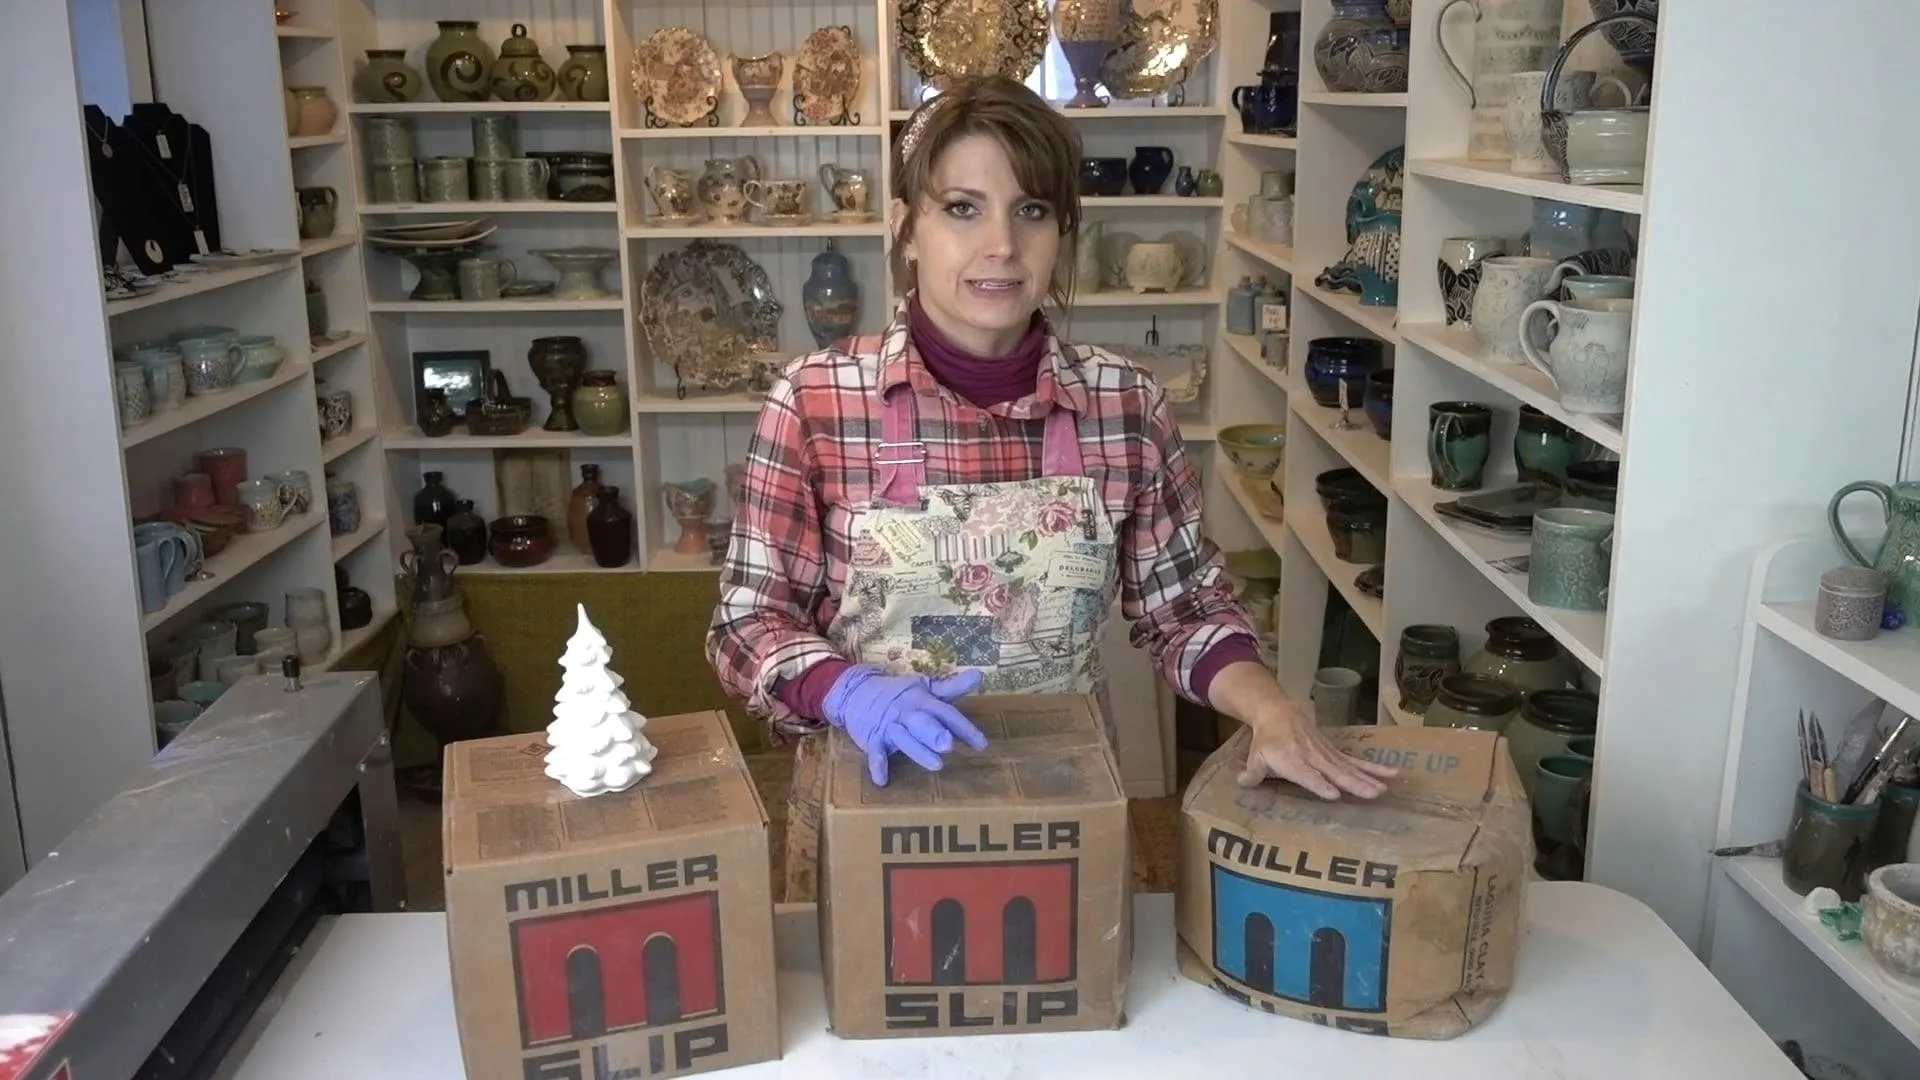
- Clay Slip: The heart of the process, choose a slip that suits your project or create your own.
- Sodium Silicate: Used to adjust the slip’s viscosity, ensuring smooth pouring and optimal results.
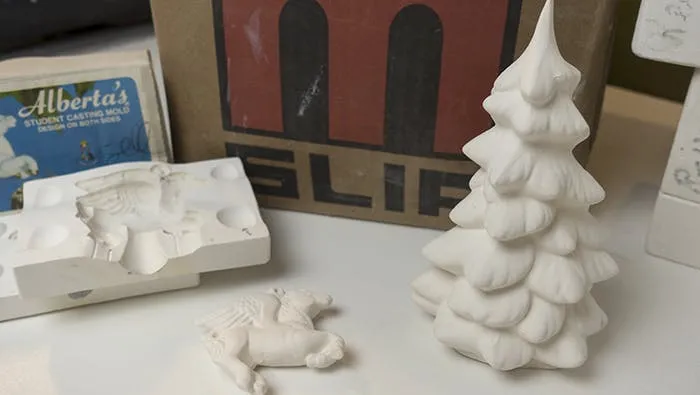
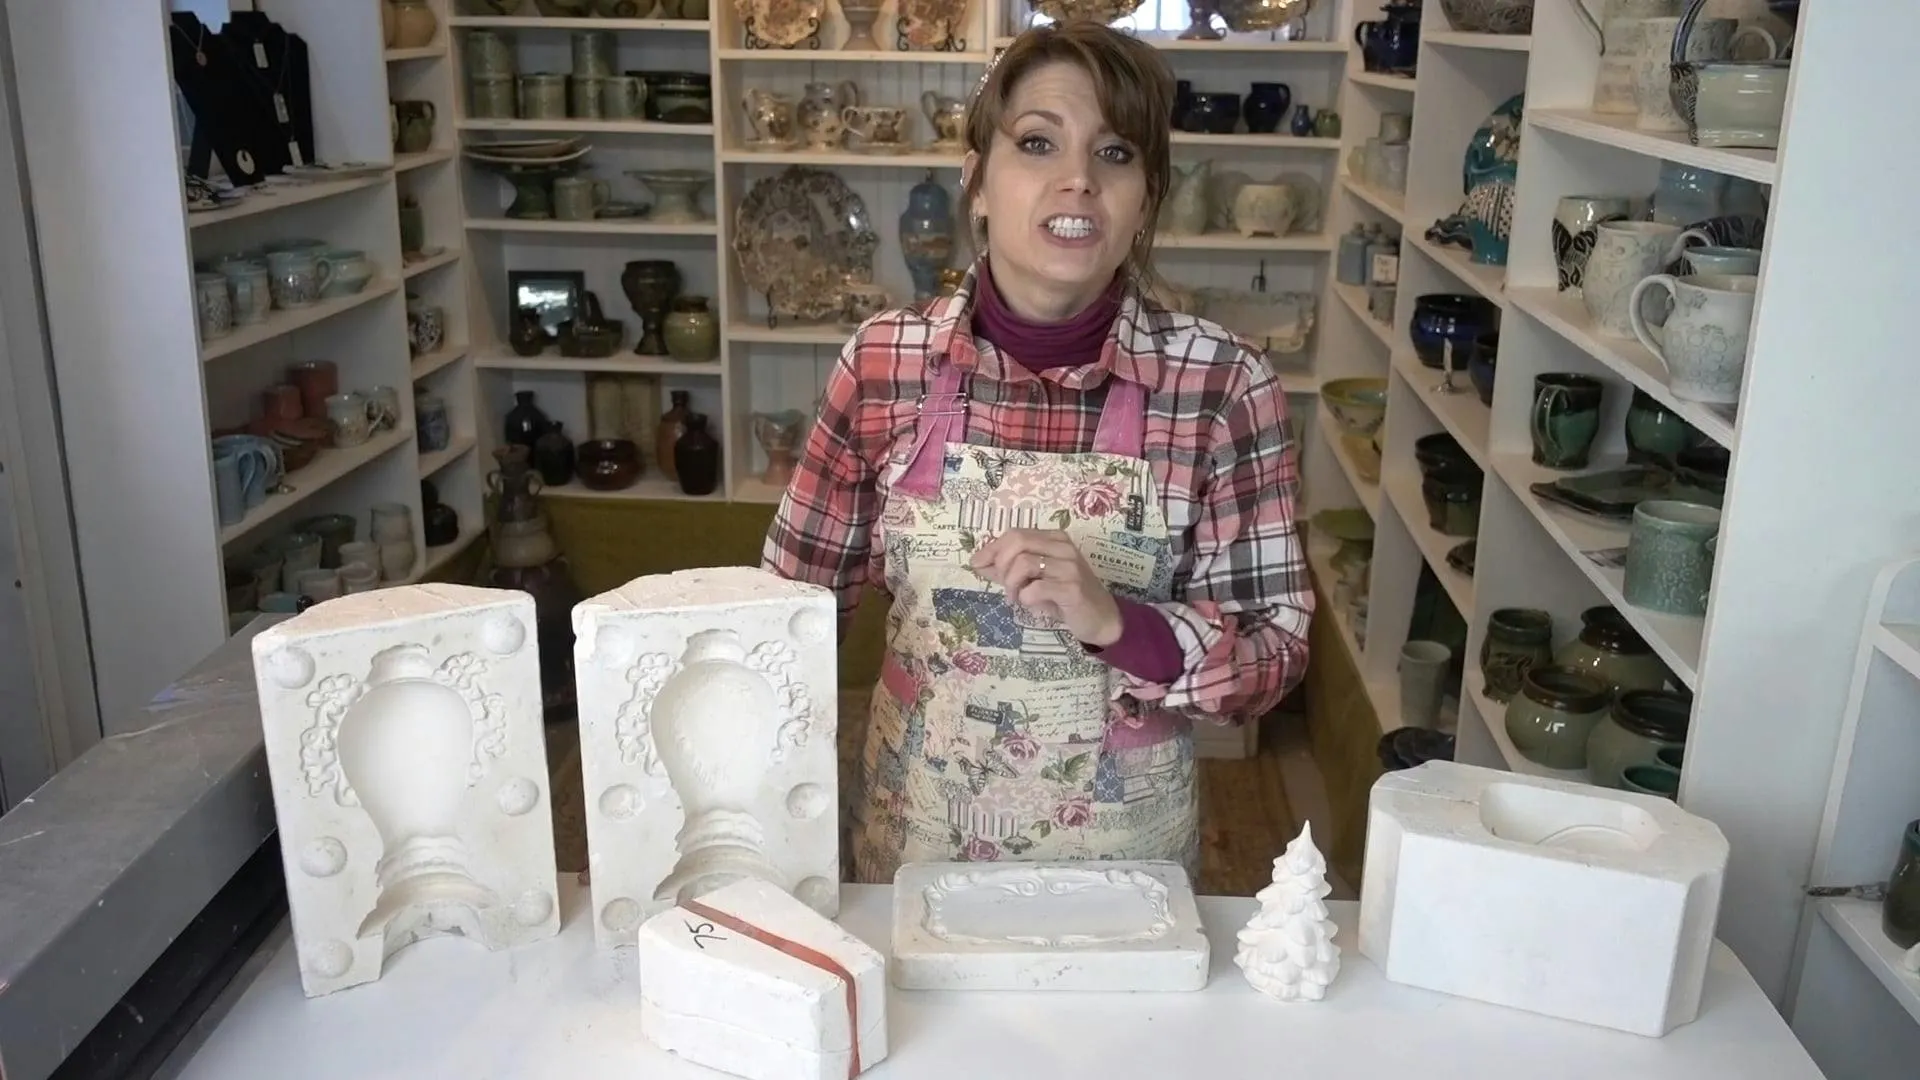
- Ceramic Molds: These determine the shape of your final piece. A variety of pre-made molds are available, or you can create your own.
- Ceramic Mold Rubber Bands: Securely hold the mold halves together during casting.
- Plastic Bucket with Lid (3-5 Gallon Size): Ideal for mixing and storing your slip.
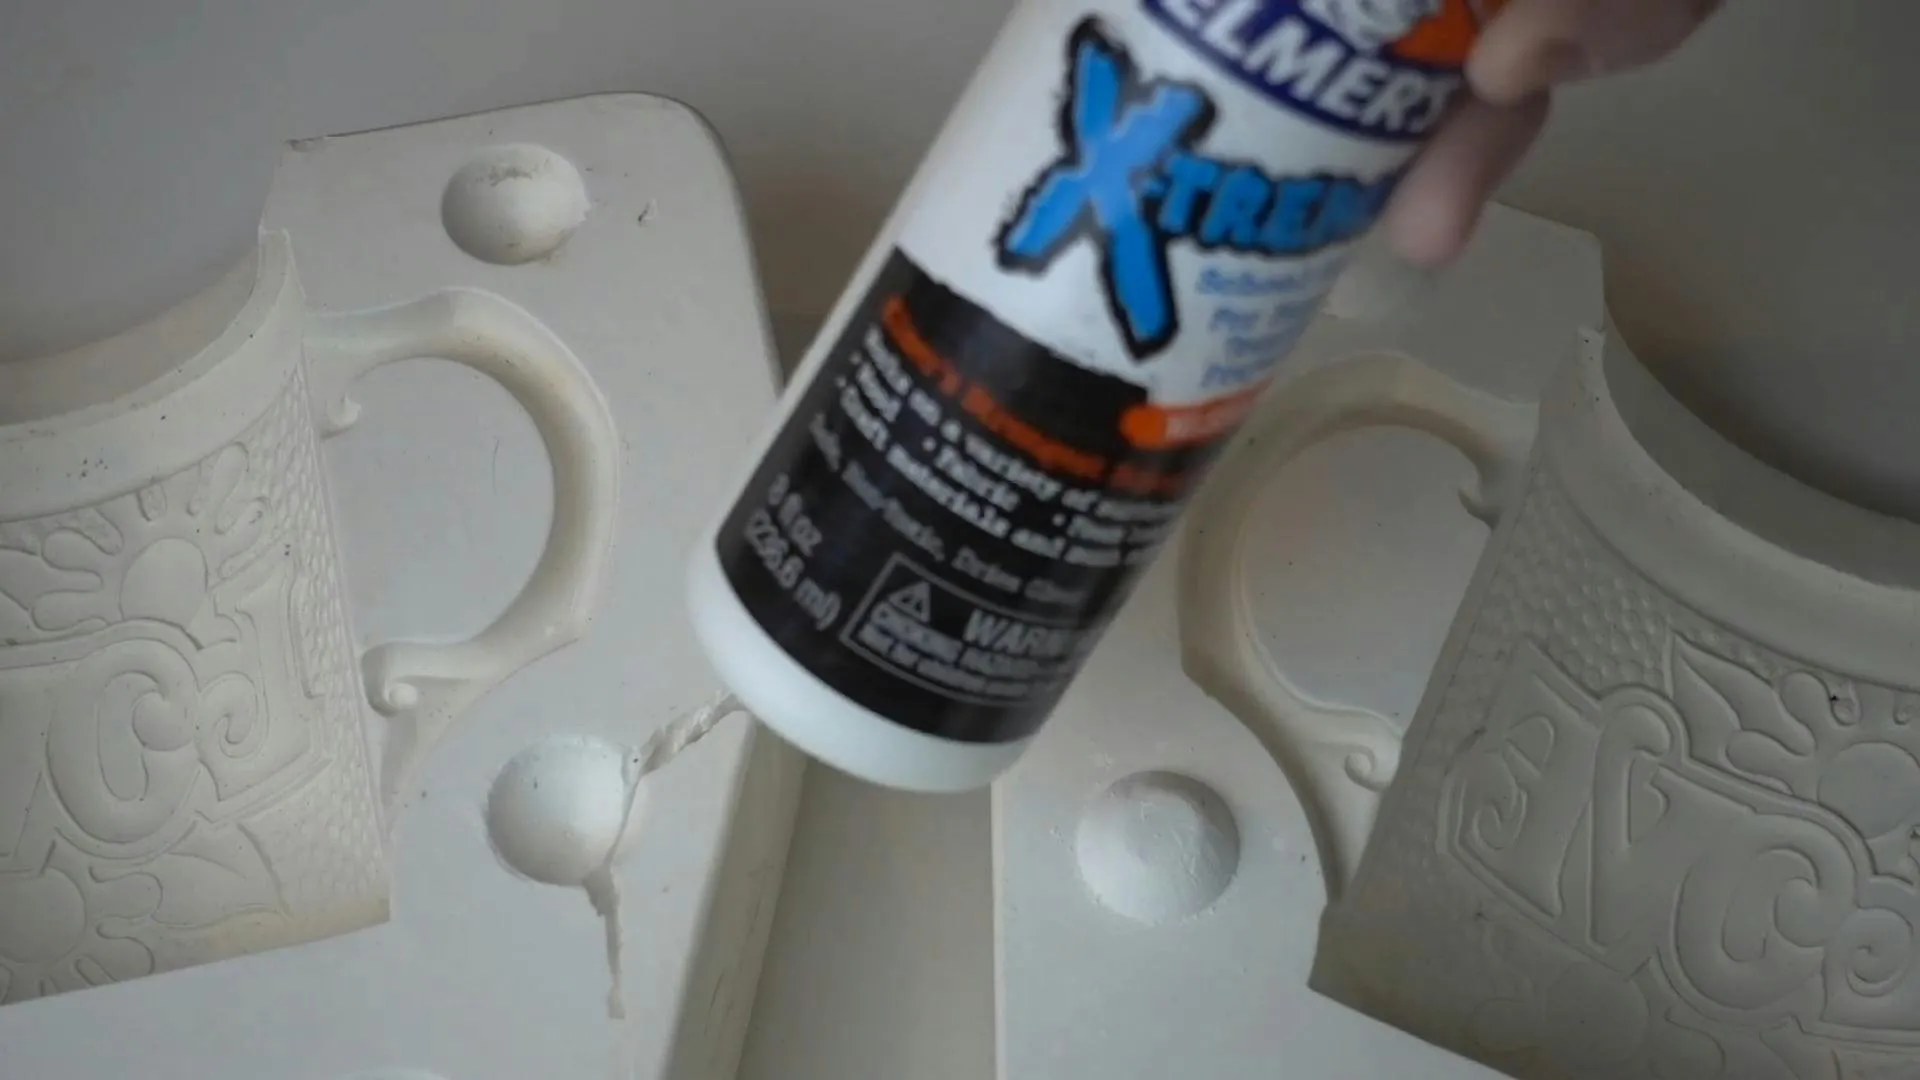
- Elmer’s Glue: Useful for minor mold repairs and sealing.
- Drill with Mixing Attachment: Ensures a homogeneous and well-blended slip.
- Measuring Cup and Tablespoon: Accurate measuring is crucial for achieving the desired slip consistency.
- Water: Used for cleaning and adjusting slip thickness.
 Introduction to Slip Casting
Step-by-Step Guide to Slip Casting
-
Preparing Your Slip:
- If using dry clay, follow the manufacturer’s instructions to mix it with water to the right consistency.
- For pre-mixed slip, check the thickness and add water in small amounts if needed. The ideal consistency should be similar to heavy cream.
- Use your drill with a mixing attachment to eliminate any lumps and ensure a smooth, homogenous slip.
-
Preparing the Mold:
- Inspect your mold for any cracks or imperfections. Repair minor flaws with a dab of Elmer’s glue and allow it to dry completely.
- Secure the mold halves together tightly using ceramic mold rubber bands.
-
Pouring the Slip:
- Gently pour the prepared slip into the mold, ensuring it reaches all areas.
- Allow the slip to sit in the mold for a specific duration, typically 15-30 minutes, or until the desired wall thickness is achieved. The plaster will absorb water from the slip, forming a solid layer against the mold wall.
-
Draining Excess Slip:
- Once the desired wall thickness is attained, carefully pour out the excess slip.
- Turn the mold upside down over a bucket or sink to drain any remaining liquid slip.
 SC01-03
-
Drying and Demolding:
- Allow the cast piece to air dry inside the mold for several hours or until the clay feels leather-hard. The exact drying time will depend on the mold’s size, shape, and environmental conditions.
- Once leather-hard, carefully remove the rubber bands and gently separate the mold halves to release your creation.
-
Finishing Touches:
- Once your piece is out of the mold, use a damp sponge or a sculpting tool to smooth any rough edges or imperfections.
- Allow your piece to dry completely before moving on to the bisque firing stage.
 SC01-05
Tips and Tricks for Successful Slip Casting
- Test Your Slip: Before casting a large batch, experiment with small amounts of slip and different mold drying times to determine the optimal consistency and drying duration.
- Use Deflocculant Sparingly: Sodium silicate, a common deflocculant, can make your slip more fluid but use it cautiously. Too much deflocculant can weaken the clay body.
- Prevent Air Bubbles: Tap the filled mold gently on a flat surface to release any trapped air bubbles, ensuring a smooth finish on your final piece.
 SC01-07
Conclusion
Slip casting opens up a world of creative possibilities, allowing you to craft stunning ceramic pieces with relative ease. By following this comprehensive guide and incorporating the tips provided, you can confidently embark on your pottery journey and create unique, hand-crafted treasures to cherish or share as special gifts. Don’t be afraid to experiment, explore different molds, and let your imagination run wild!
Ready to dive deeper into the world of handmade artistry? Explore a curated collection of one-of-a-kind craft supplies and discover even more ways to unleash your creativity on Robert Kline Art.
