Blog
DIY Wood Burned Serving Spoons: Adding Rustic Charm to Your Kitchen

Here at Robert Kline Art, we believe that even the smallest details can make a big difference. That’s why we’re excited to share this easy and fun tutorial on how to create your own unique and personalized wood burned serving spoons. It’s a simple project that can add a touch of rustic charm to your kitchen, and it makes a thoughtful handmade gift too.
Gathering Your Supplies
You don’t need much to get started with this project. Here’s what you’ll need:
- Wooden Spoons: Choose spoons with a nice smooth surface area on the handle for burning.
- Wood Burning Tool: You can find these at craft stores like Hobby Lobby, often at a discount.
- Pencil: For sketching your design.
- Safety Glasses: Protect your eyes from any flying embers.
Designing Your Masterpiece
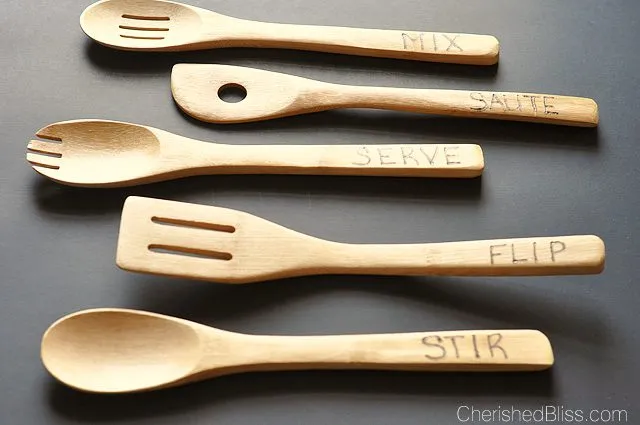
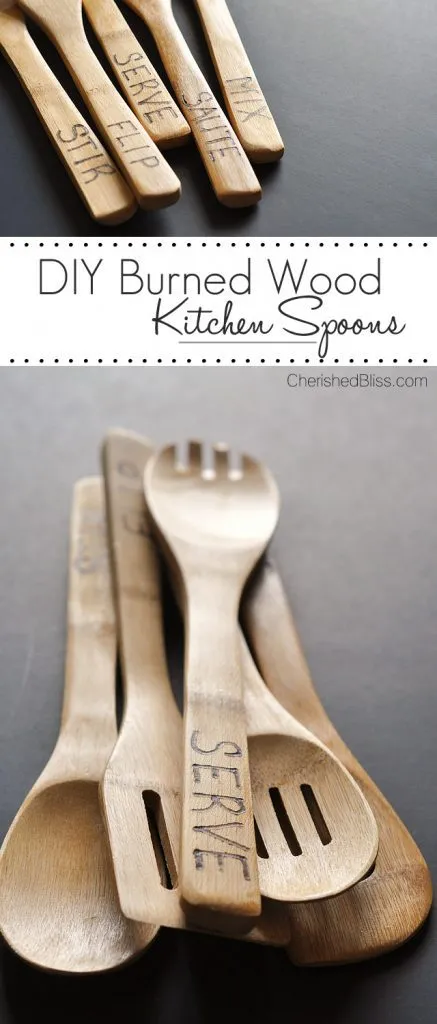
 Add a little something extra to your kitchen with these DIY Wood Burned Spoons
This is where your creativity comes in! Before you start burning, take some time to plan out your designs:
- Sketching: Lightly sketch your desired words or patterns onto the spoon handles with a pencil. This will act as your guide.
- Word Play: Consider words like “stir,” “taste,” “yum,” or the names of your favorite herbs and spices.
- Simple Patterns: If you prefer a more visual approach, try incorporating dots, lines, or simple floral designs.
Bringing Your Vision to Life
 Add a little something extra to your kitchen with these DIY Wood Burned Spoons
With your designs ready, it’s time to fire up the wood burning tool.
- Safety First: Always follow the manufacturer’s instructions for your specific wood burning tool. Remember, it gets very hot, so handle it with care!
- Tracing Your Design: Gently trace over your pencil markings with the wood burning tool. Take your time and let the heat do the work.
- Building Depth: For a more dimensional look, vary the pressure and duration of the burn. Lighter pressure creates a lighter shade, while longer burns create darker lines.
- Finishing Touches: Once you’re happy with the burn, let the spoons cool completely. You can choose to leave them natural or apply a food-safe finish for added protection.
Rustic Charm at Your Fingertips
 Create these fun DIY Tea Towels with this simple tutorial! via cherishedbliss.com
And there you have it! Your very own set of wood burned serving spoons, ready to add a touch of rustic charm to your kitchen.
“I love how these spoons turned out!” says Emily S., a wood burning enthusiast. “They’re so unique and personal. I’m planning to make a set for my sister as a housewarming gift.”
We couldn’t agree more, Emily! These spoons are not only beautiful but also incredibly satisfying to create. It’s a craft that allows you to unleash your creativity and personalize a functional kitchen item.
Why not give it a try? We’d love to see your creations! Share your finished spoons with us in the comments below, or tag us on social media.
And if you’re looking for more handmade gift ideas and inspiration, be sure to explore the unique selection of crafts and DIY projects here at Robert Kline Art. We have something for everyone!
