Blog
DIY String Art Gifts: The Perfect Handmade Holiday Surprise
Hey there, art enthusiasts! Robert Kline here, your guide to all things handcrafted. As the holidays approach, we often find ourselves searching for that perfect, unique gift that truly comes from the heart. This year, skip the crowded stores and ignite your creative spirit with DIY string art gifts. Trust me, these handcrafted masterpieces are easier than they look and add a personal touch that store-bought presents just can’t match.
Why String Art Makes the Best Gifts
Before we dive into the how-to, let’s talk about why string art is a fantastic choice for gifting.
- Uniquely Personal: Every piece is one-of-a-kind, reflecting your personal style and the interests of the recipient.
- Visually Stunning: The interplay of string and nails creates intricate designs that look incredibly sophisticated, impressing even the most discerning art enthusiast.
- Budget-Friendly: You can create beautiful string art without breaking the bank, especially if you already have some basic tools.
Gathering Your String Art Supplies
You have two options when it comes to string art: take the easy route with a kit, or embrace the creative freedom of making it from scratch.
Option 1: The String Art Kit
For those who prefer convenience, string art kits offer everything you need in one package.
Materials:
- String Art Kit (includes pre-designed board, nails, string, and instructions)
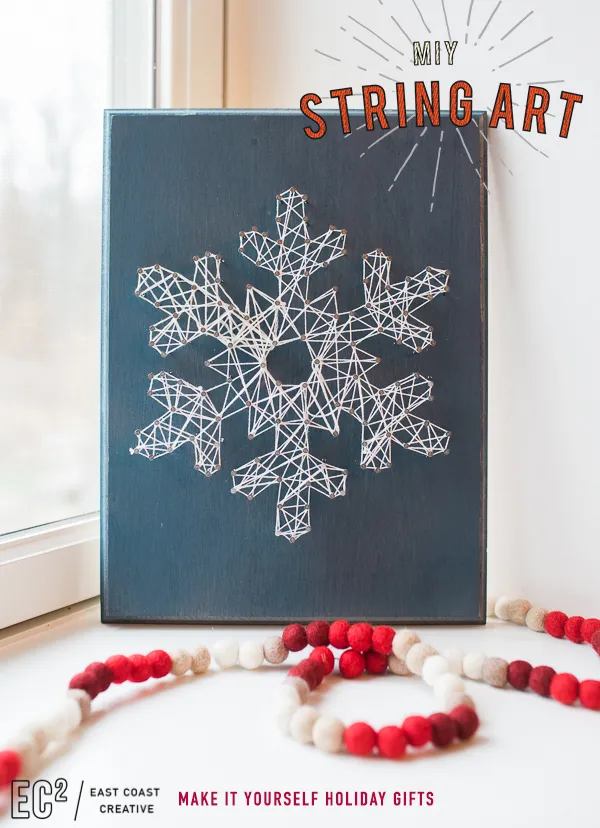
 snowflake_stringart
A completed snowflake string art project made using a kit.
Option 2: The DIY Approach
Want to unleash your inner artist? Creating string art from scratch opens up a world of design possibilities.
Materials:
- Wood Board: Choose the size and shape that best suits your design.
- Nails: Small, evenly sized nails work best.
- Embroidery Floss: This provides vibrant color and a beautiful sheen.
- Scissors
- Hammer
- Optional: Spray paint to add a pop of color to your board.
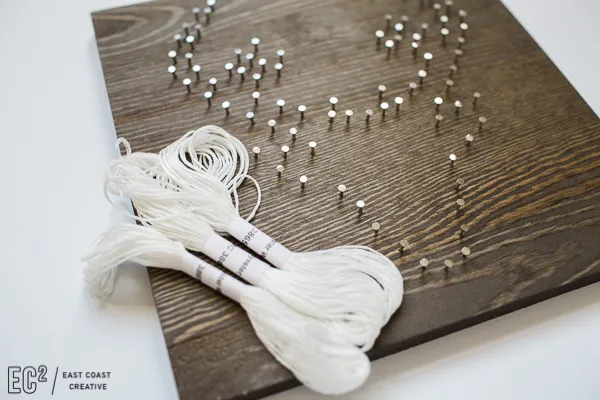 String Art Holiday Gifts 2
Gather your materials for a personalized string art project.
Expert Tip: “For beginners, I recommend starting with a simple design and lighter colored embroidery floss. This will make it easier to see your progress and make any necessary adjustments,” says Sarah Thompson, a renowned DIY and crafts expert.
Crafting Your String Art Masterpiece: A Step-by-Step Guide
String Art with a Kit:
- Unbox and Unwind: Your kit will likely have the design pre-made on the board. Familiarize yourself with the pattern and prepare your string.
- Knot and Weave: Tie a secure knot around your starting nail. Begin weaving the string around the nails, following the outline of the design.
- Create Your Pattern: Continue weaving, moving across the design, filling in spaces, and creating your desired pattern.
- Secure and Snip: Once you’re happy with the look, tie a knot onto a nail to secure the end of the string and trim any excess.
String Art from Scratch:
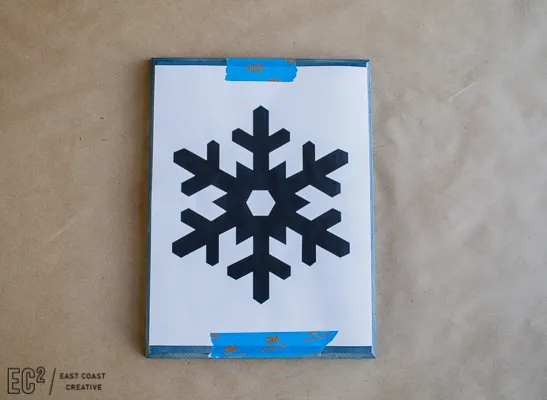
- Design and Print: Find a design you love online or create your own. Print it out to use as a guide.
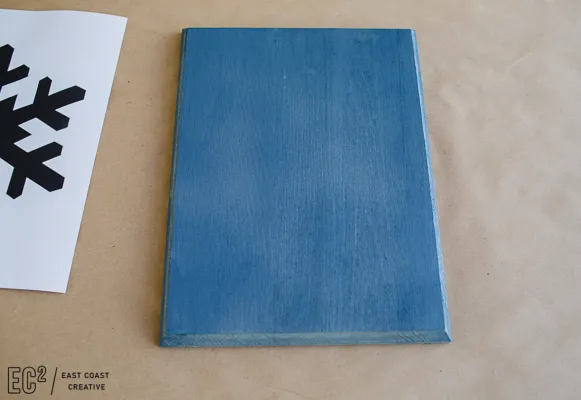
- Prepare Your Board (Optional): If you’d like to add a background color, now’s the time to spray paint your wood board. Allow it to dry completely.
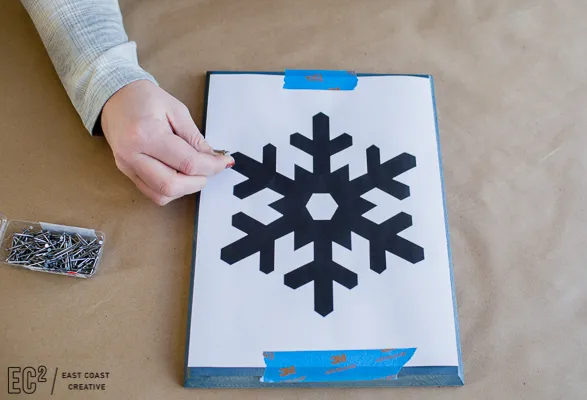
- Place Your Nails: Securely tape your printed design onto your board. Carefully hammer nails along the outline of your design.
- Tear Away the Guide: Once all the nails are in place, gently remove the paper guide.
- Outline and Weave: Just like with the kit, tie a knot on your starting nail and begin outlining your design. Then, fill in the spaces with creative string weaving patterns.
- Finishing Touches: Secure the final string end with a knot and trim any loose ends.
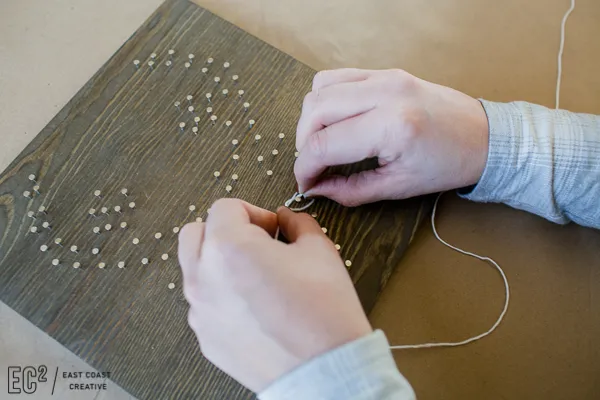 nailart-1
Hammer nails along the outline of your design to create the base for your string art.
 nailart-2
Continue hammering nails, ensuring they are secure and evenly spaced.
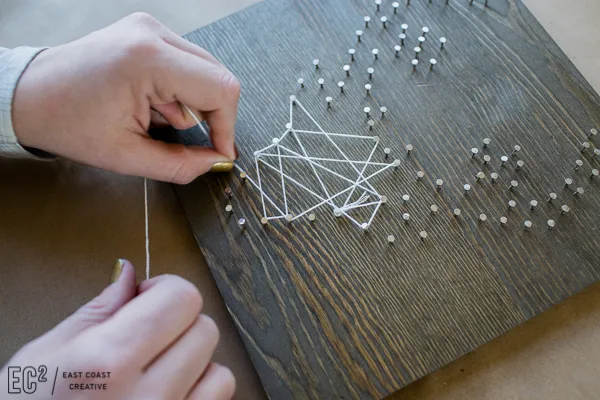 nailart-3
Once the nails are in place, carefully remove the paper template.
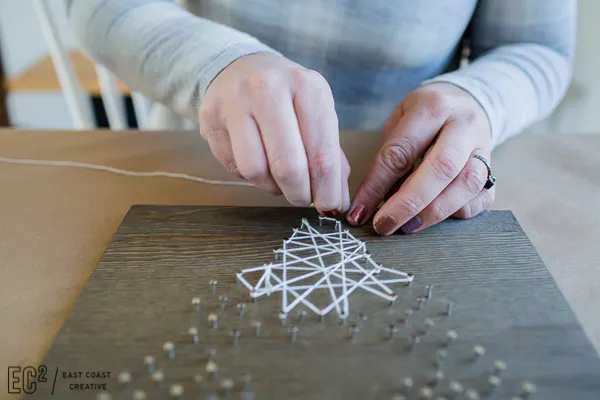 nailart-4
Tie a knot around one nail to secure the starting point of your string.
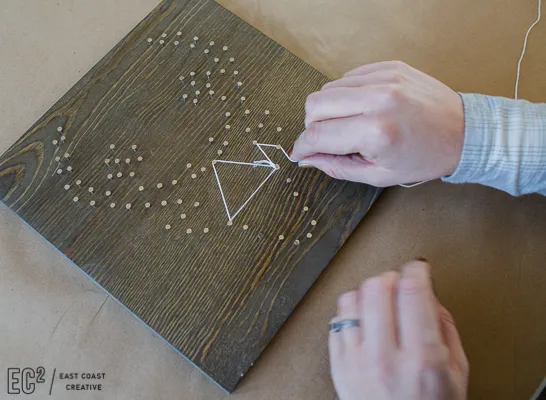
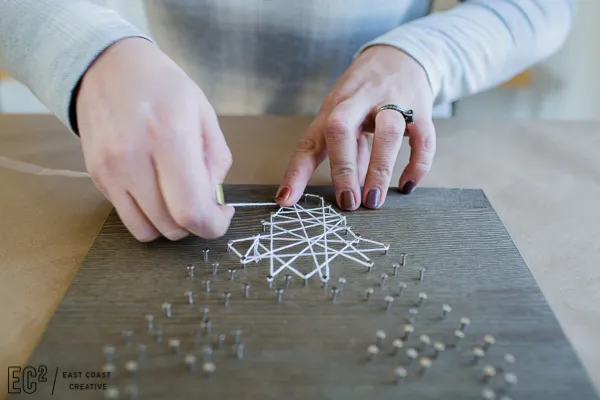 nailart-5
Start weaving your string around the nails, following your chosen pattern.
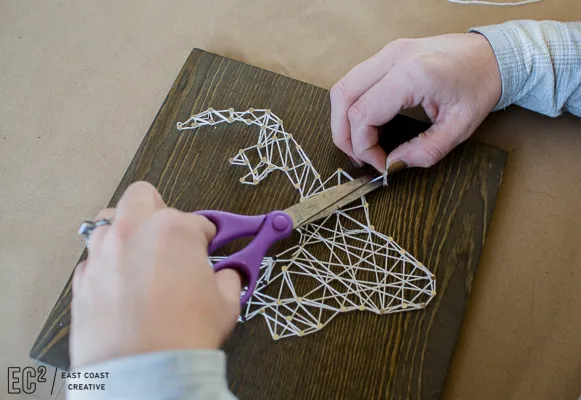 nailart-6
Continue weaving, gradually building up the design and experimenting with different patterns.
 nailart-8
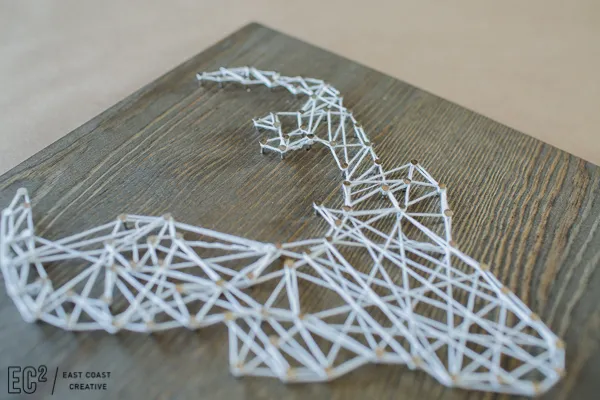
Don’t be afraid to get creative with your string art, adding personal touches and experimenting with colors.
 nailart-9
As you weave, ensure the string is pulled taut to create clean lines and a professional finish.
 nailart-10
You can create intricate details and patterns by weaving the string more densely in certain areas.
 nailart-11
Step back and admire your progress as you bring your string art design to life.
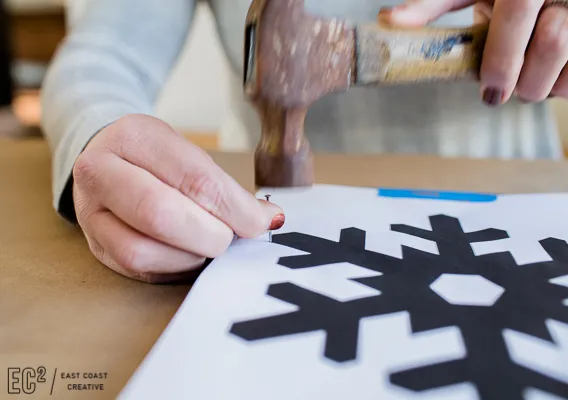 nailart-12
Once you’re satisfied with the overall design, tie off the string securely at the back.
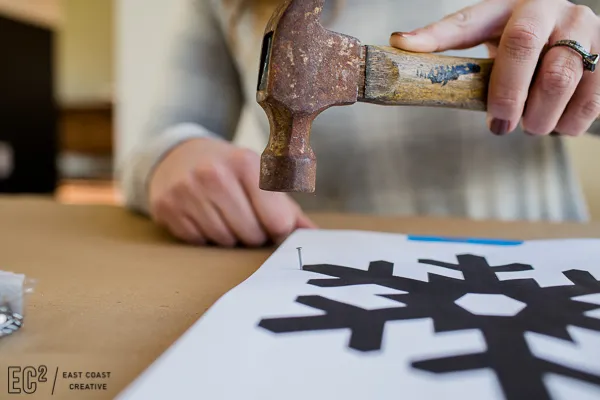 nailart-13
Trim any excess string to create a neat and polished final product.
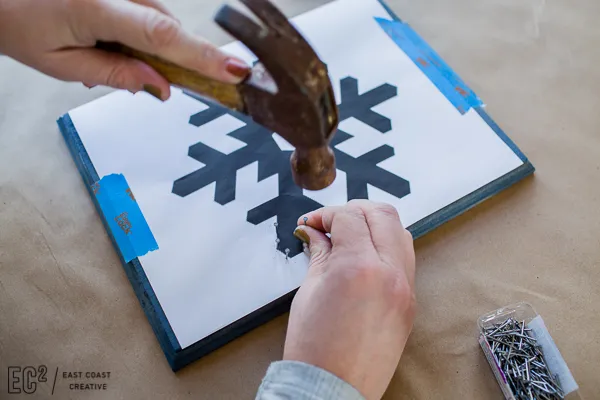 nailart-14
Your completed string art piece is ready to be displayed or given as a heartfelt gift.
String Art Design Inspiration:
- Holiday Cheer: Snowflakes, reindeer, ornaments, festive words (like “JOY” or “Noel”).
- Nature Lovers: Trees, flowers, animals, mountain ranges, or constellations.
- Personalized Touches: Initials, meaningful dates, favorite quotes, or silhouettes of beloved pets.
 MIY_crafts_collage
Explore a variety of string art designs and unleash your creativity.
Conclusion
There you have it! With a bit of patience and a touch of creativity, you can create stunning string art gifts that will be cherished for years to come.
Ready to give it a try? Head over to Robert Kline Art for more inspiring DIY project ideas and explore our collection of handcrafted gifts for even more unique finds!
Don’t forget to share your string art creations with us in the comments below! We’d love to see what you make!
