Blog
Unique Resin Jewelry Gift Ideas: Turn Gift Wrap into Stunning Jewelry

As artists and crafters, we at Robert Kline Art love finding creative ways to upcycle everyday materials, especially during the festive season. This year, let’s explore how to transform beautiful gift wrap scraps into unique and stunning resin jewelry. Imagine the delight of your loved ones when they receive personalized gifts that preserve the spirit of Christmas long after the holidays are over. This technique allows you to carry a little piece of art with you always!
Gathering Your Materials
Before you embark on this creative journey, gather your materials:
- Wood cutouts (teardrop, oval, or any shapes you prefer)
- Leftover gift wrap scraps (buffalo plaid, floral, geometric – the possibilities are endless!)
- Alumilite Amazing Clear Cast Epoxy or similar resin
- Measuring cups and stir sticks
- Ultra Seal Multi-Purpose Sealer or Amazing Sealer (or any clear drying craft glue)
- Gloves
- Paper towels
- Sharp scissors
- Acrylic paint (in a coordinating color)
- Fine tip paintbrush
- Earring posts and pendant bails
- Jewelry and bead glue
- Drill with a small drill bit
Creating Your Resin Jewelry Masterpieces
Preparing the Wood Shapes
- Choose Your Shapes: Select the wood cutouts that speak to your design aesthetic. Teardrops and ovals work beautifully for both earrings and pendants.
- Add a Touch of Color: For a polished look, paint the edges of your wood cutouts with acrylic paint. Black offers a classic contrast, while red and green evoke the holiday spirit. Let the paint dry completely.
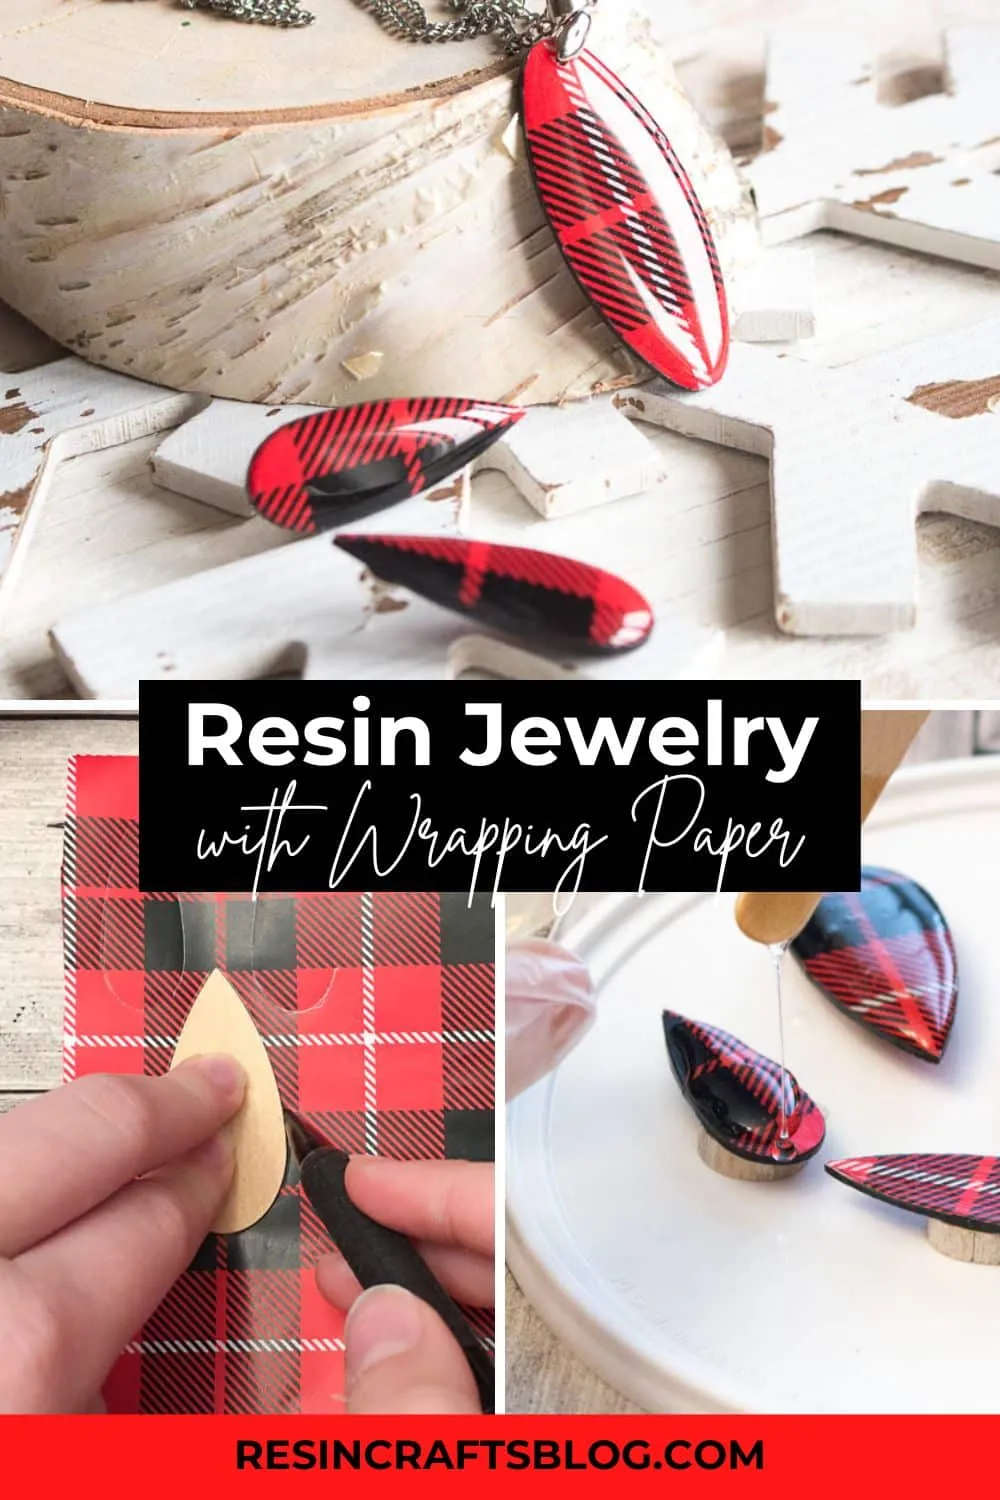
- Trace and Cut Your Gift Wrap: Place your chosen wood shape onto the gift wrap and trace its outline. Experiment with different sections of the pattern to find the most visually appealing composition. Carefully cut out the traced shapes using sharp scissors to prevent tearing.
- Adhere the Gift Wrap: Apply a thin, even layer of water-based glue/sealer to the wood cutout and gently press the cut-out gift wrap onto it. Smooth out any air bubbles. Repeat this process for the other side and allow it to dry completely.
- Trim and Perfect: Once the glue is dry, use sharp scissors to trim any excess gift wrap as close to the edge of the wood as possible. If any white edges peek through, carefully touch them up with your coordinating acrylic paint.
Pouring the Resin
- Safety First: Work in a well-ventilated area and wear gloves to protect your skin. Before you begin, carefully read and follow the manufacturer’s instructions on your resin product.
- Prepare Your Workspace: Elevate your prepared wood cutouts on a level surface using cups or a baking rack. This prevents the resin from spilling over the sides and adhering to your work surface.
- Mix the Resin: In a clean measuring cup, combine equal amounts of resin and hardener. The exact amount will depend on the size and number of pieces you’re creating. For small jewelry pieces, 10 ml of each component is a good starting point.
- Stir Carefully: Stir the resin and hardener together continuously for the amount of time specified by the manufacturer, typically 2-3 minutes. Scrape the sides and bottom of the cup to ensure a thorough and even mixture.
- Pour with Precision: Using your stir stick, carefully pour small amounts of the resin mixture onto the center of each prepared wood cutout. Aim for a gentle dome shape, avoiding overflow. Don’t worry if a few spills occur—you can sand them down later.
- Cure with Patience: Cover your resin-coated pieces with a dust cover and allow them to cure overnight, or as directed by the resin manufacturer’s instructions. For a soft cure, wait 24 hours. For fully cured and durable jewelry, allow 72 hours.
- Repeat and Assemble: Once the first layer of resin is completely cured, carefully flip your pieces over and repeat the resin pouring process on the other side. After the second layer has cured, attach your earring posts or pendant bails using jewelry glue. For pendants, drill a small hole near the top of the wood cutout before attaching the bail.
Showcasing Your Creations
 DIY Resin Jewelry made with Gift Wrap via @resincraftsblog
Beautiful resin jewelry made using leftover gift wrap scraps
 how to make resin jewelry with gift wrap
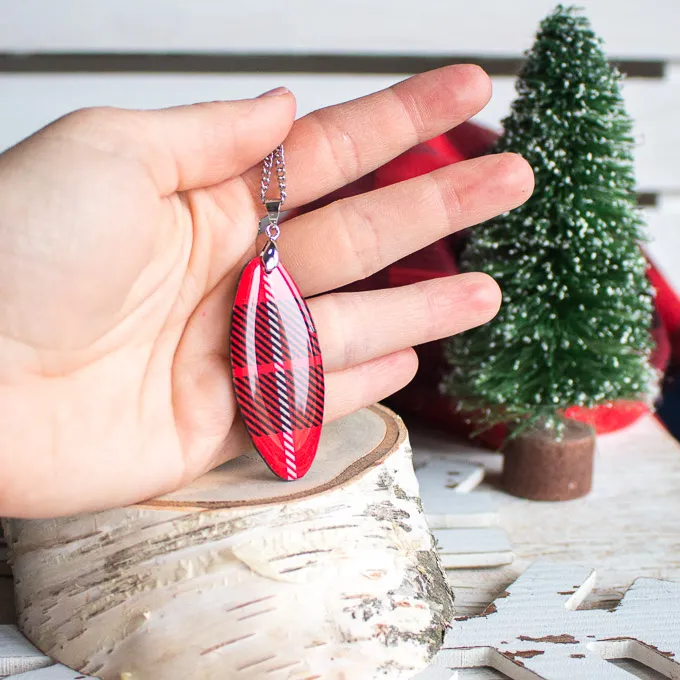
A close-up of the intricate patterns achieved using gift wrap
 how to make resin jewelry with gift wrap
Showcase the unique patterns of different gift wraps in your jewelry
Congratulations! You’ve transformed simple materials into exquisite, wearable art. These unique resin jewelry pieces make thoughtful gifts for friends and family or become cherished additions to your own jewelry collection.
Explore More Creative Possibilities with Robert Kline Art
This technique isn’t limited to gift wrap. Experiment with decorative napkins, scrapbook paper, dried flowers, or even snippets of fabric. Let your imagination run wild and see what other treasures you can encase in resin.
At Robert Kline Art, we’re passionate about empowering you to unleash your creativity and explore the boundless world of handmade crafts. We believe that the most meaningful gifts come from the heart and are imbued with the personal touch of the maker.
Visit our website to discover more inspiring DIY projects, unique crafting supplies, and exclusive handmade gifts for every occasion.
