Blog
Unleash Your Creativity with Unique Paper Weaving Art Ideas

Hey there, fellow art enthusiasts! Robert Kline here, and today we’re diving into the captivating world of paper weaving. Remember those childhood days spent meticulously interlacing colorful strips? We’re bringing those memories back, adding a dash of artistry, and exploring the endless creative possibilities of paper weaving.
Rediscovering a Classic: The Beauty of Paper Weaving
Paper weaving is more than just a nostalgic craft; it’s a gateway to understanding weaving structures and design principles that translate even to traditional handweaving. From simple plain weave variations to intricate multi-shaft designs, the world of paper weaving is brimming with potential.
Gathering Your Tools: Simple Supplies for Stunning Results
Ready to begin? You’ll need:
- Paper: Think flexible yet sturdy – copy paper, cardstock, scrapbooking paper, magazines, even printed photos!
- Cutting Tools: Sharp scissors, a ruler, and a pencil are essential. A craft knife and cutting mat are bonus!
- Adhesives: Cellophane tape or painter’s tape to secure your work, and glue sticks or PVA glue for a finished look.
Mastering the Basics: Plain Weave and Beyond
Let’s start with the fundamental plain weave:
- Create the Warp: On your chosen paper, draw a margin line an inch from the top edge and cut strips from the bottom edge up to this line.
- Prepare the Weft: Cut contrasting paper strips slightly wider than your warp.
- Weaving Magic: Weave the weft strips over and under the warp, alternating the pattern with each row.
Pro Tip: Secure the top edge of your warp to your work surface with tape to prevent shifting!
Variations on a Theme: Adding Flair to Plain Weave
- Width Variation: Experiment with different widths for your warp and weft strips for a dynamic look.
- Cutouts and Embellishments: Create visual interest by incorporating cutouts, shapes, or even decorative punches.
- Curved Warps: Ditch the straight lines and introduce curves or zigzags to your warp strips for an eye-catching twist.
Exploring Color and Design: A World of Possibilities
Unleash your inner artist by:
- Contrasting Colors: Combine different colored warp and weft strips to create striking patterns.
- Printed Papers: Elevate your weaving with decorative papers, magazine cutouts, or even printed photos.
- Strategic Shaping: Cut and shape your warp strips to highlight specific designs or images within the paper.
 " /> </p> <p class=
Beyond the Basics: Exploring Twills and Complex Weaves
Ready to level up? Paper weaving allows you to explore intricate weave structures:
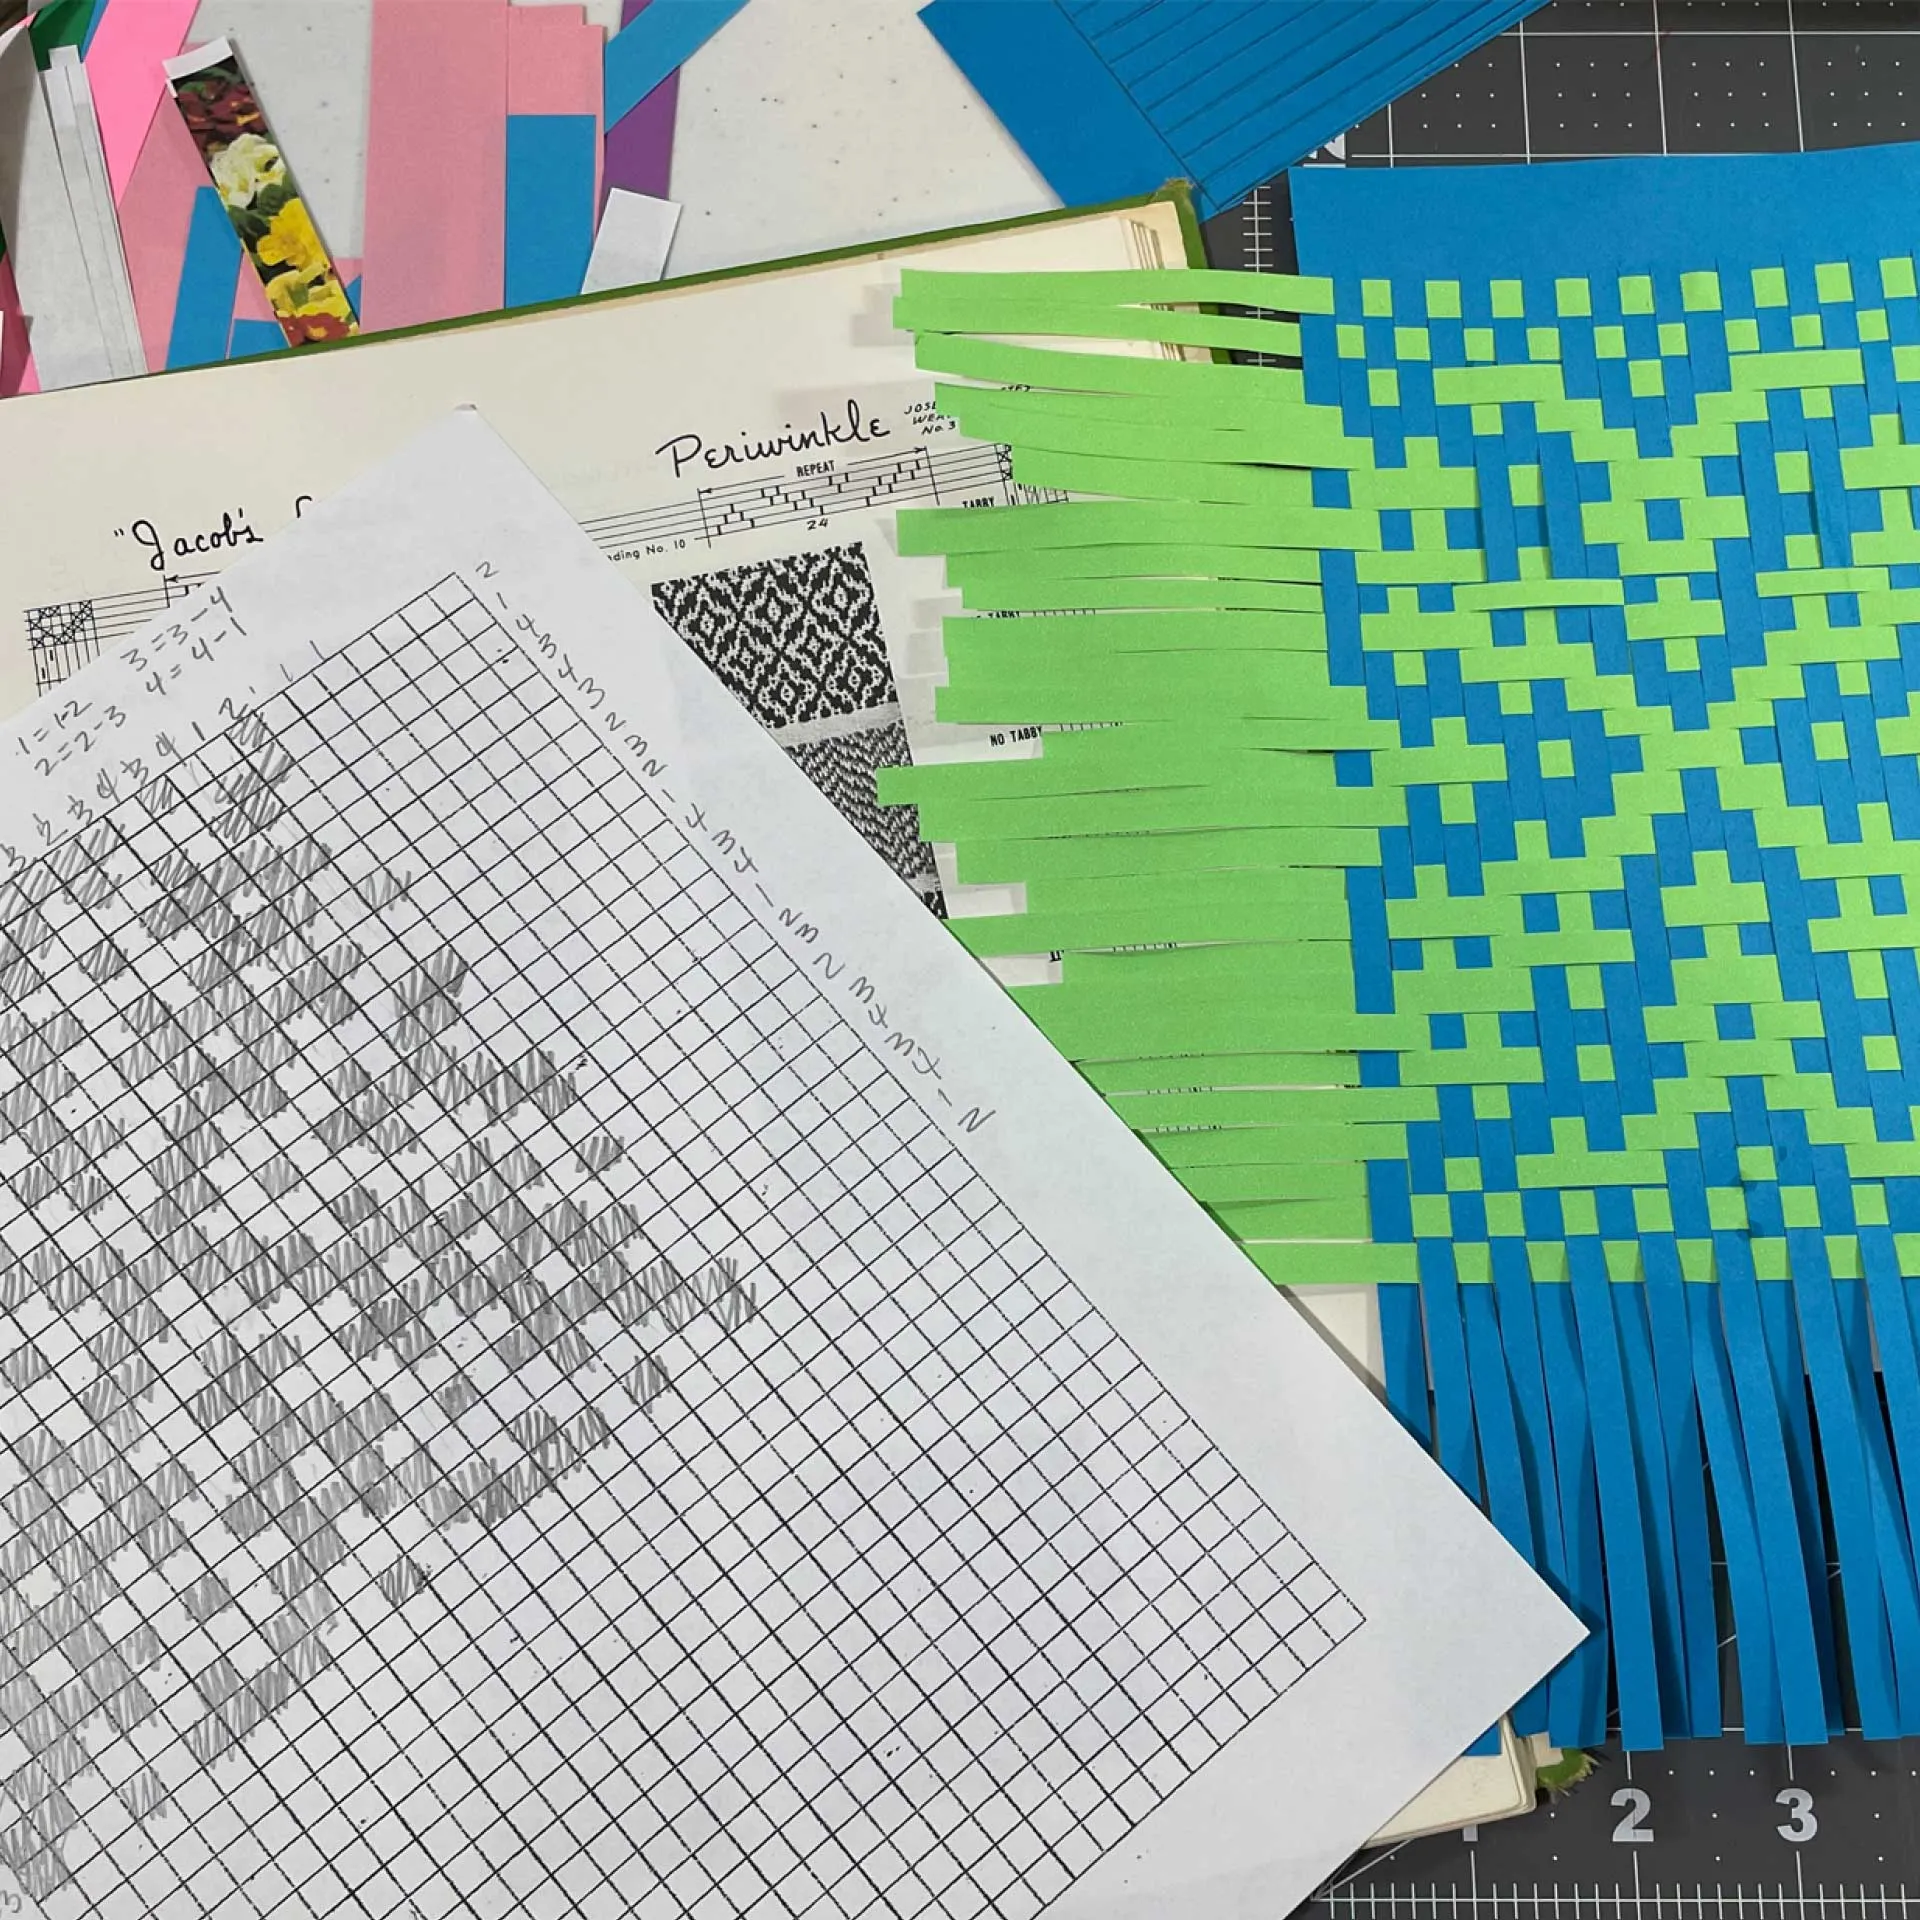
- Numbered Warps: Instead of traditional loom heddles, number your warp strips to mimic threading sequences.
- Twill Variations: Create stunning twill patterns like 1/3, 2/2, or 3/1 by manipulating the lifting sequence of your numbered warps.
- Multi-Shaft Explorations: Don’t be afraid to experiment with weave structures that simulate multiple shafts, such as an eight-shaft twill.
 " /> </p> <p class=
From Paper to Inspiration: The Enduring Appeal of Paper Weaving
“Paper weaving offers a tangible way to understand complex weaving structures,” says renowned textile artist Emily Carter. “It’s a playground for experimentation and a wellspring of inspiration.”
 " /> </p> <p class=
Join the Movement: Share Your Paper Weaving Creations!
So, there you have it – a glimpse into the captivating world of paper weaving. It’s a journey of rediscovering a childhood craft and pushing the boundaries of creativity.
Ready to weave your own paper masterpieces? Share your creations with us at Robert Kline Art – we can’t wait to see what you make! And don’t forget to explore our collection of unique handmade gifts for the art lover in your life.
 " /> </p> <p class=
