Blog
How to Embroider Tea Towels: A Modern Take on a Classic

Hey there, fellow craft enthusiasts! Robert Kline, your friendly neighborhood art aficionado here. Remember those charming, hand-stitched tea towels grandma used to have? Turns out, they’re making a comeback, and I’m here to guide you on how to create your own modern versions.
A Blast From the Past: Embroidered Tea Towels
Growing up, I was captivated by my great grandmother’s collection of embroidered tea towels. Each day of the week had its own unique design, a testament to her skill and creativity. Inspired by her legacy, I decided to try my hand at this timeless craft and add a touch of handmade charm to my own kitchen.
Tackling the Challenge: Keeping It Neat
One question I often encounter in the embroidery community is how to embroider tea towels with a presentable back. It’s a valid concern, as both sides are often visible. Fear not, fellow stitchers, I’ve got you covered!
Gathering Your Supplies: Let’s Get Started
Before we delve into the nitty-gritty, let’s gather our tools. For this project, you’ll need:
- Tea Towels: Opt for high-quality, light-colored towels for optimal stitching and vibrant color payoff.
- Embroidery Pattern: Choose a pattern that speaks to your style. Remember, intricate dimensional stitches, while beautiful, may not hold up well to frequent washing. Geometric patterns or simple floral motifs are excellent choices.
- Embroidery Floss: Select colors that complement your chosen pattern and towel color.
- Embroidery Hoop: This keeps your fabric taut for even stitching.
- Transfer Supplies: Use your preferred method, such as transfer paper or a water-soluble pen.
Embroidering Your Masterpiece: Step-by-Step
-
Preparation is Key: Pre-wash and iron your tea towels to prevent shrinkage and ensure a smooth stitching surface.
-
Transfer Your Design: Carefully transfer your chosen embroidery pattern onto your tea towel using your preferred method.
-
The Art of Neatness: To achieve a polished look on both sides, minimize knots. There are several techniques, such as the loop start and the away knot, which are demonstrated in the video below.
[Embed Video: Demonstrating knotless embroidery techniques]
-
Strategic Stitching: Aim to keep most of the thread on the back of the fabric concealed by the stitches on the front. This minimizes long thread carries and creates a neater appearance.
-
Finishing Touches: Once you’ve completed your embroidery, secure the thread ends discreetly. A gentle wash and iron will remove any visible transfer markings.
Showcasing Your Handiwork: A Modern Twist
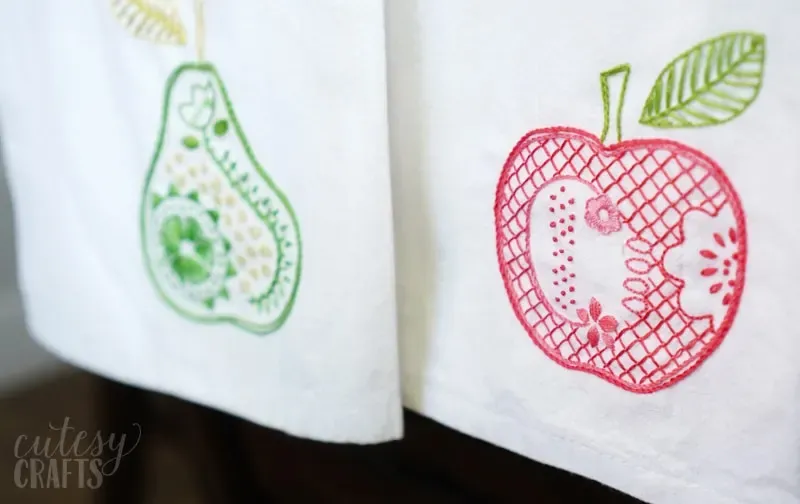
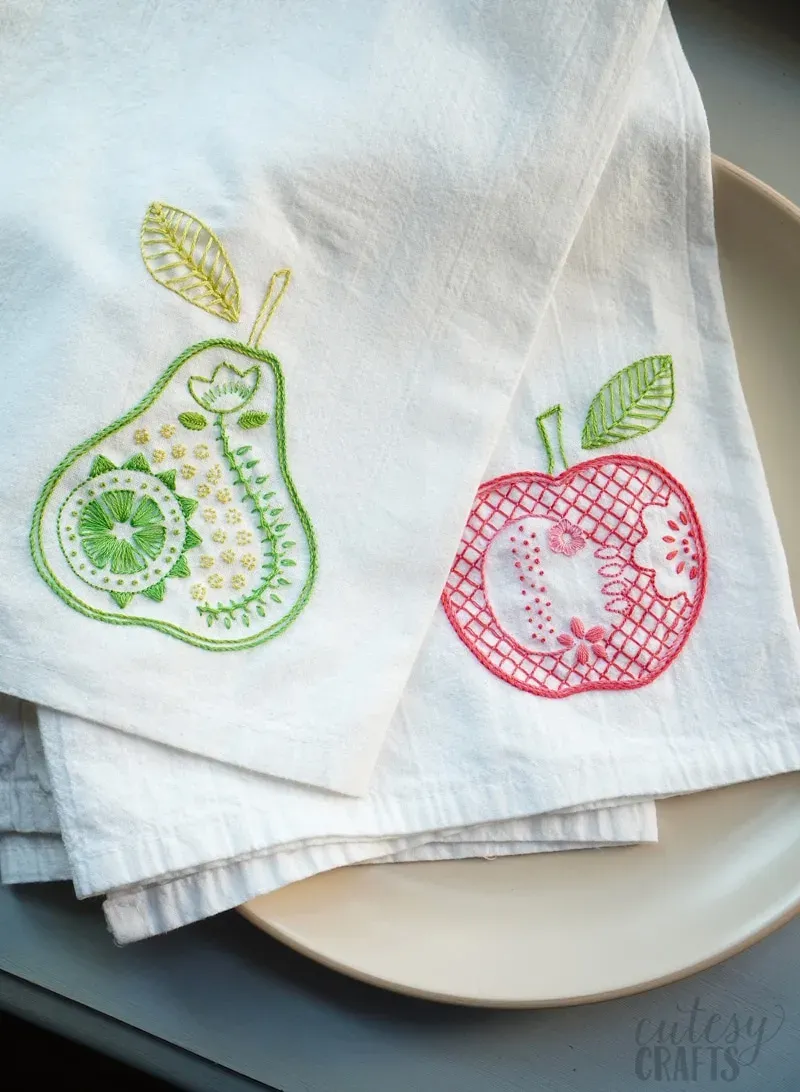
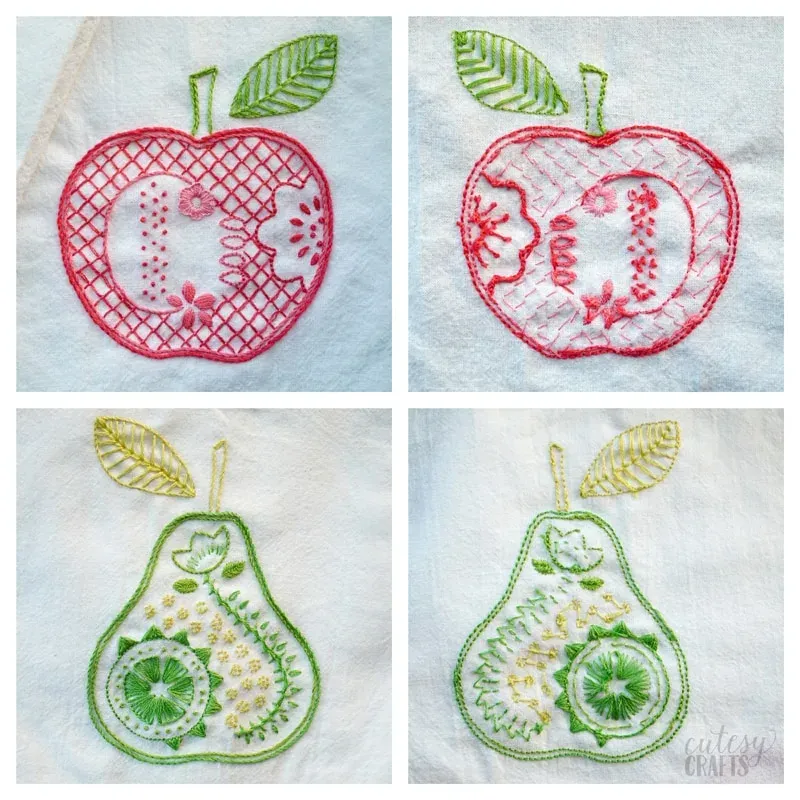
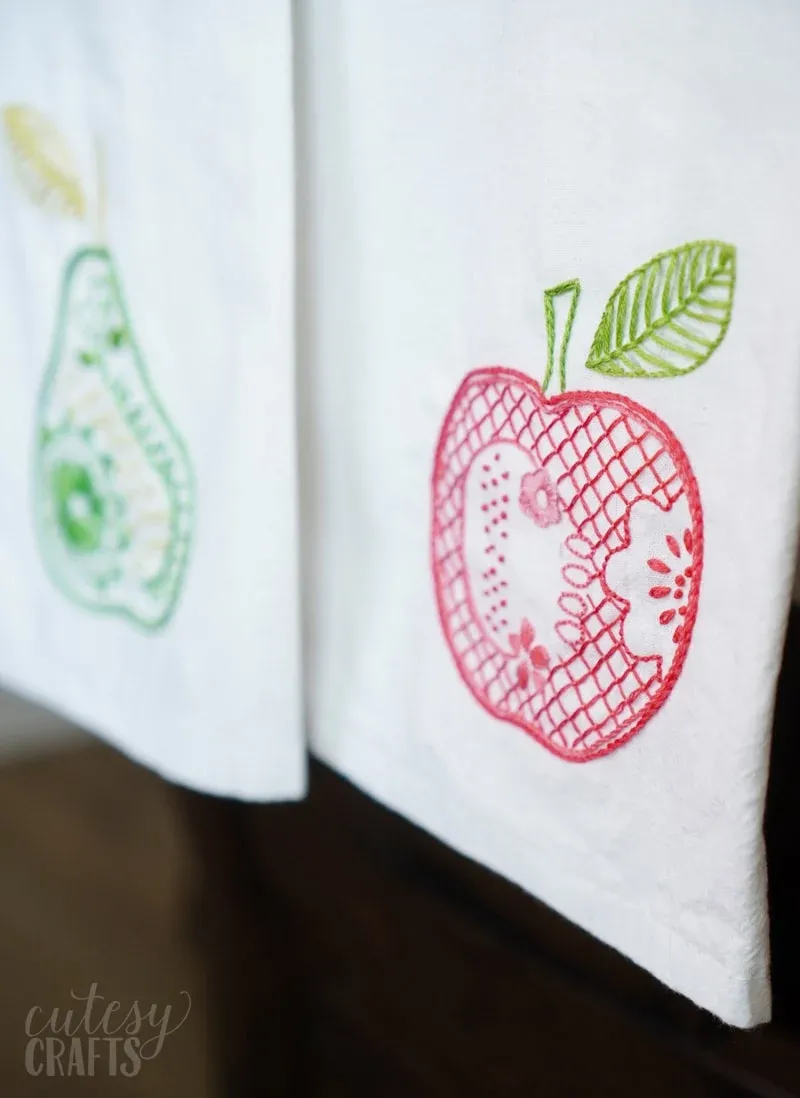
 pear and apple embroidery
 How to Embroider Tea Towels
 How to Embroider Dish Towels
 modern embroidery pattern
 How to Embroider Tea Towels
And there you have it – your very own set of uniquely embroidered tea towels. Not only are they functional, but they also add a touch of handcrafted elegance to your kitchen. Imagine these beauties becoming cherished heirlooms, passed down through generations, just like my great grandmother’s collection.
Share Your Creations: Join the Crafting Community!
Feeling inspired? I encourage you to give this project a try and share your creations! Don’t forget to explore the wonderful world of handmade gifts and crafts. Robert Kline Art is your one-stop shop for unique and heartfelt presents. Let’s keep the art of handcrafted treasures alive!
