Blog
Unlock Your Inner Artist: A Beginner’s Guide to Sustainable Sock Tie-Dye Kits
Remember those vibrant tie-dye creations from summer camp? The ones that screamed individuality and carefree fun? Well, they’re back, and this time, they’re here to stay! And what better canvas for your colorful adventures than a pair of socks?
At Robert Kline Art, we’re passionate about breathing new life into everyday objects, and tie-dying socks offers the perfect blend of sustainability and self-expression. Whether you’re a seasoned DIY enthusiast or a curious beginner, this comprehensive guide will equip you with everything you need to transform ordinary socks into wearable works of art.
Gathering Your Tie-Dye Toolkit
Before we dive into the colorful chaos, let’s gather our supplies. Here’s what you’ll need:
Essential Supplies:
-
Dyeing Vessel: A stainless steel sink works wonders, but if you prefer a dedicated space, a large plastic bin like the Honey-Can-Do 16.5-Qt. Bin will do the trick.
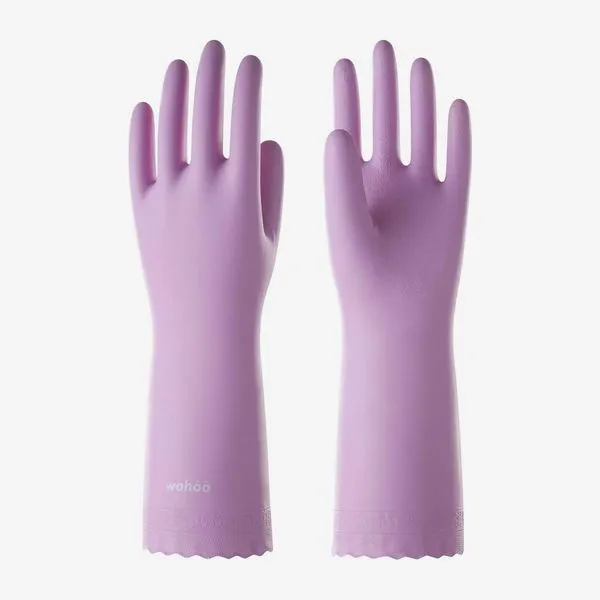
 Lanon Reusable Dishwashing Gloves
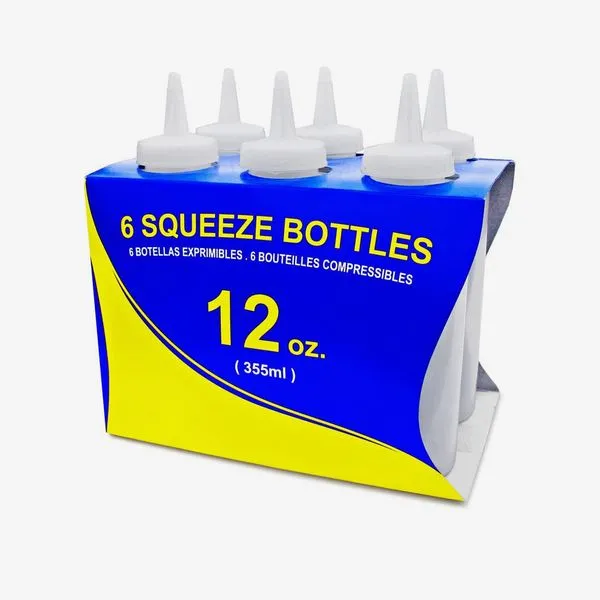 New Star Foodservice 12oz Clear Plastic Squeeze Bottles, Pack of 6
 -
Protective Gear: Shield your hands from stubborn stains with a pair of Lanon Reusable Dishwashing Gloves. Remember, safety first!
-
Rubber Bands: These are your pattern-making heroes! I recommend using a mix of Staples Economy Rubber Bands #33 and #64 for added dimension.
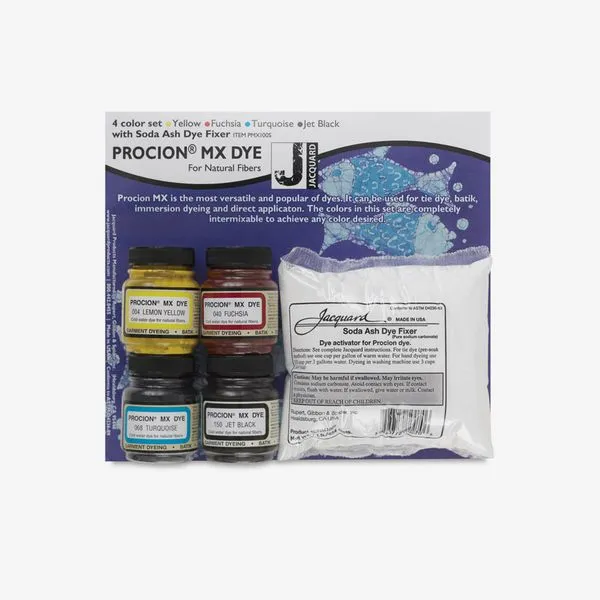 Jacquard Procion MX Fiber Reactive Cold Water Dye Starter Set
 -
Squeeze Bottles: Ensure precision application with New Star Foodservice 12oz Clear Plastic Squeeze Bottles. You’ll want one for each color you choose.
Choosing Your Dyes:
-
Jacquard Procion MX Fiber Reactive Cold Water Dye Starter Set: This starter set offers a vibrant spectrum of colors, making it ideal for beginners.
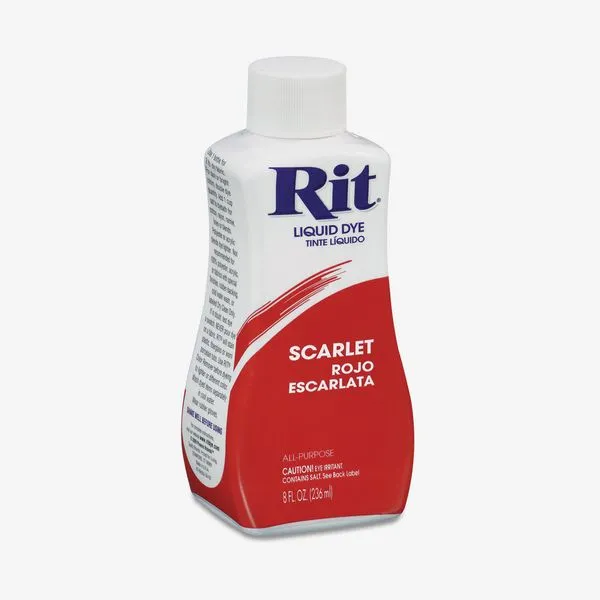 Rit Liquid Dye in Scarlet, 8oz
 -
Rit Liquid Dye: For a budget-friendly option, Rit dyes are readily available and deliver vibrant results. Their scarlet red is a personal favorite!
A Touch of Magic:
- Rit ColorStay Dye Fixative: This magic potion locks in your colors, preventing them from fading over time.
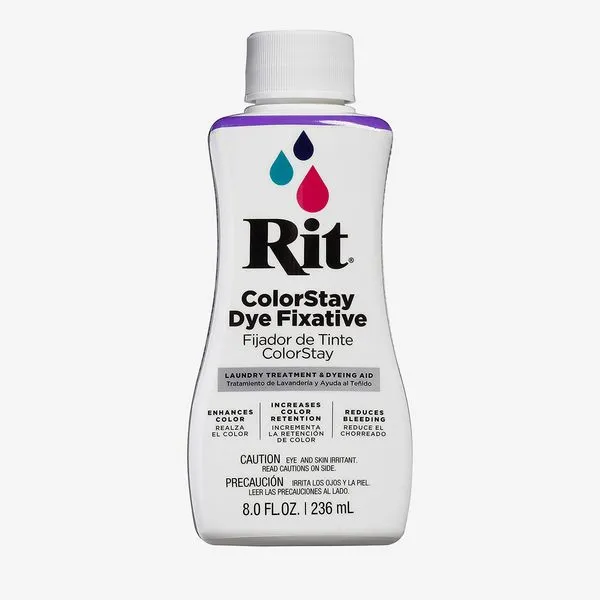 Rit ColorStay Dye Fixative
The Art of Sock Tie-Dye: A Step-by-Step Guide
Now that we’ve assembled our arsenal, let’s unleash our creativity:
-
Prep Your Socks: Wash and thoroughly dry your socks to ensure optimal dye absorption.
-
Embrace the Rubber Bands: Here’s where the fun begins! Experiment with different rubber band placements to create unique patterns.
-
Soak and Dye: Submerge your banded socks in a soda ash solution (if using fiber reactive dyes), then unleash your inner artist by applying the dye.
-
Rest and Absorb: Allow the dye to work its magic for 24 hours, keeping the socks in a sealed plastic bag.
-
The Big Reveal: Rinse the socks thoroughly until the water runs clear, then wash them with a color fixative.
Ready to Dive In?
Tie-dying is more than just a craft; it’s an adventure in self-expression and a celebration of vibrant colors. With a dash of creativity and these simple steps, you’ll be rocking unique, eye-catching socks in no time.
At Robert Kline Art, we believe that everyone is an artist at heart. So grab your supplies, unleash your imagination, and let’s turn those plain socks into wearable masterpieces! And don’t forget to share your creations with us – we can’t wait to see what you come up with!
Looking for more handcrafted treasures and inspiration? Explore the world of Robert Kline Art and discover unique, handcrafted gifts for every occasion.
